


Spring 2015 Work

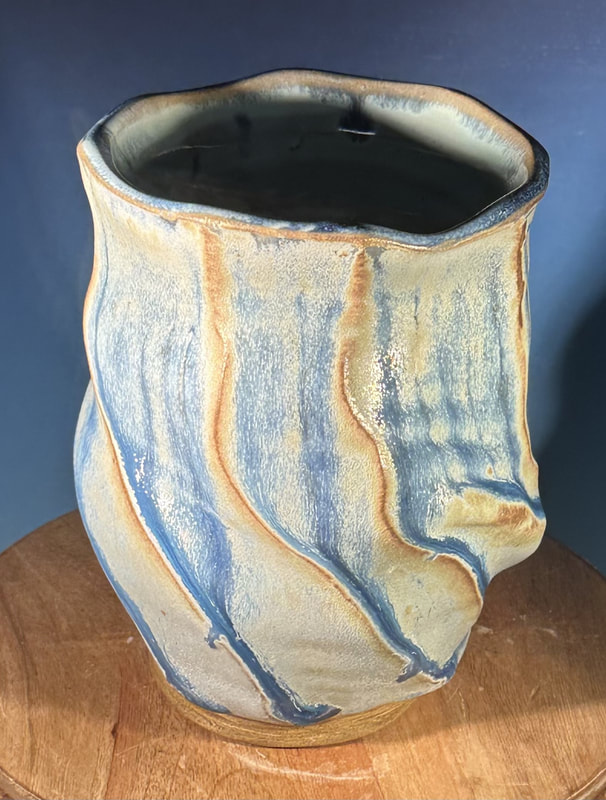
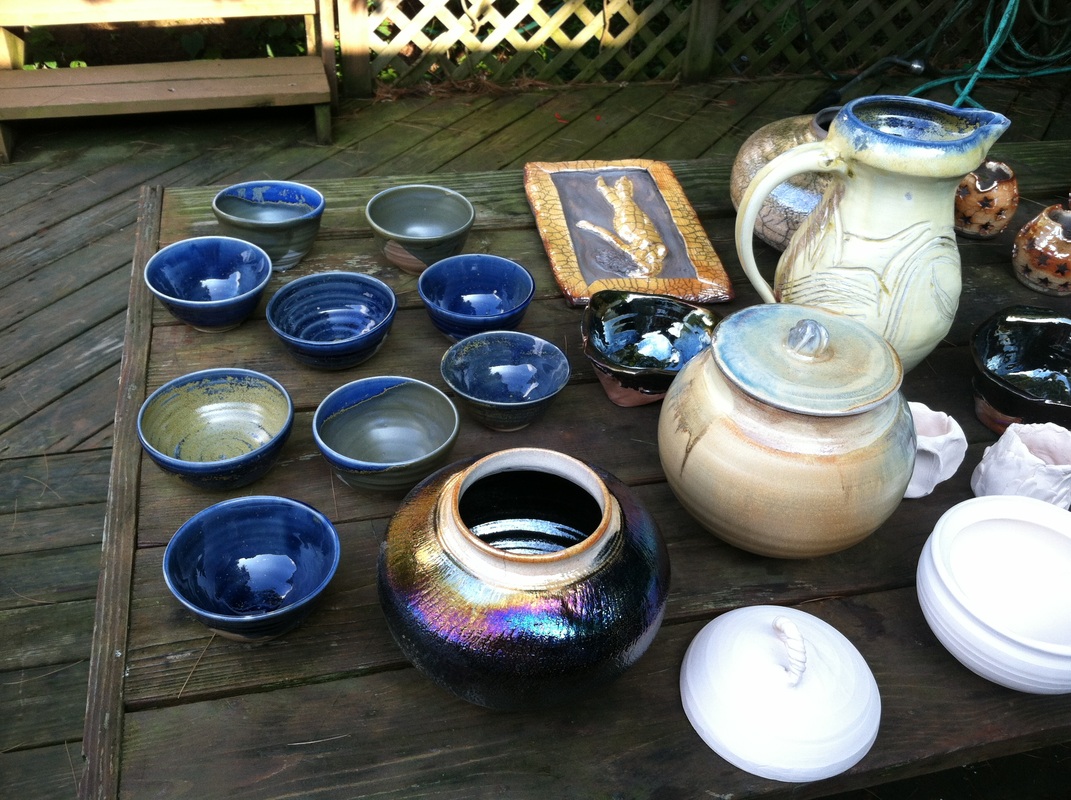
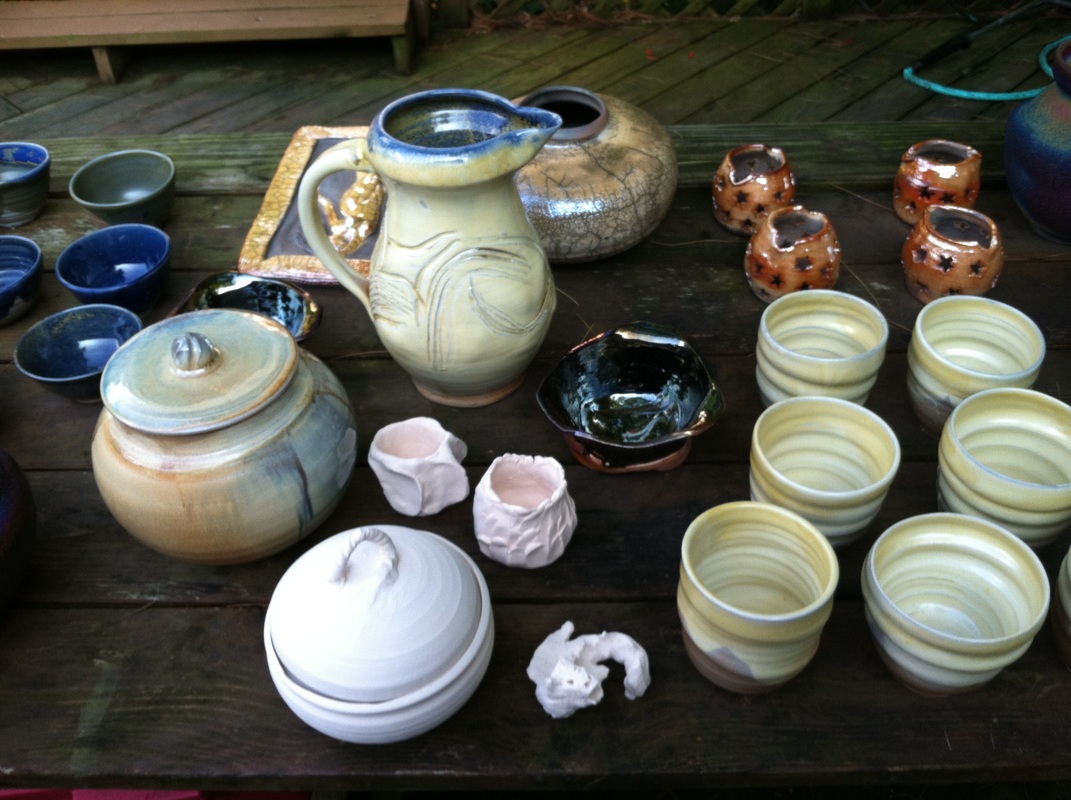
Pots completed November 2014:


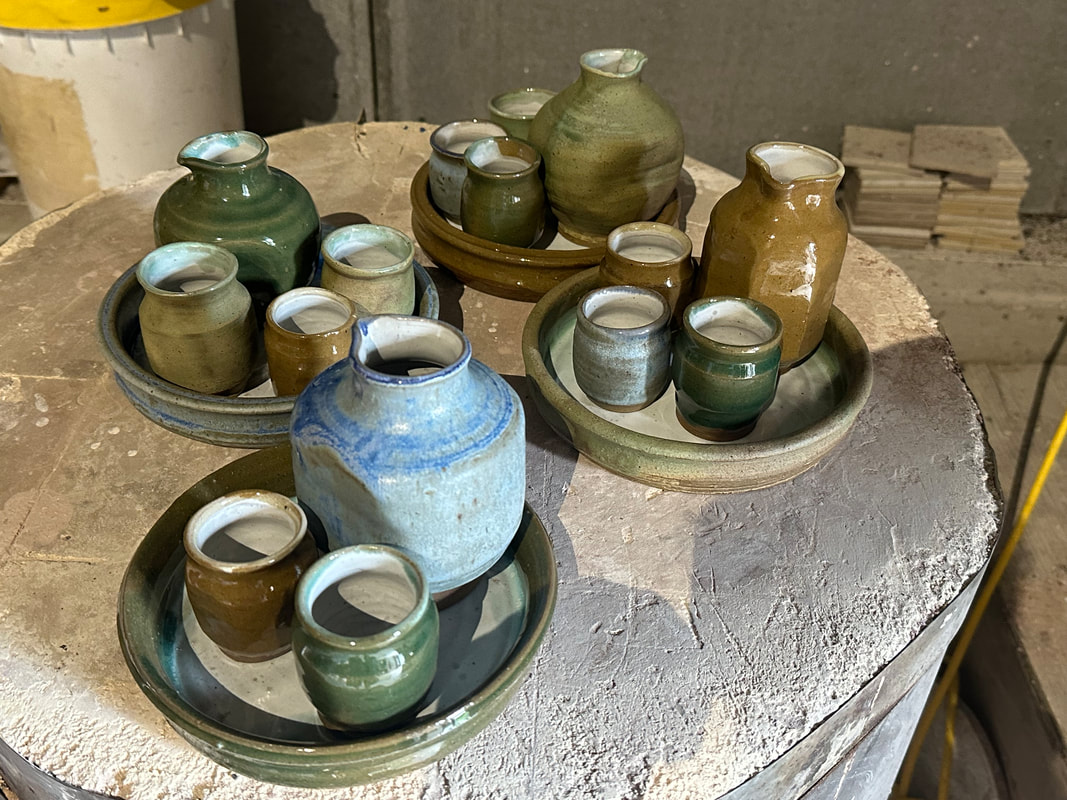
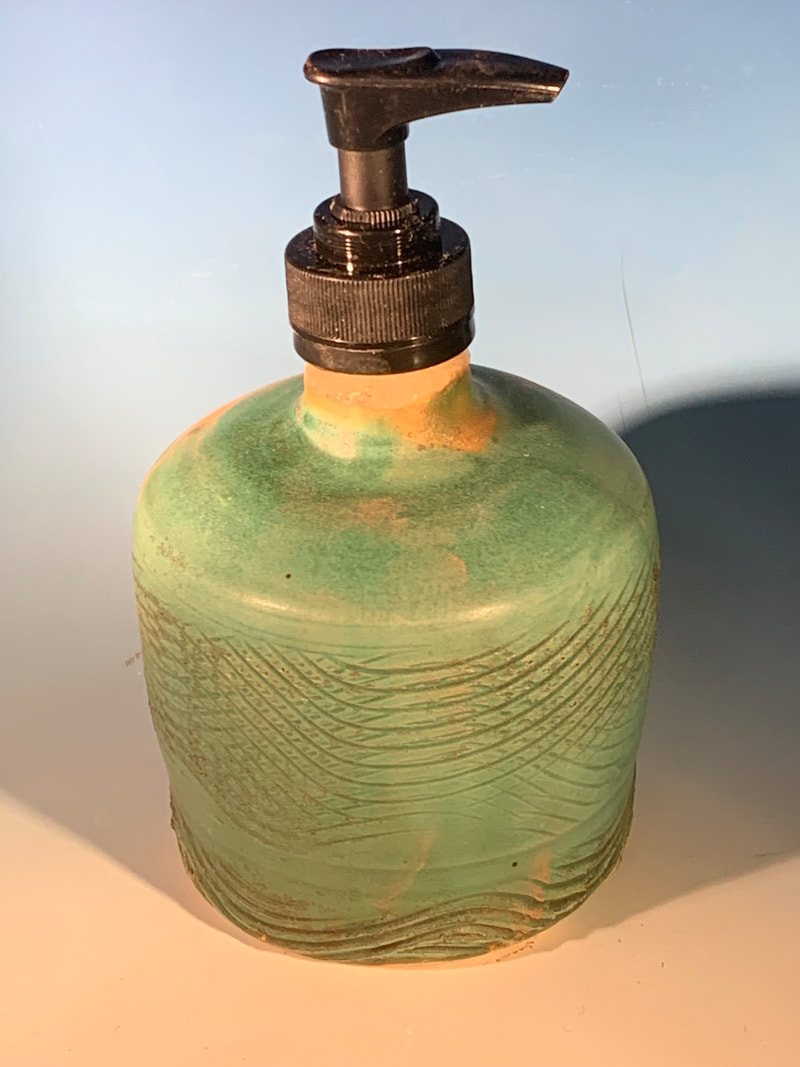
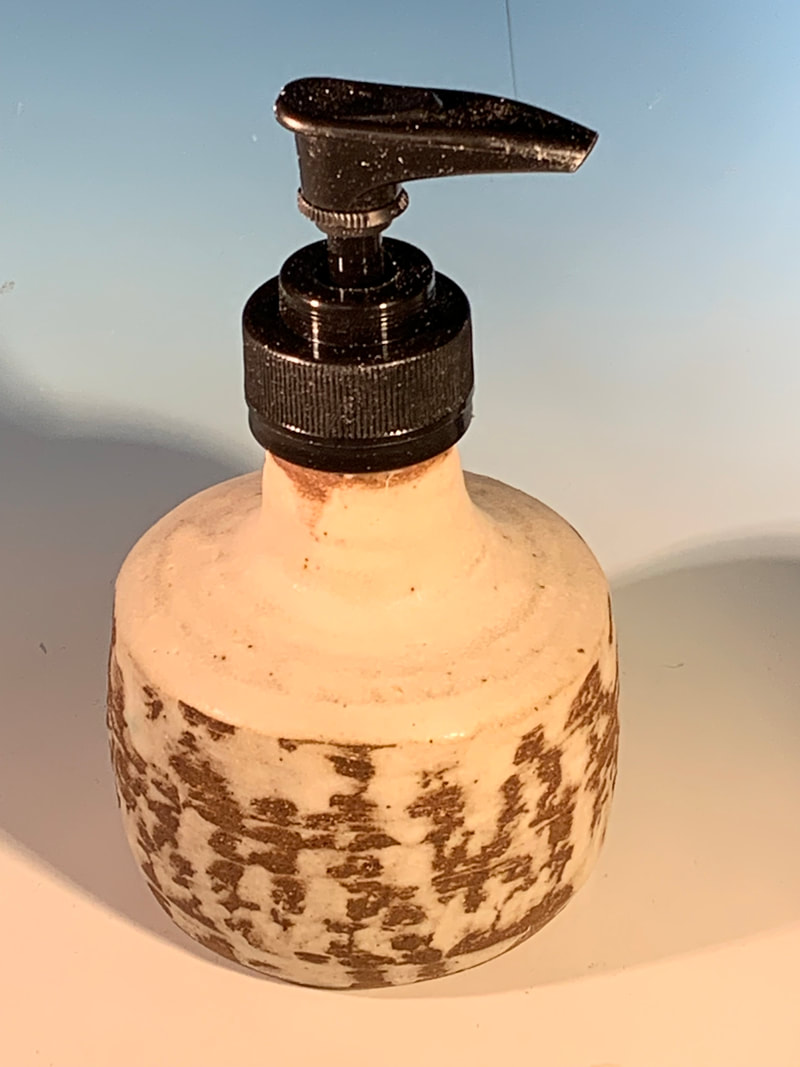
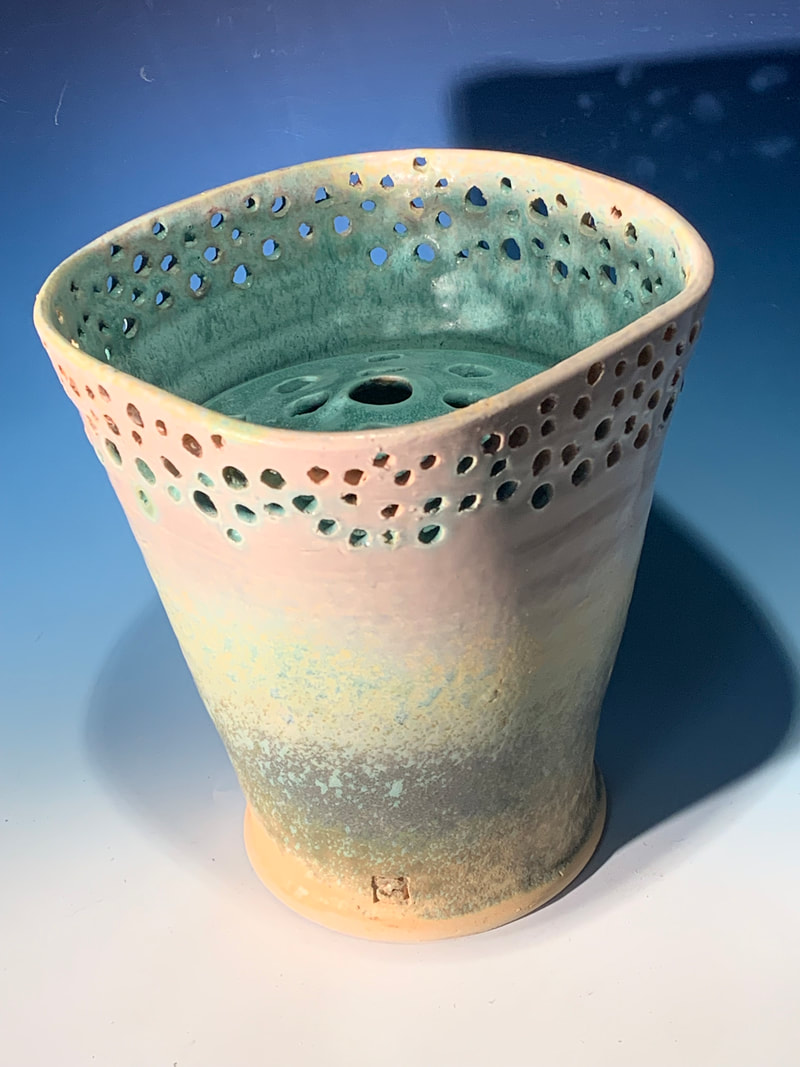
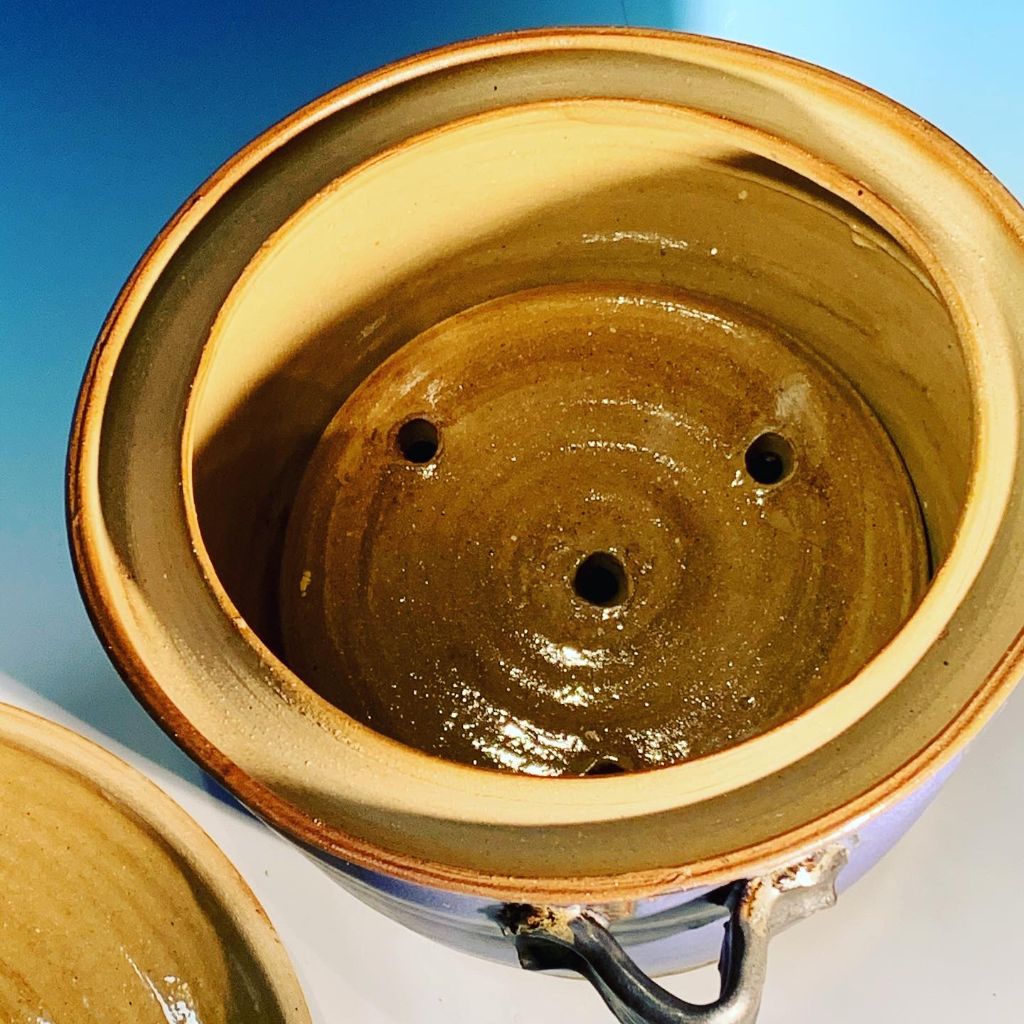
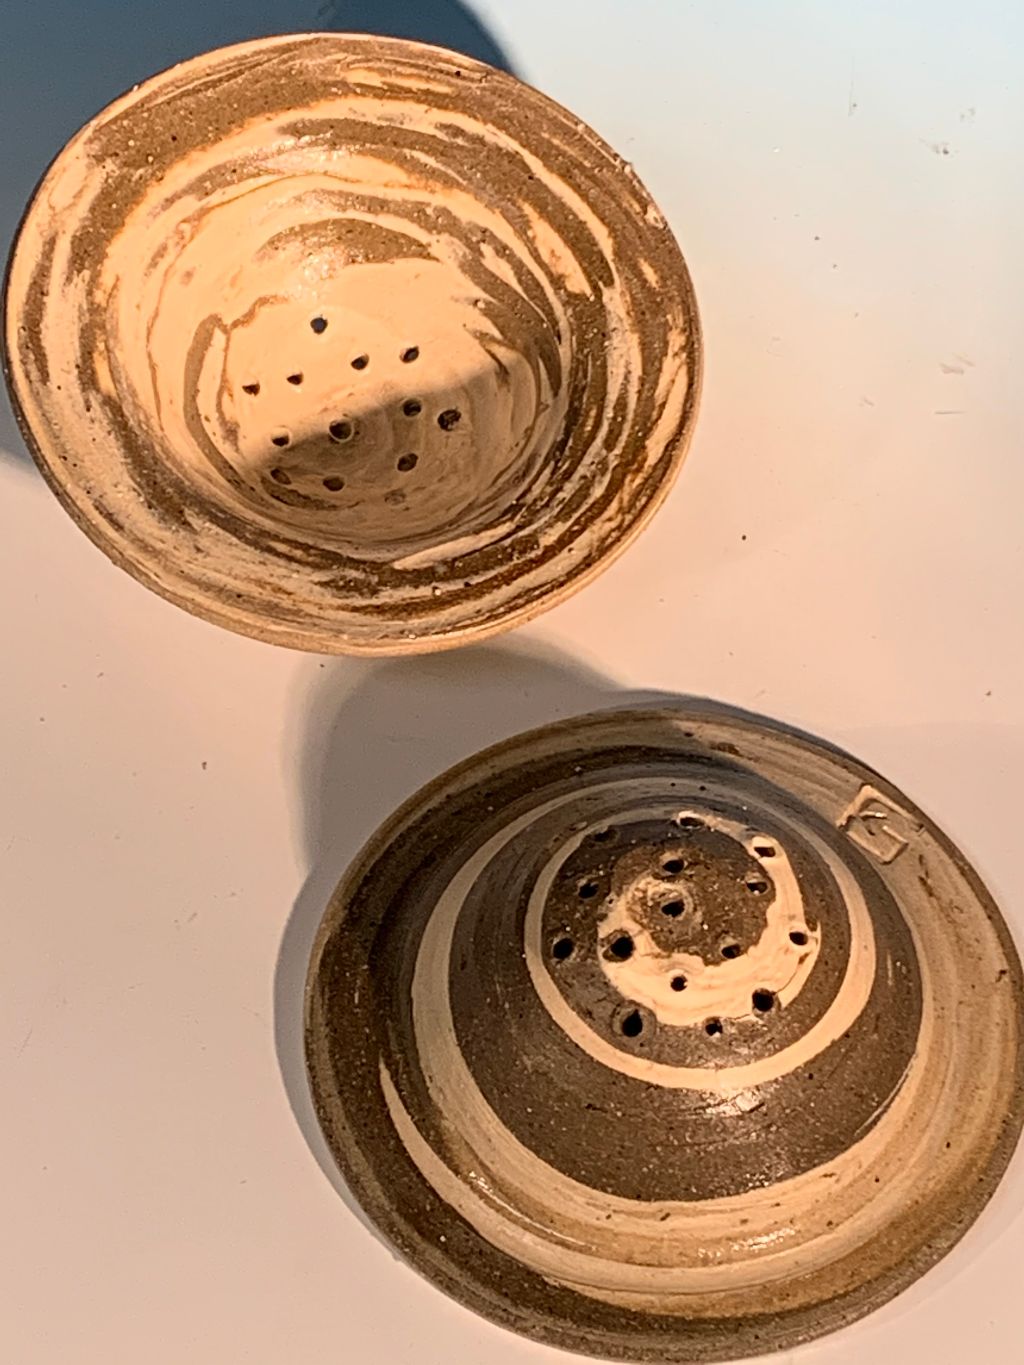
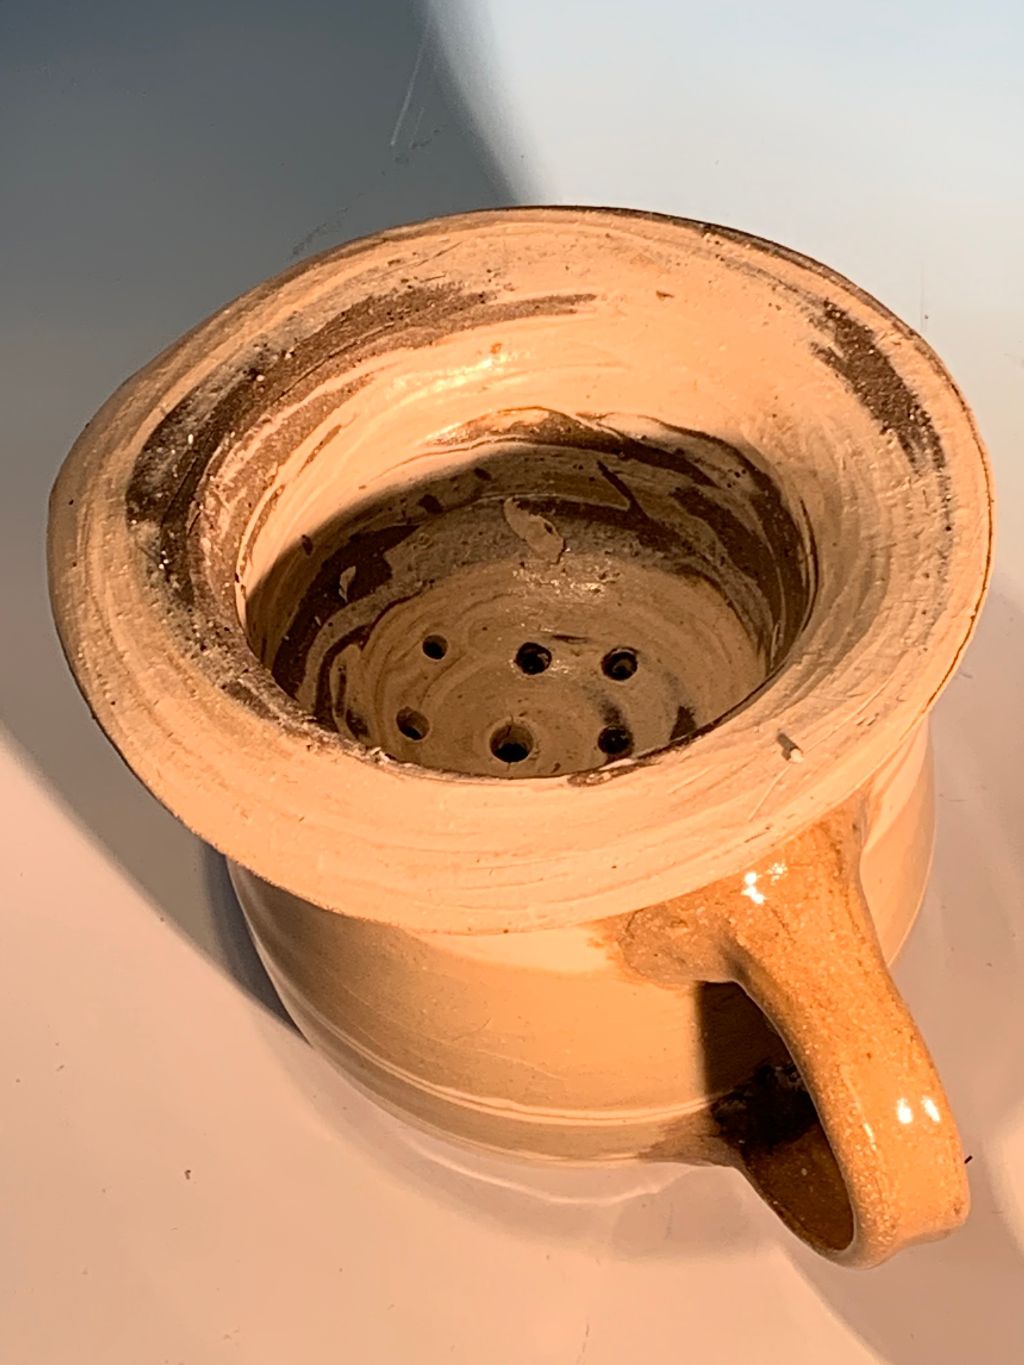
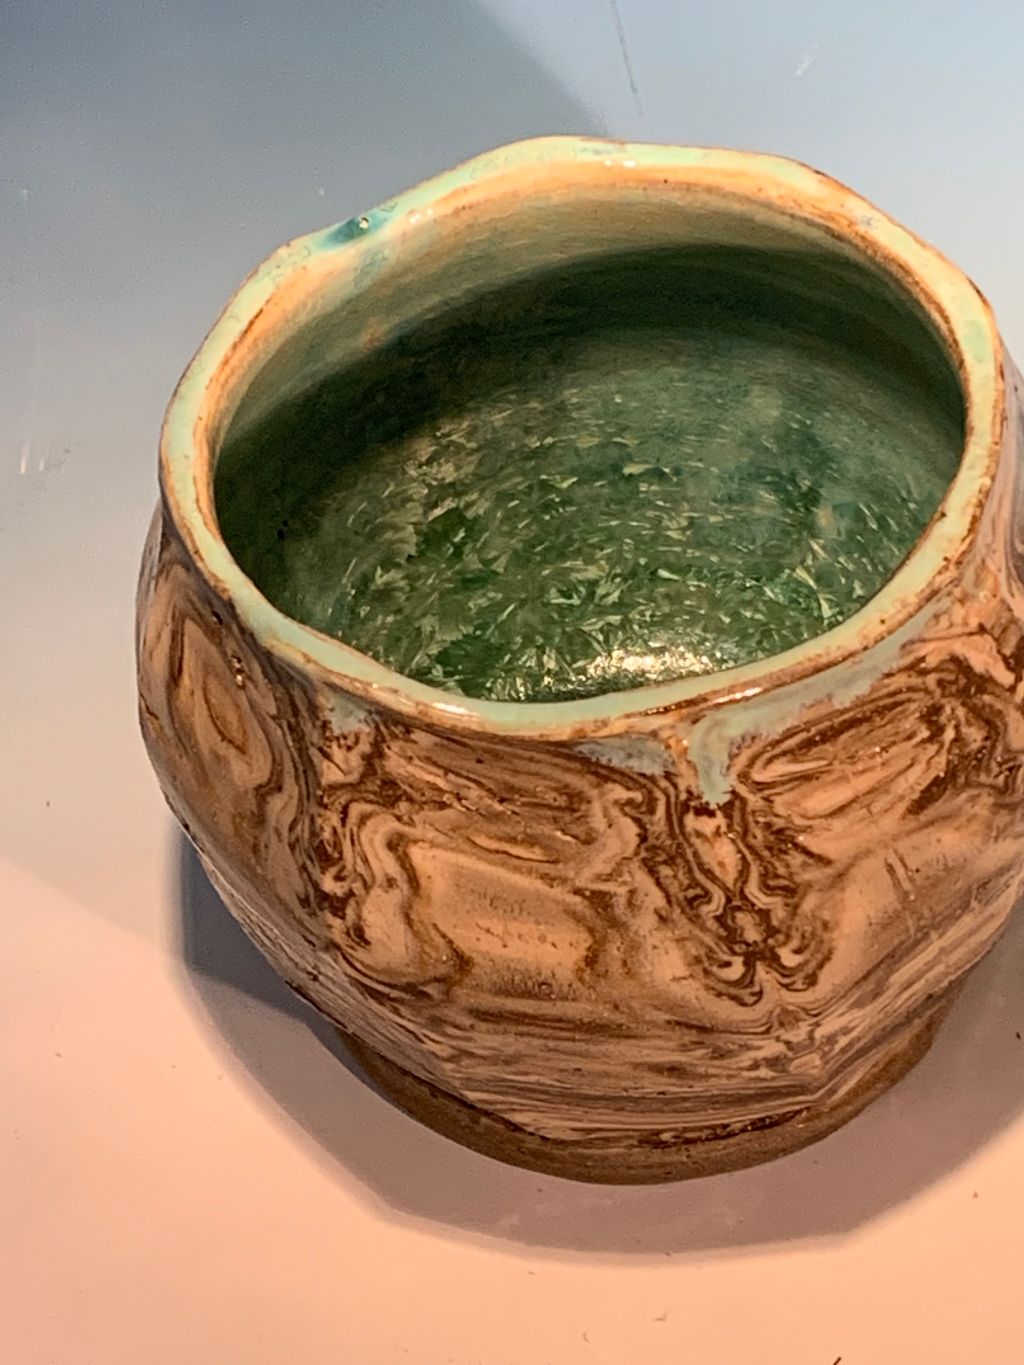
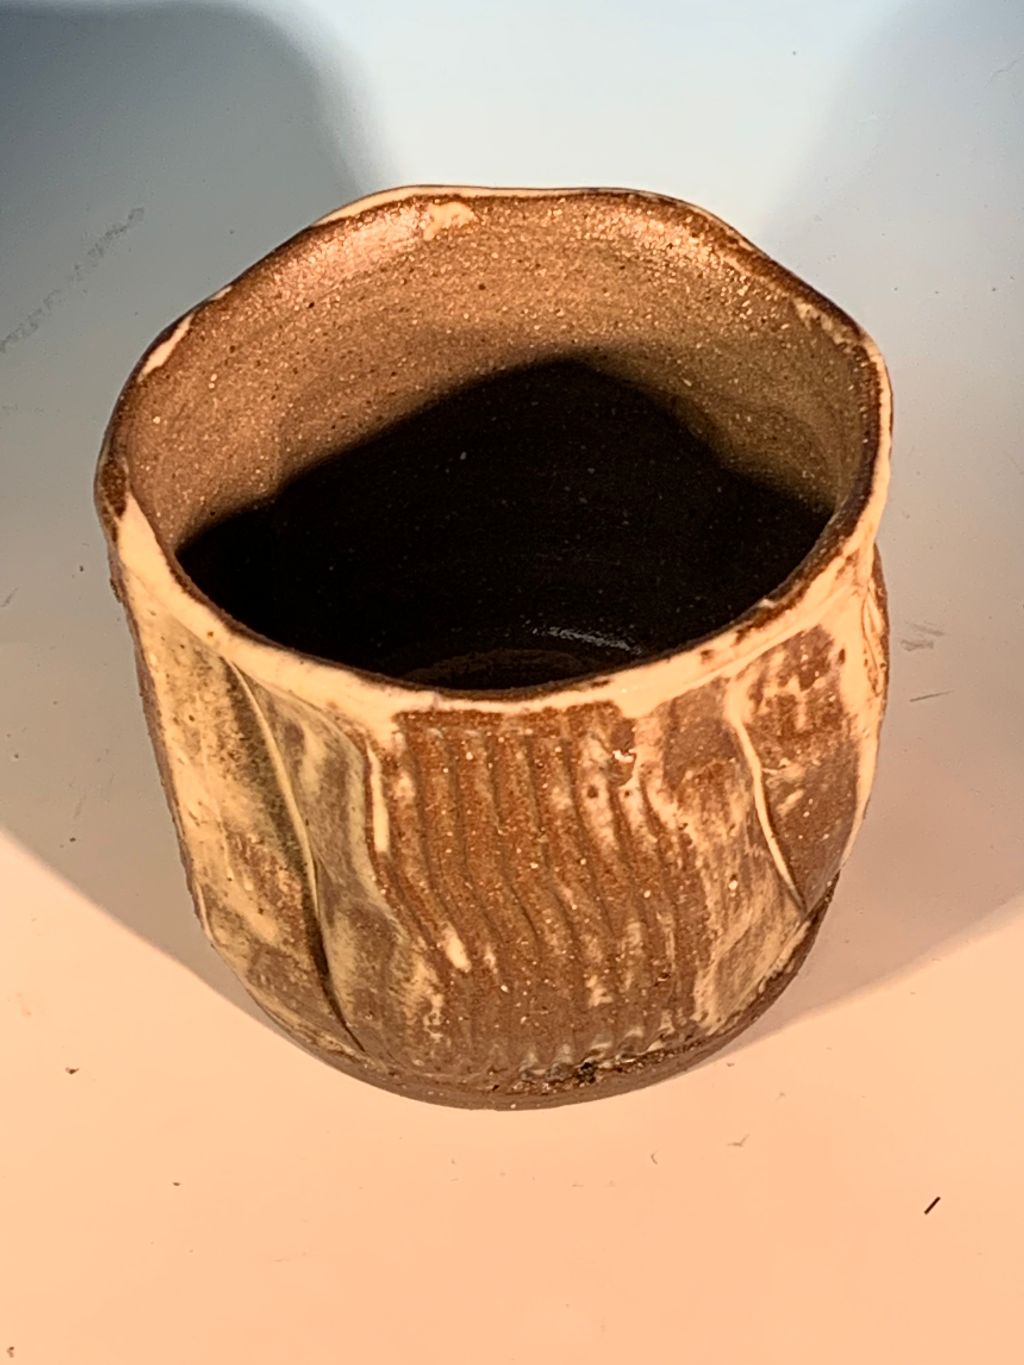
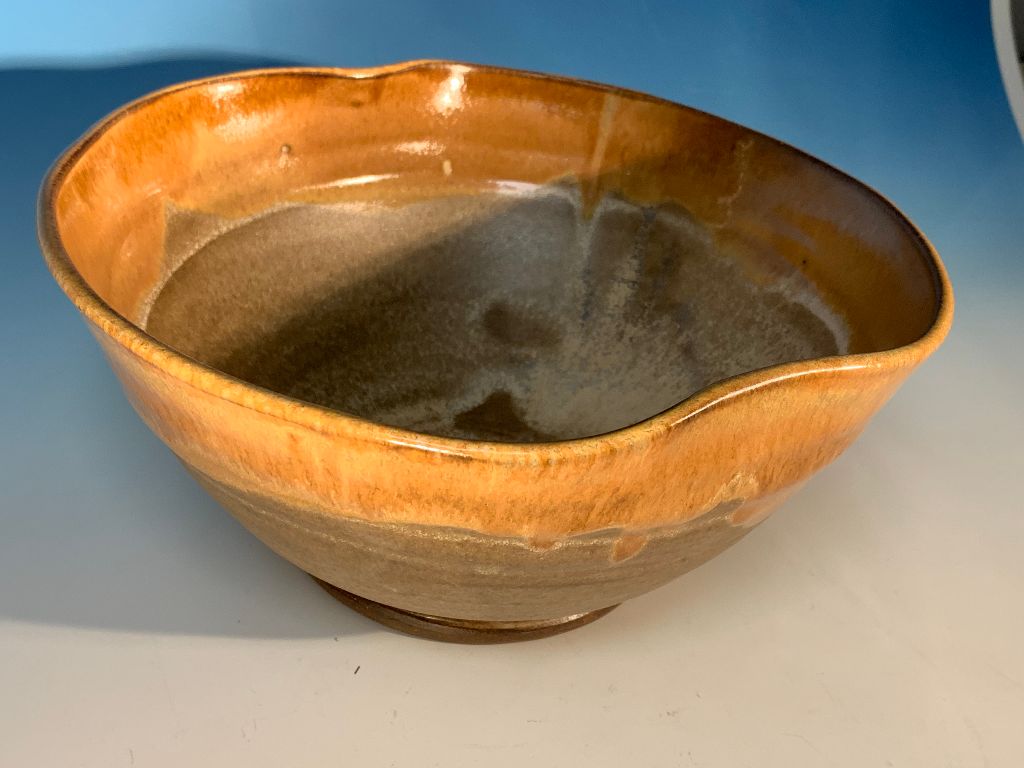
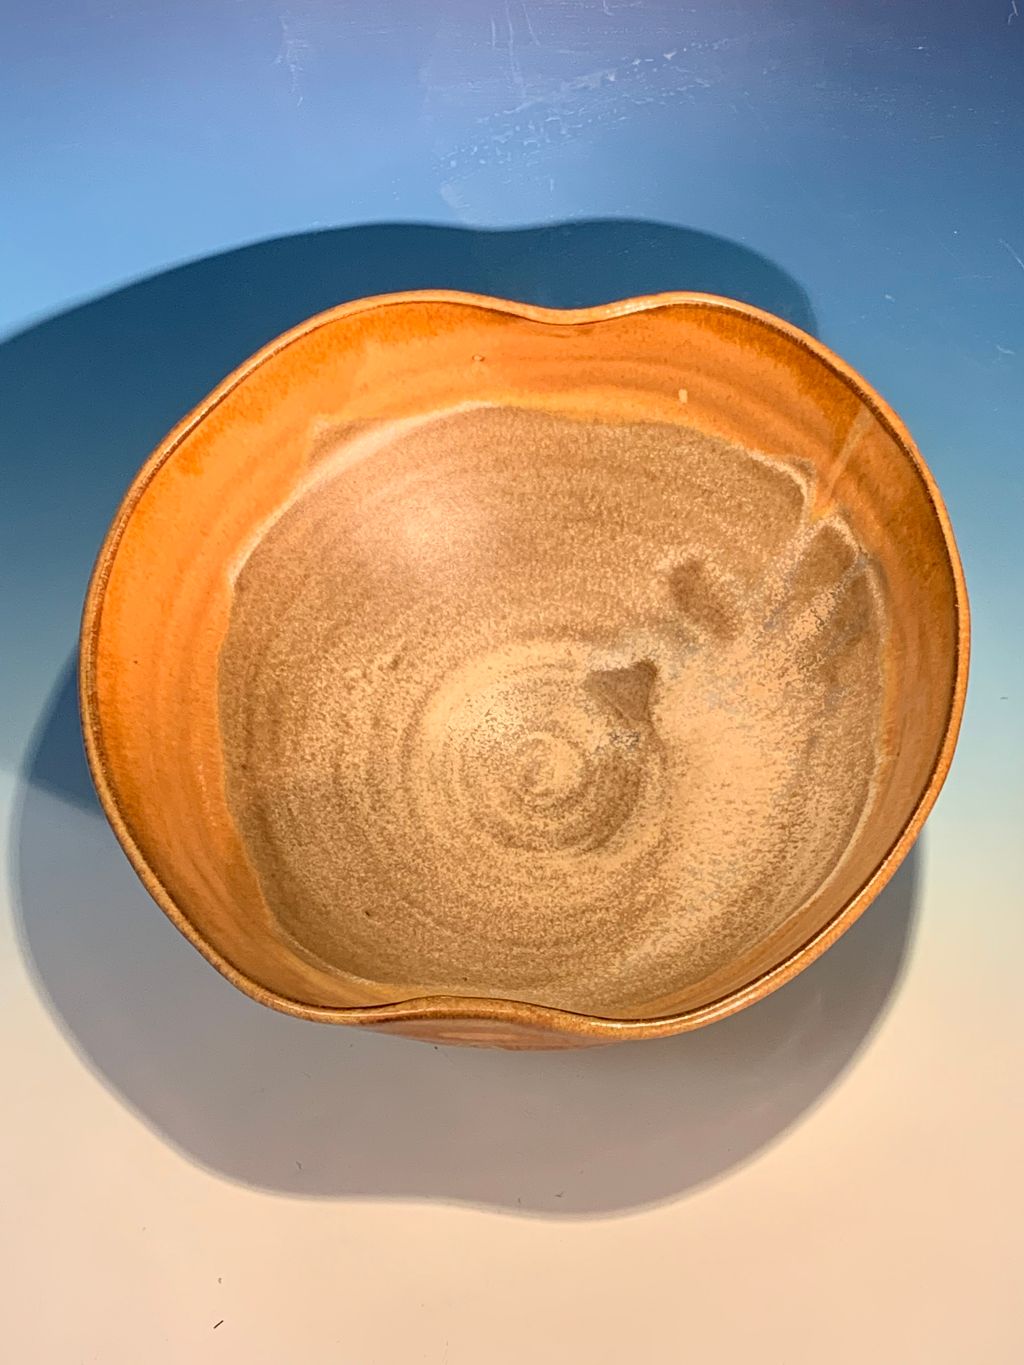
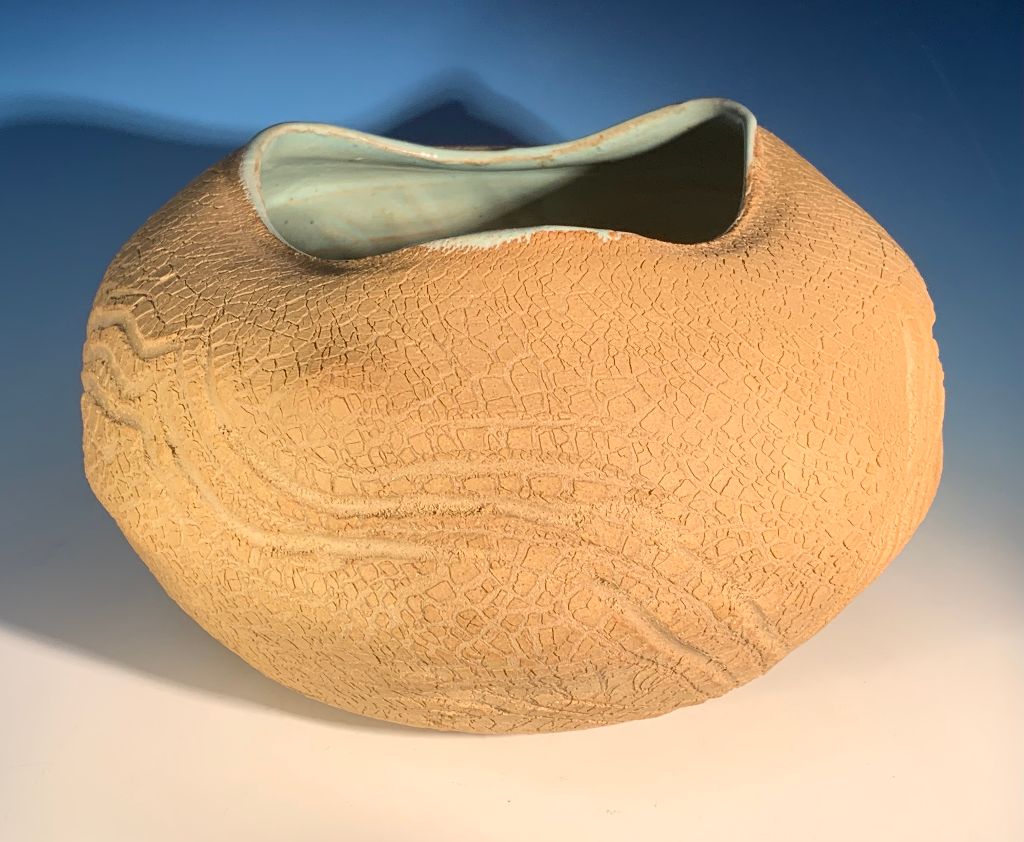
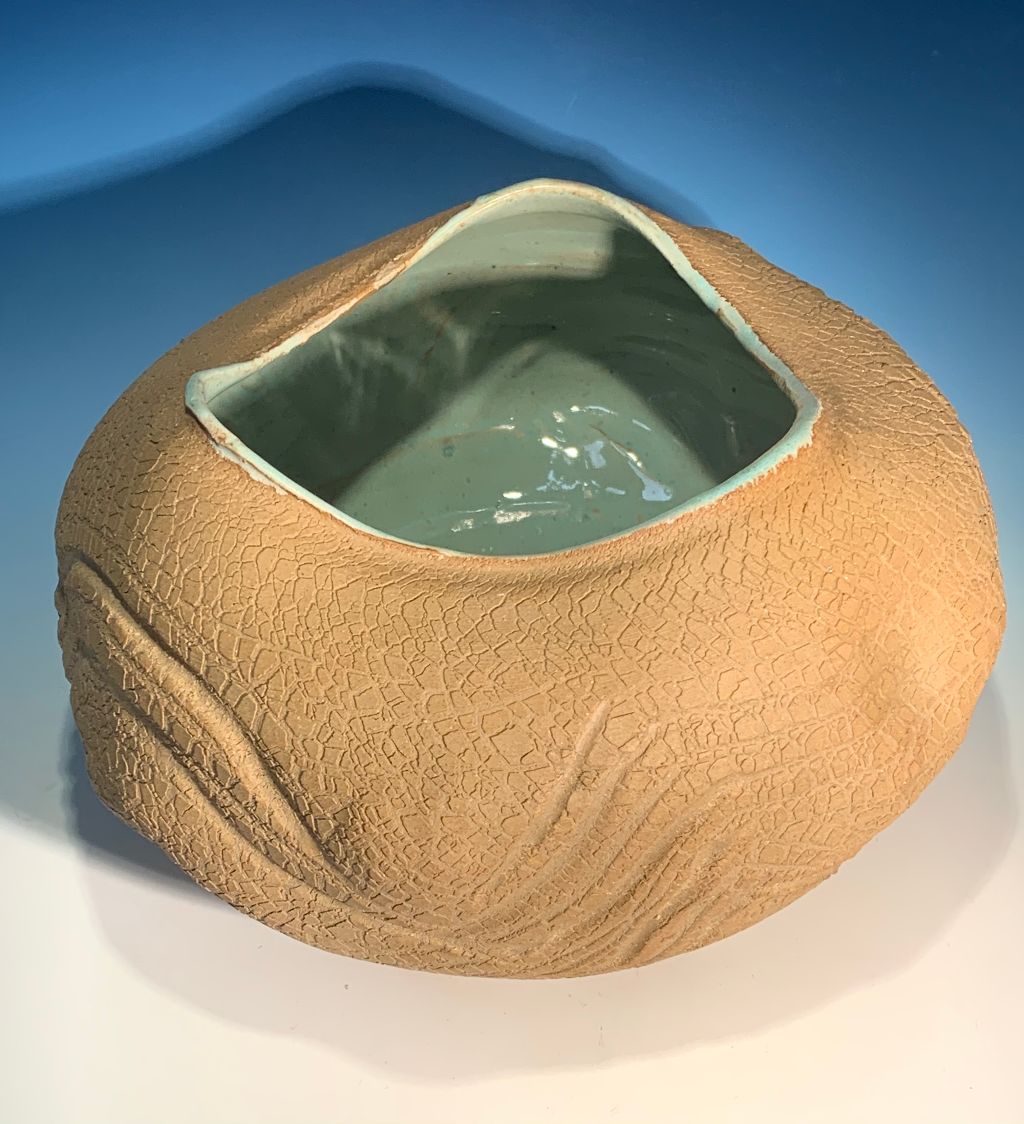
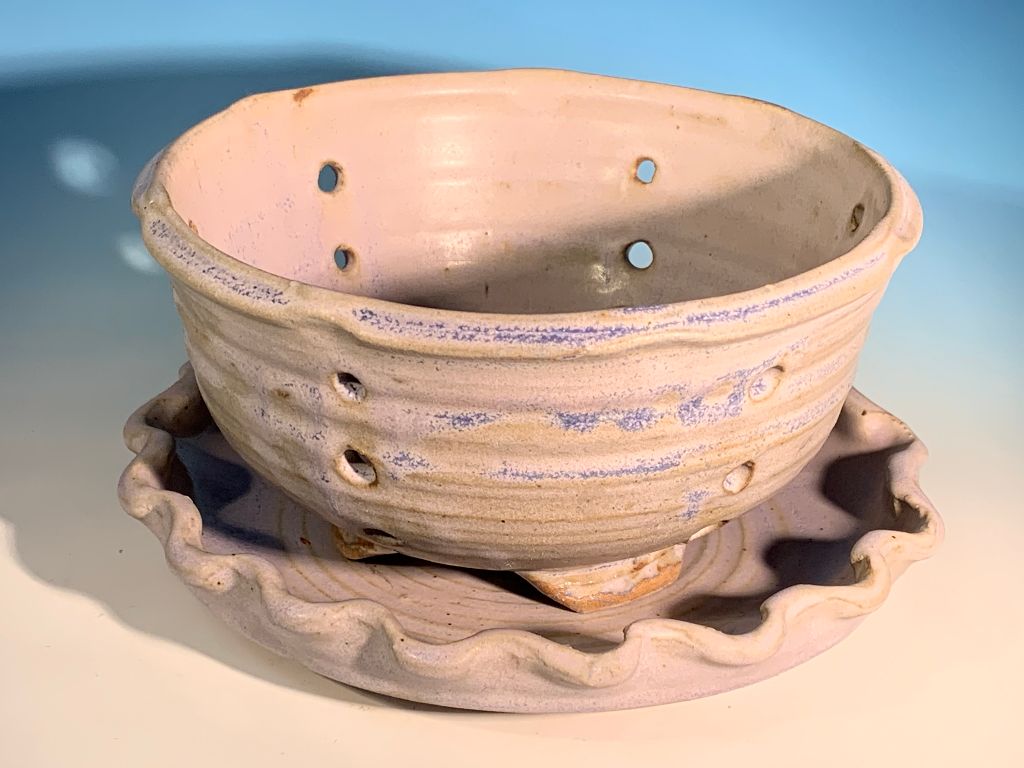
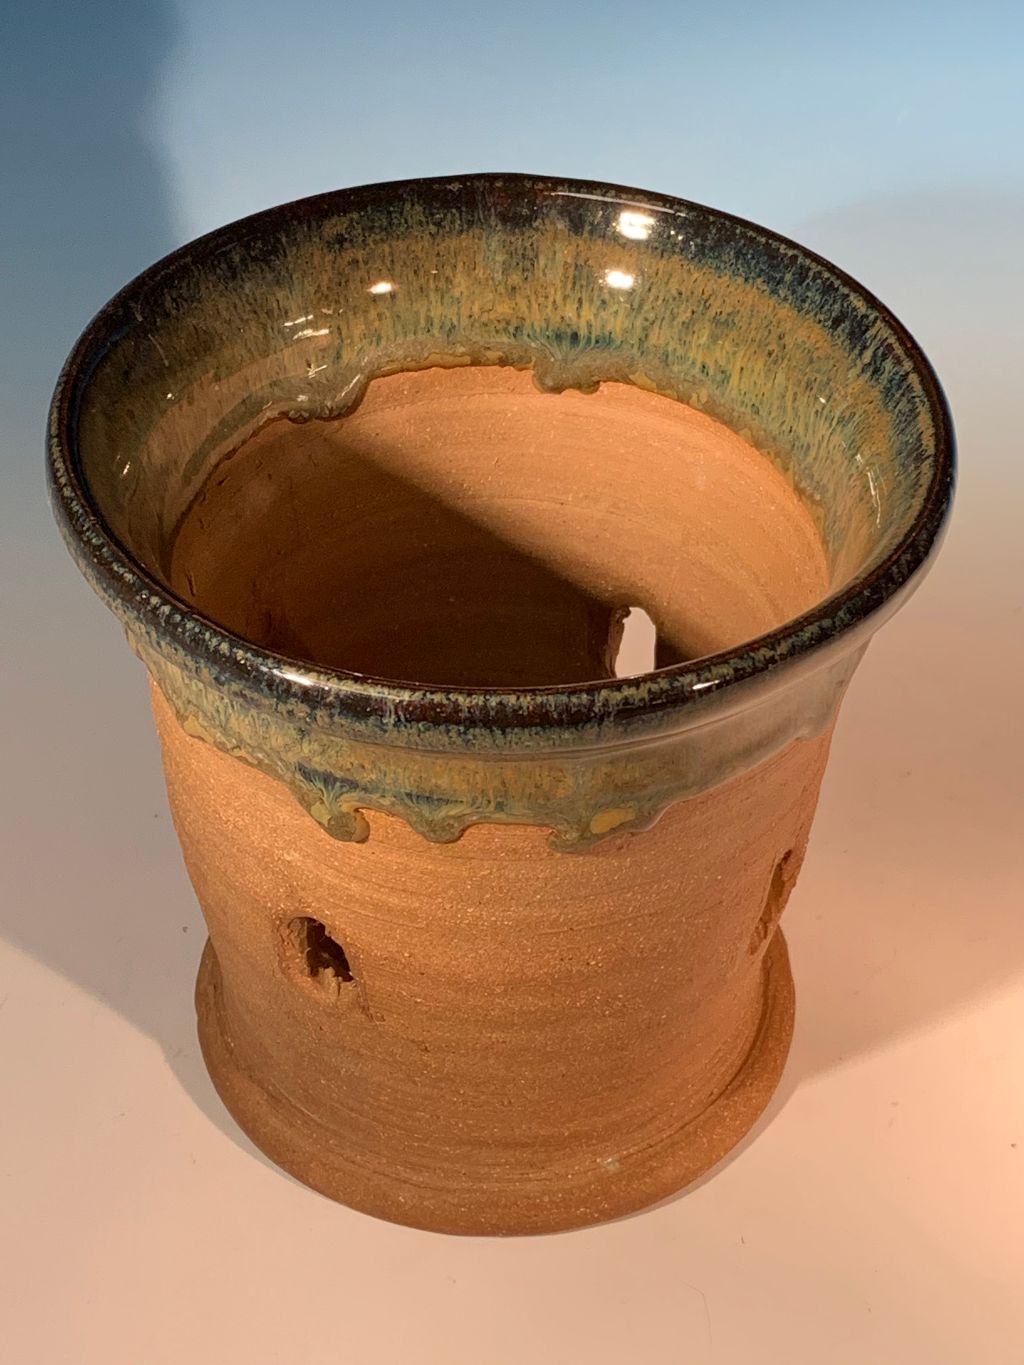
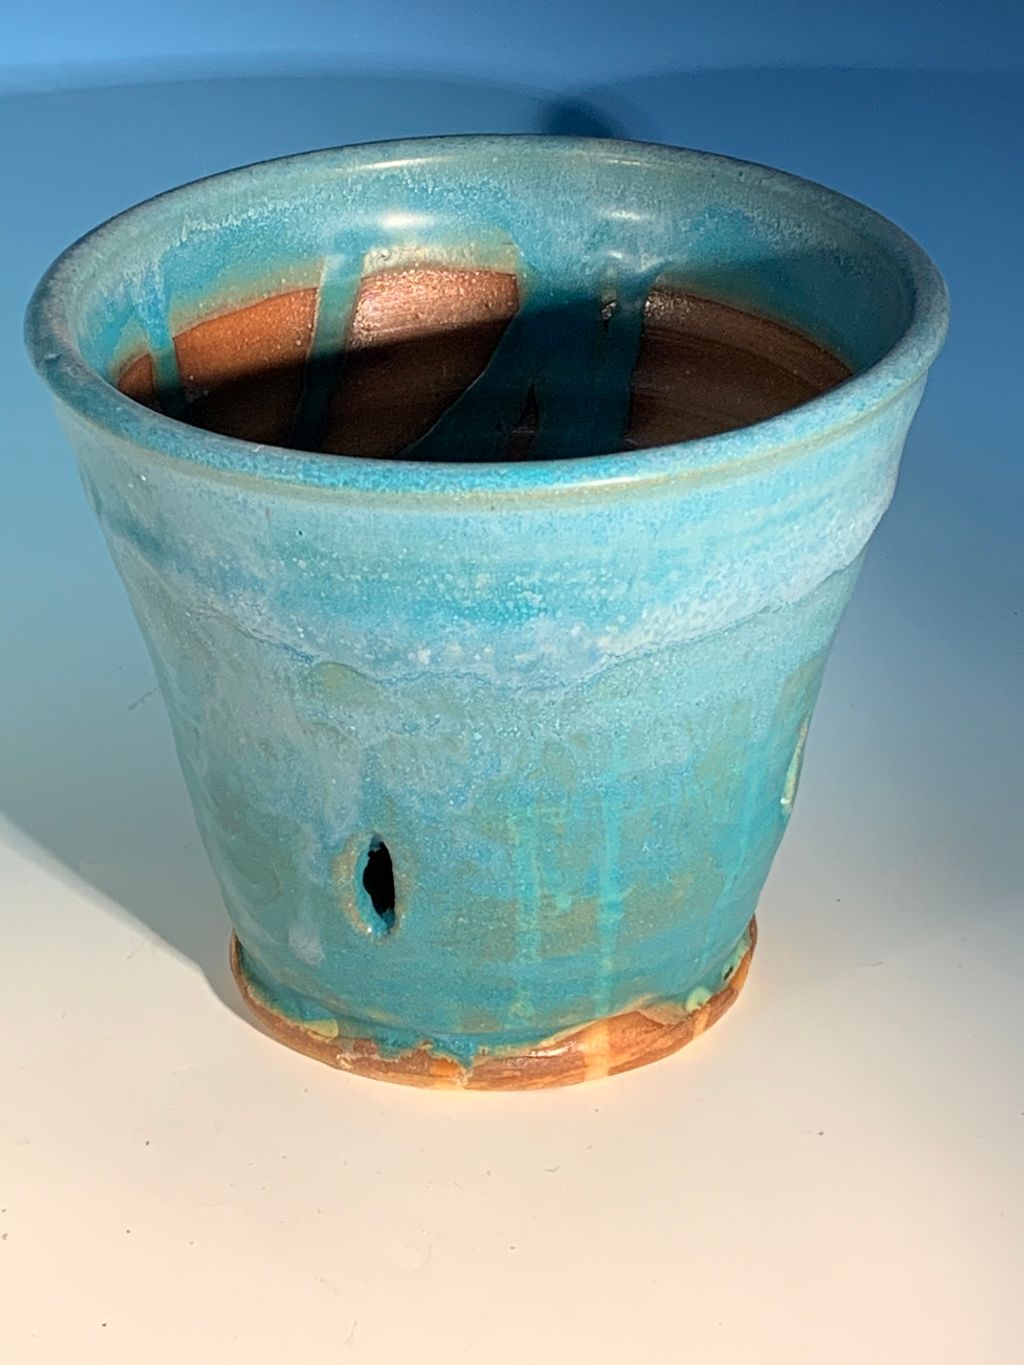
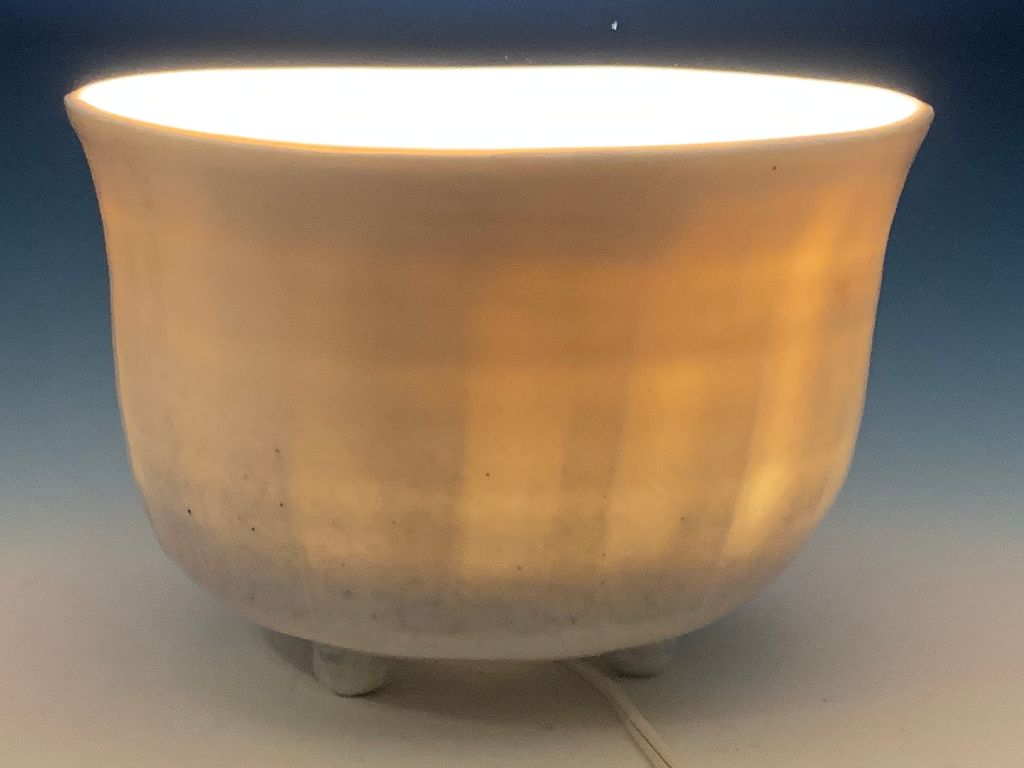
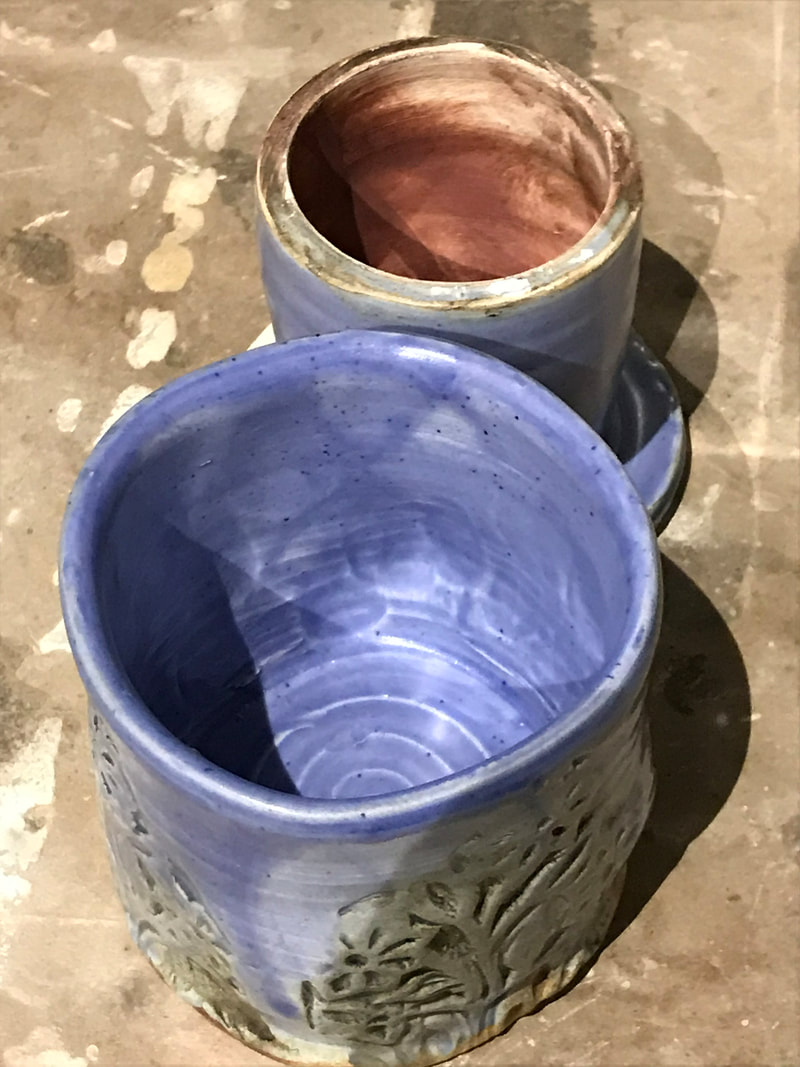
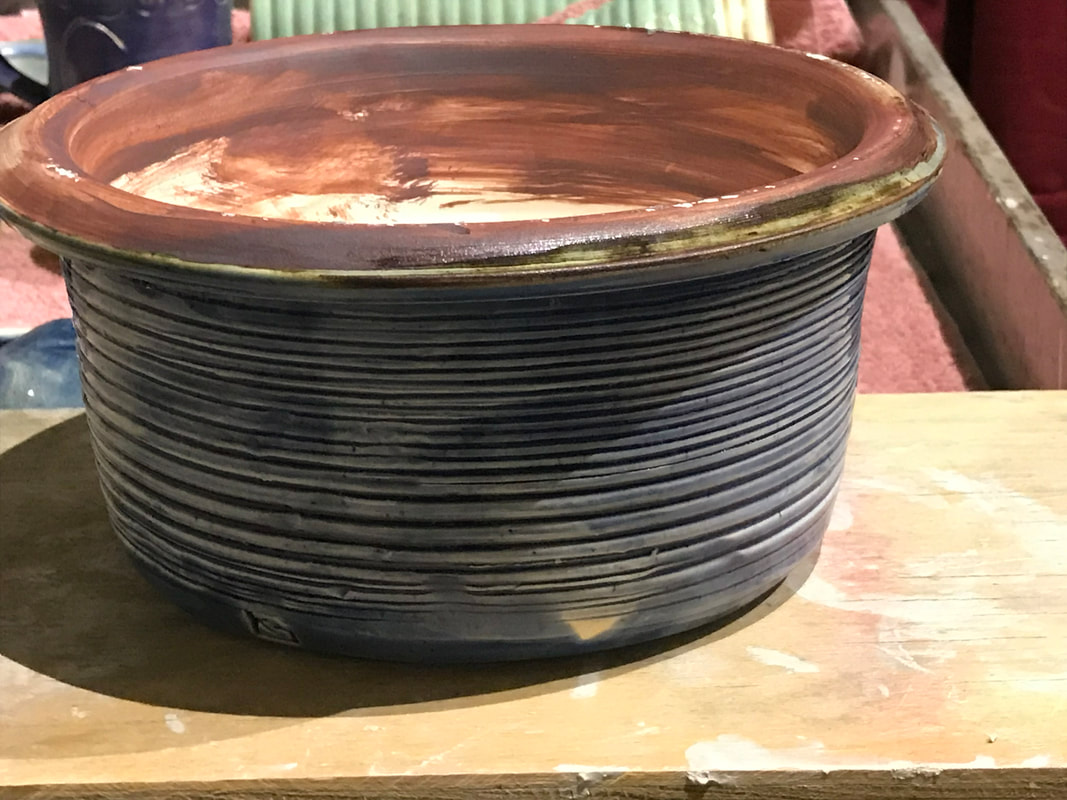
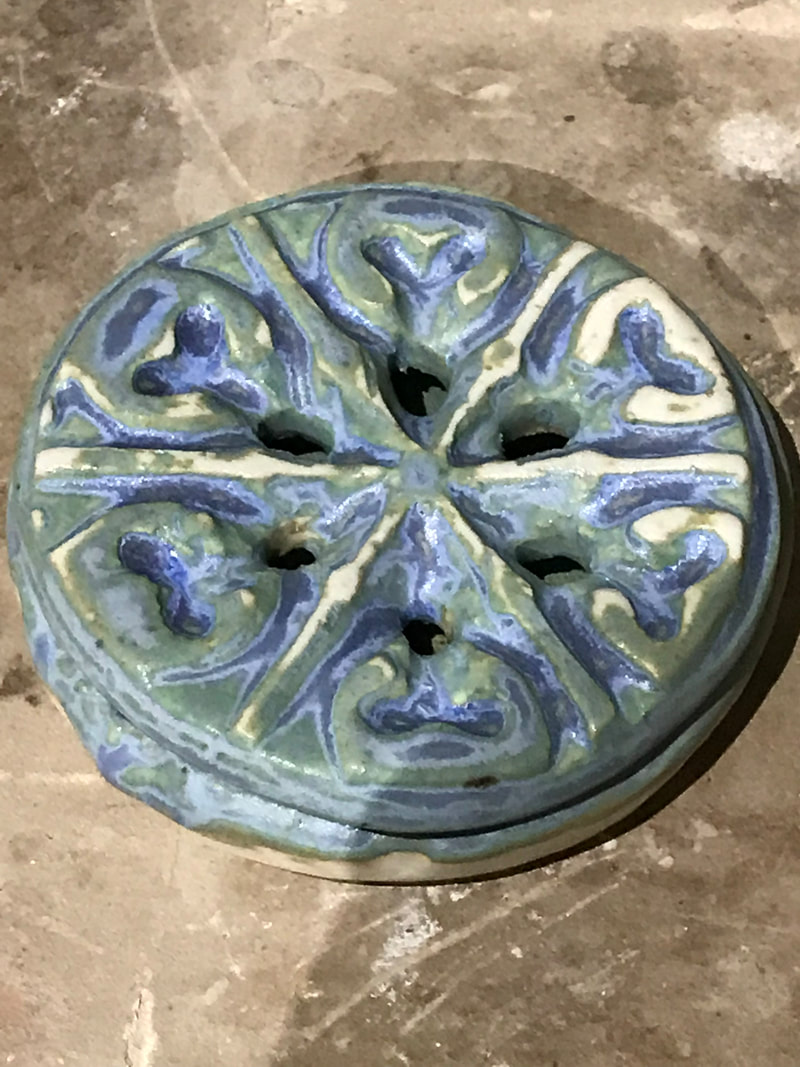
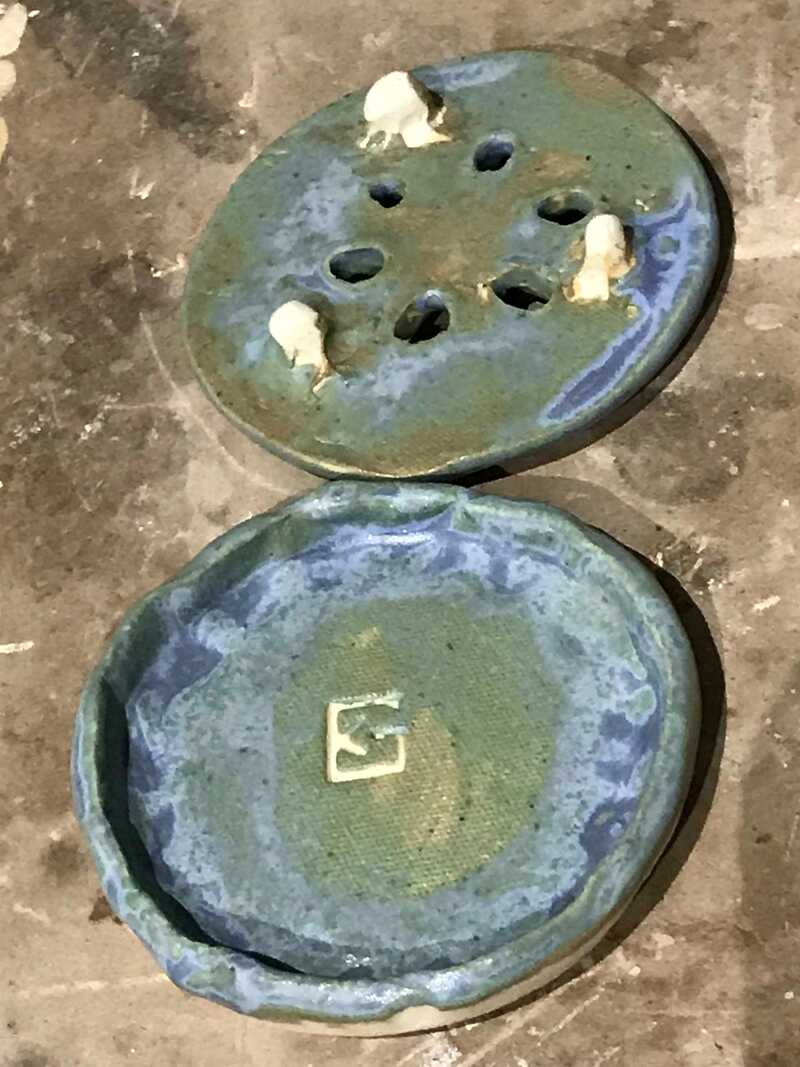
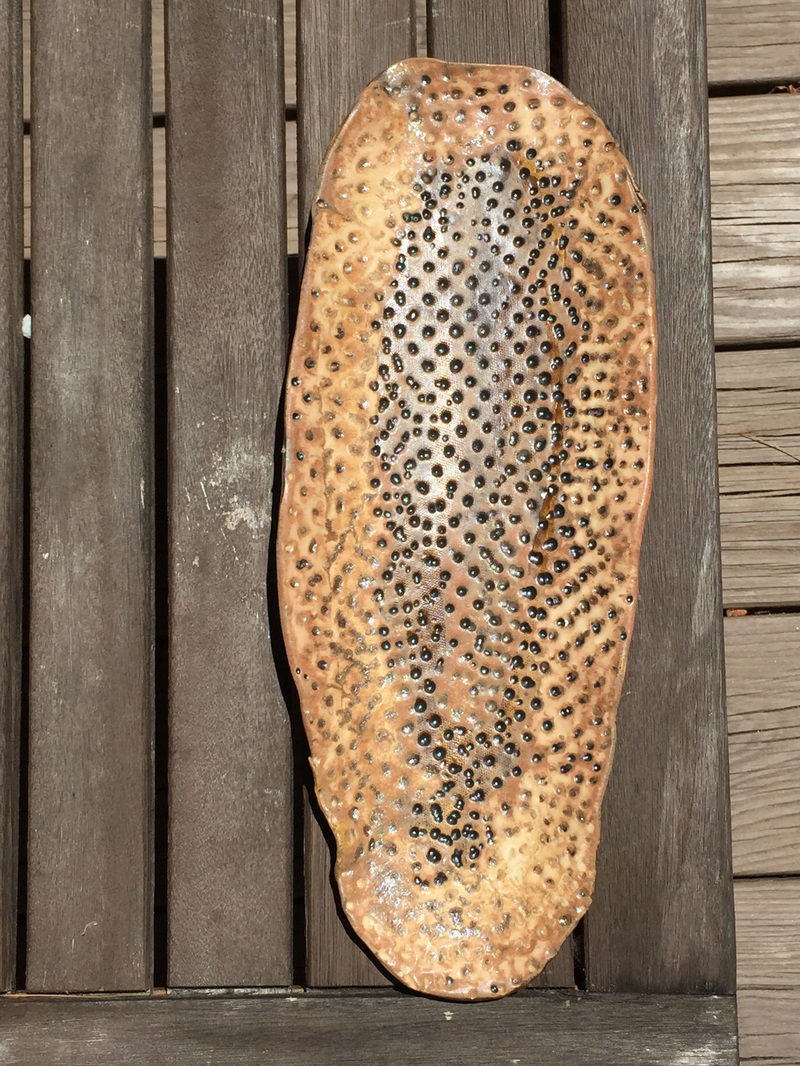
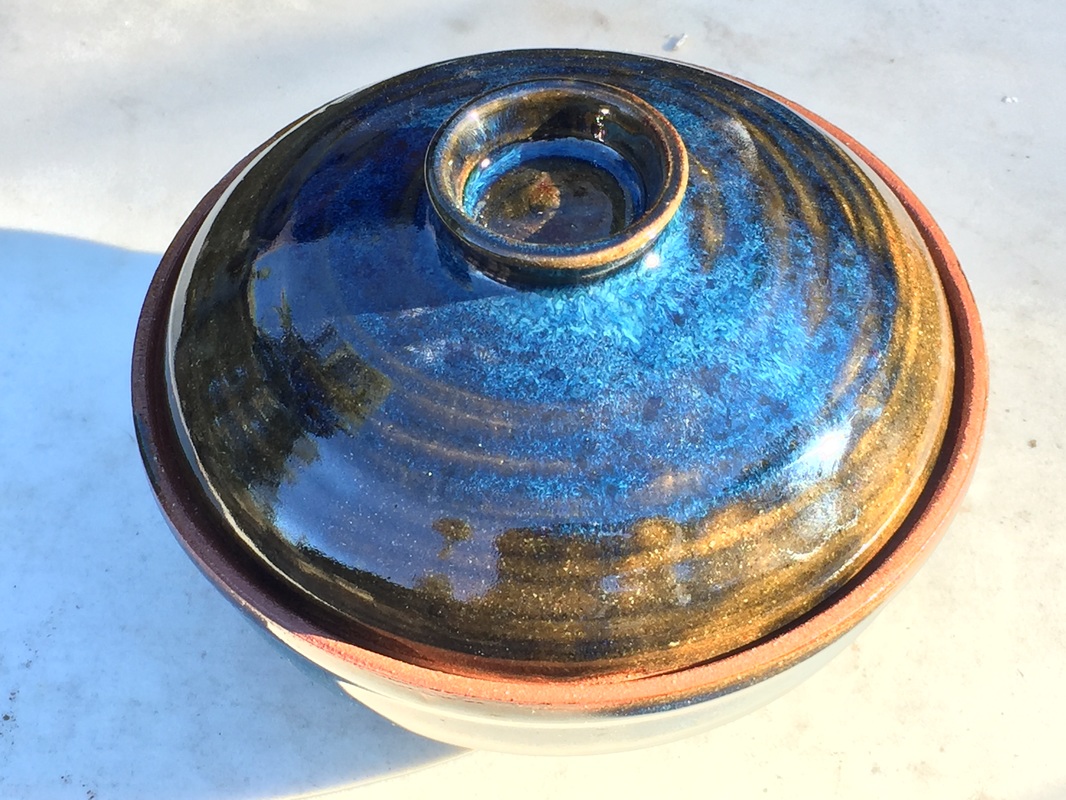
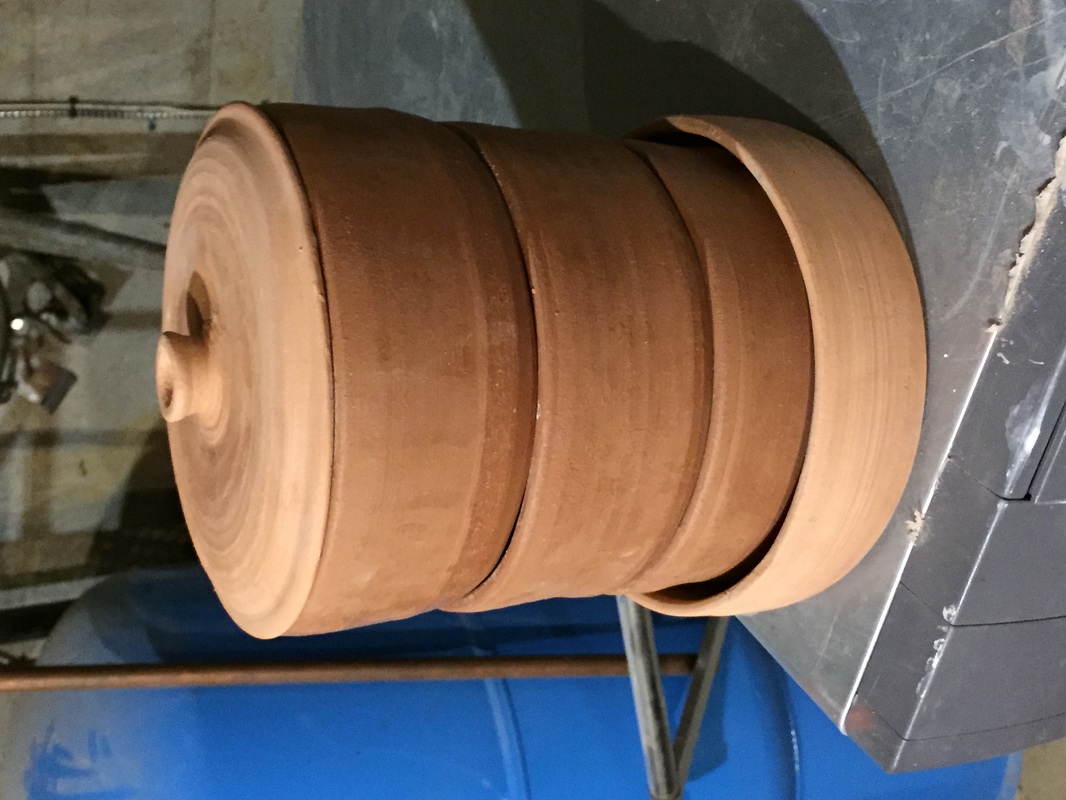
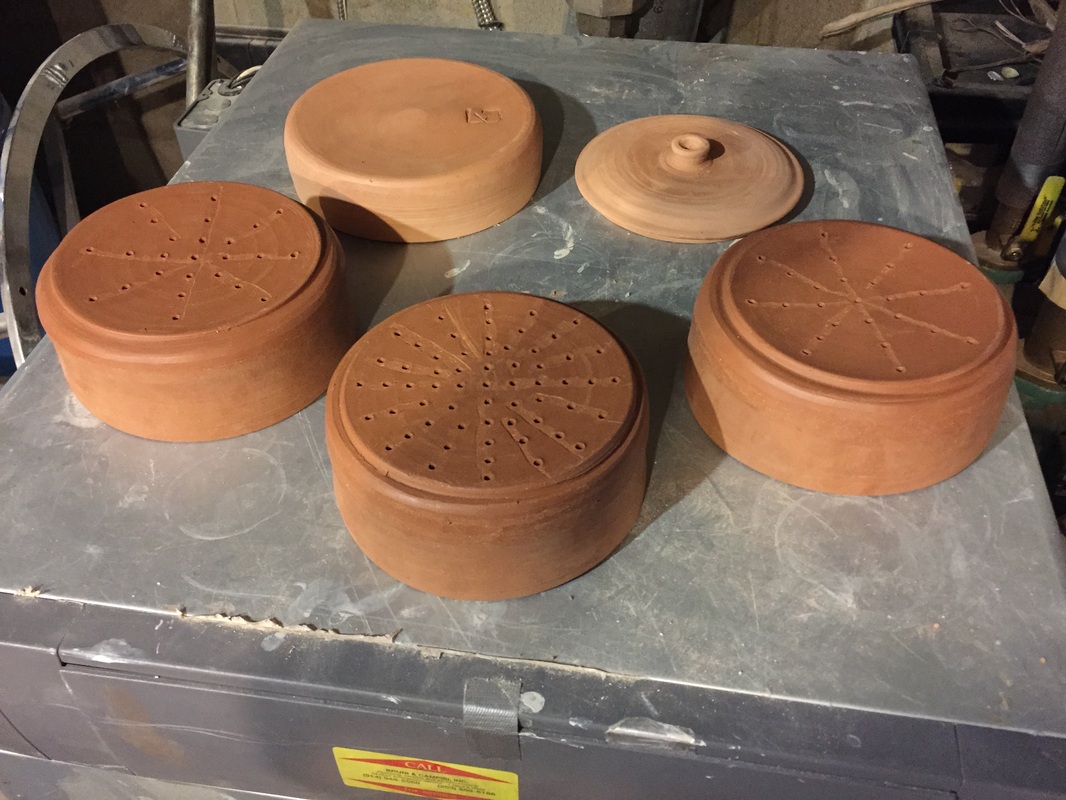
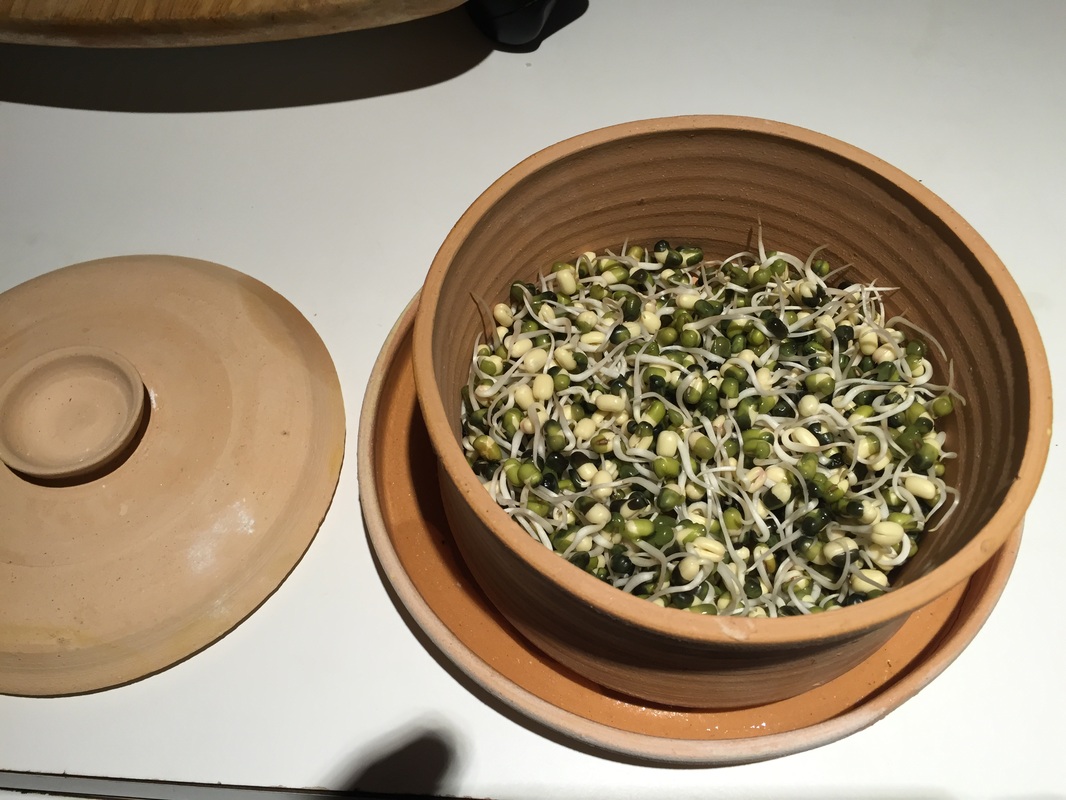
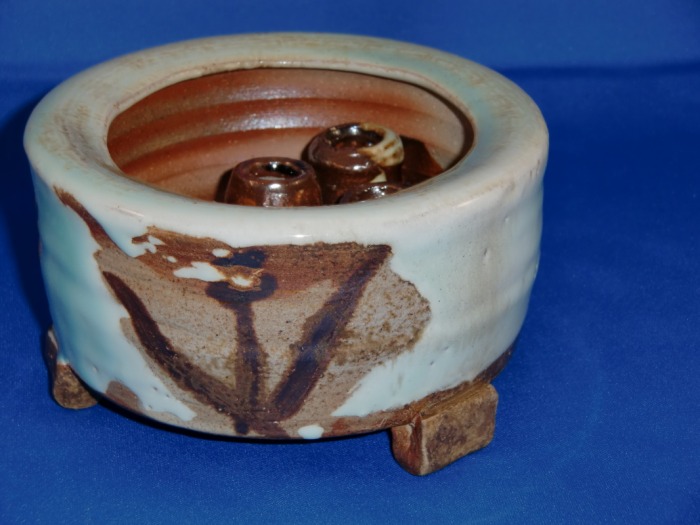
Kitchen Sprouter (in earthenware) also sold online at SproutHouse.com

Click on images to enlarge view
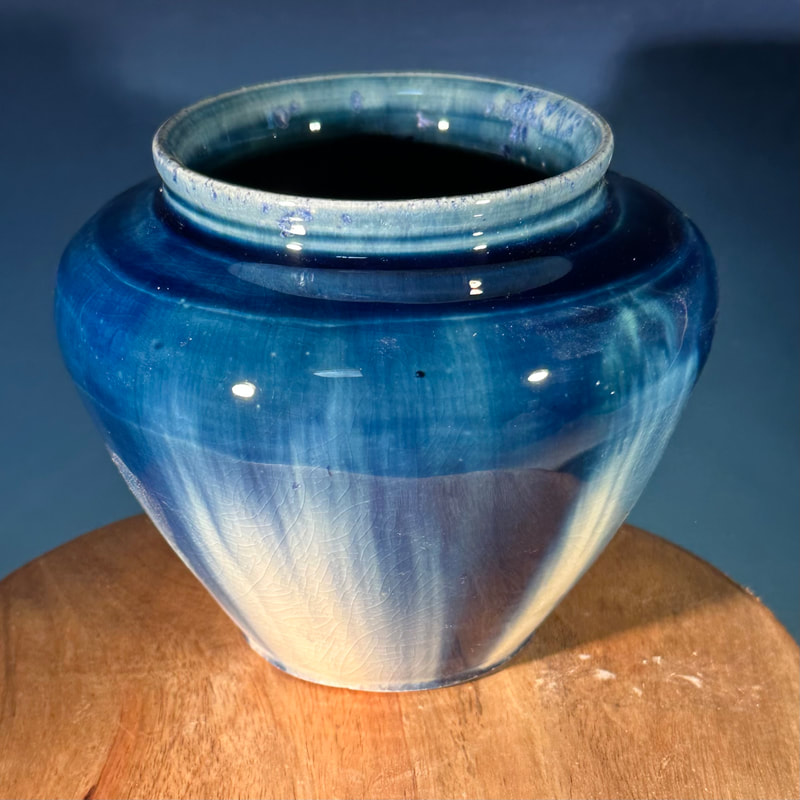
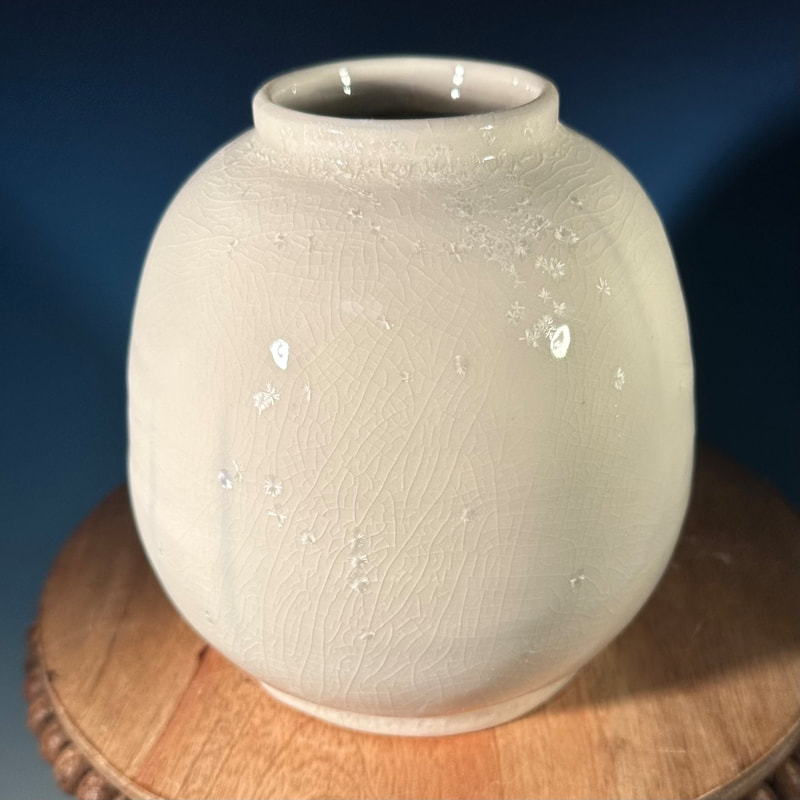
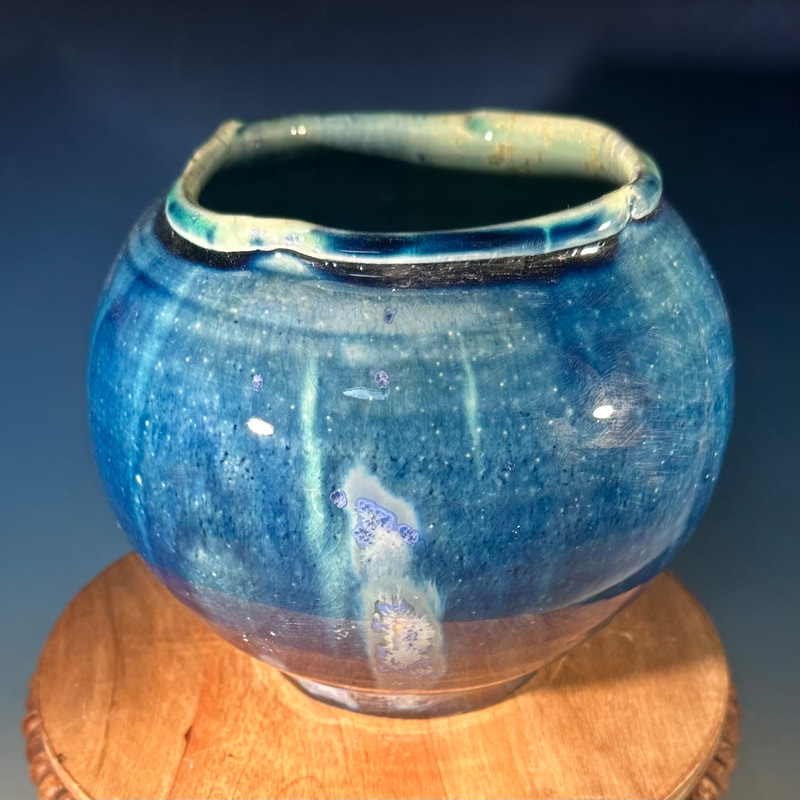
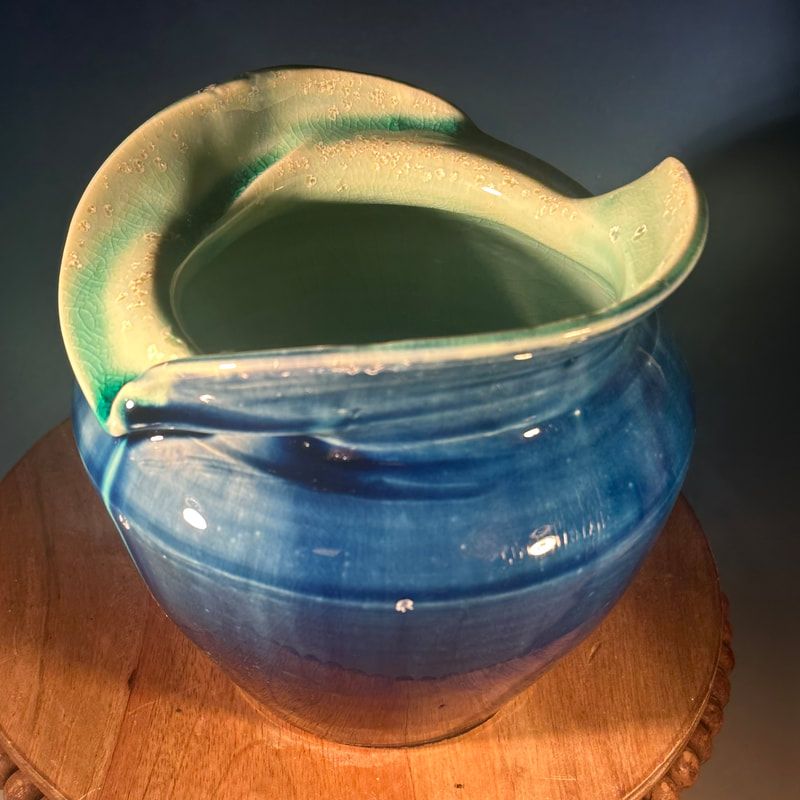
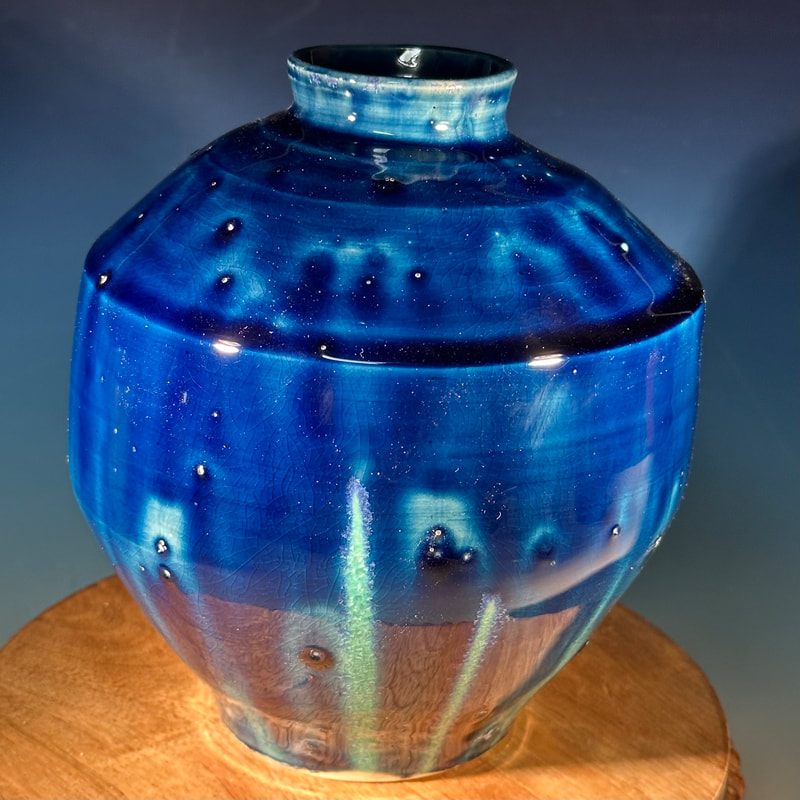
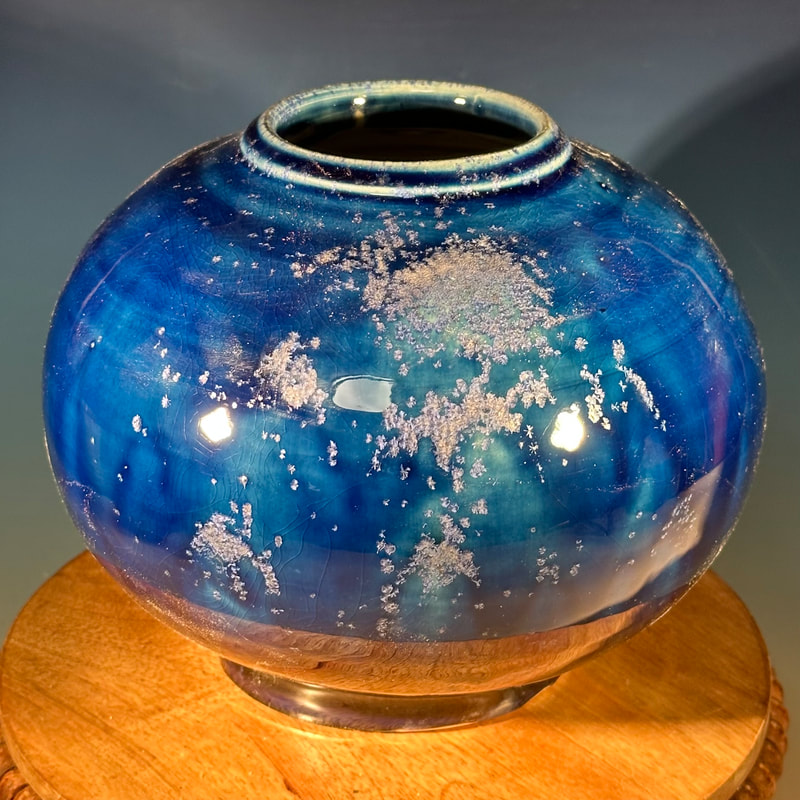
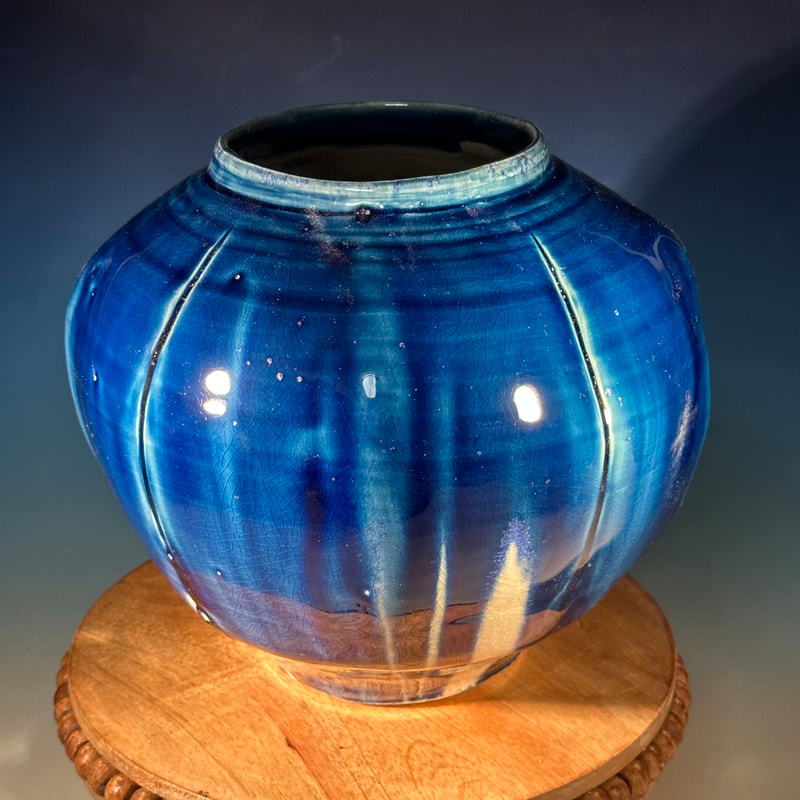
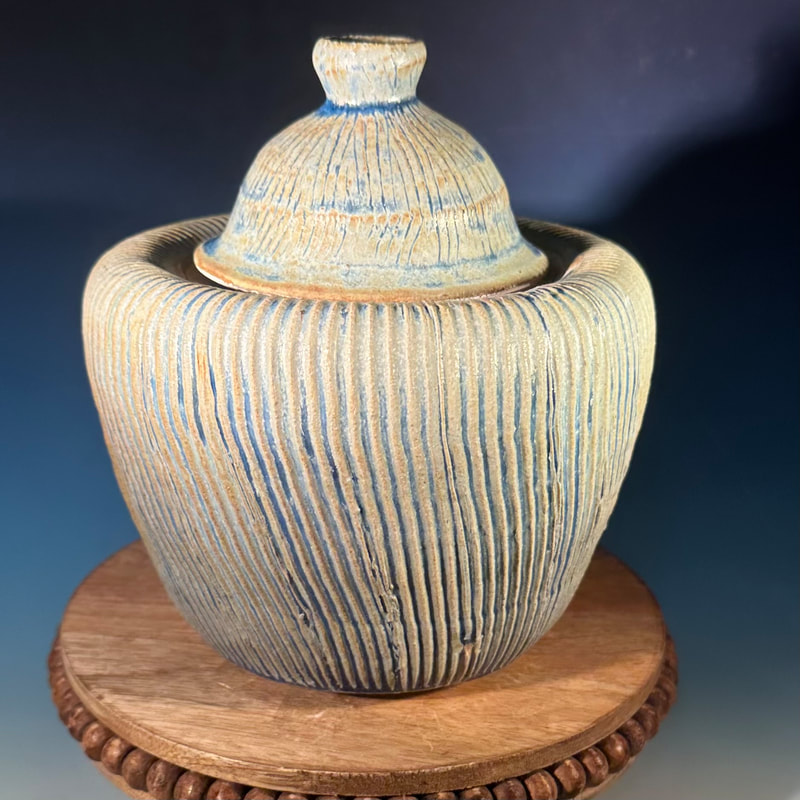
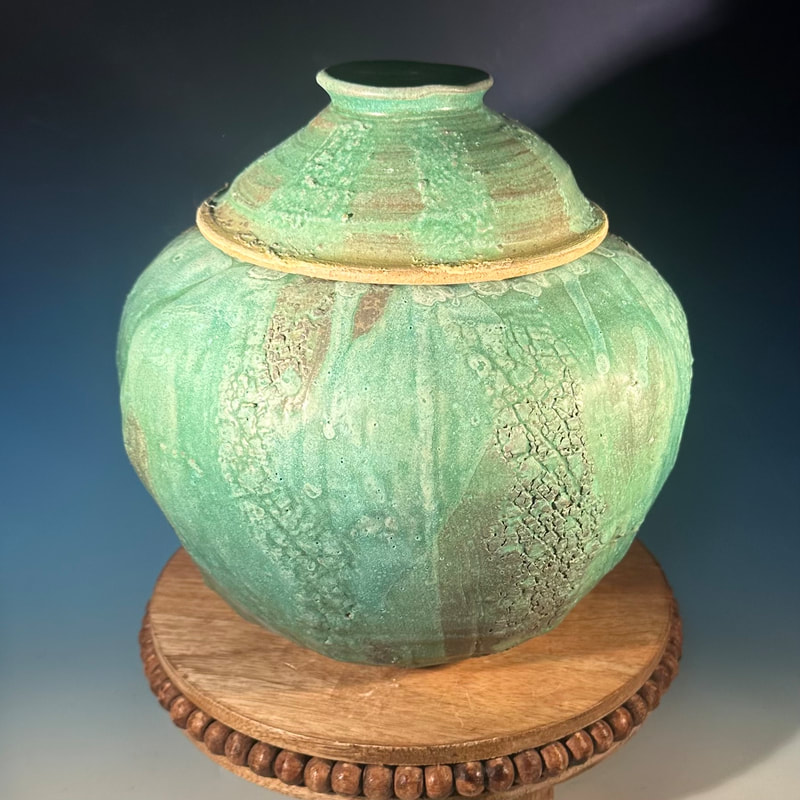
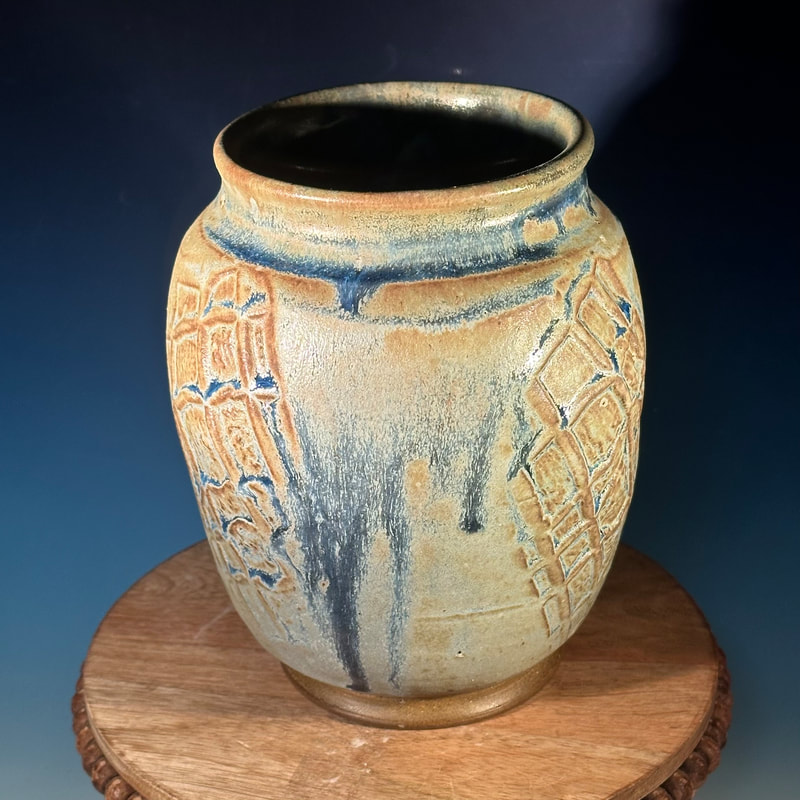
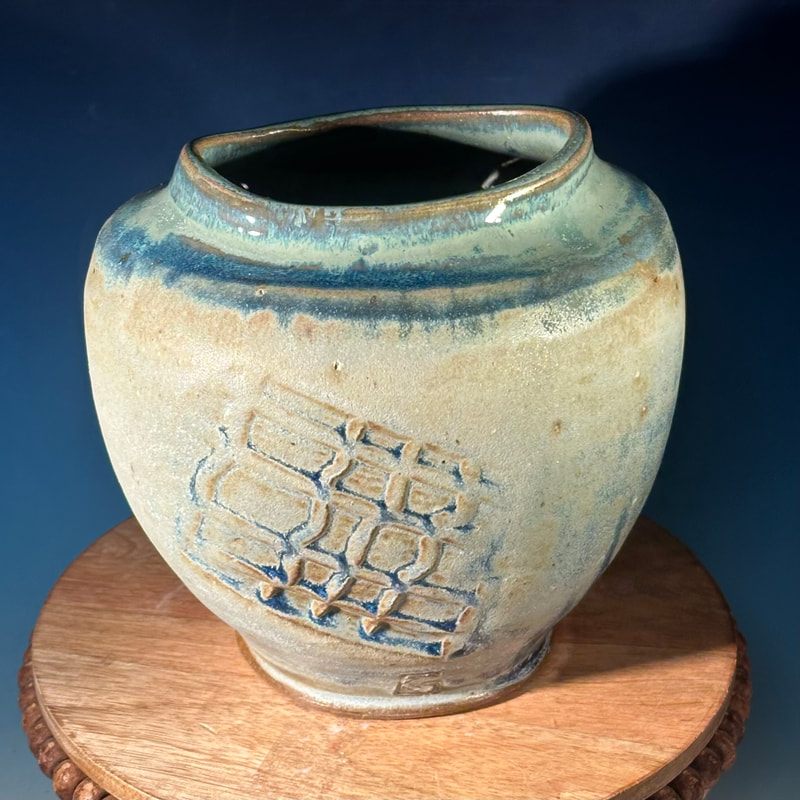
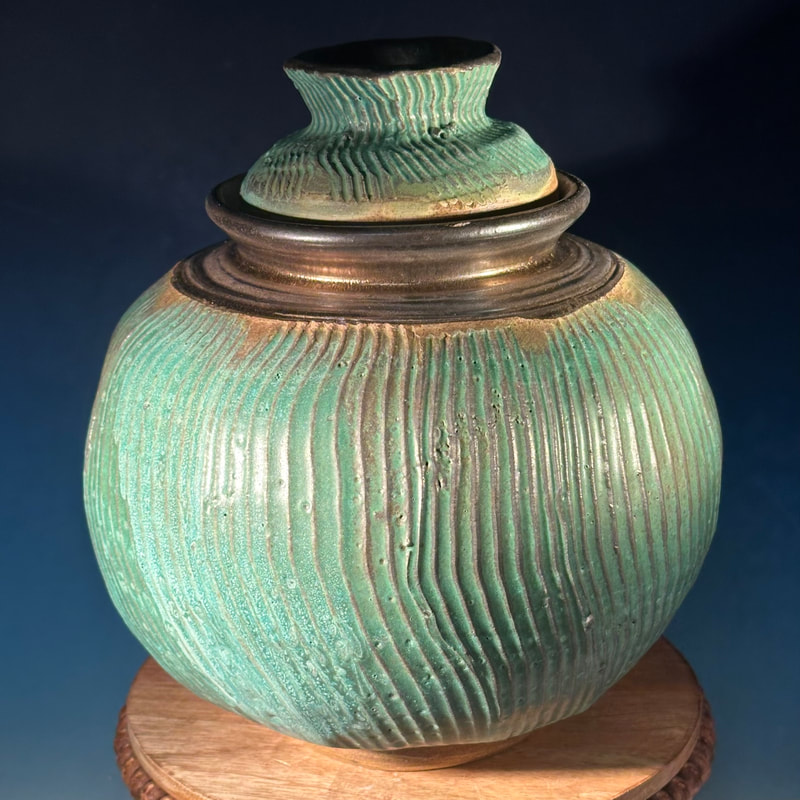
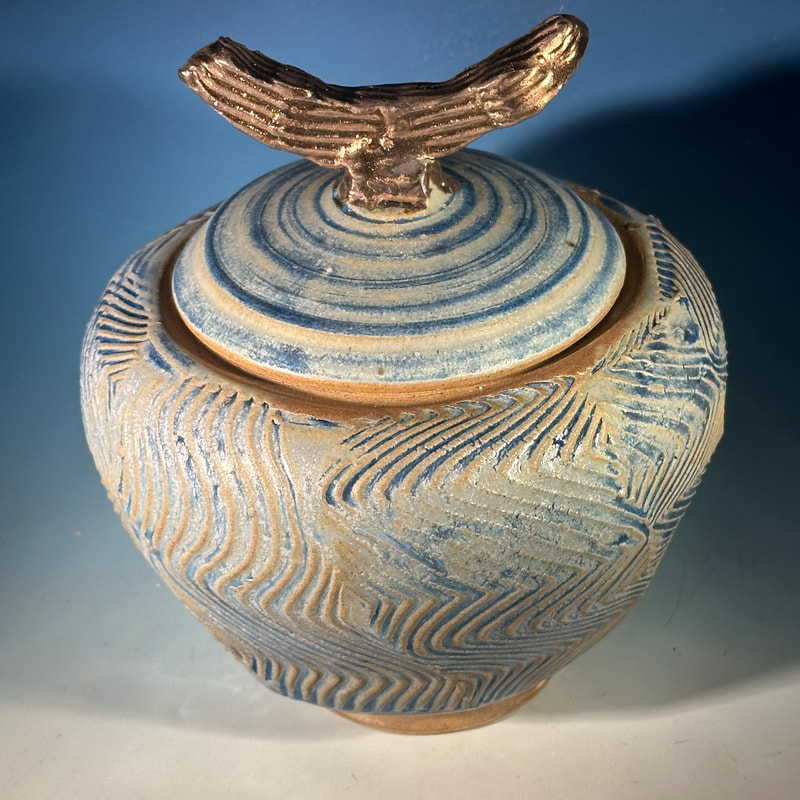
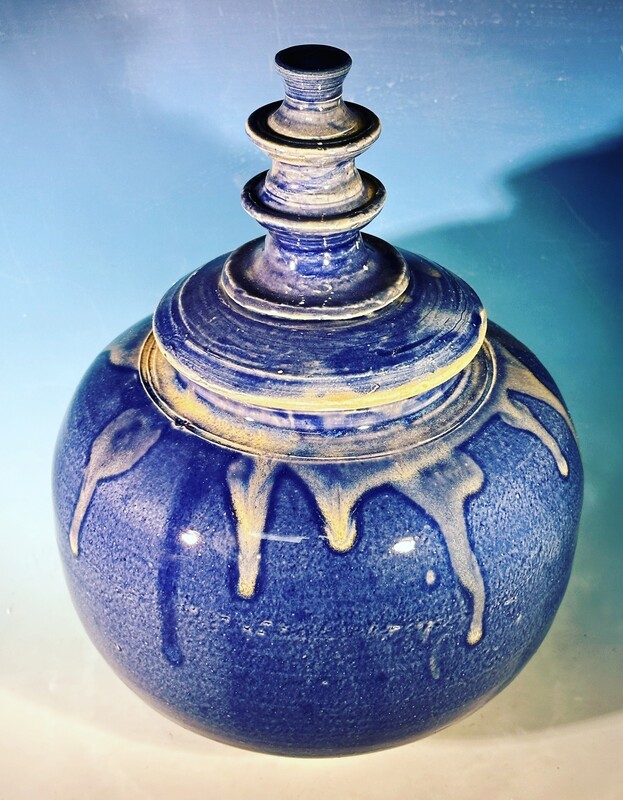
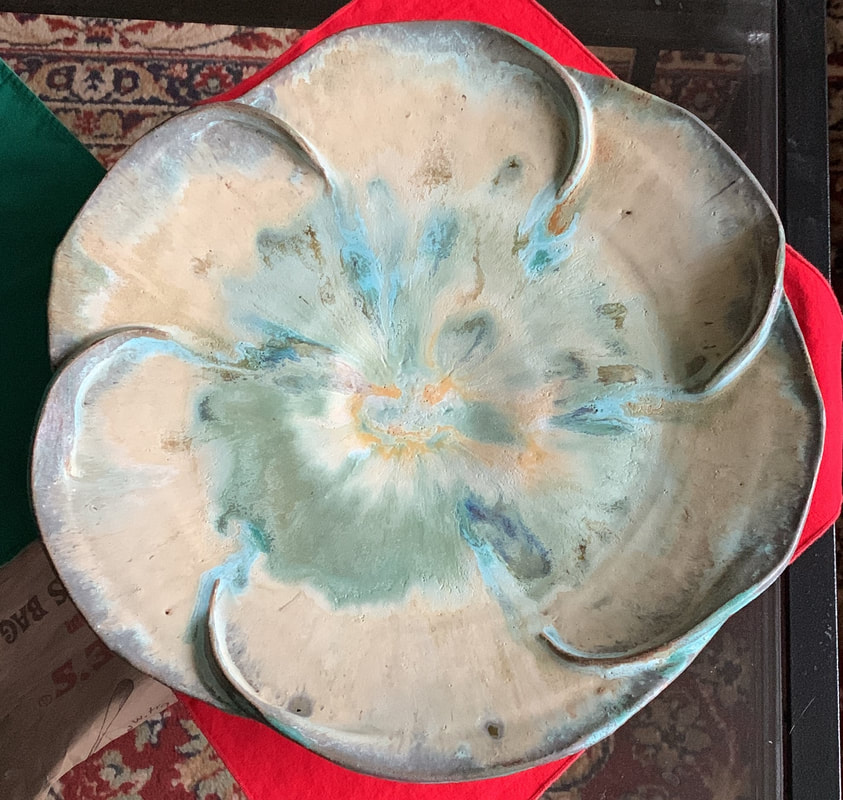
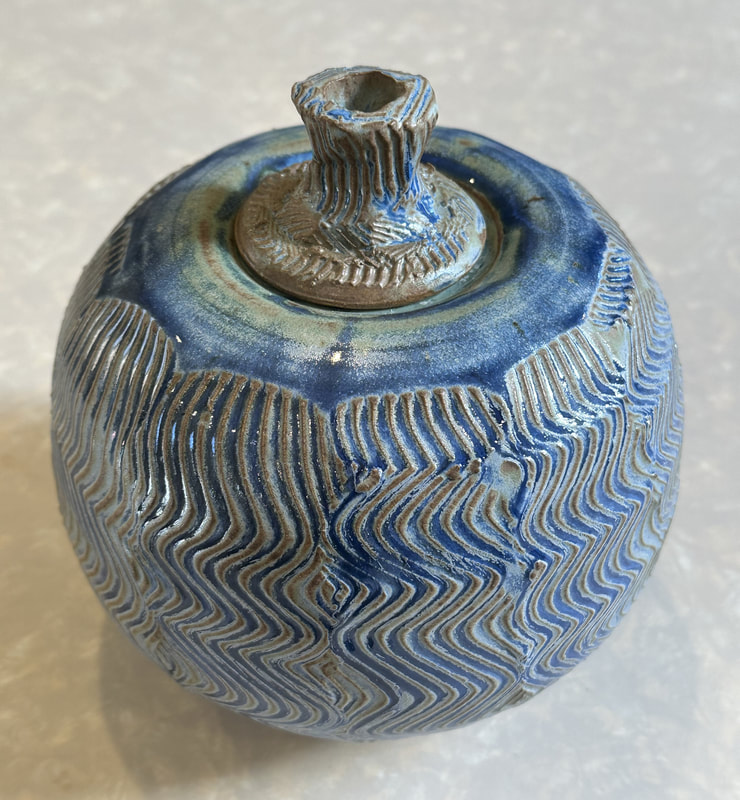
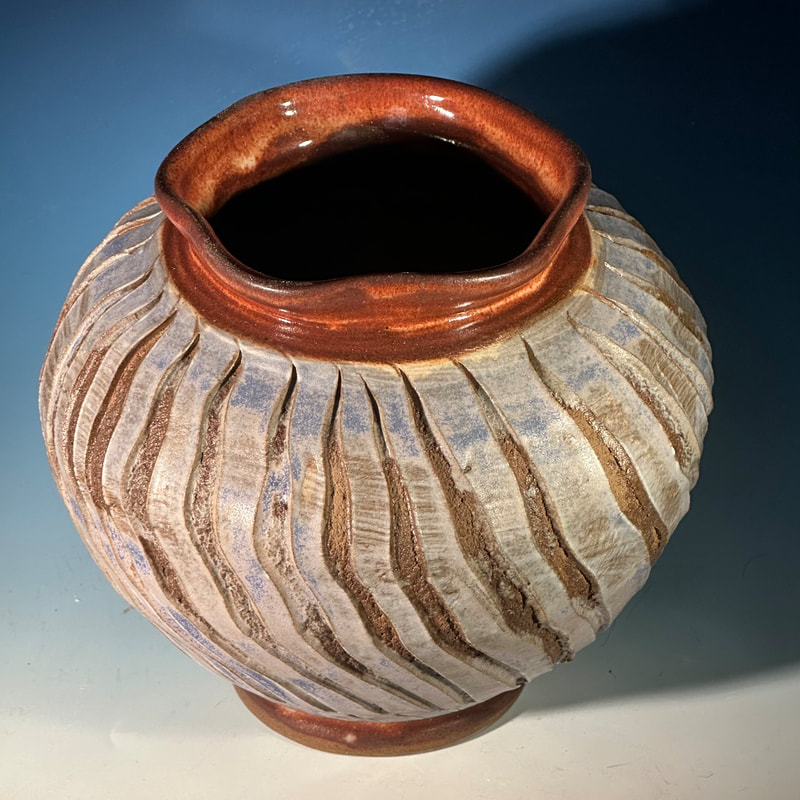
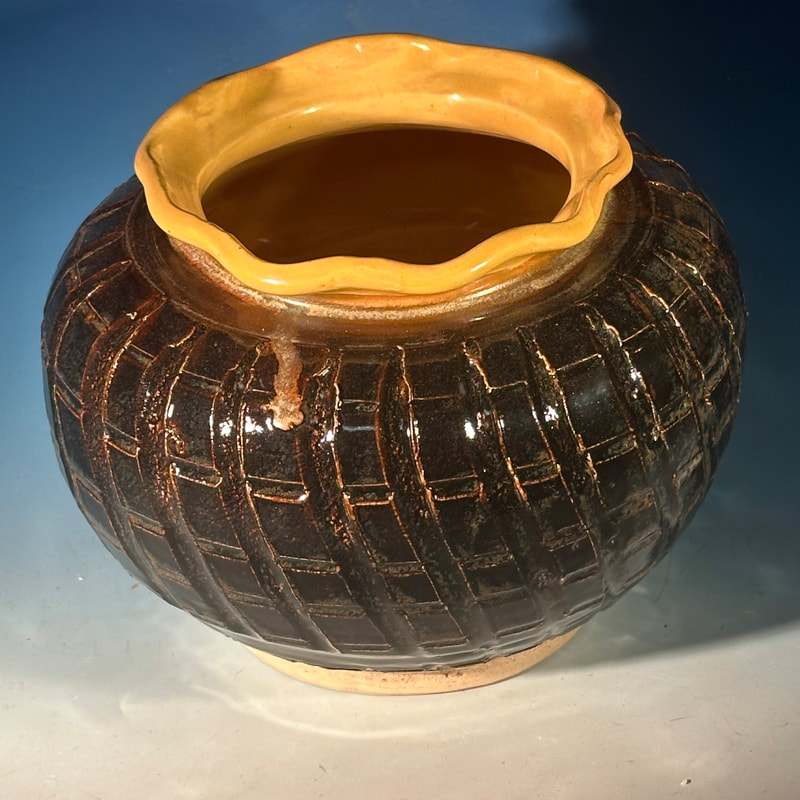
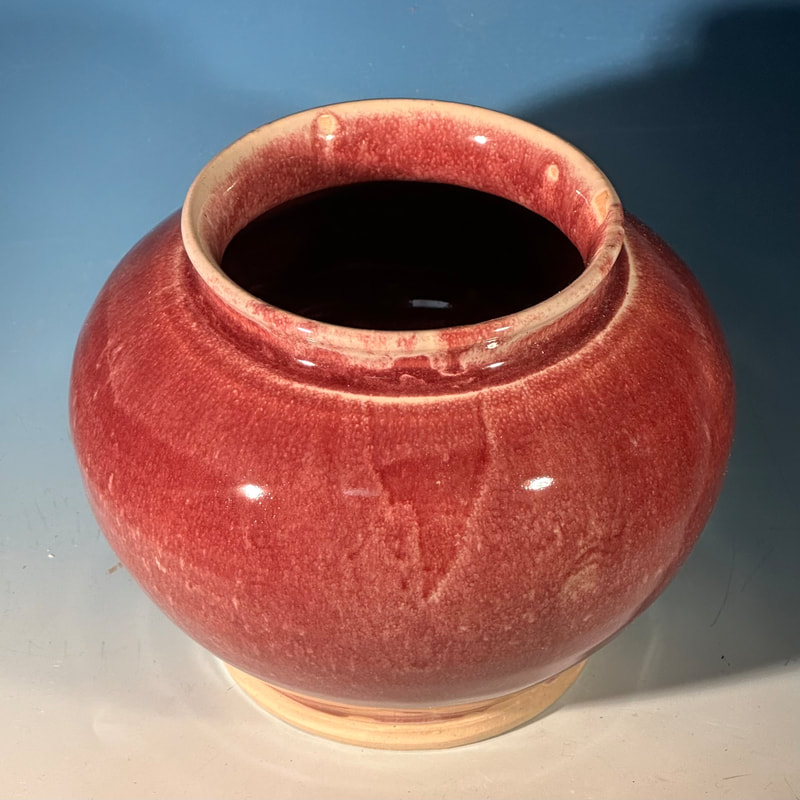
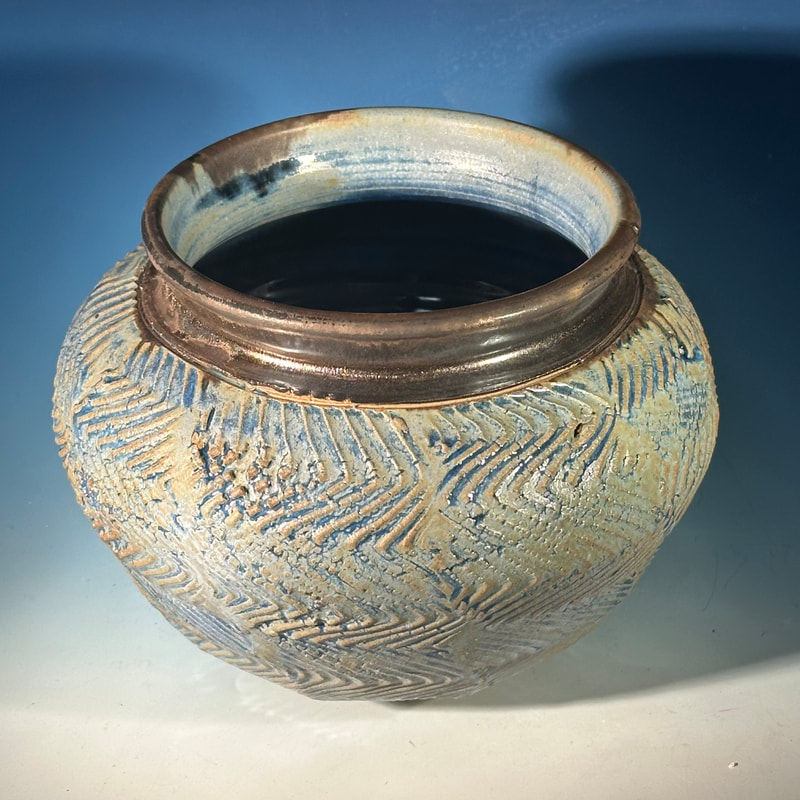
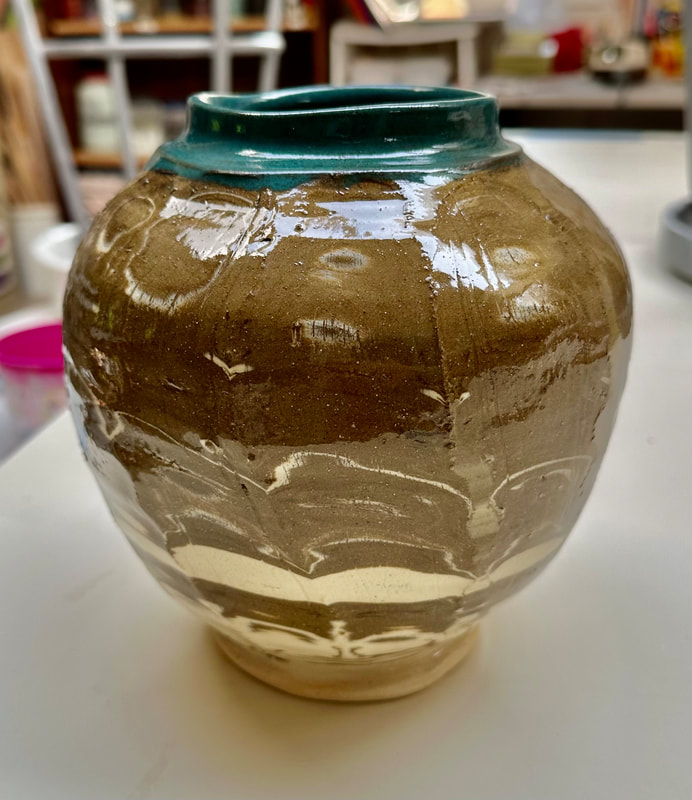
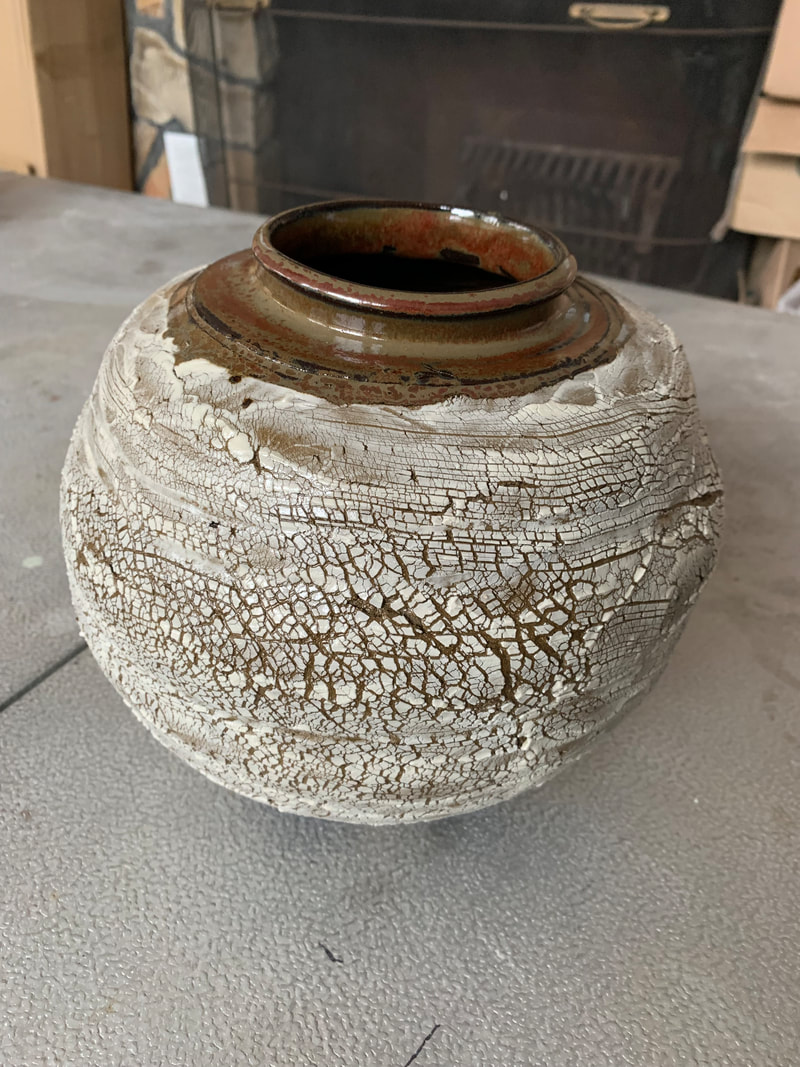
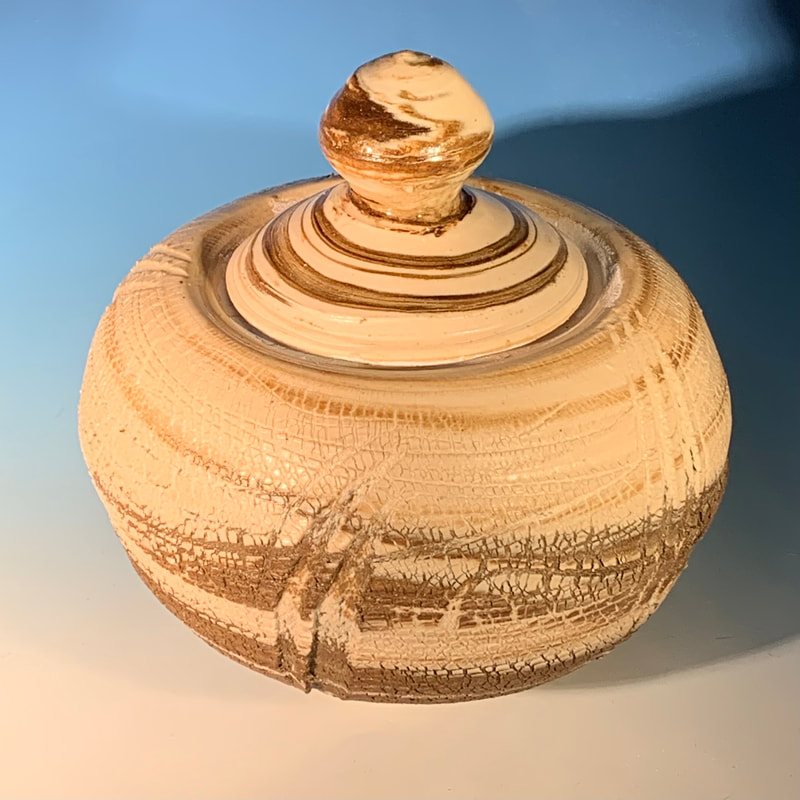
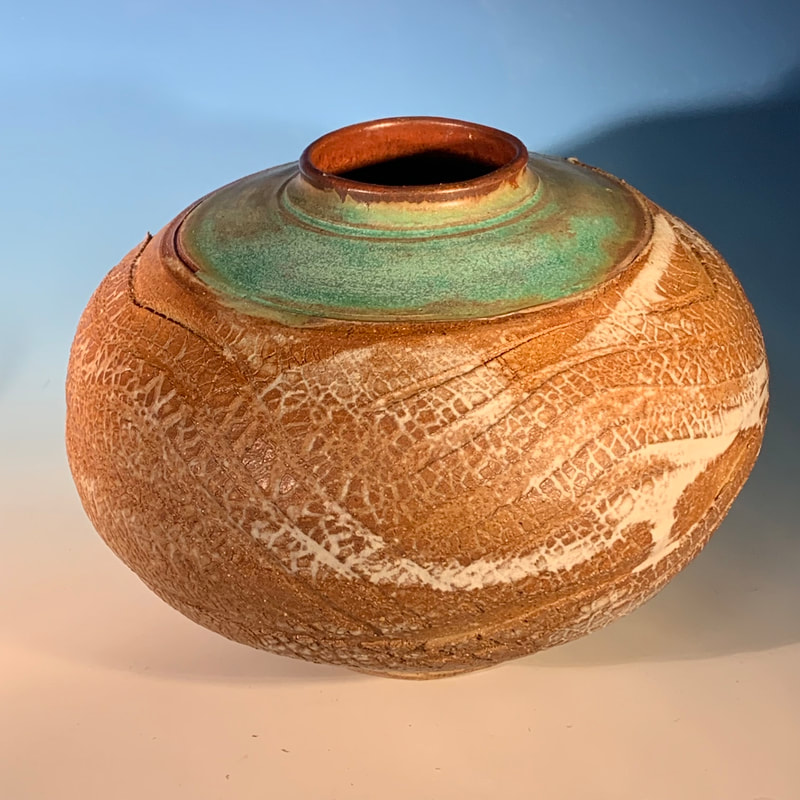
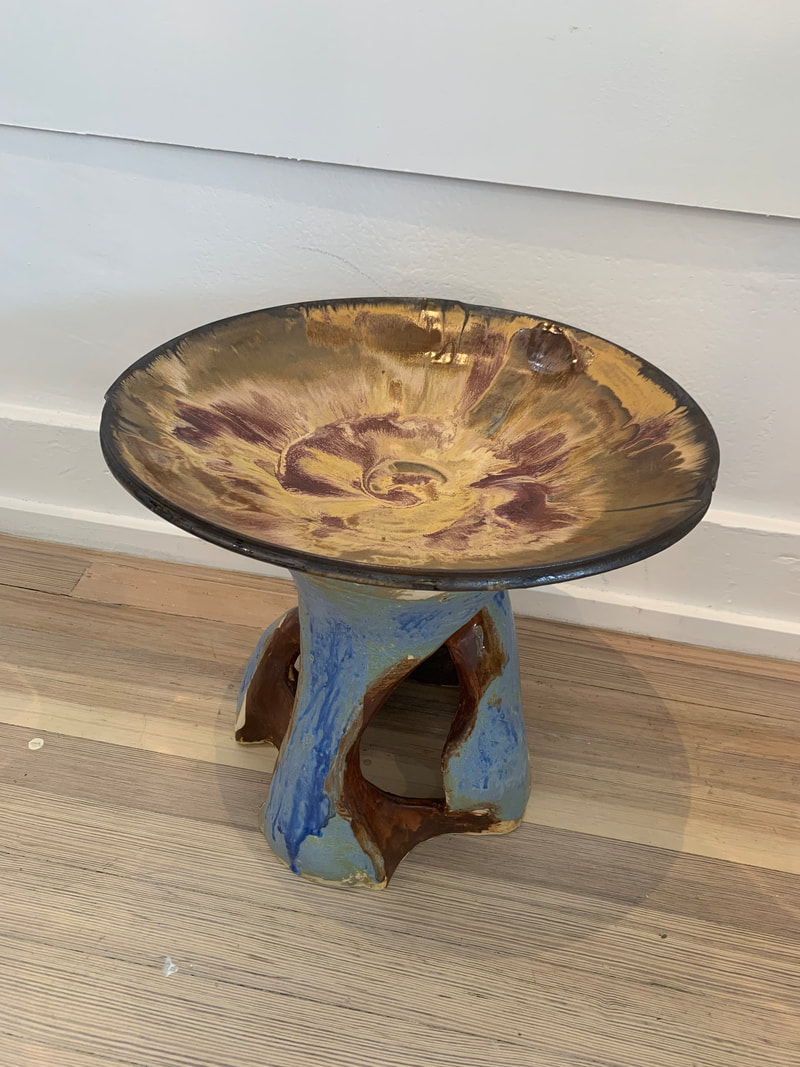
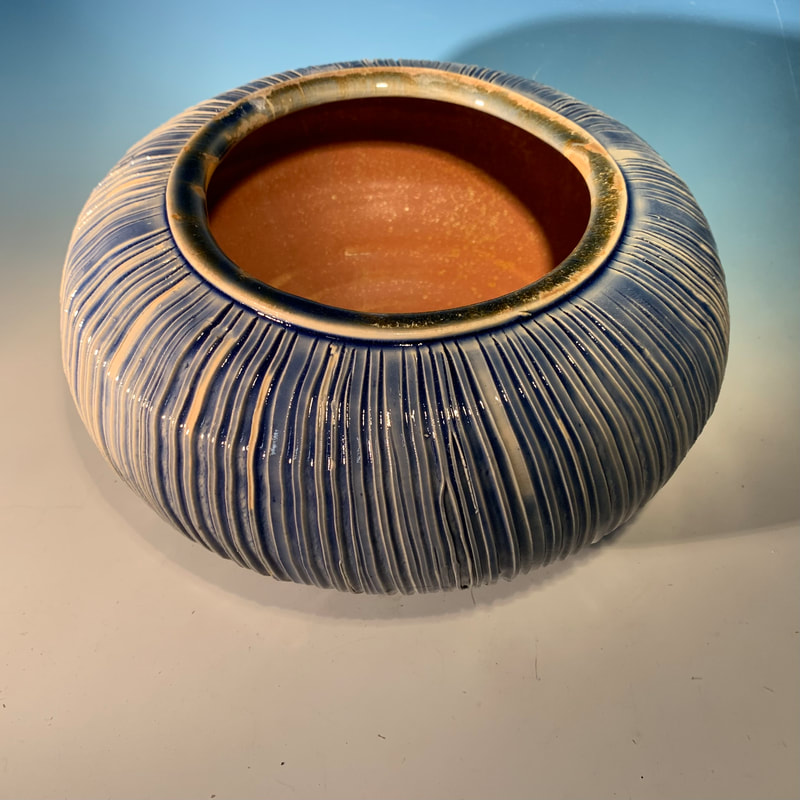
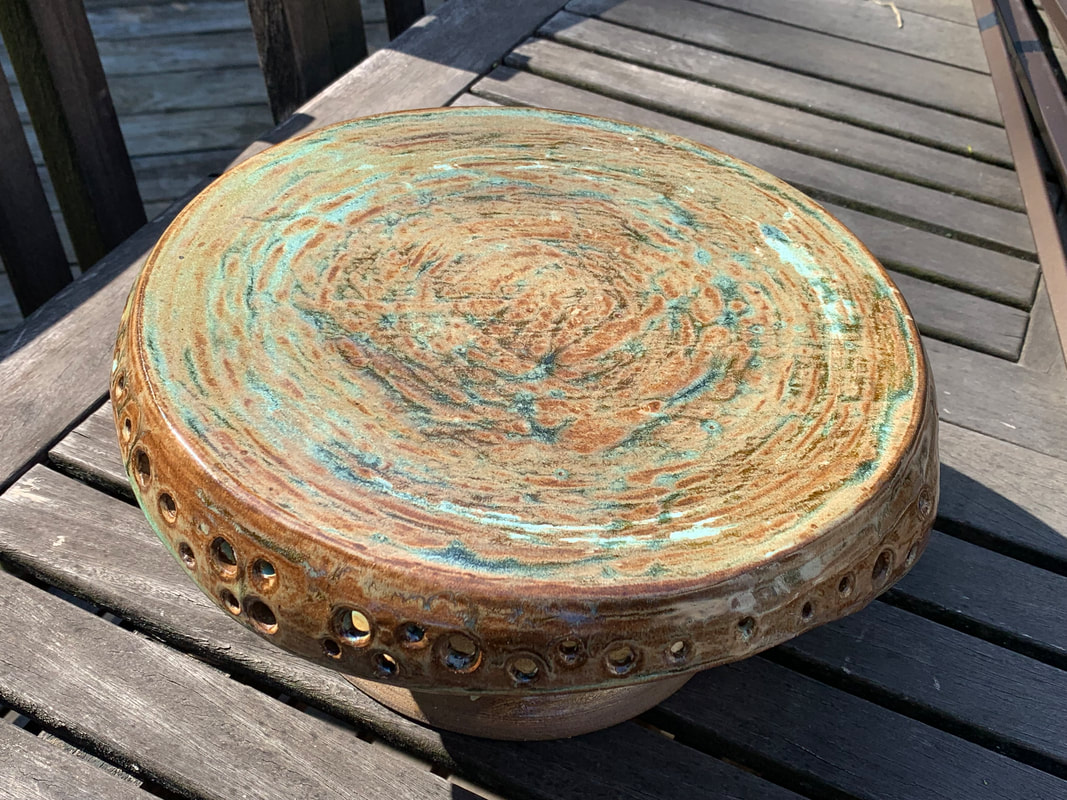
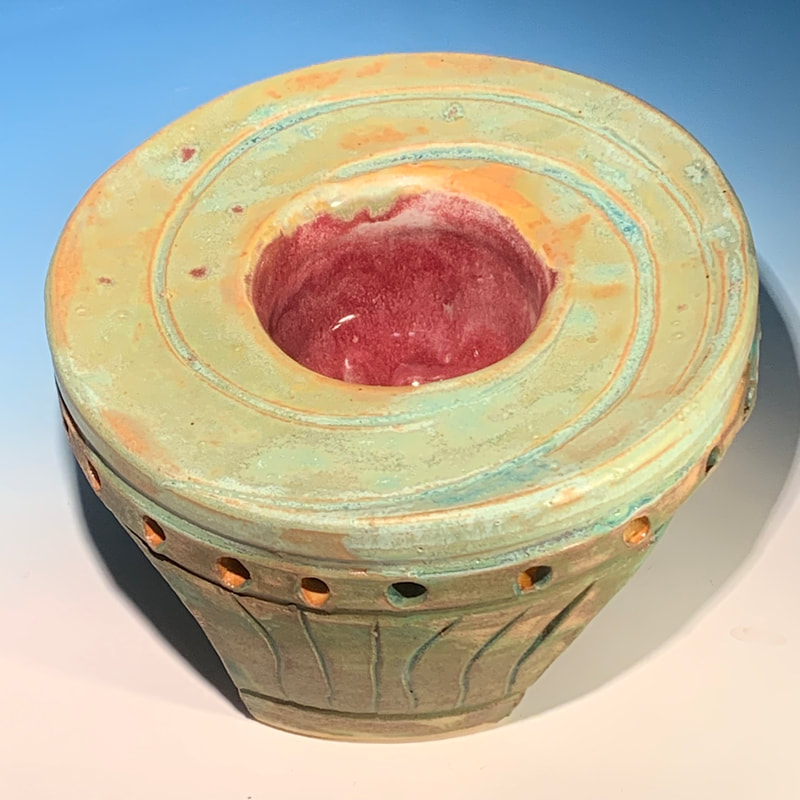
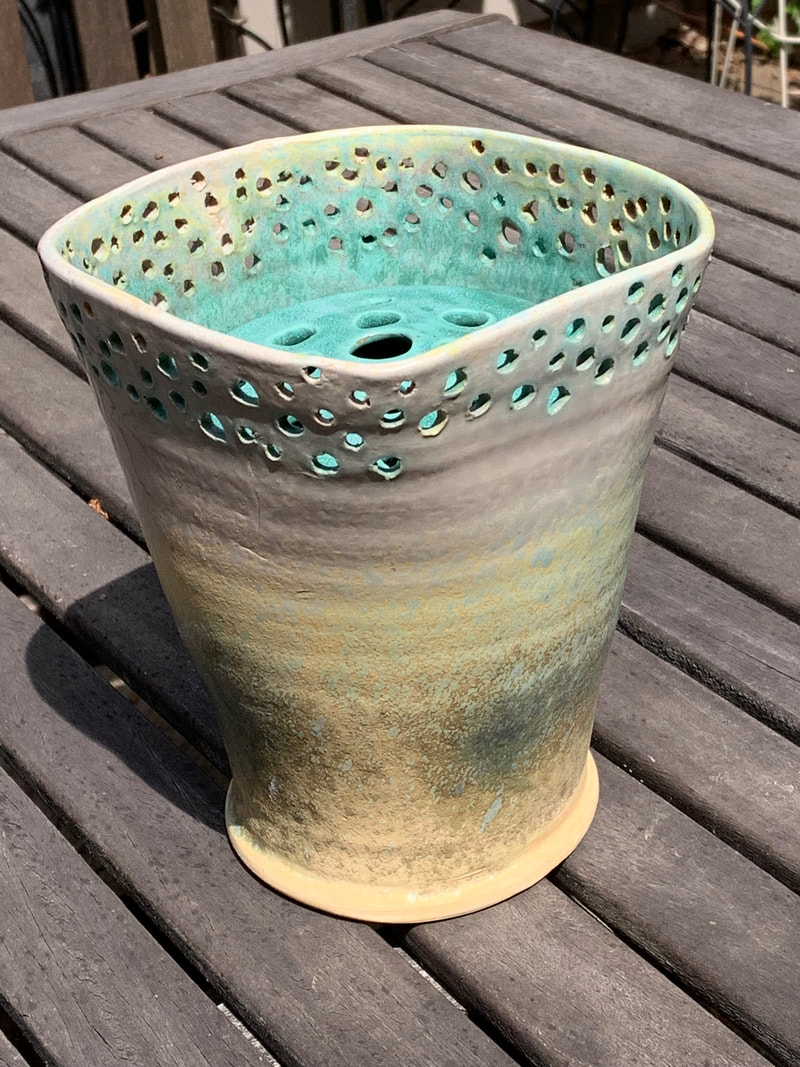
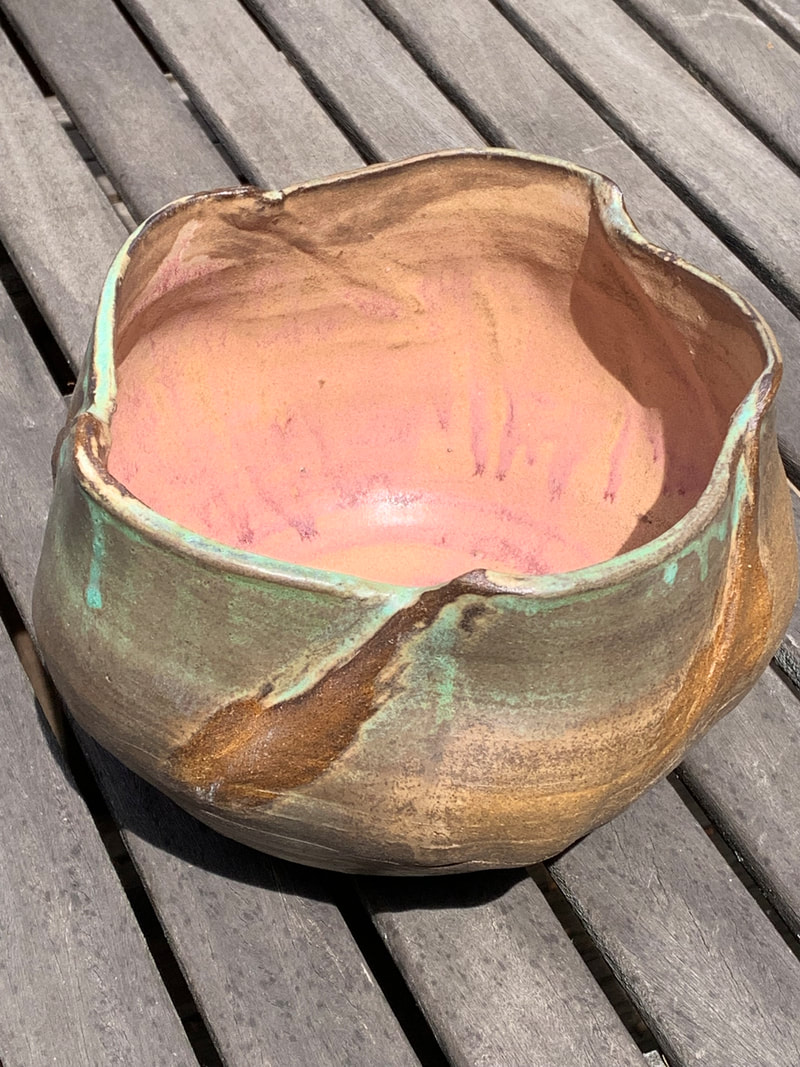
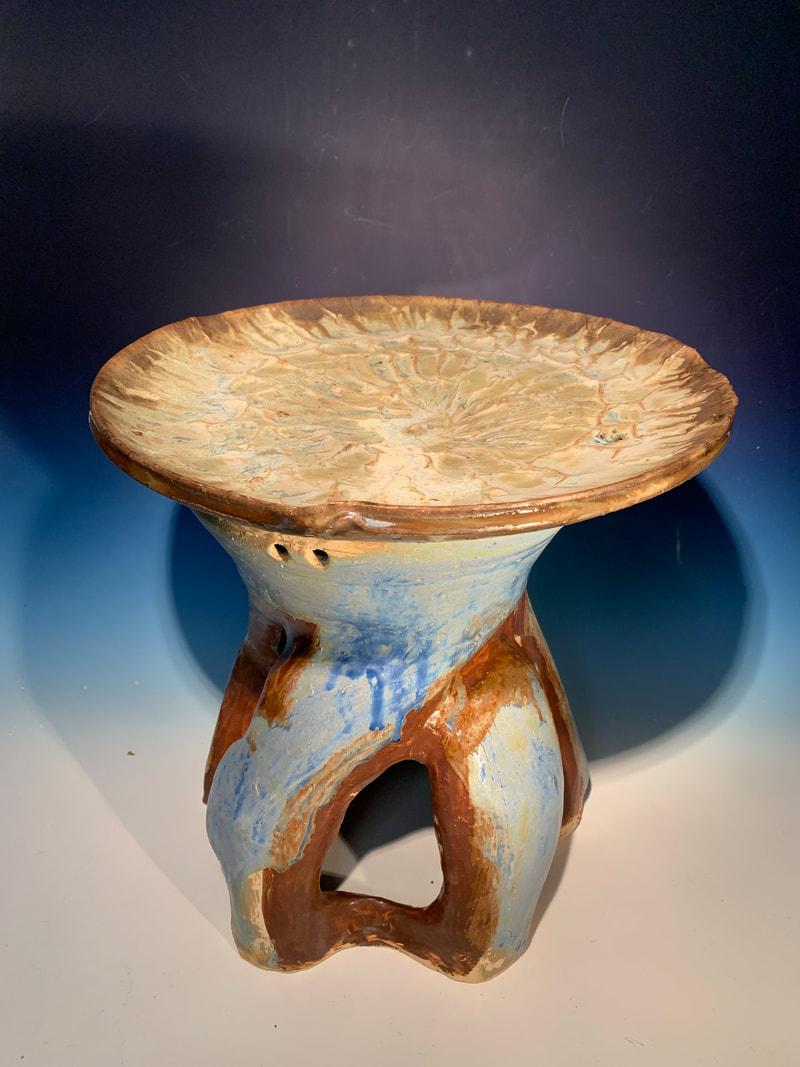
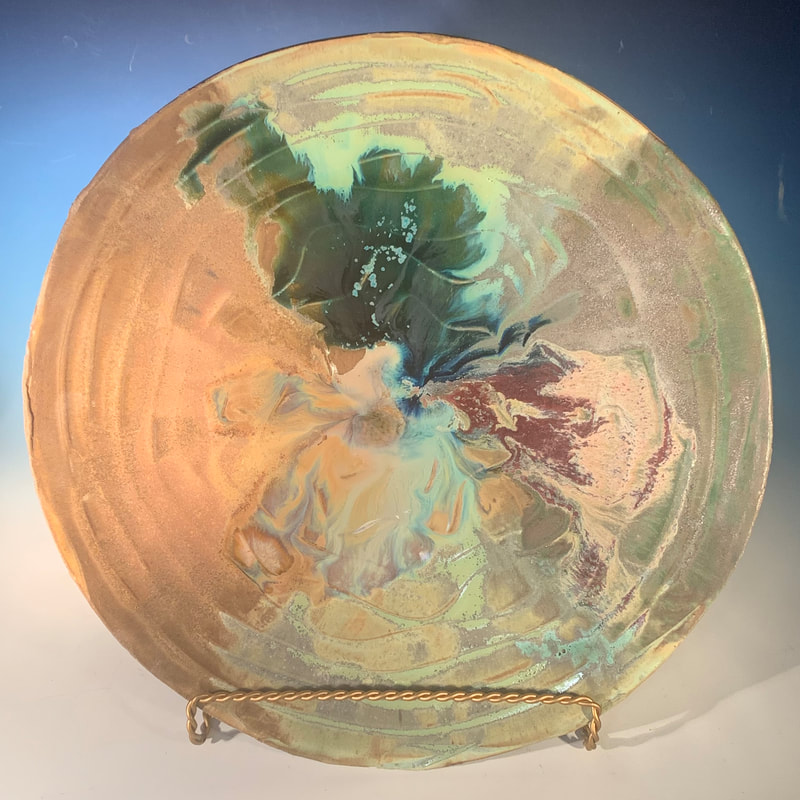
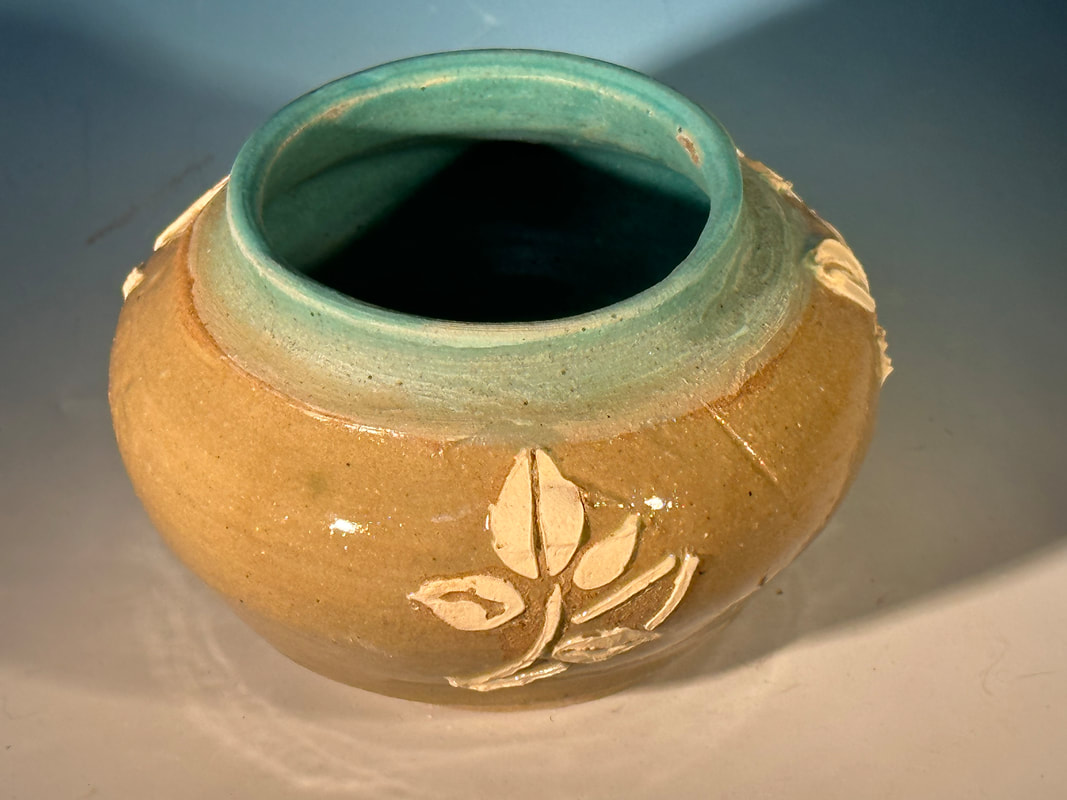
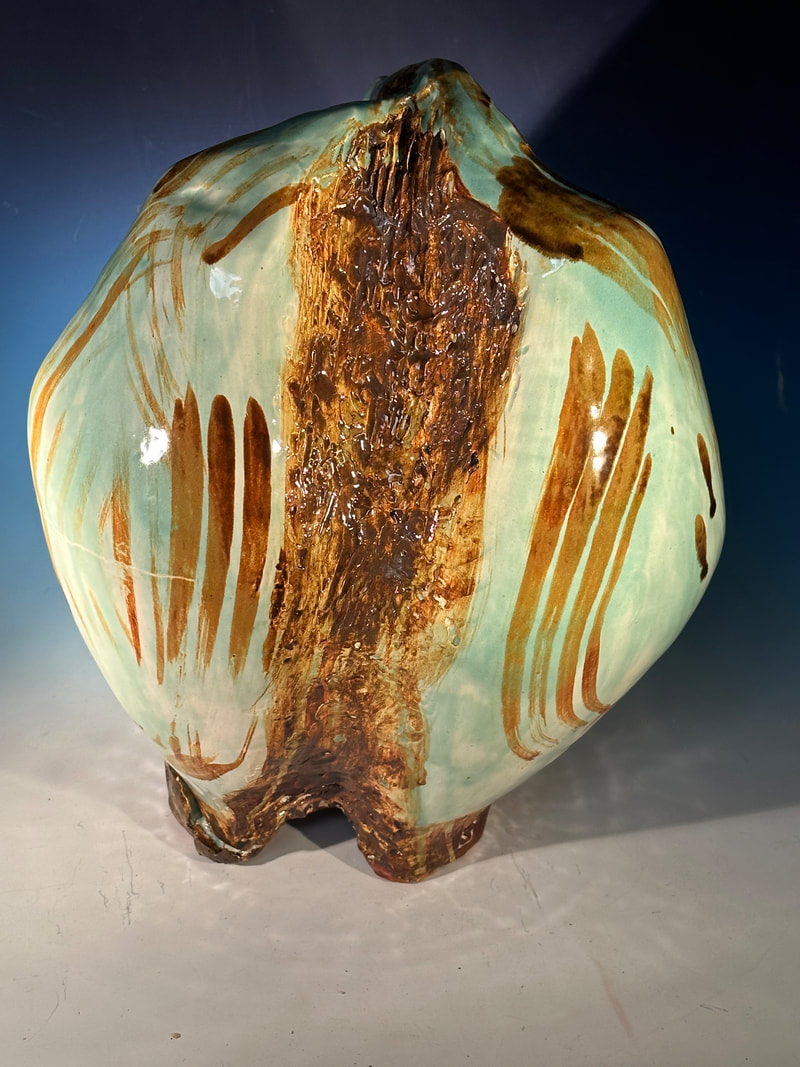
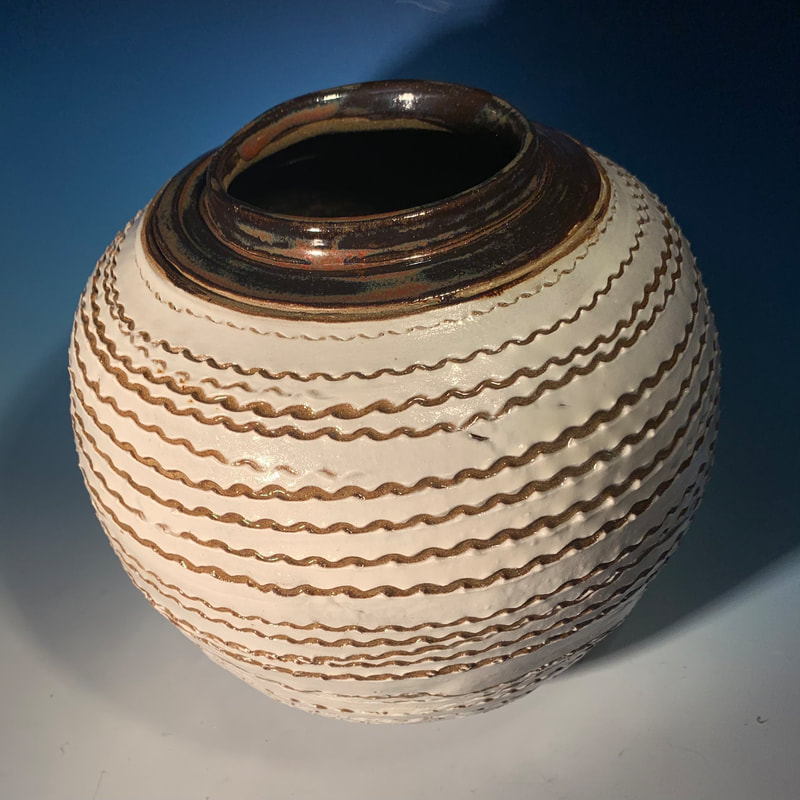
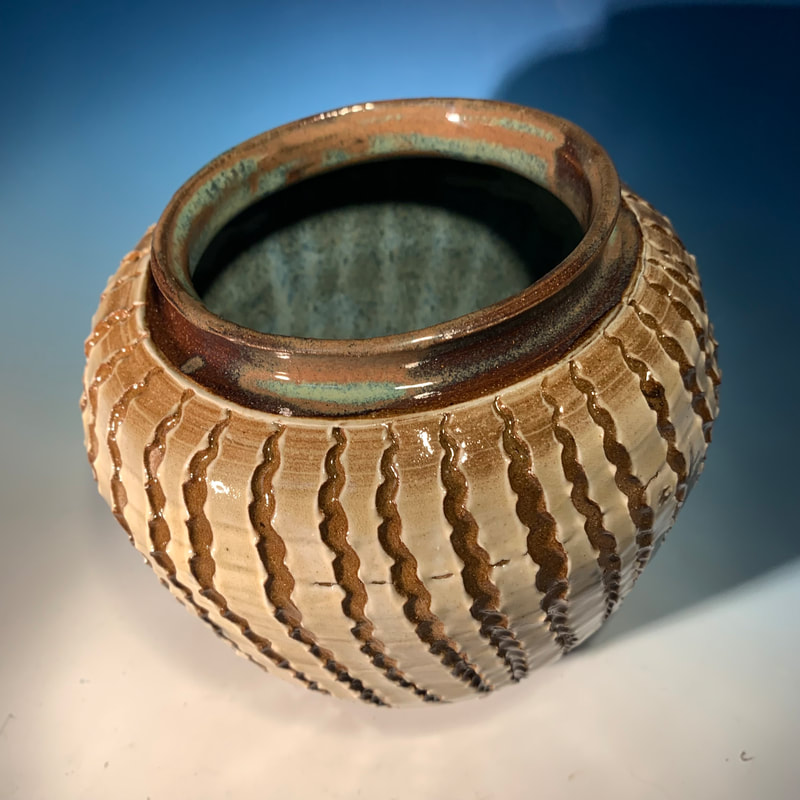
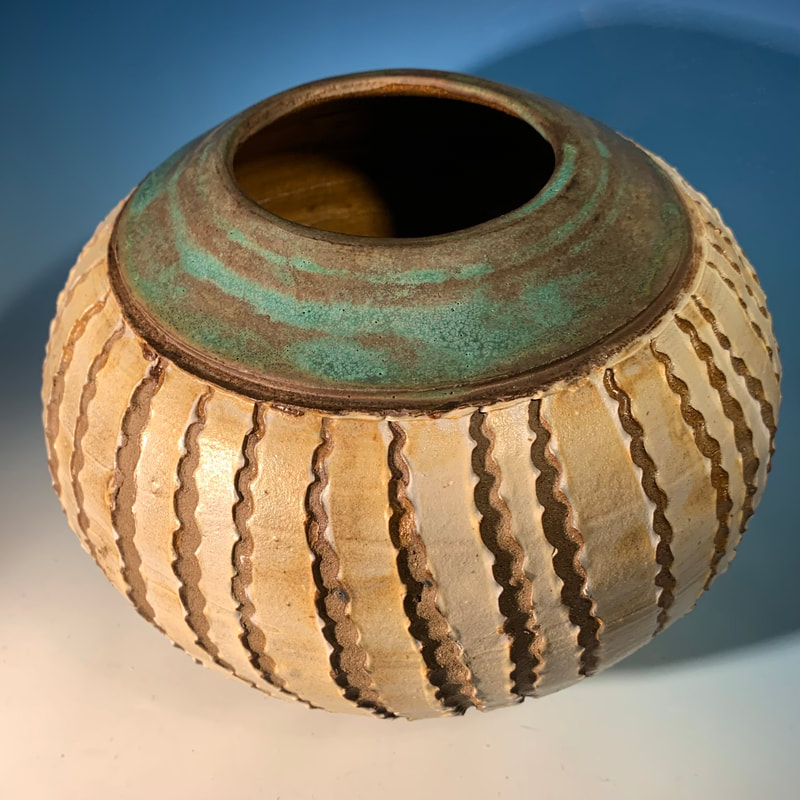
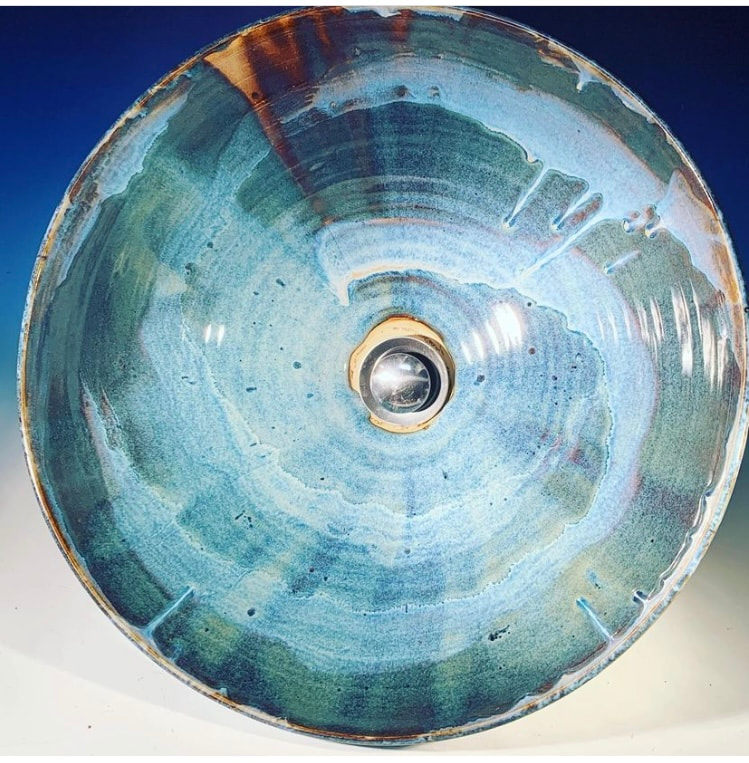
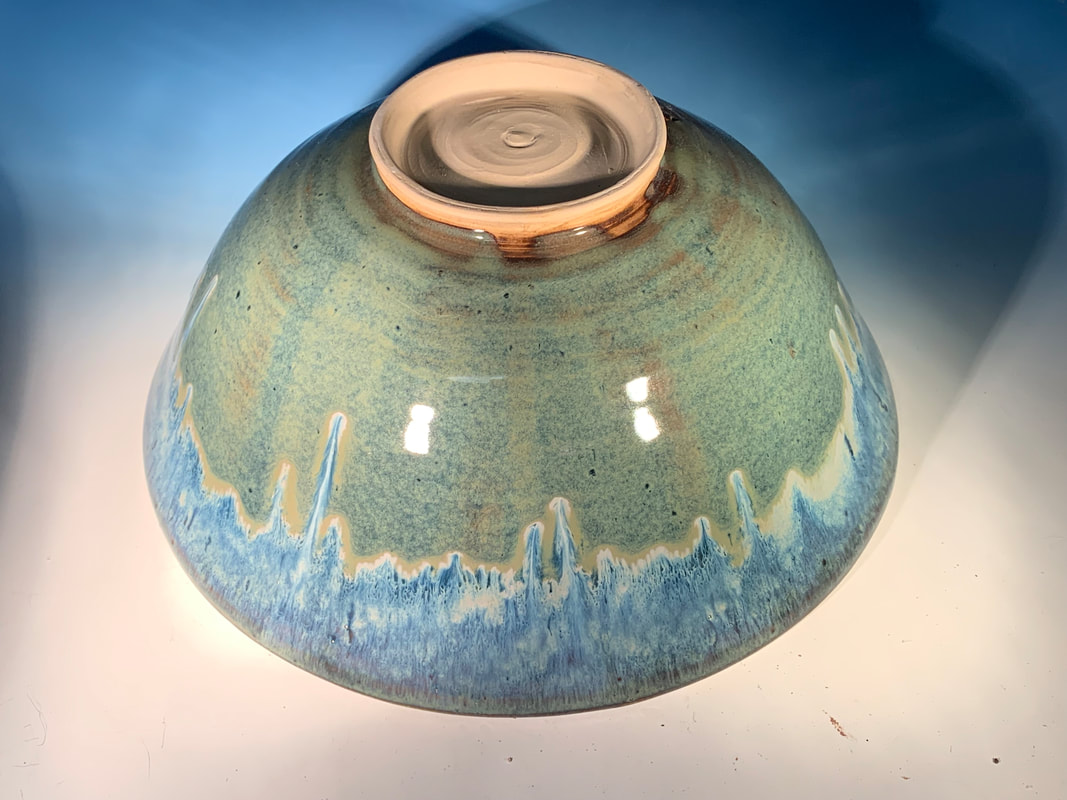
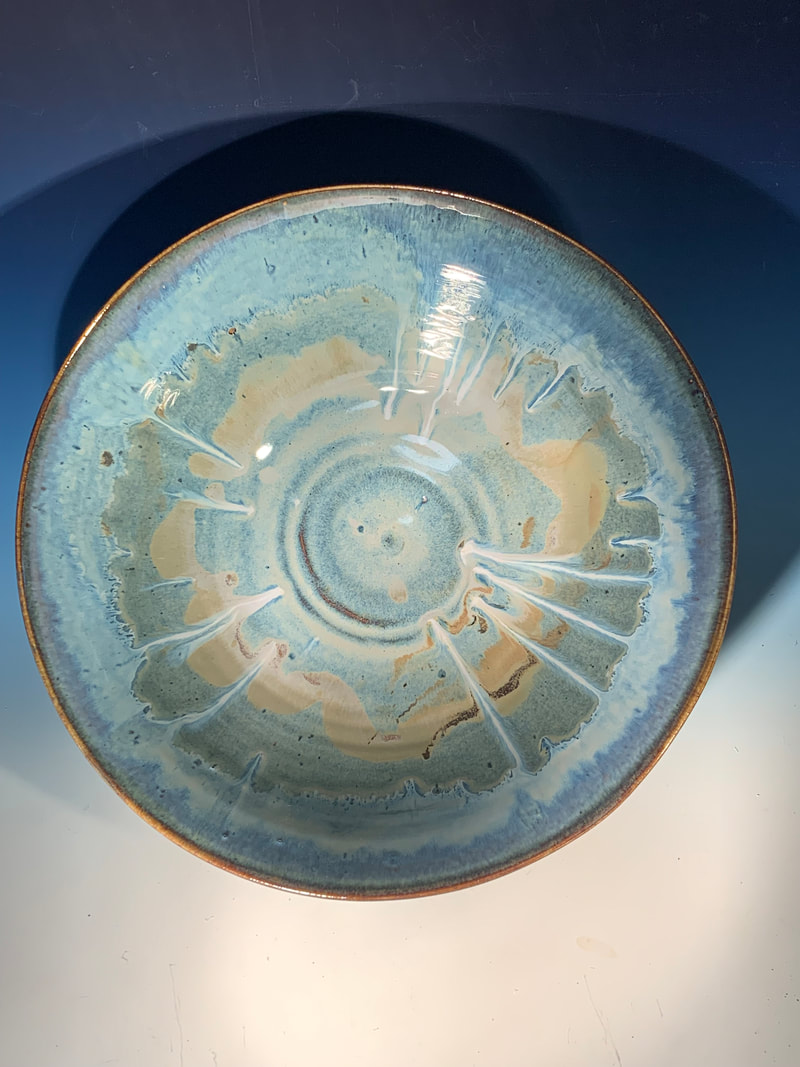
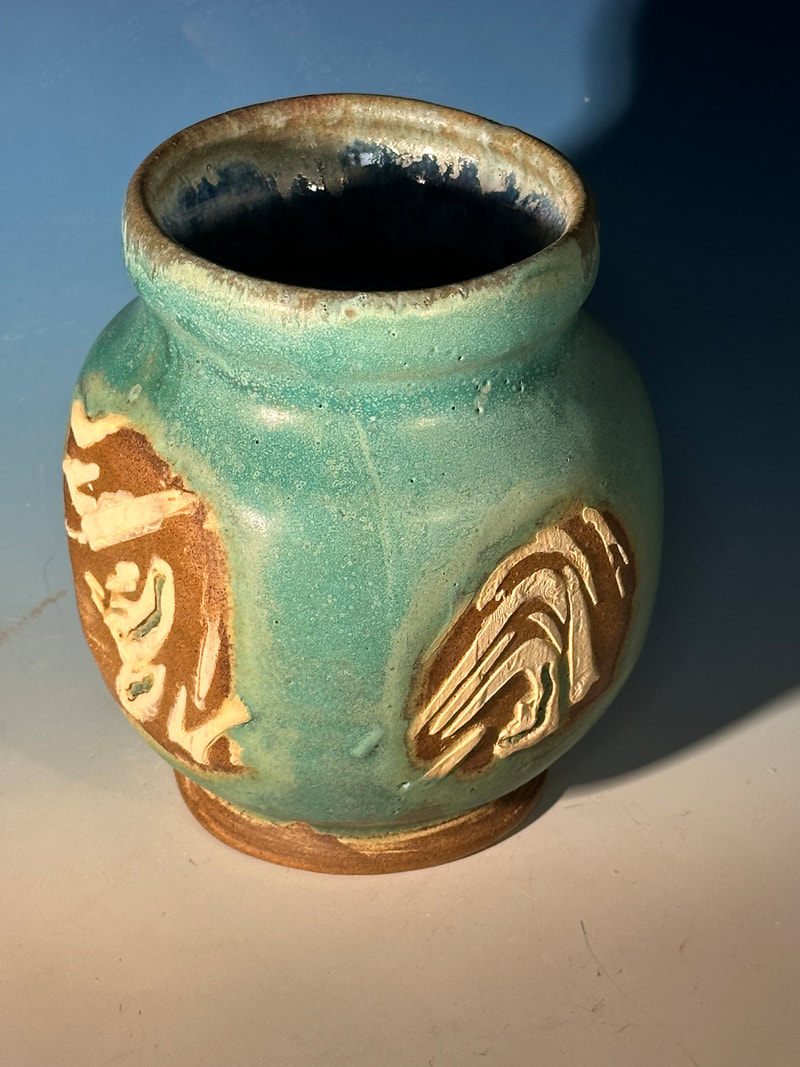
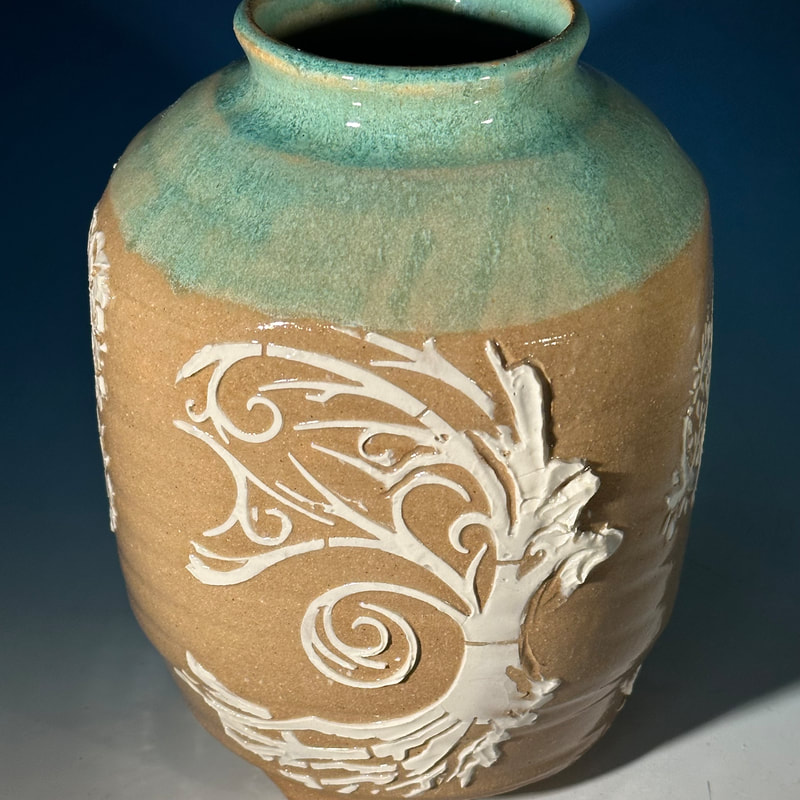
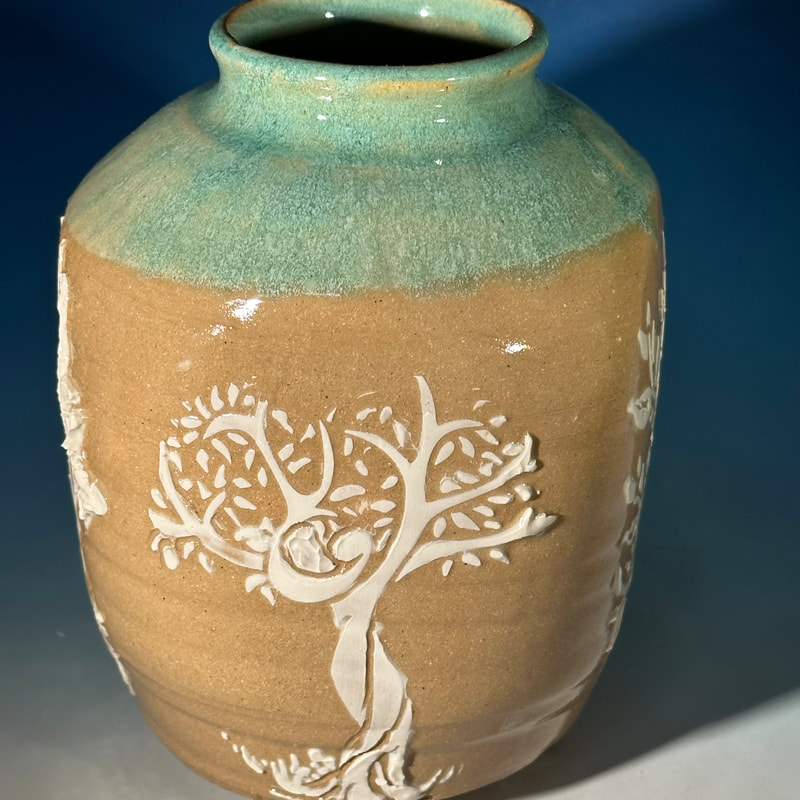
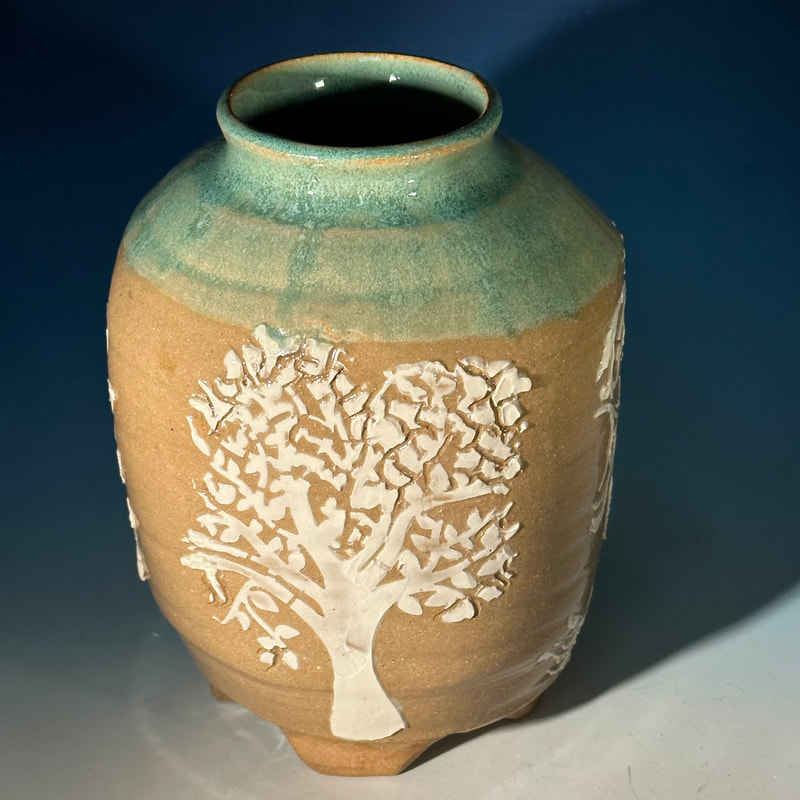
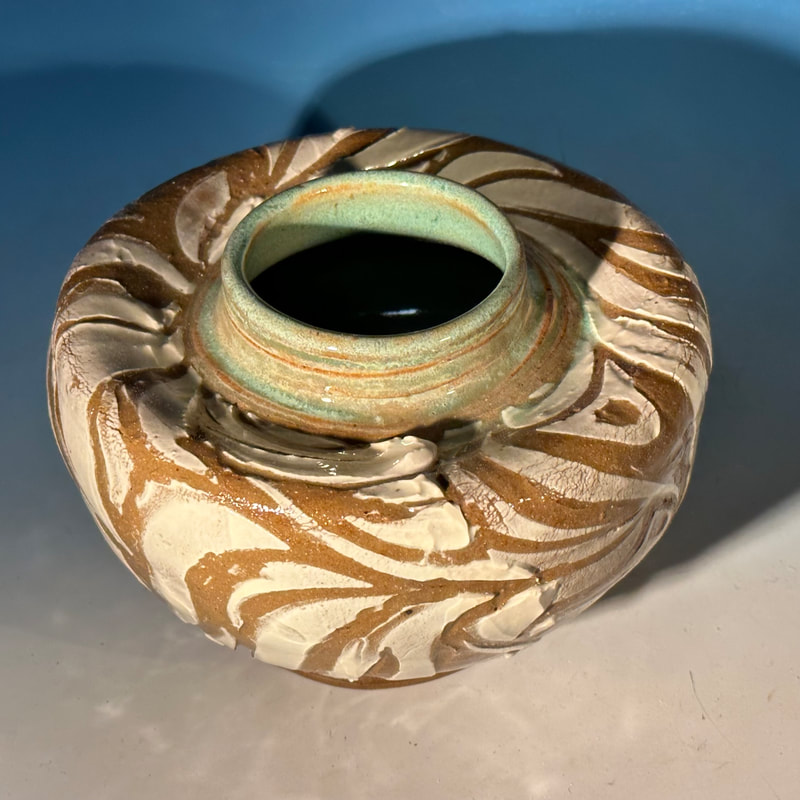
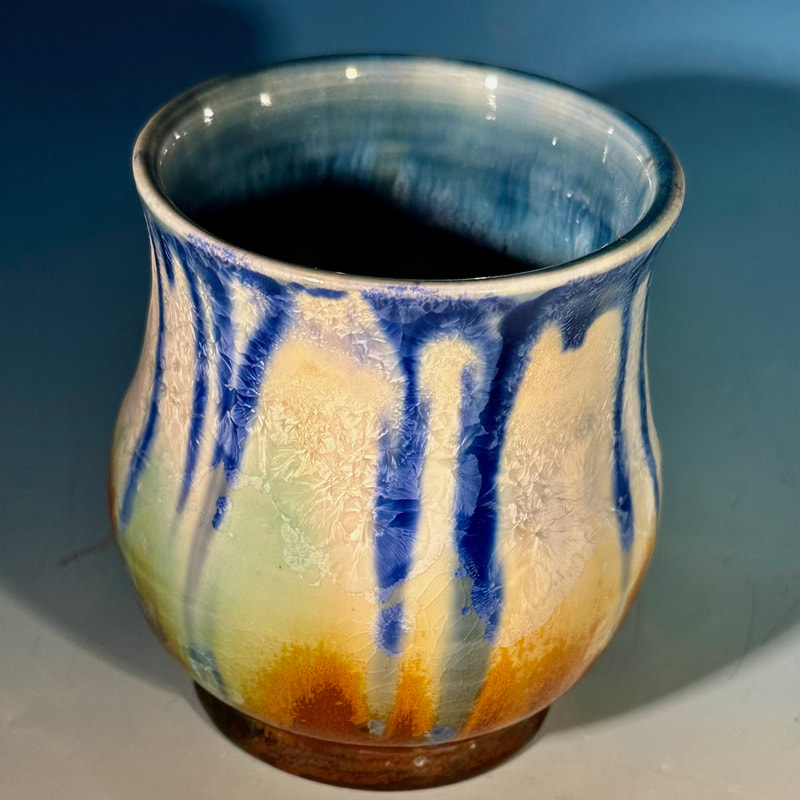
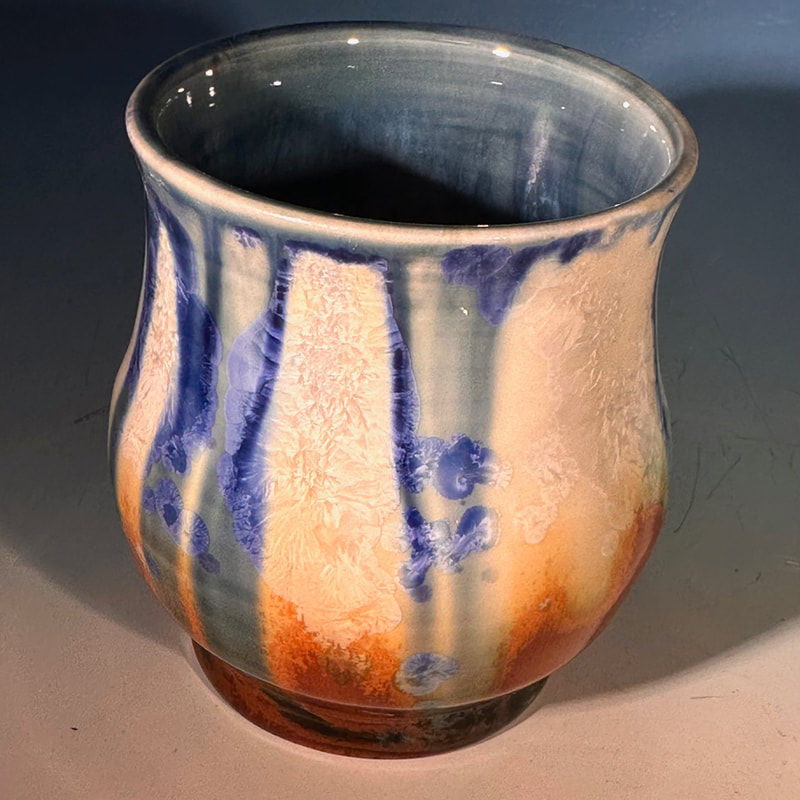
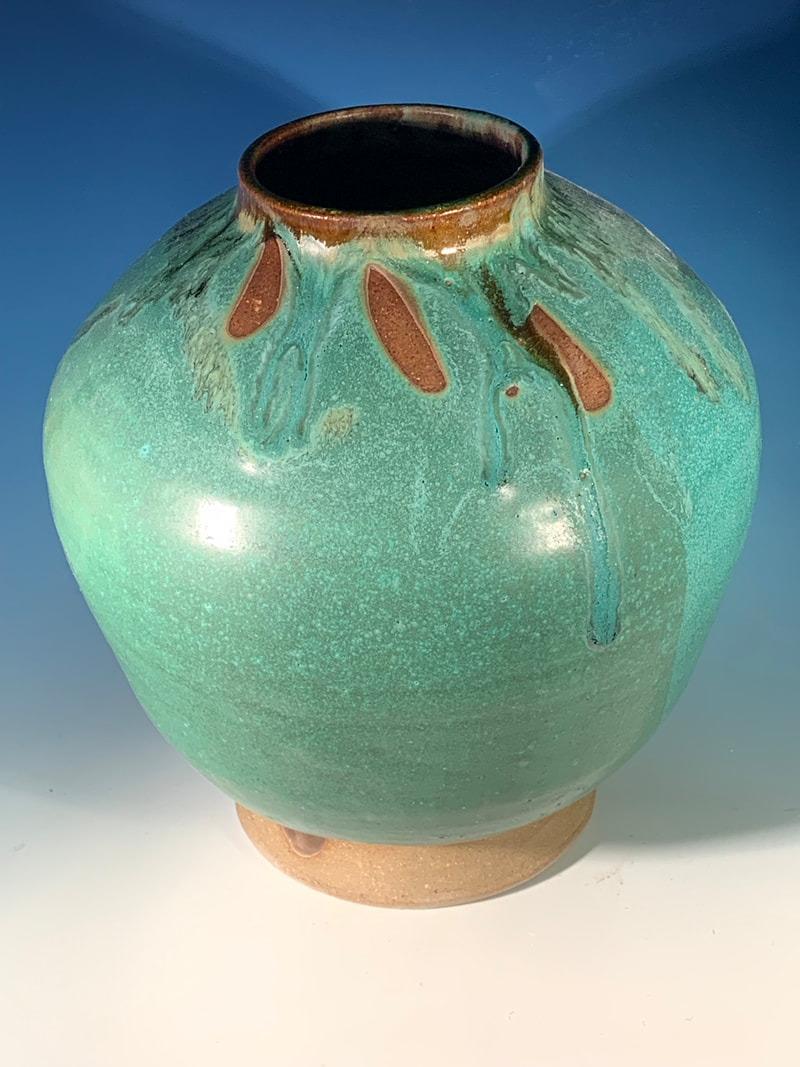
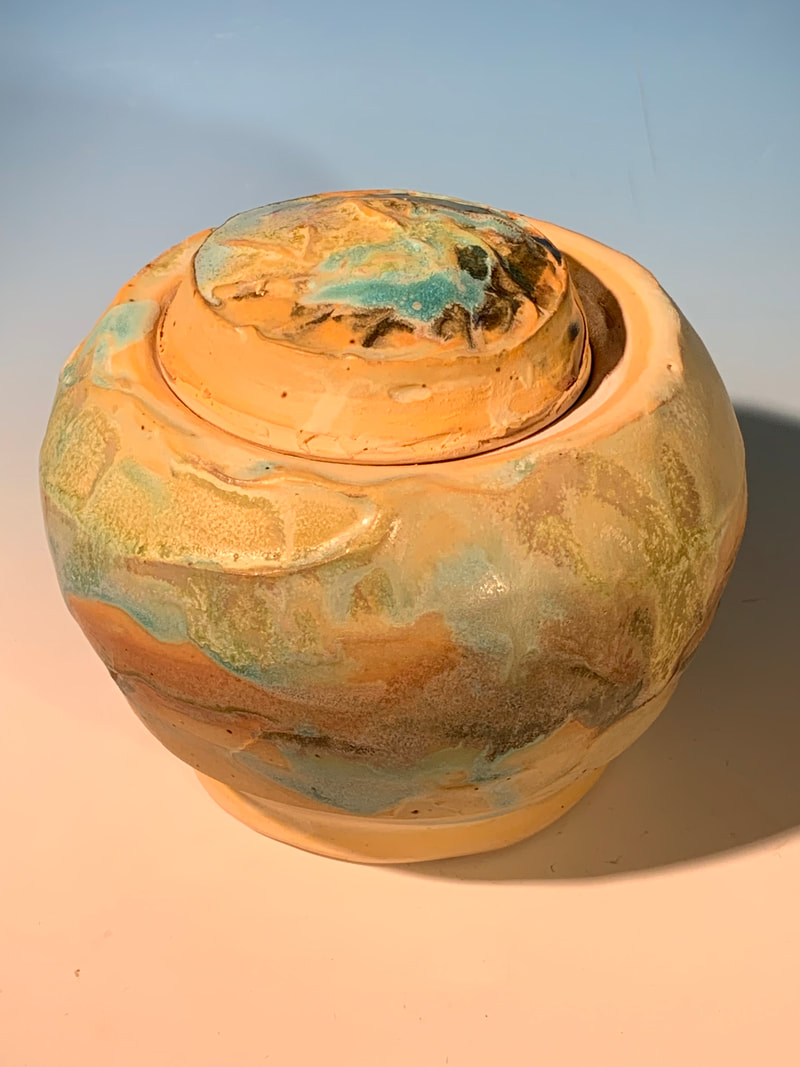
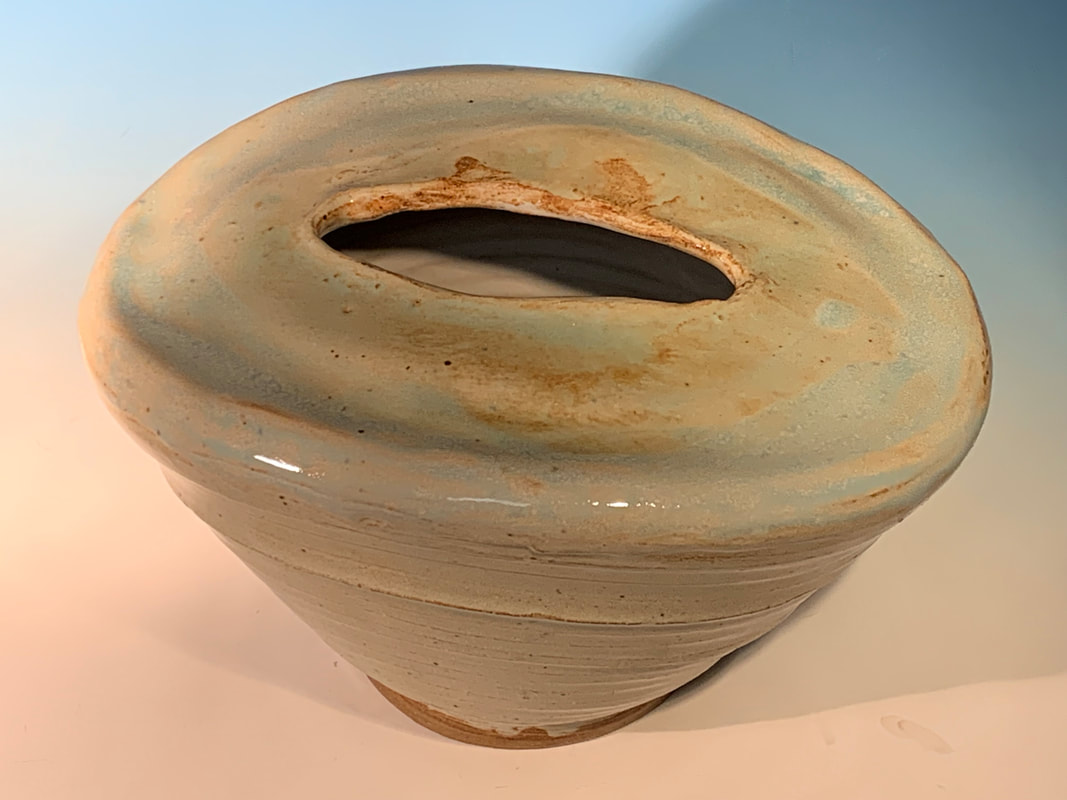
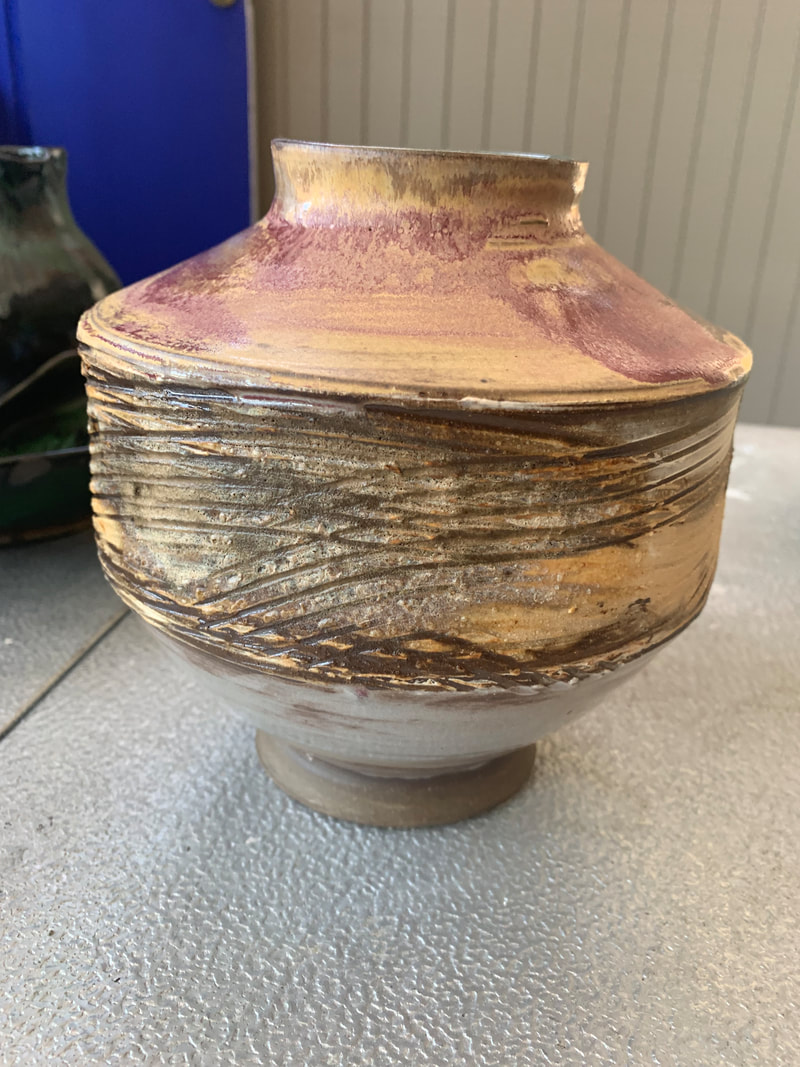
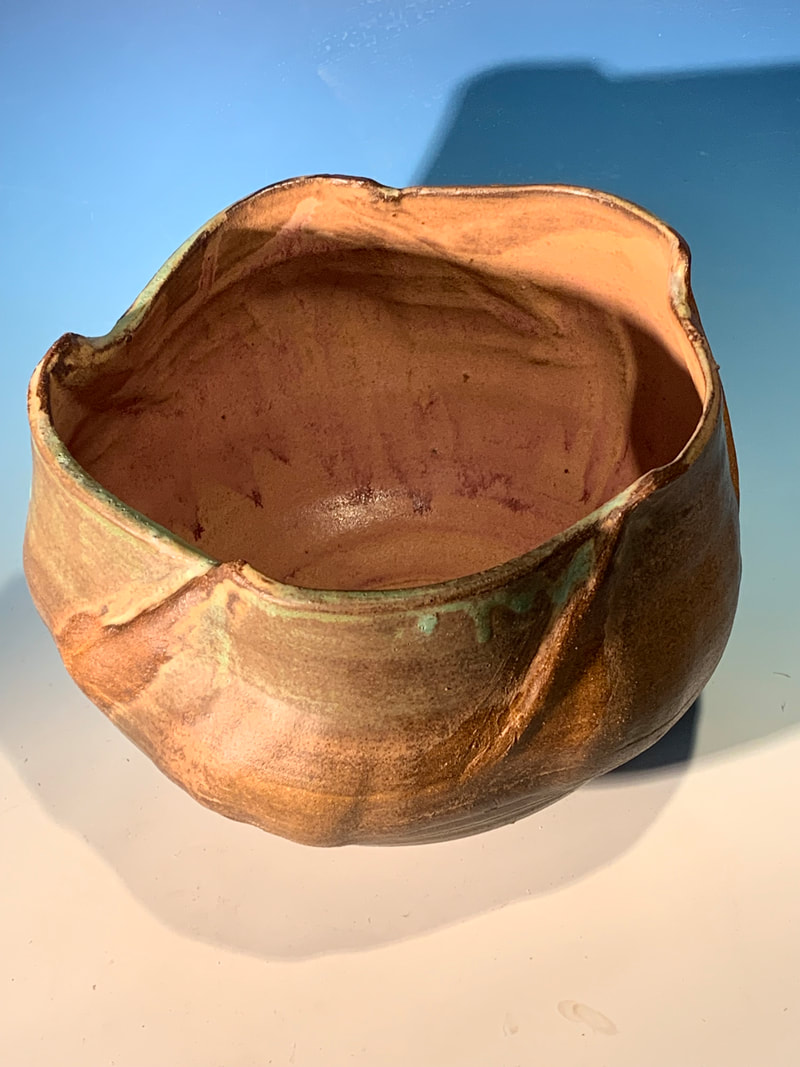
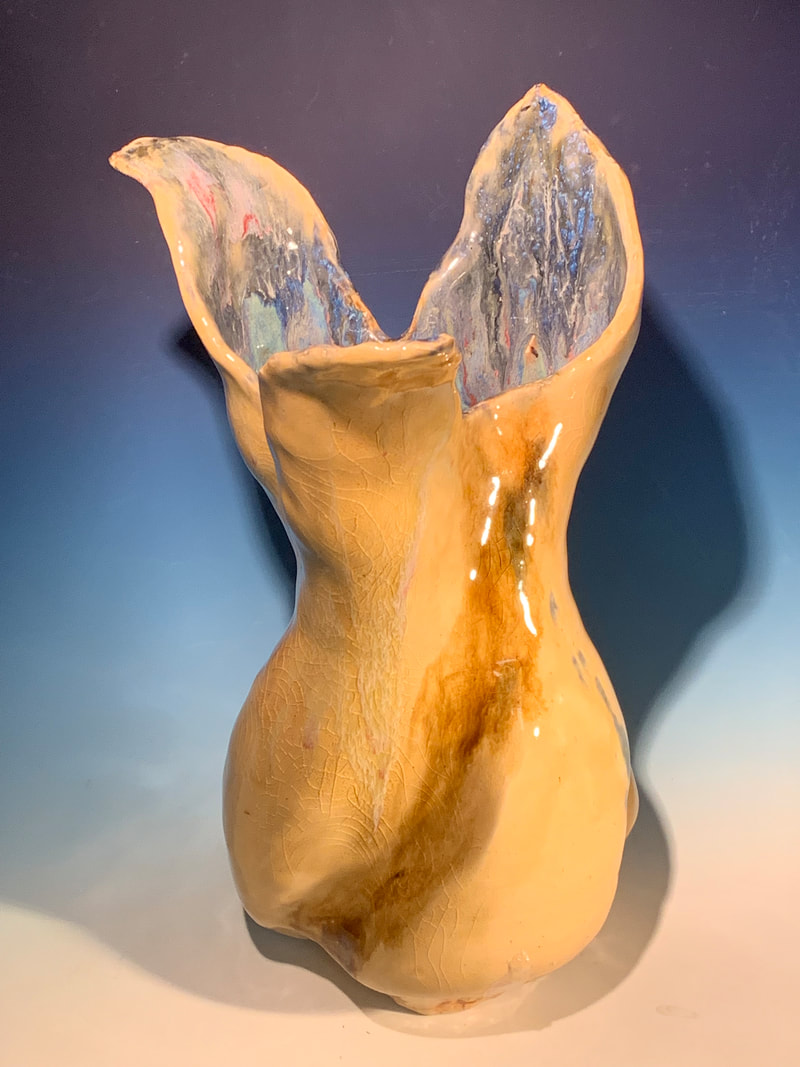
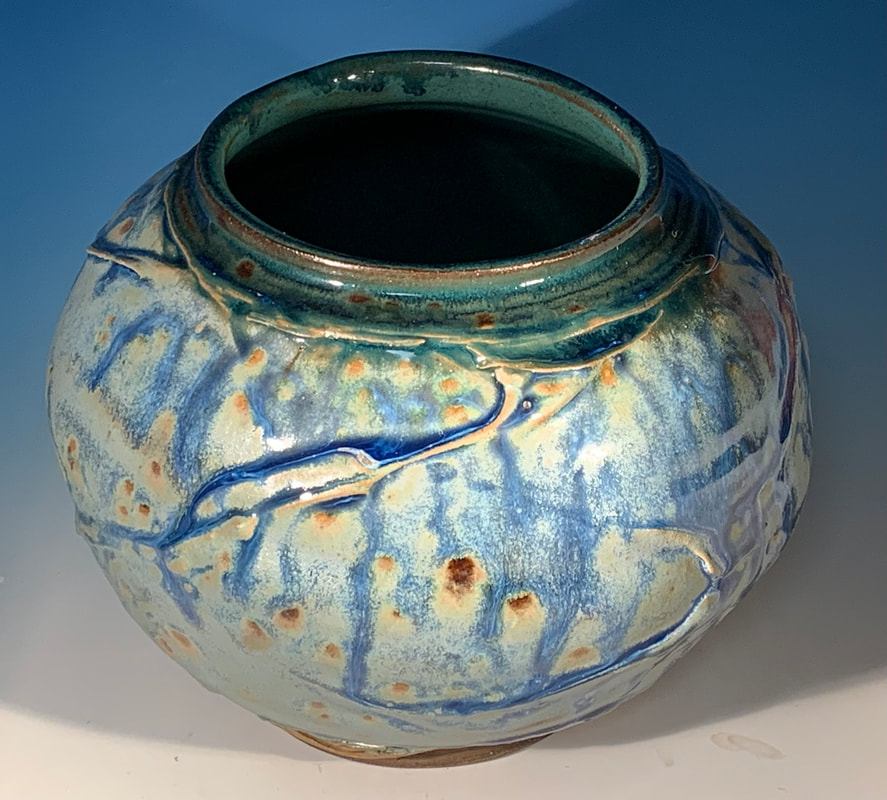
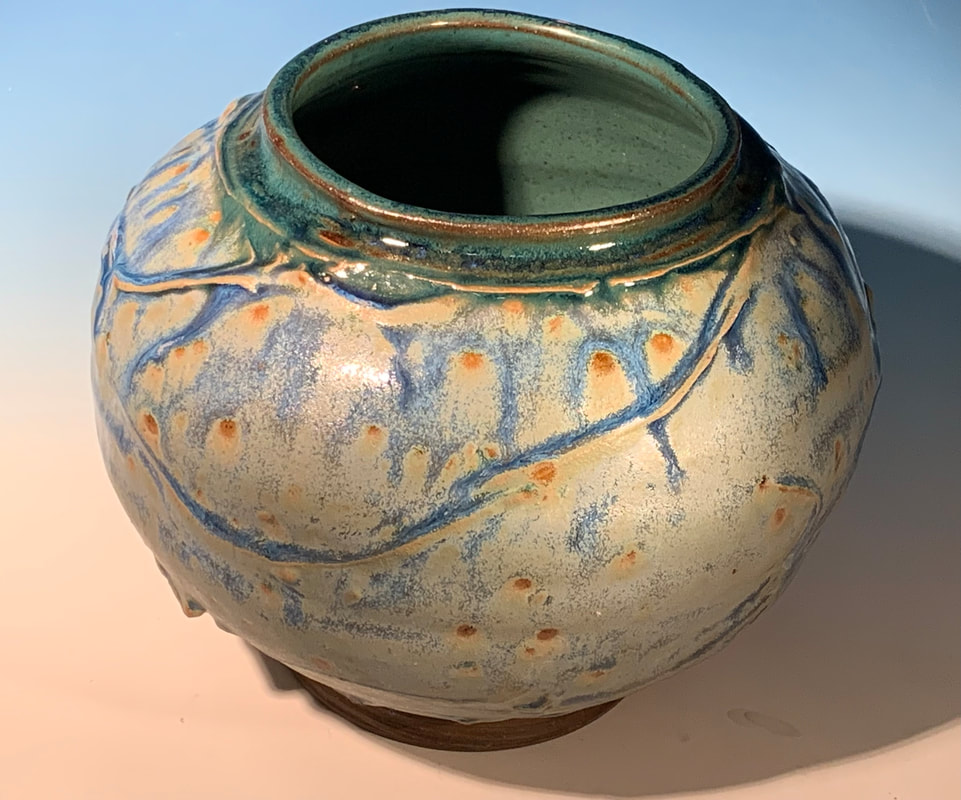
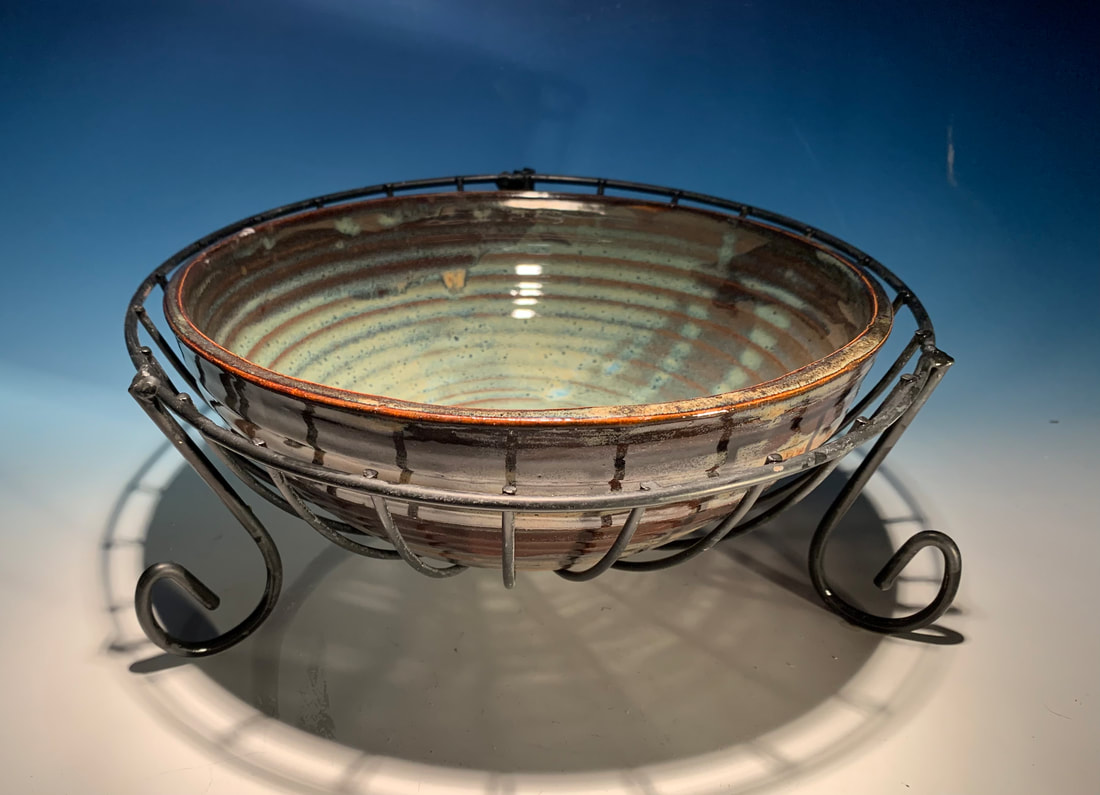
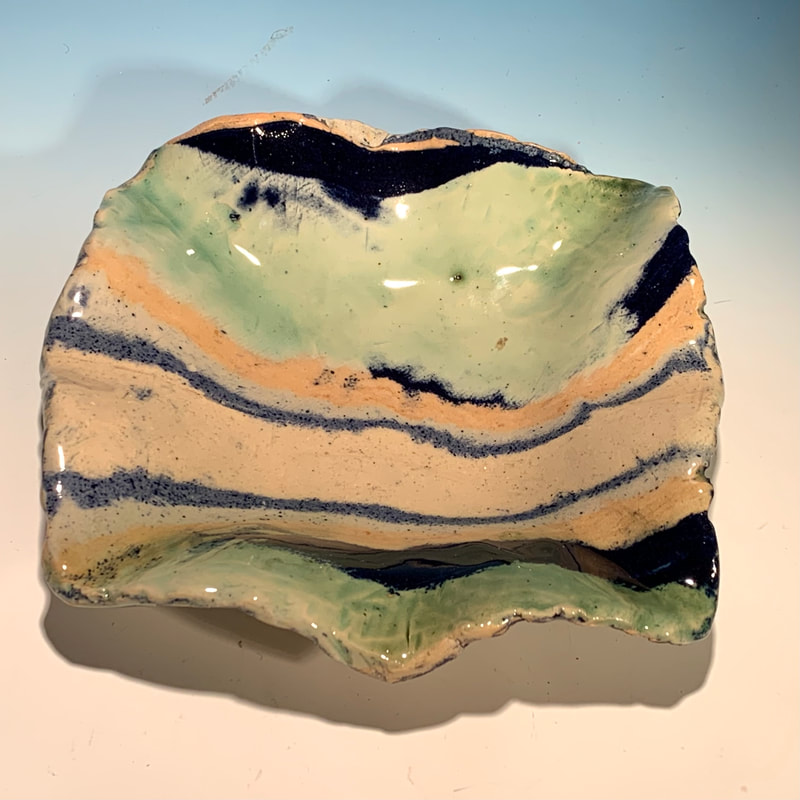
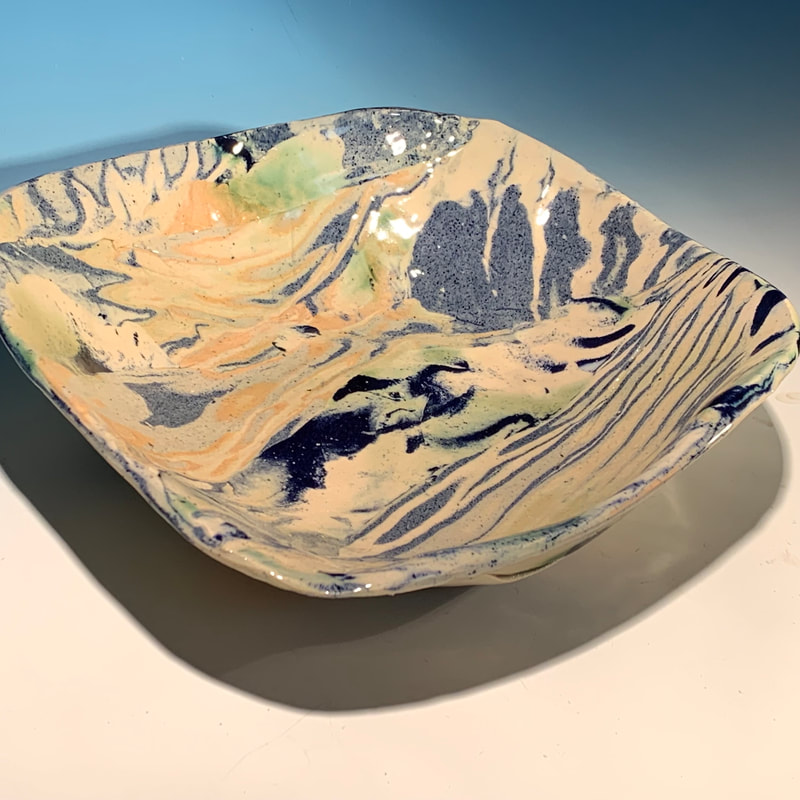
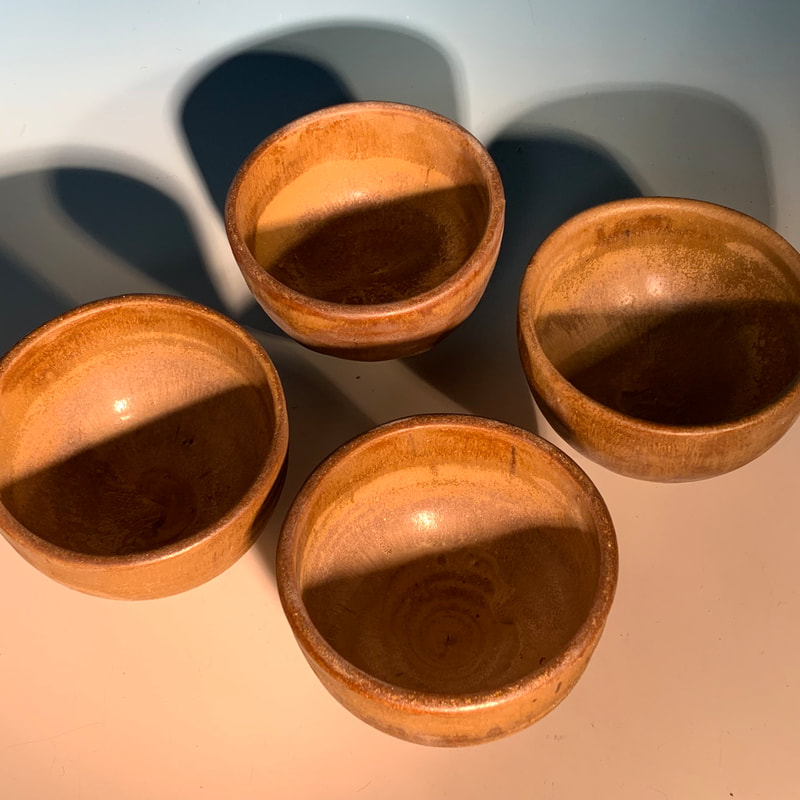
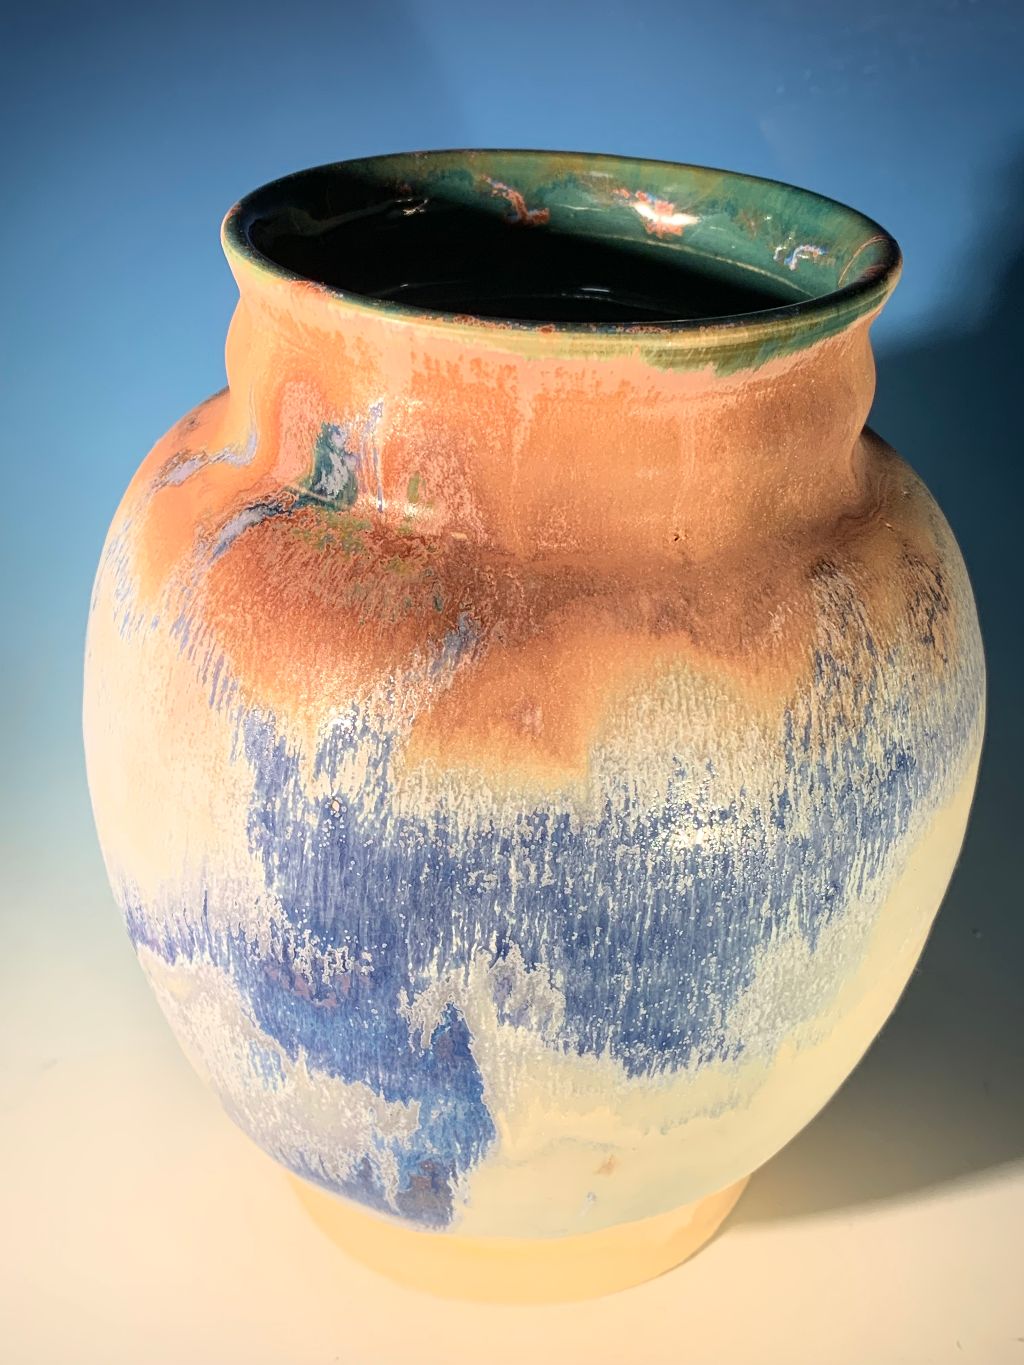
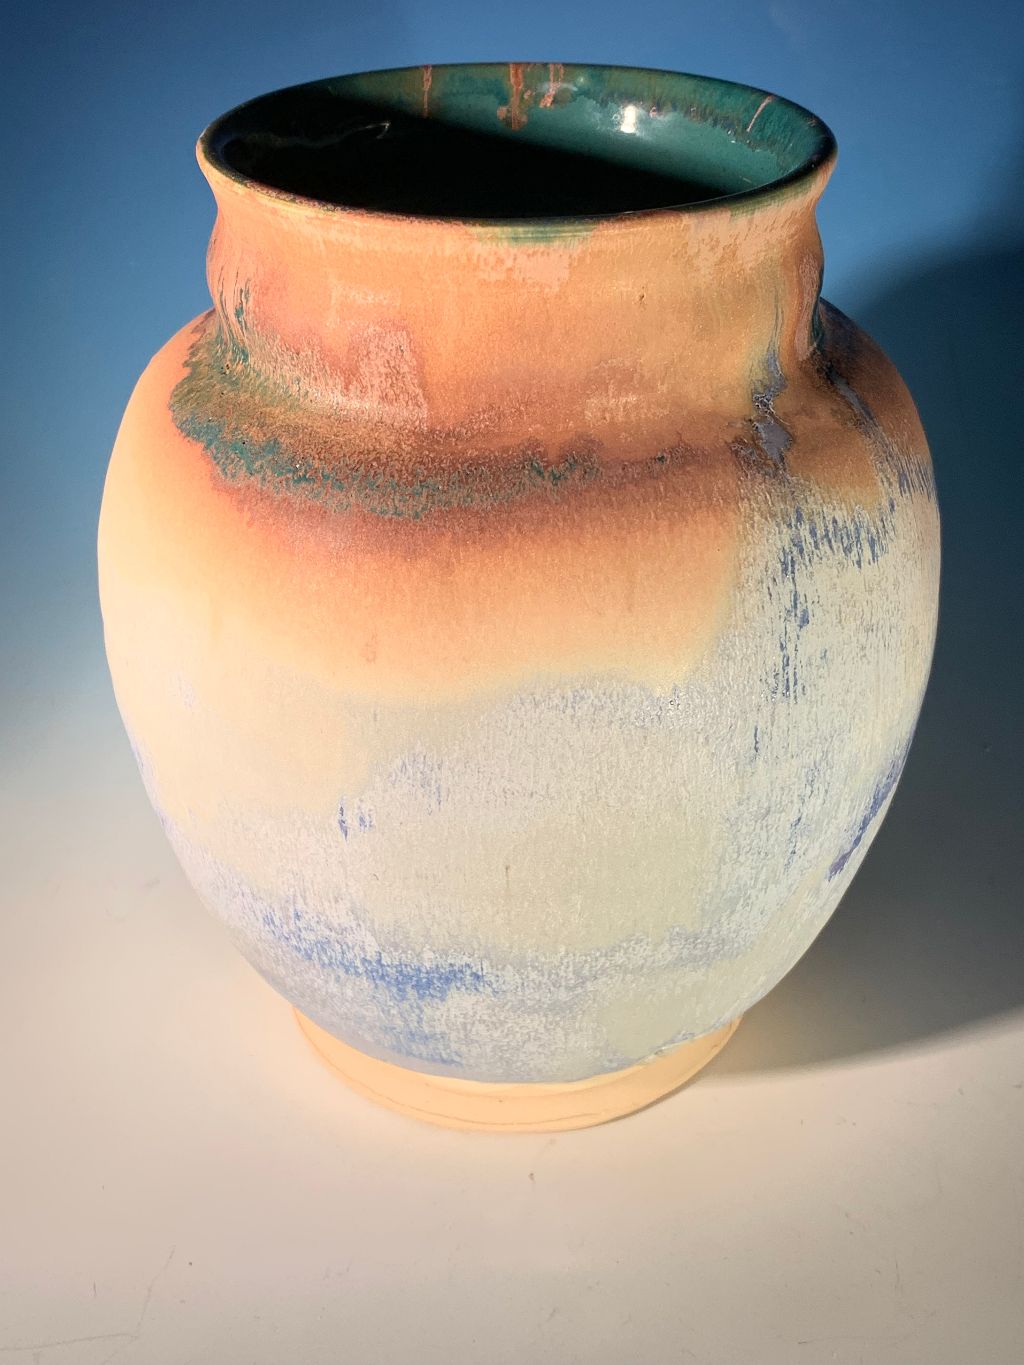
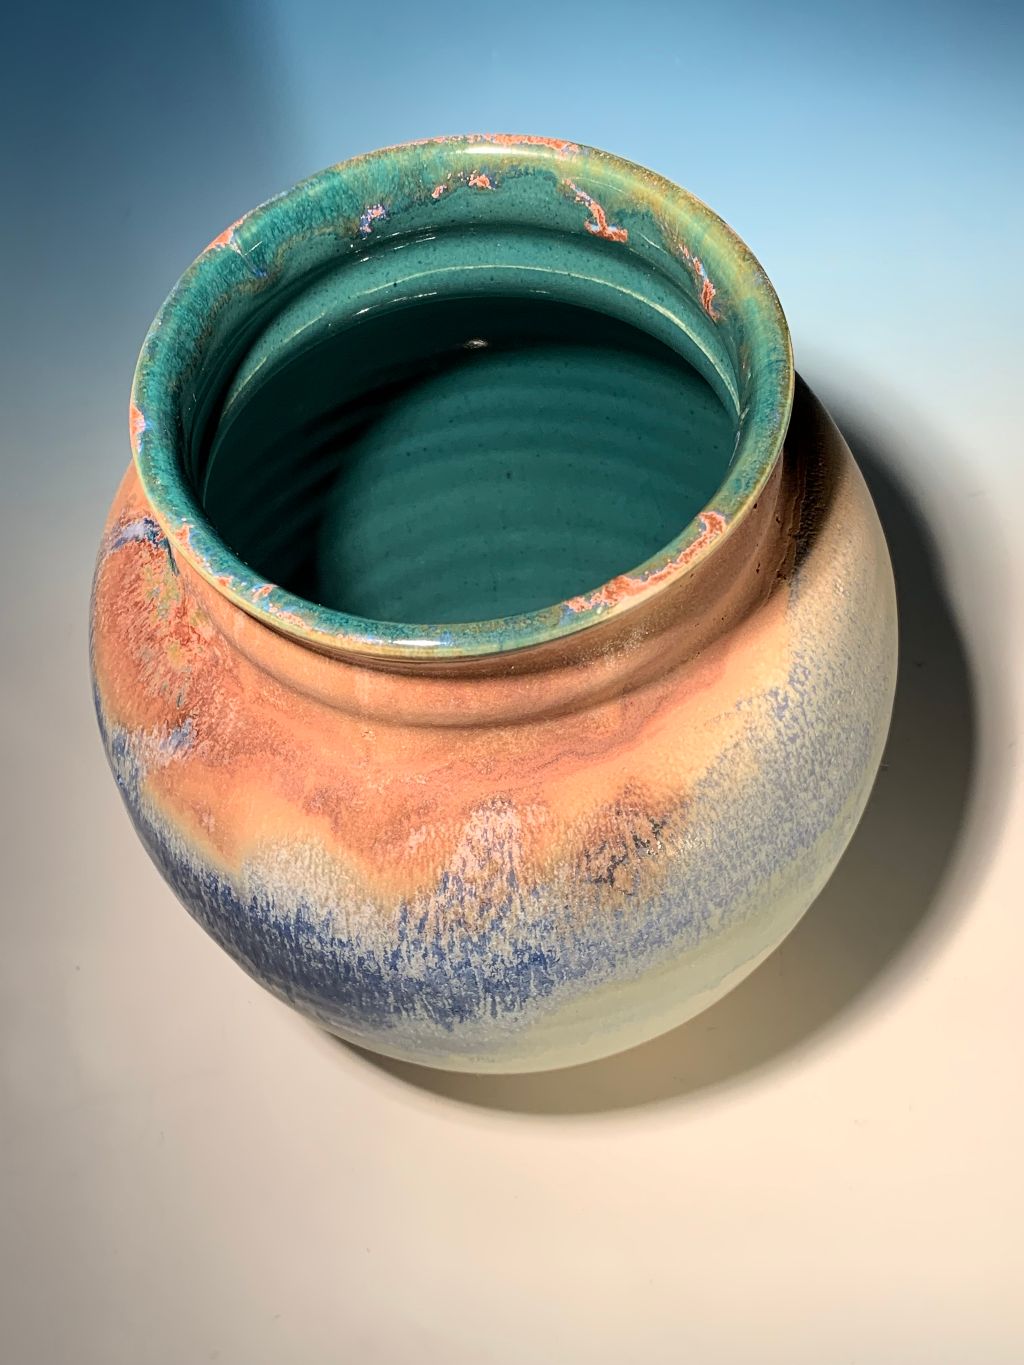
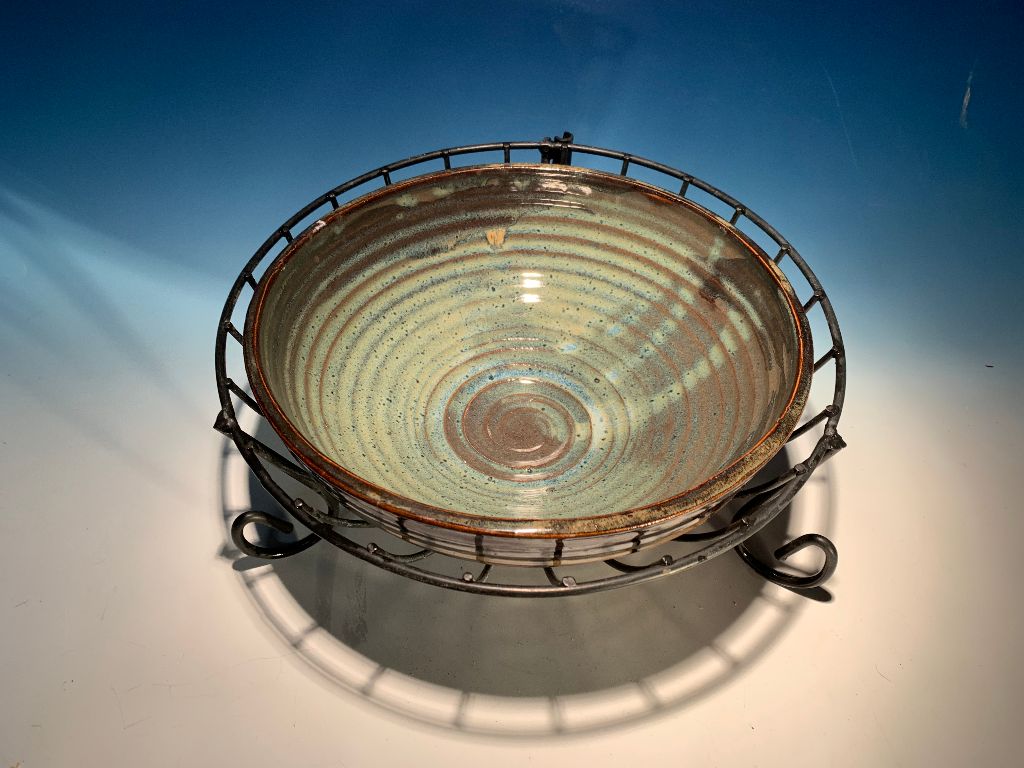
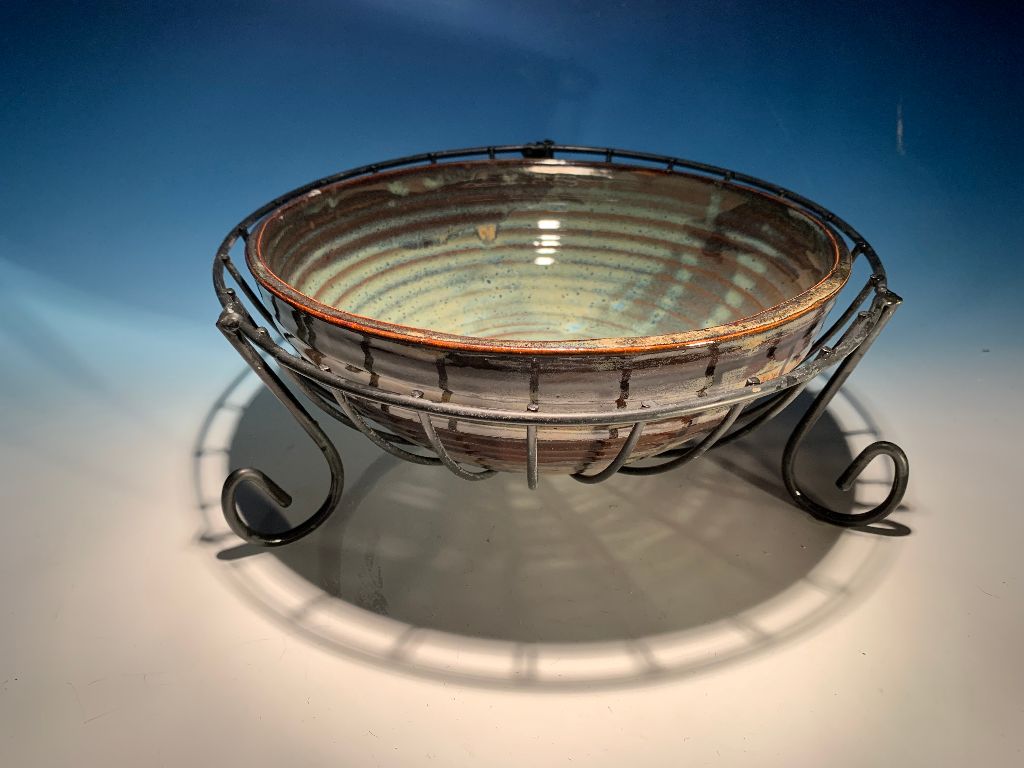
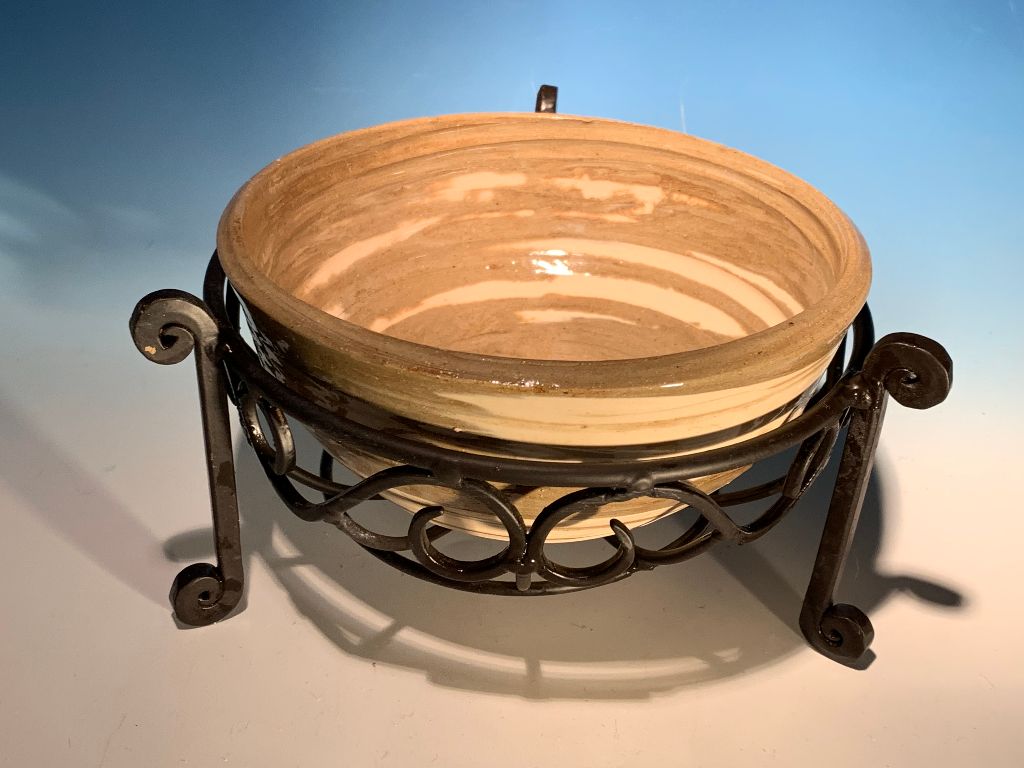
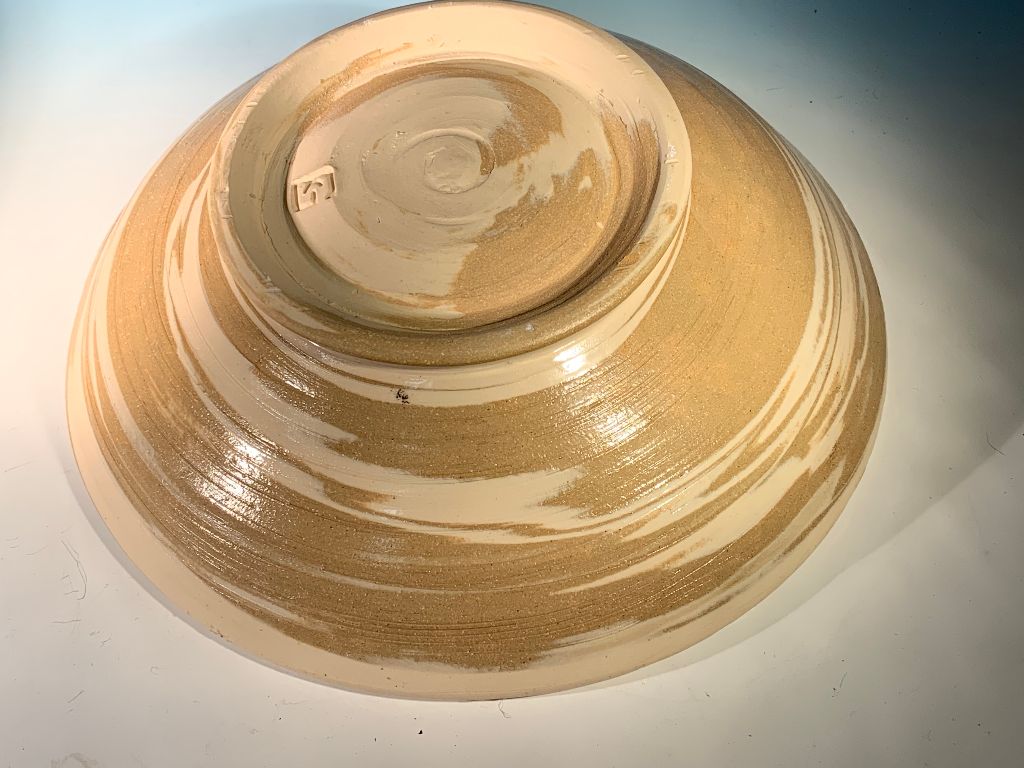
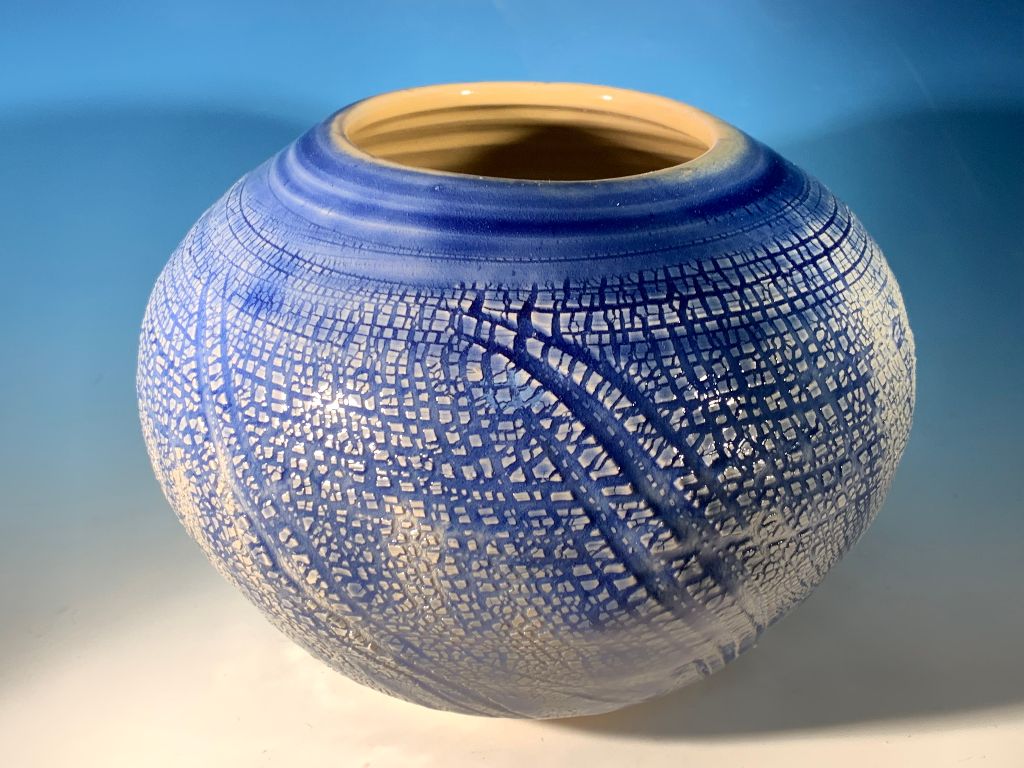
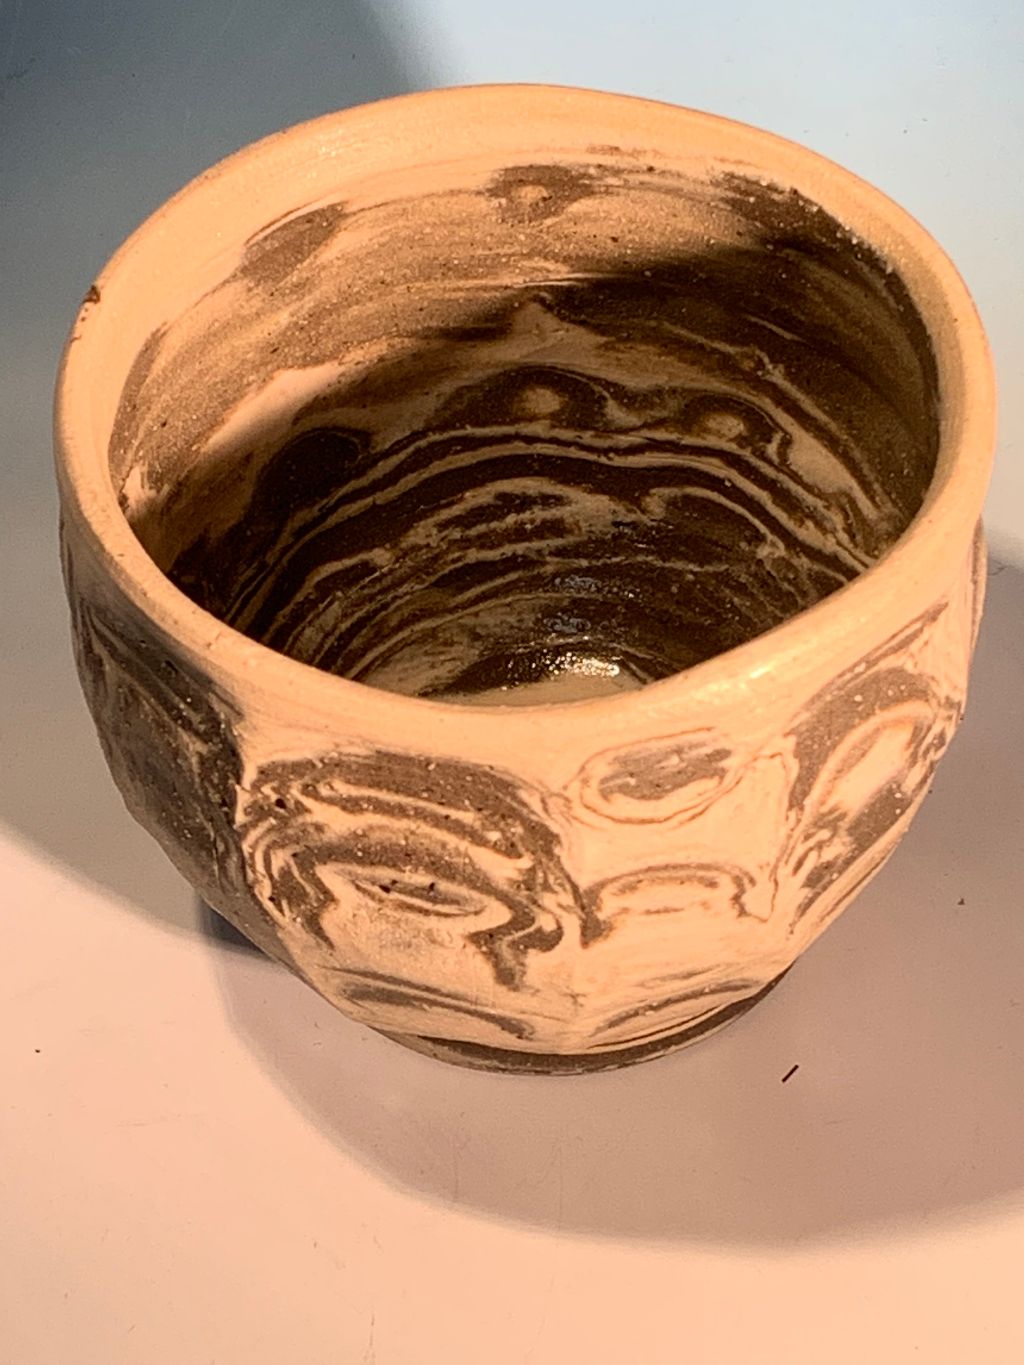
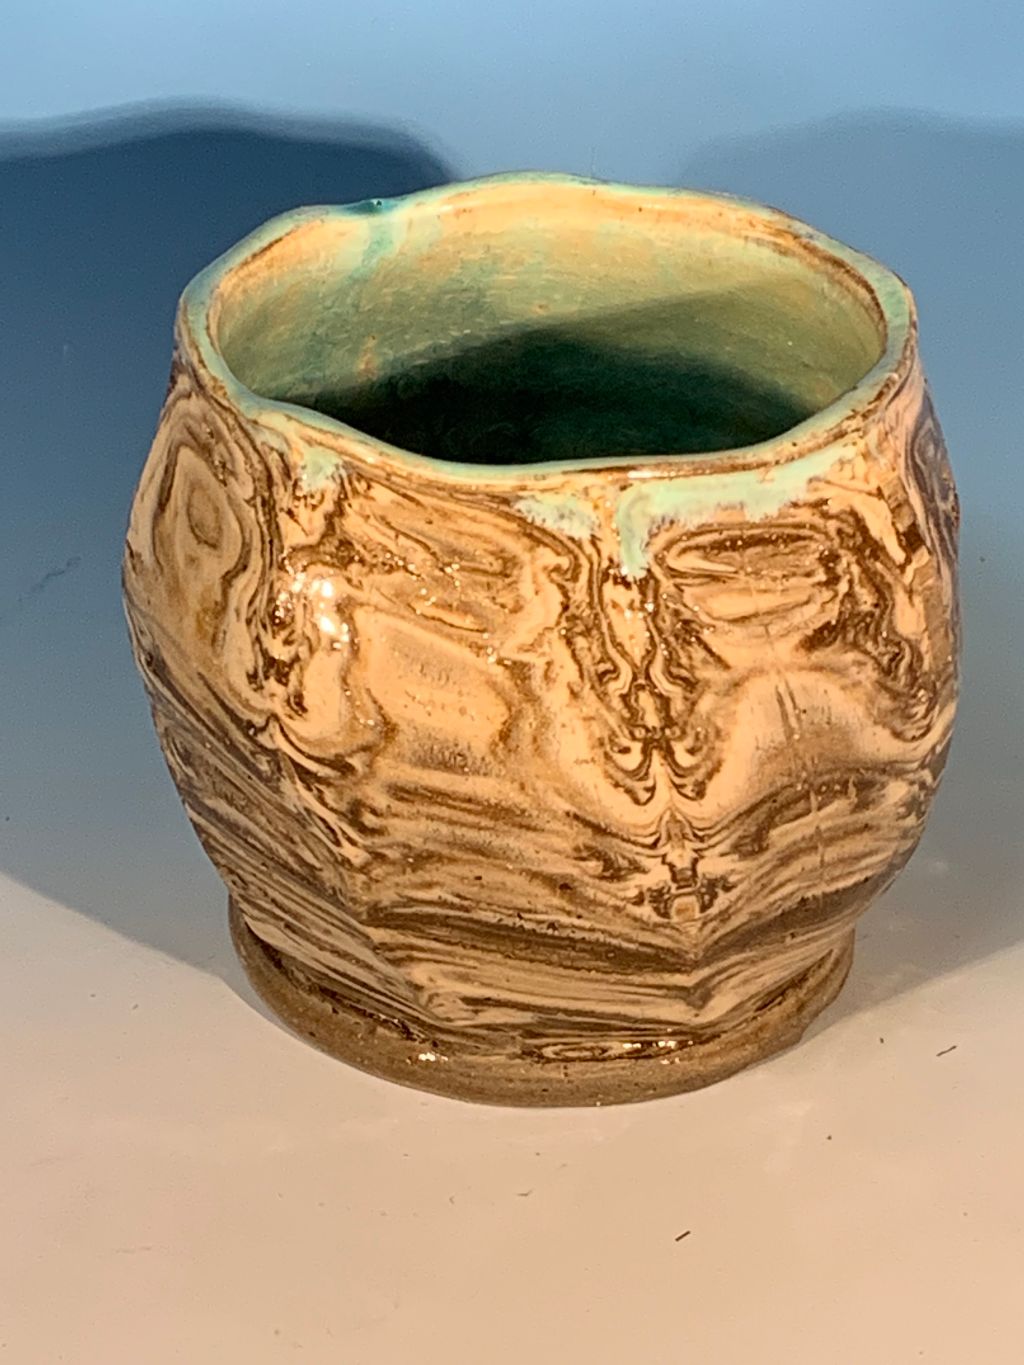
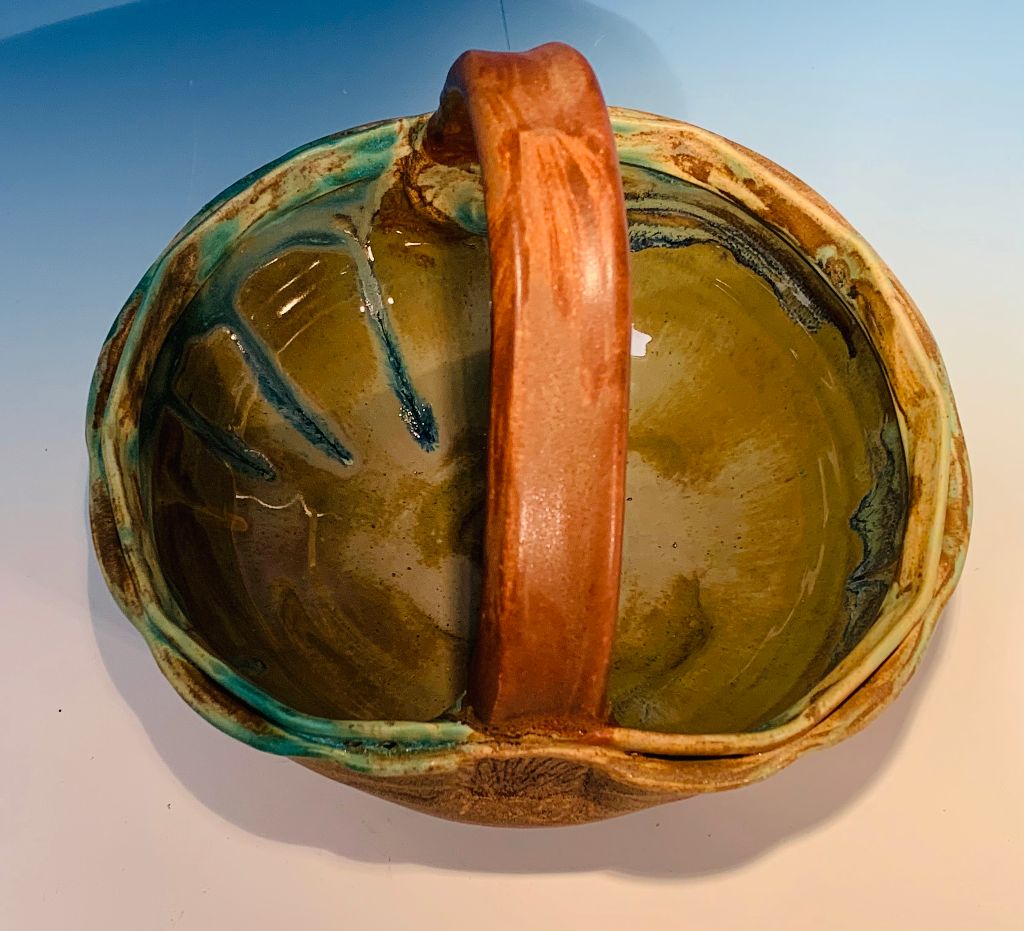
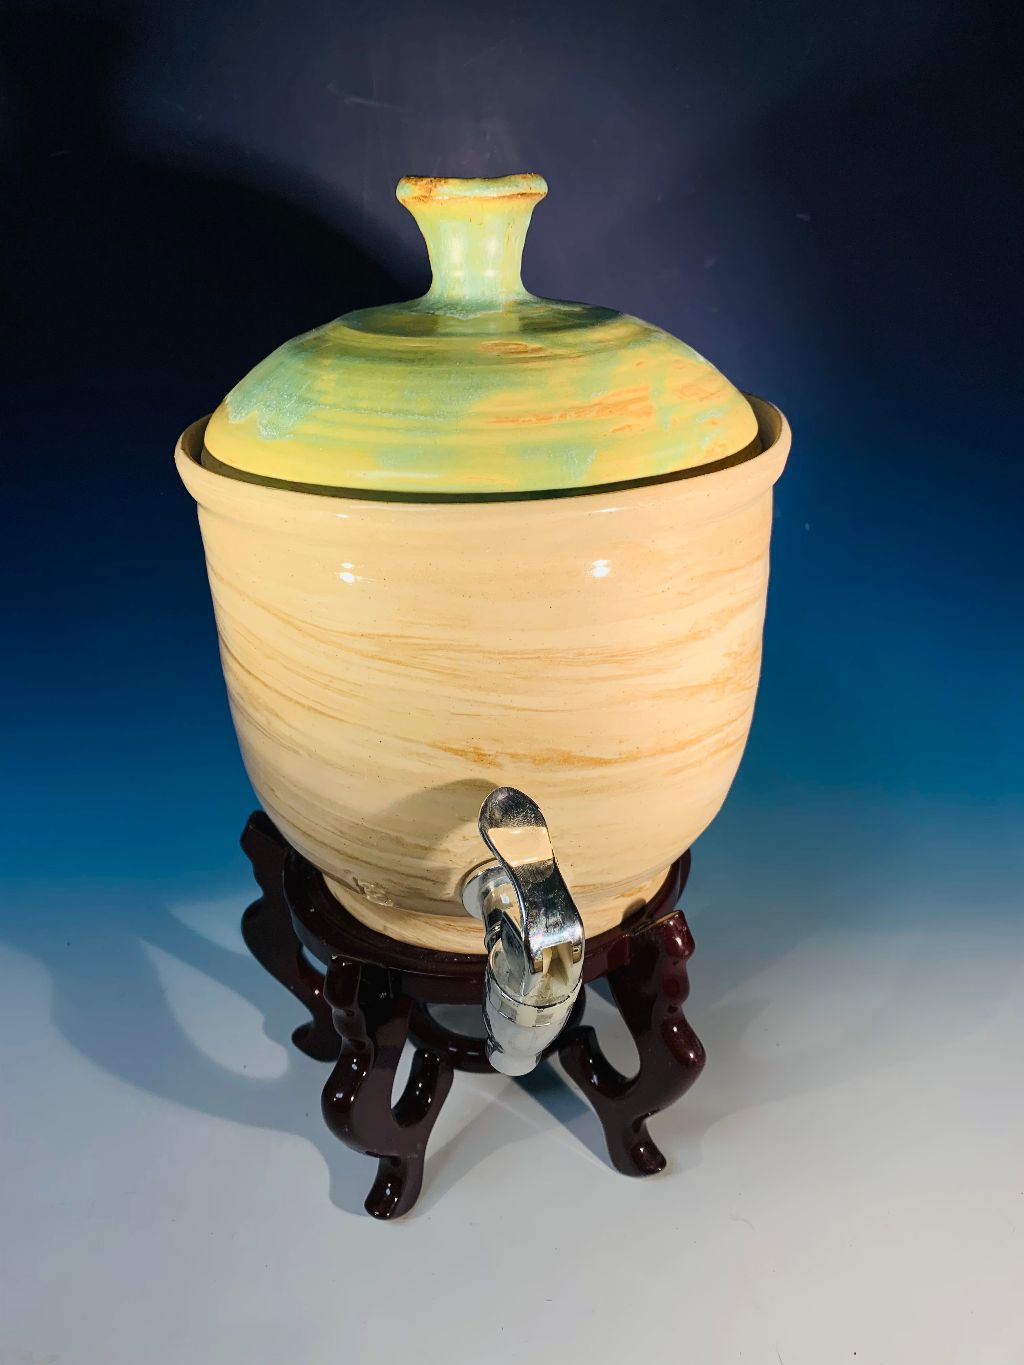
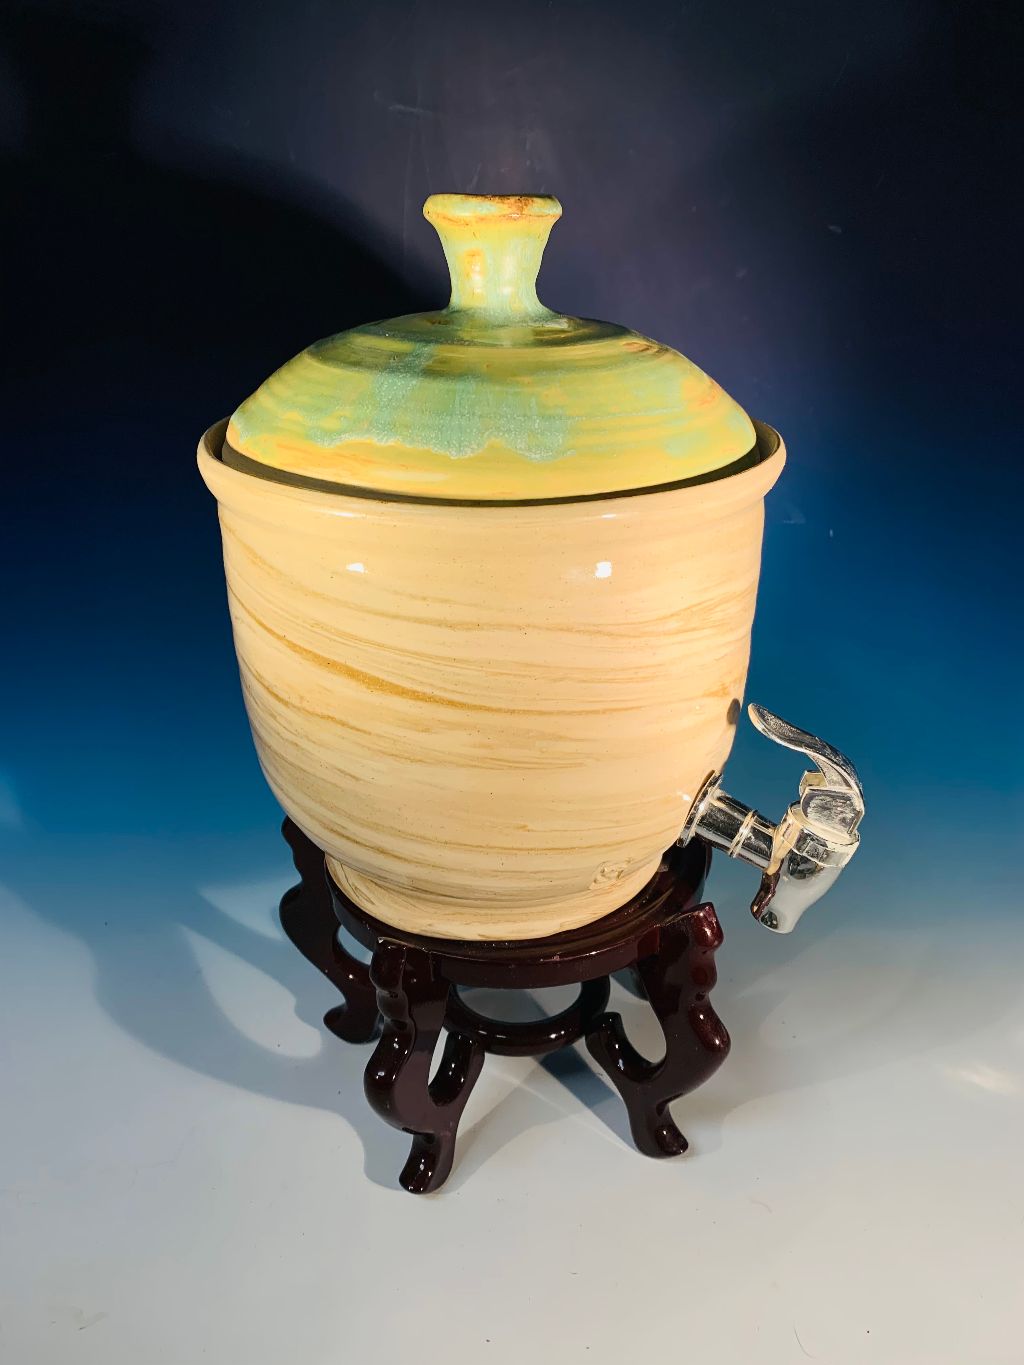
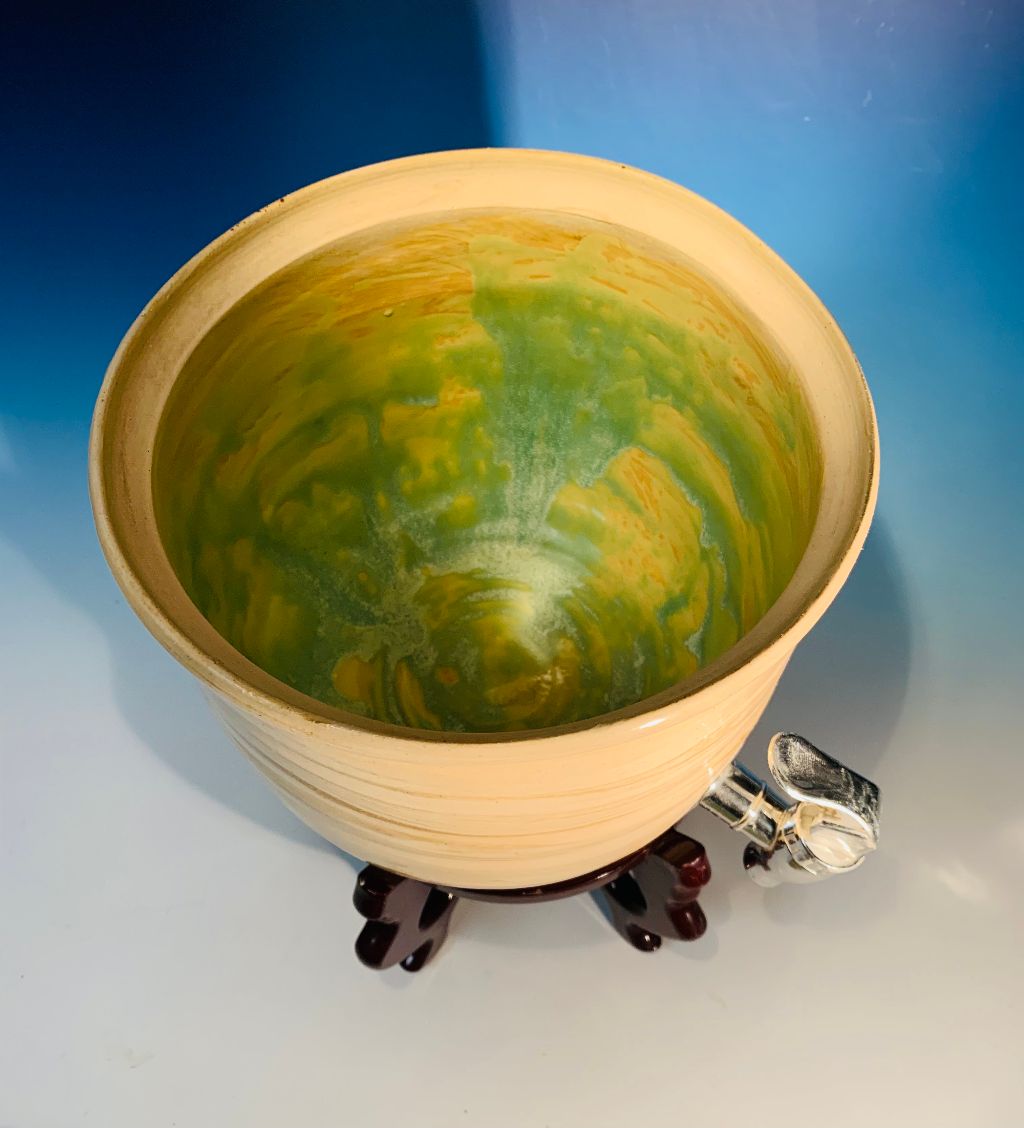
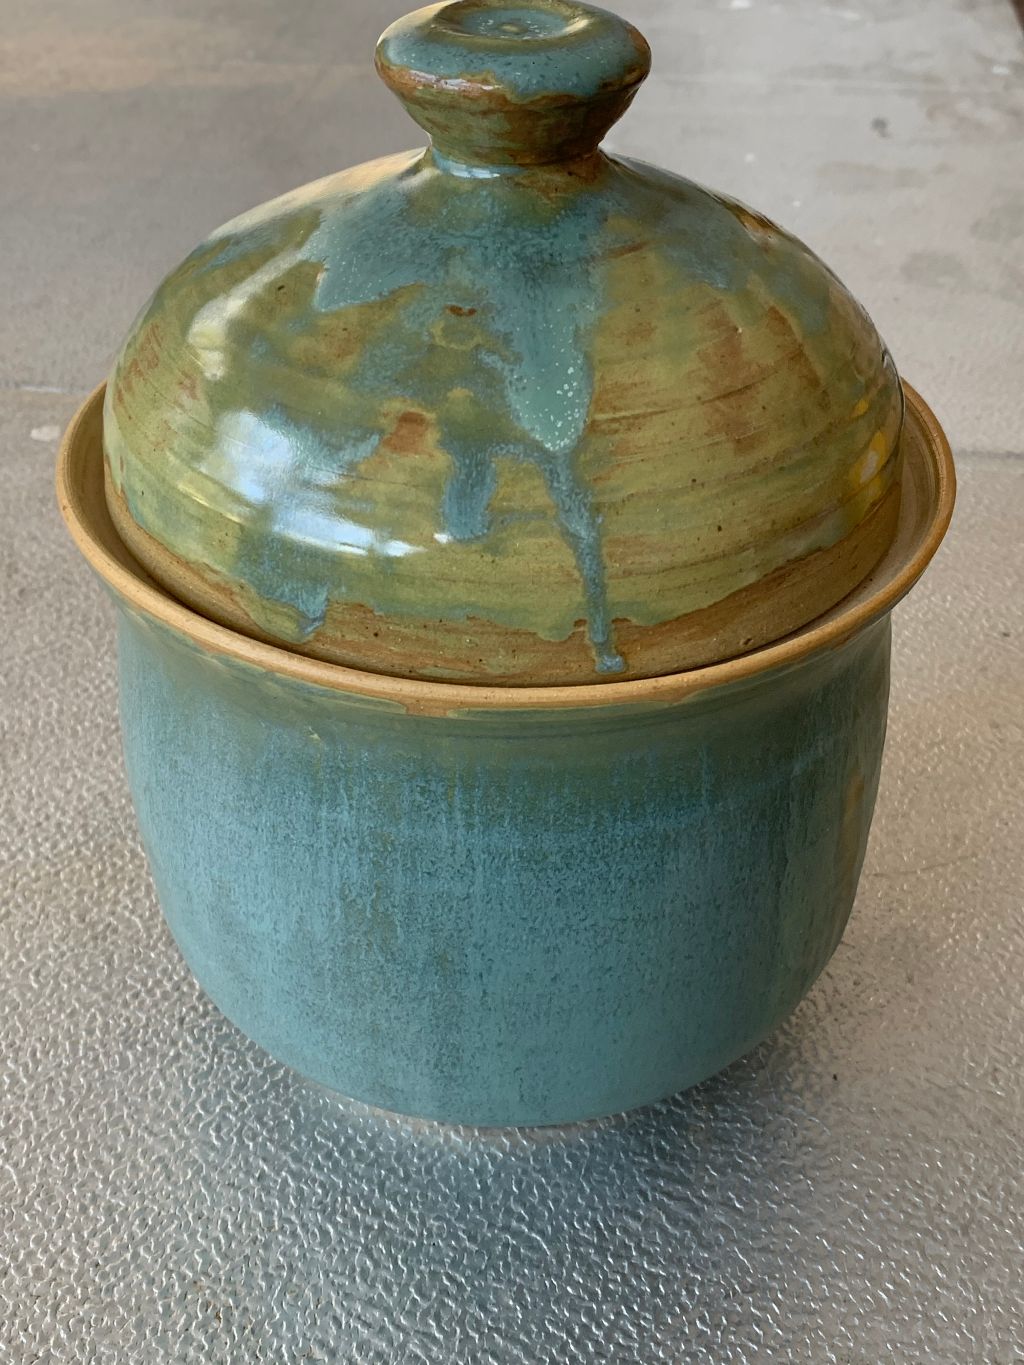
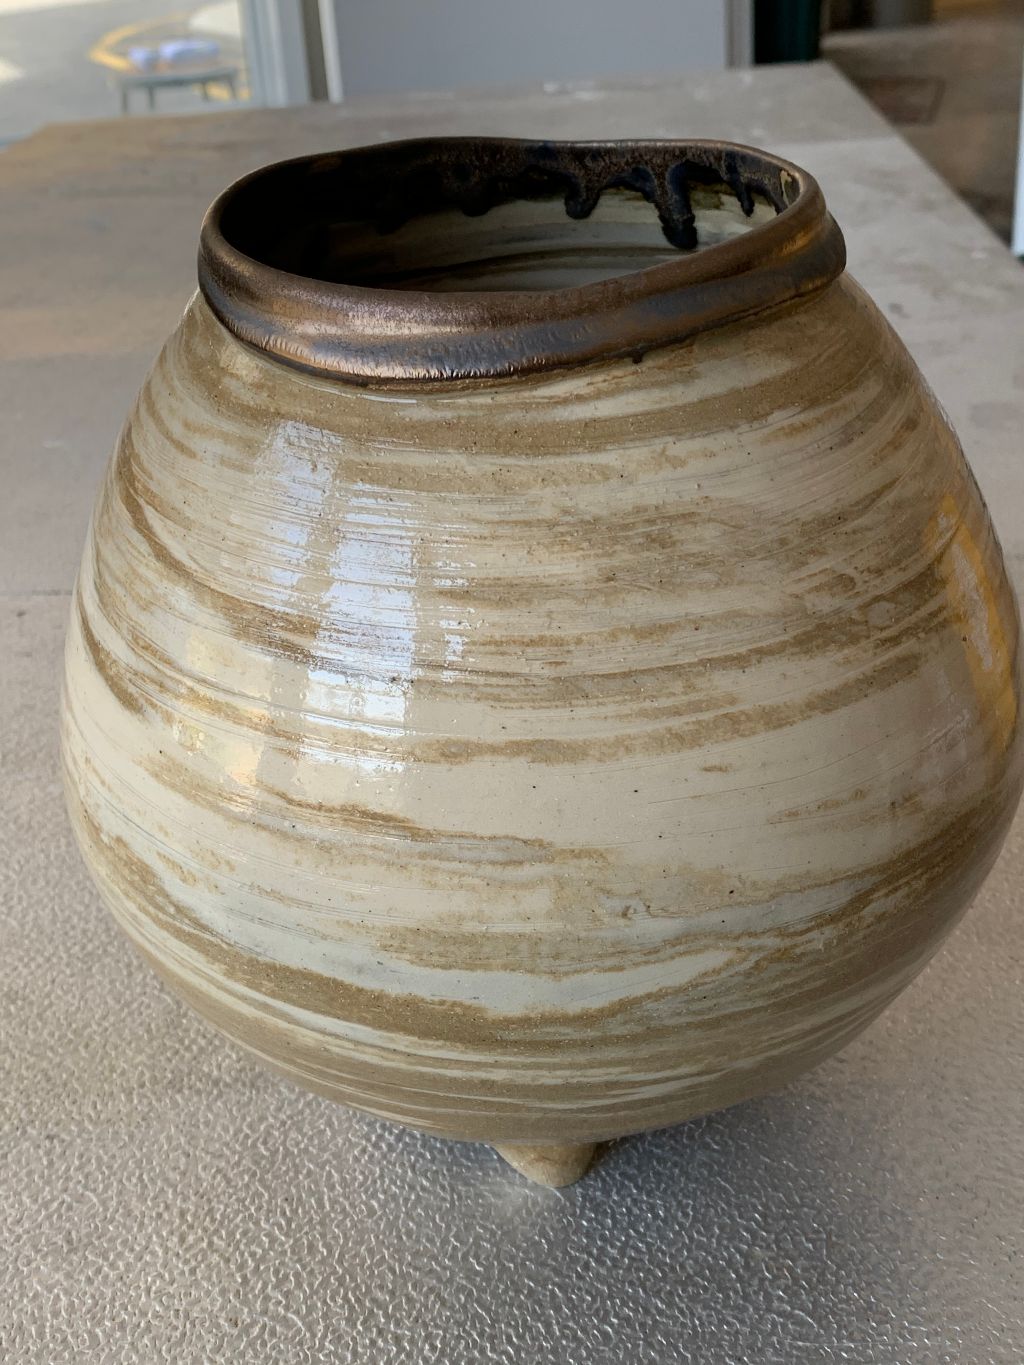
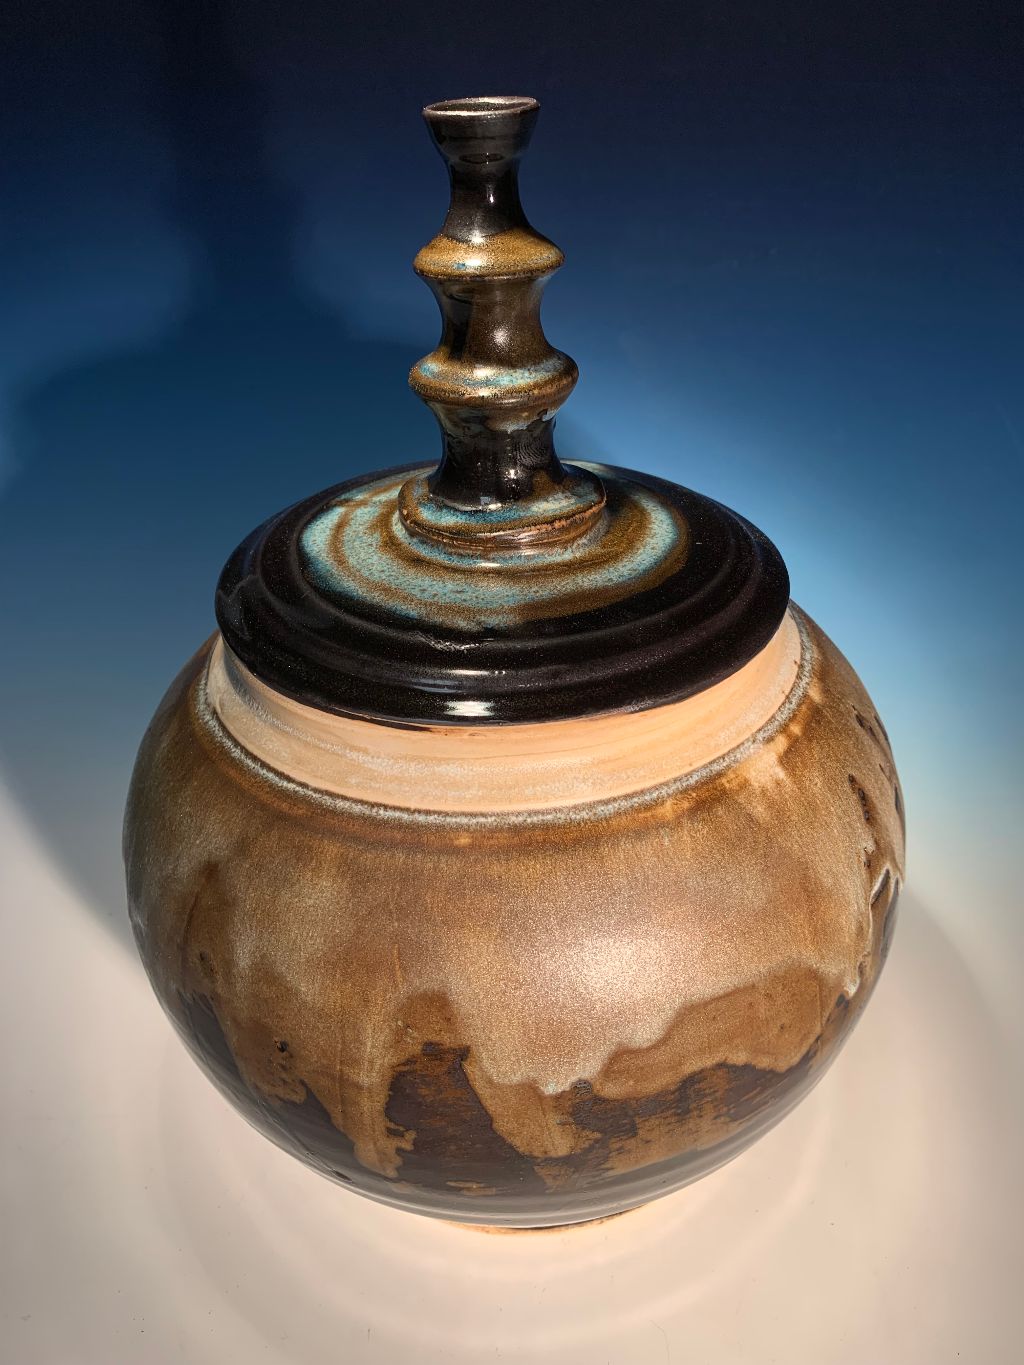
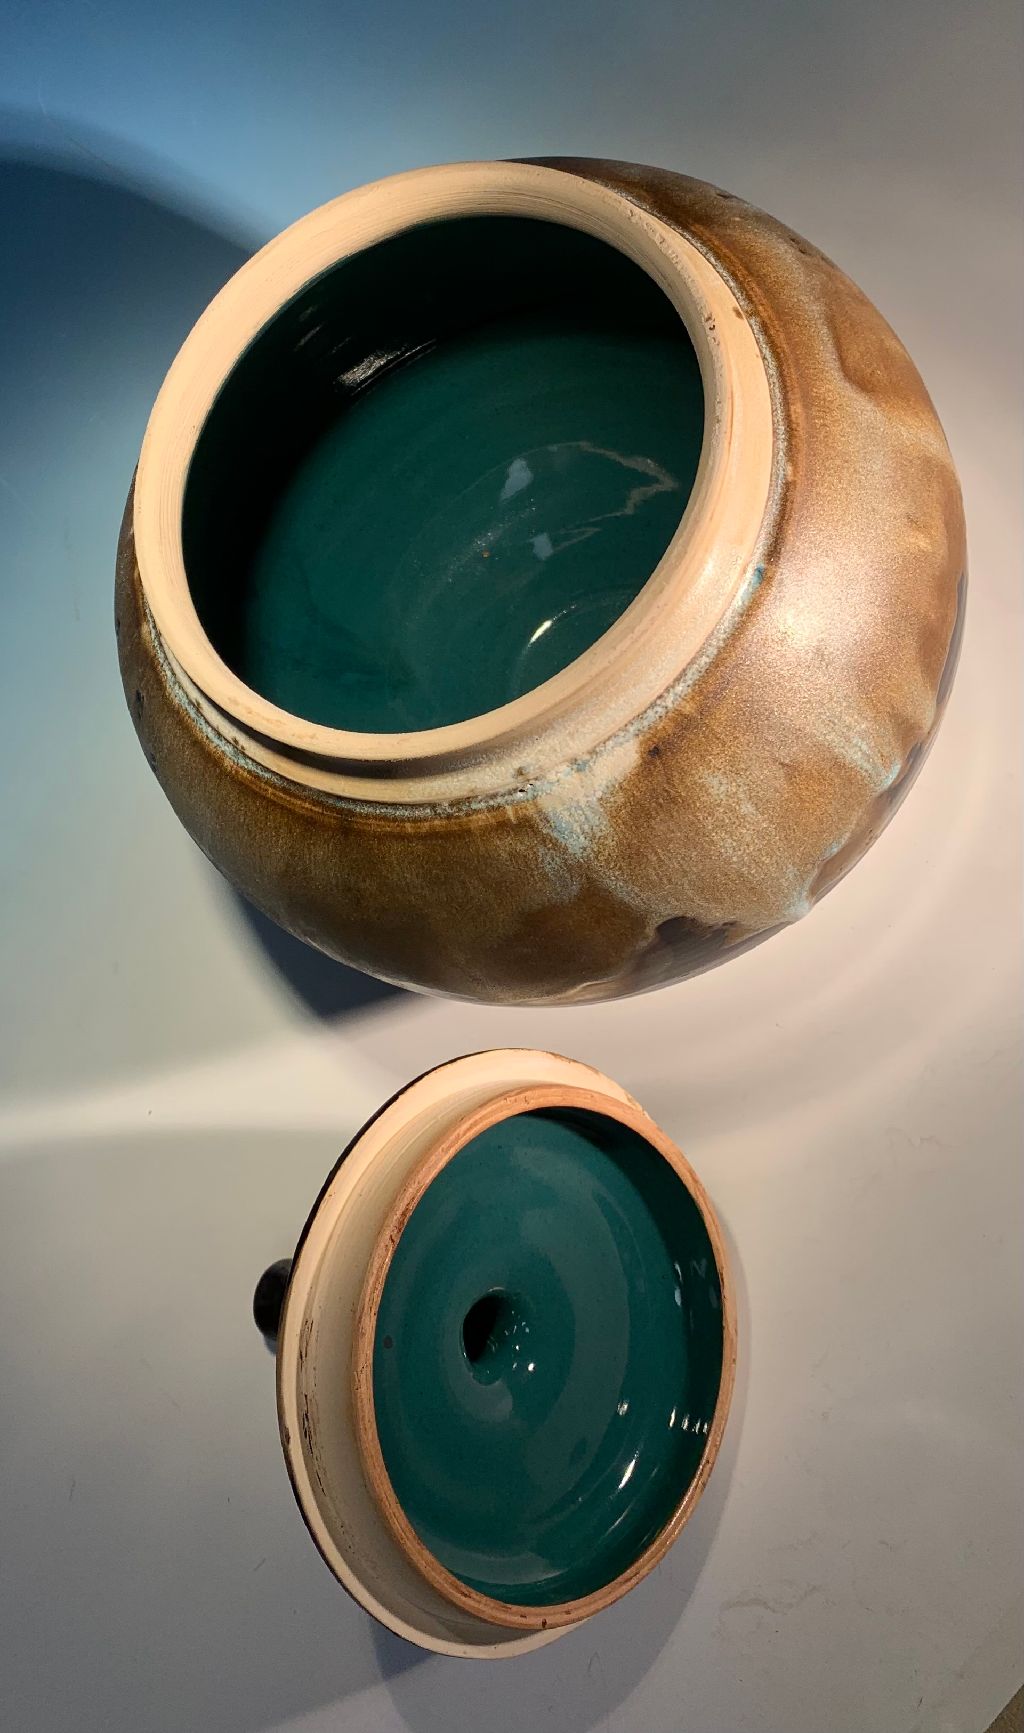
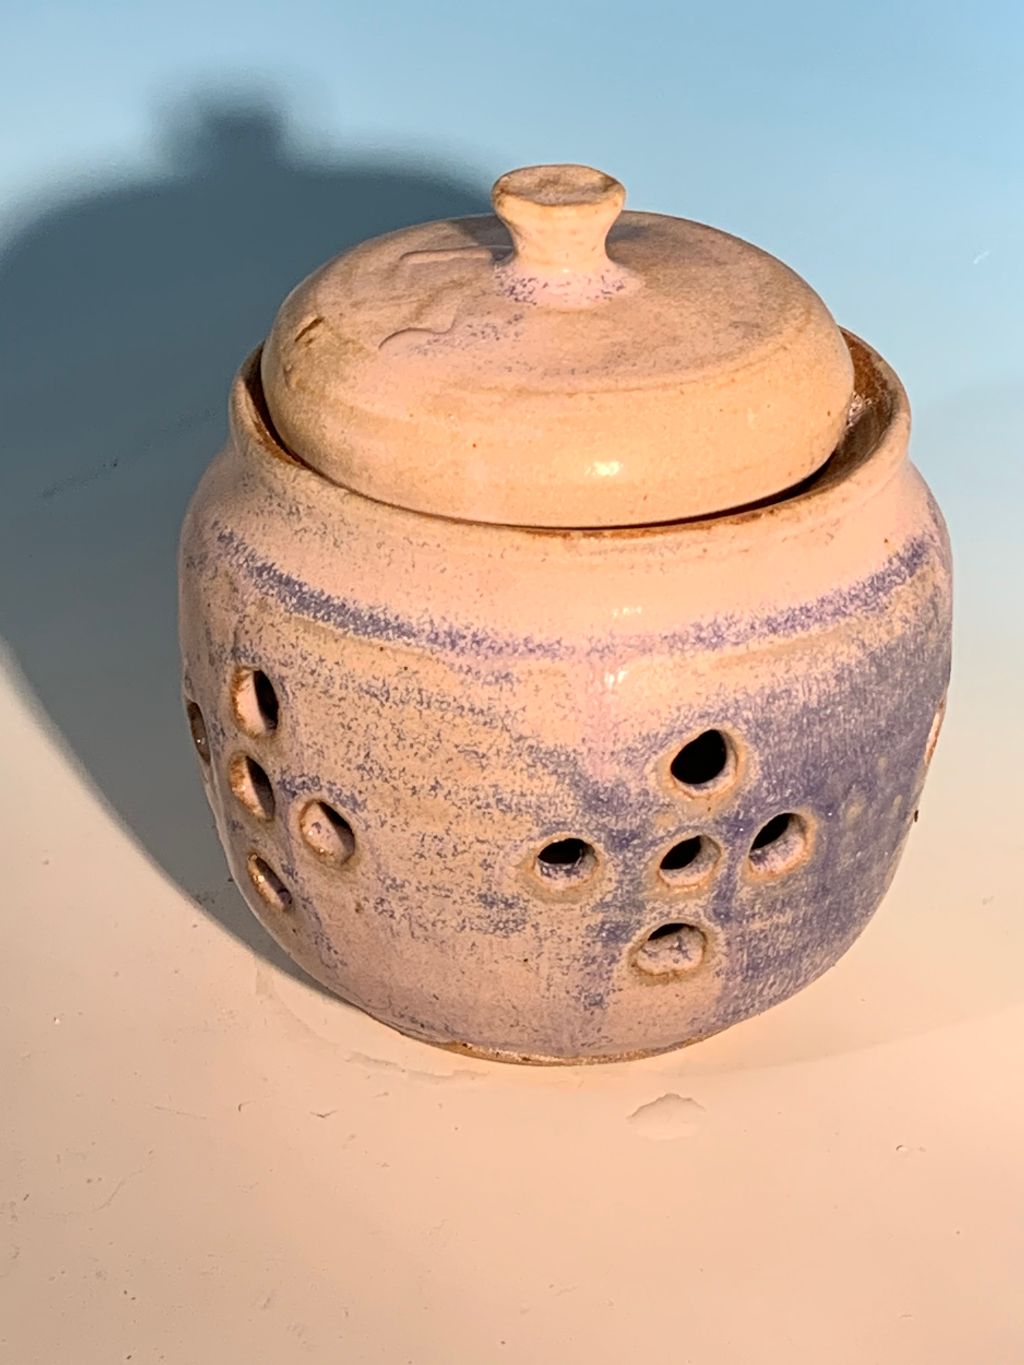
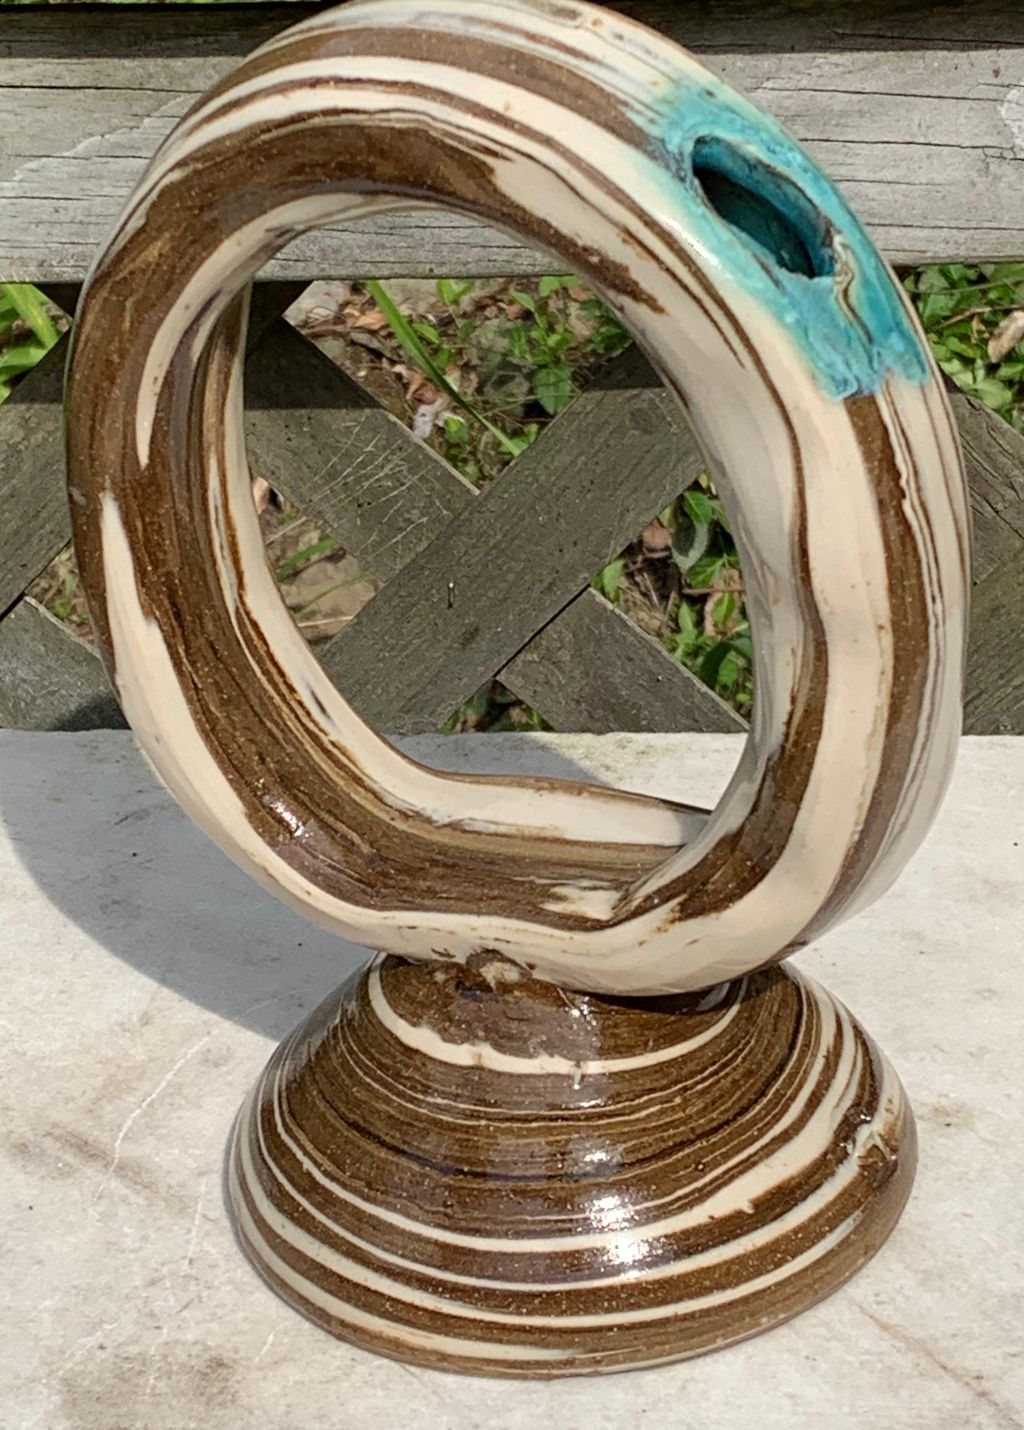
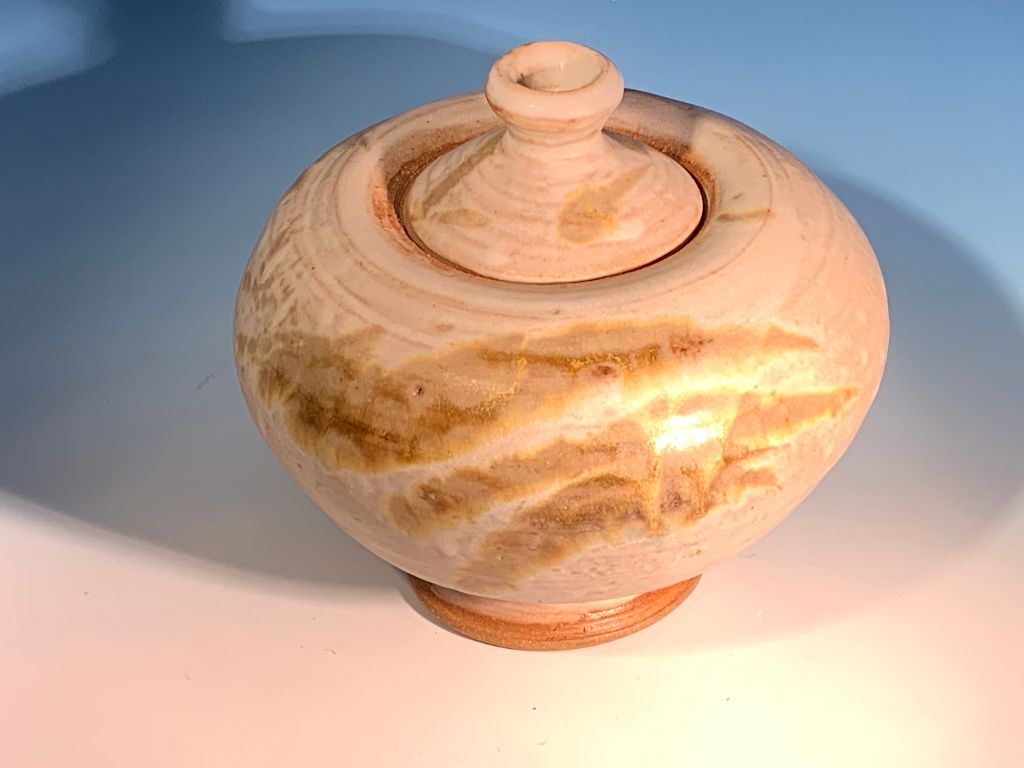
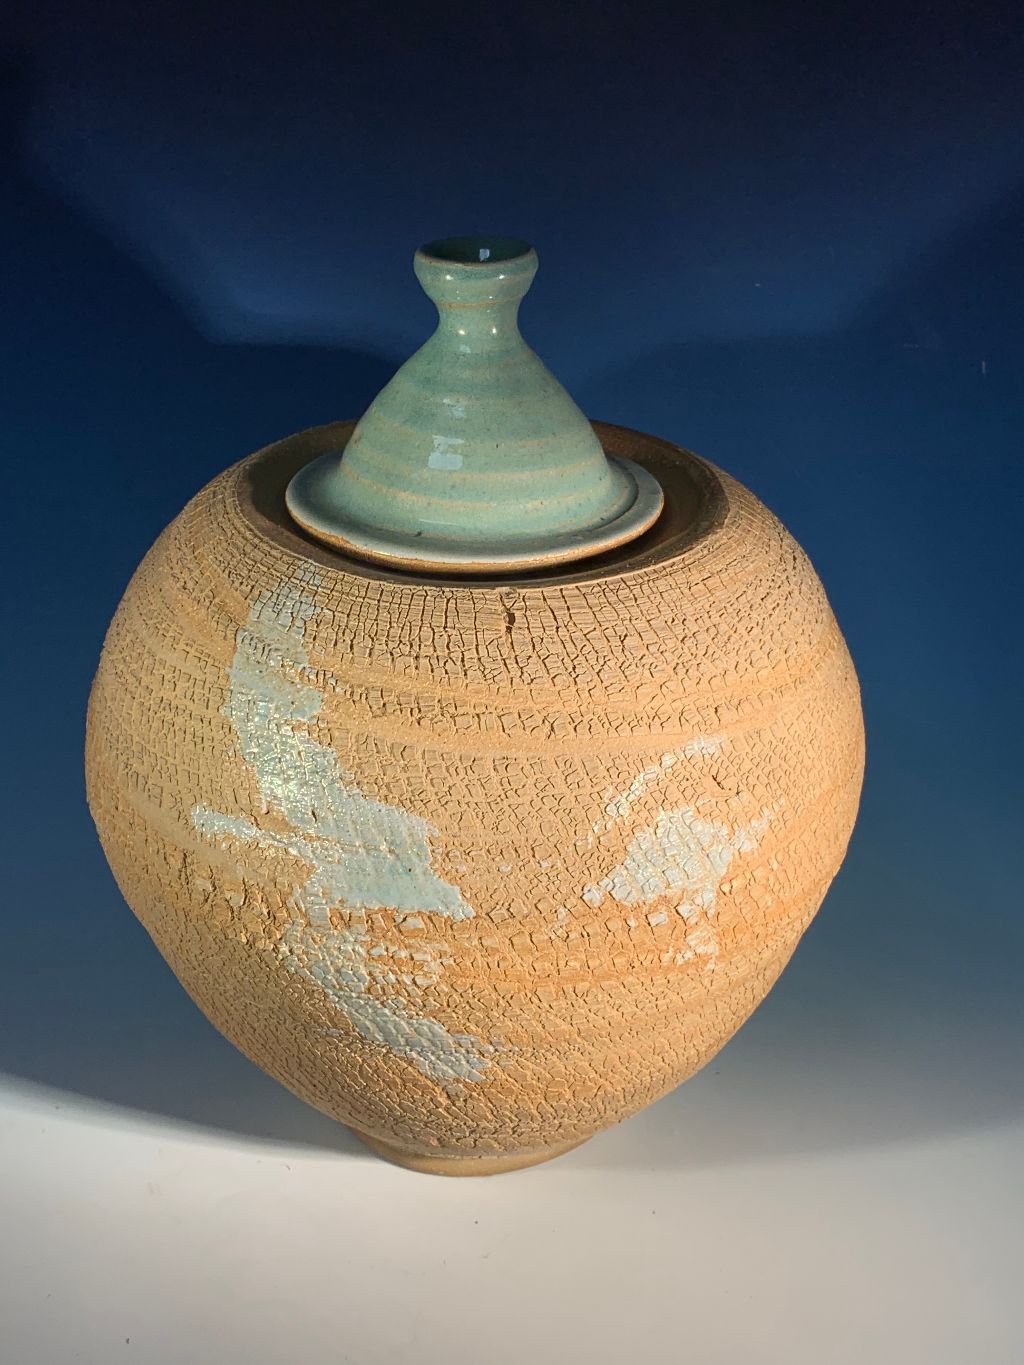
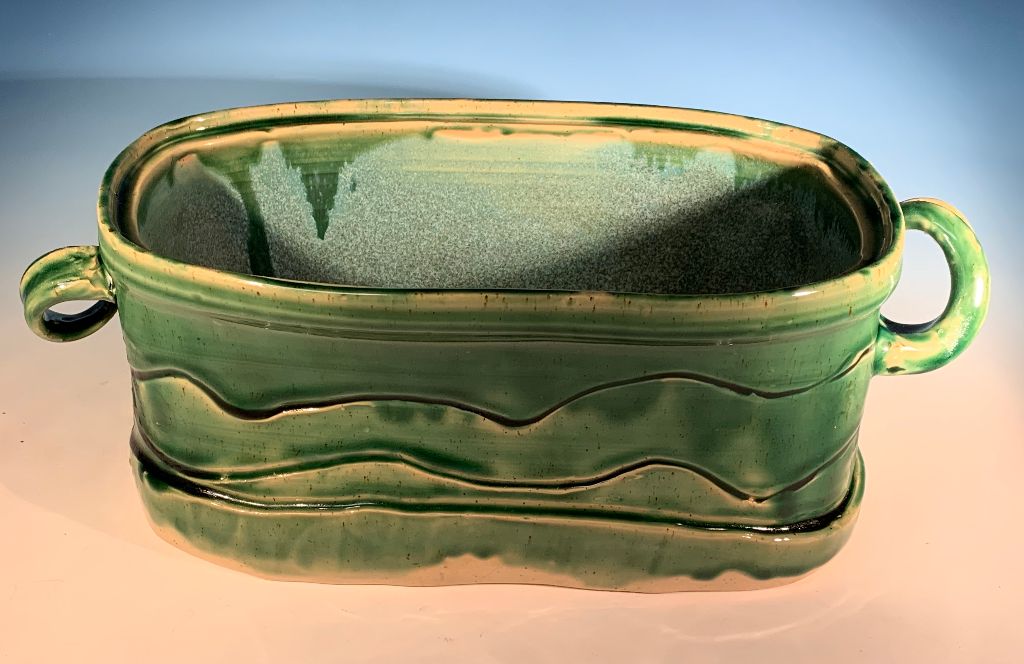
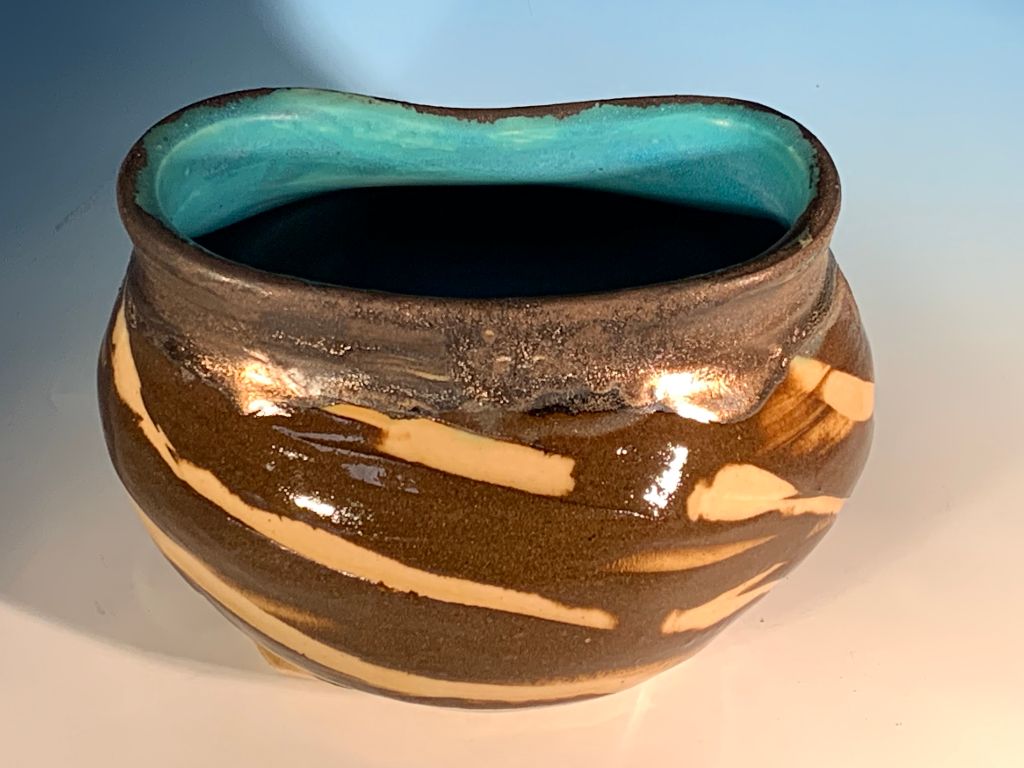
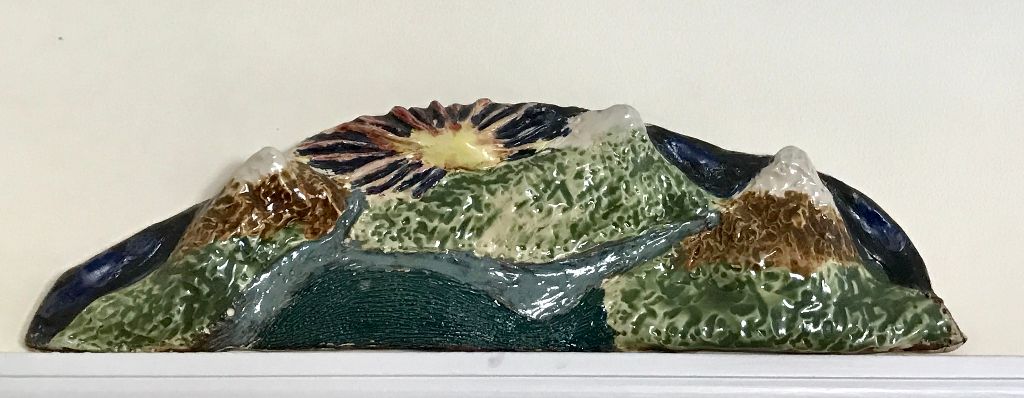
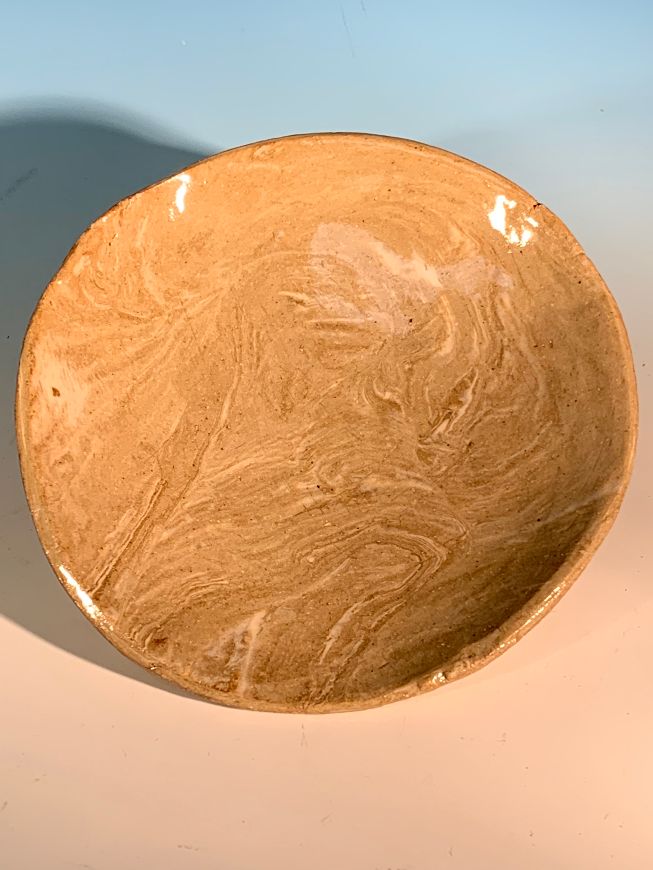
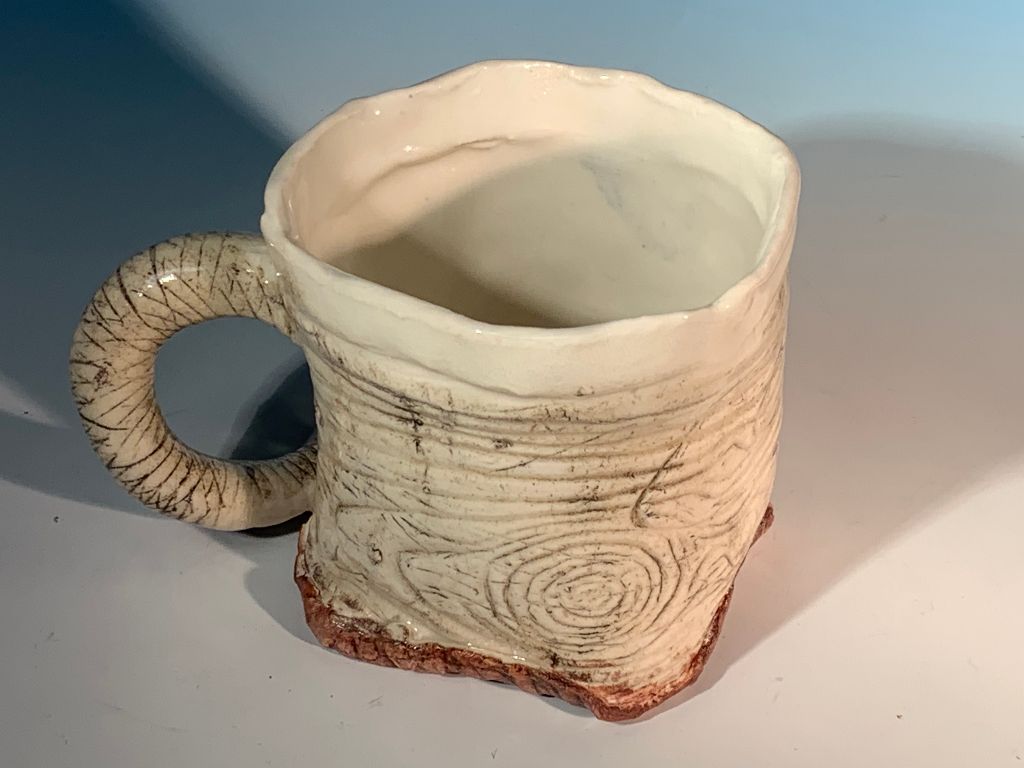
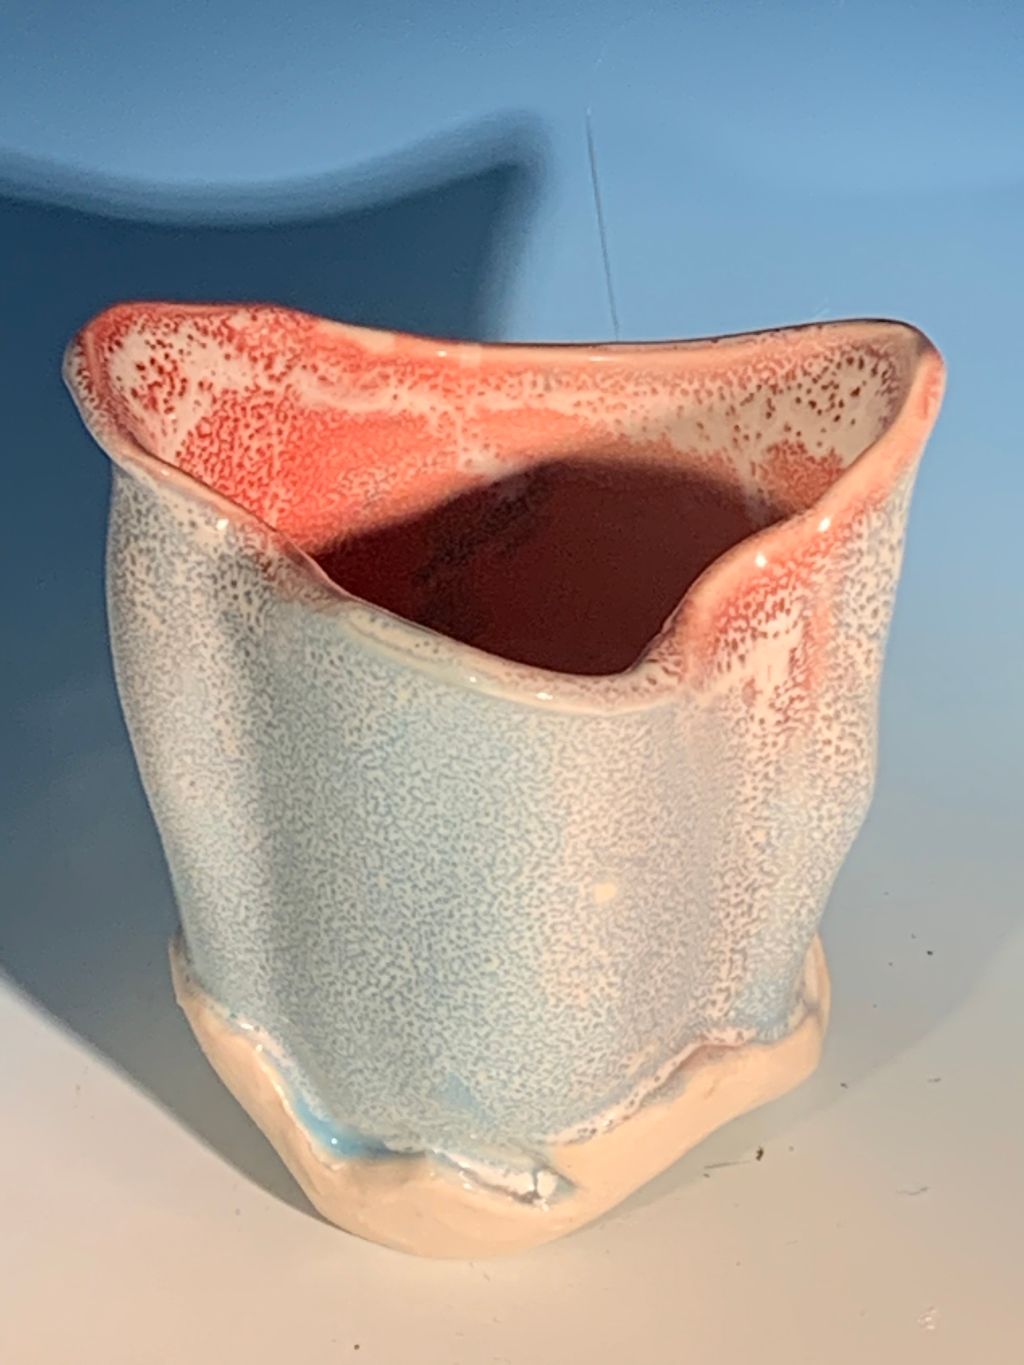
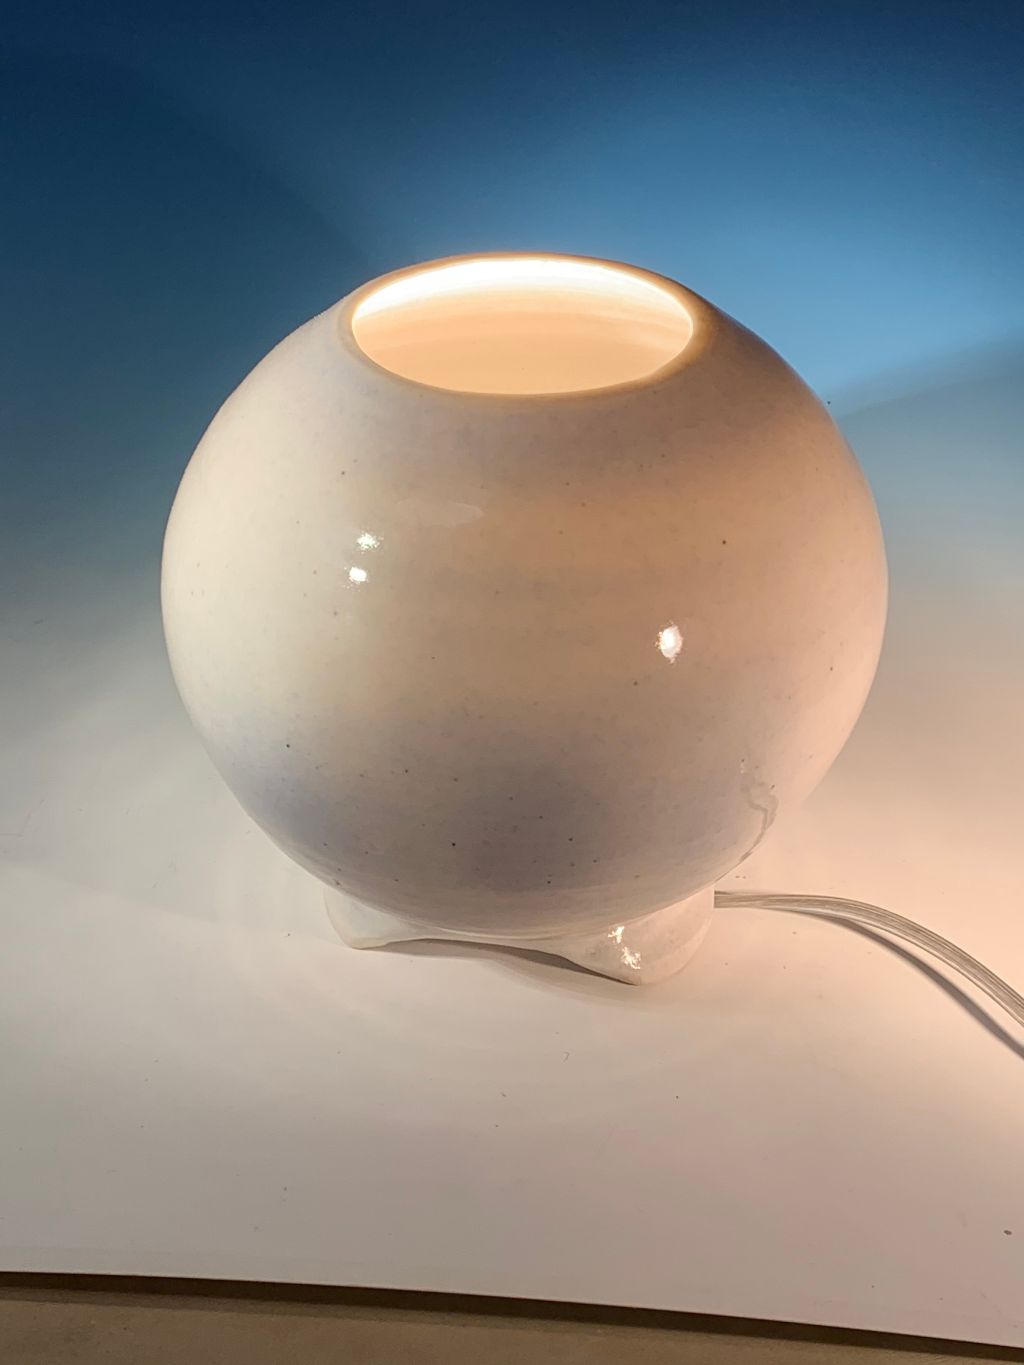
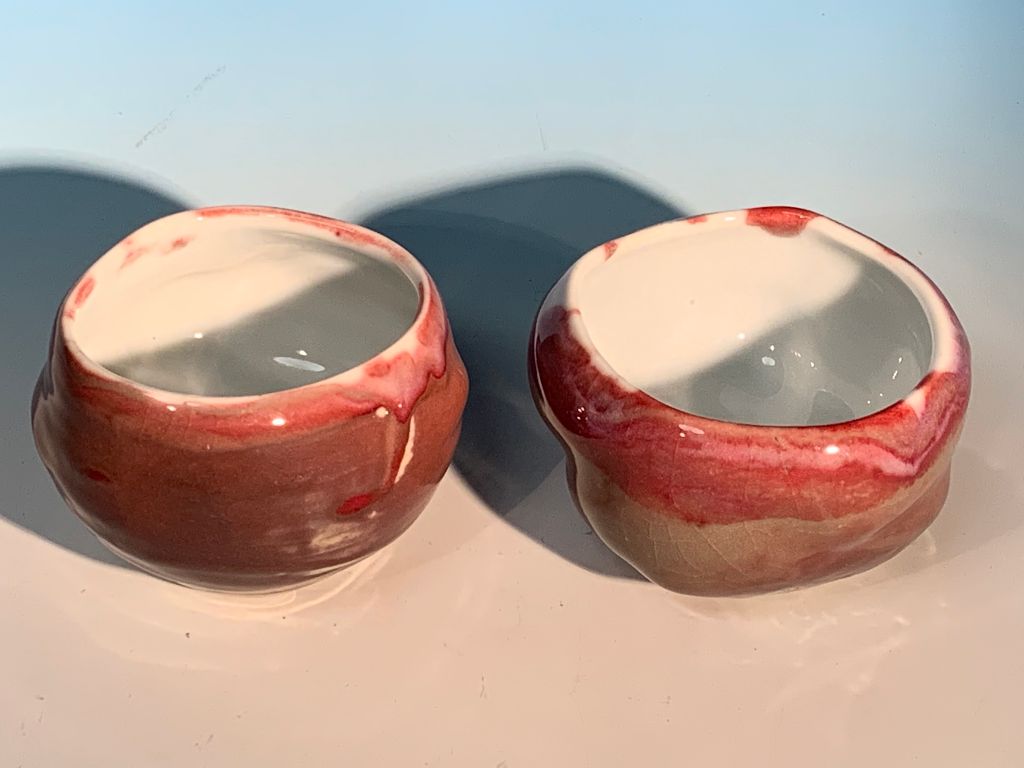
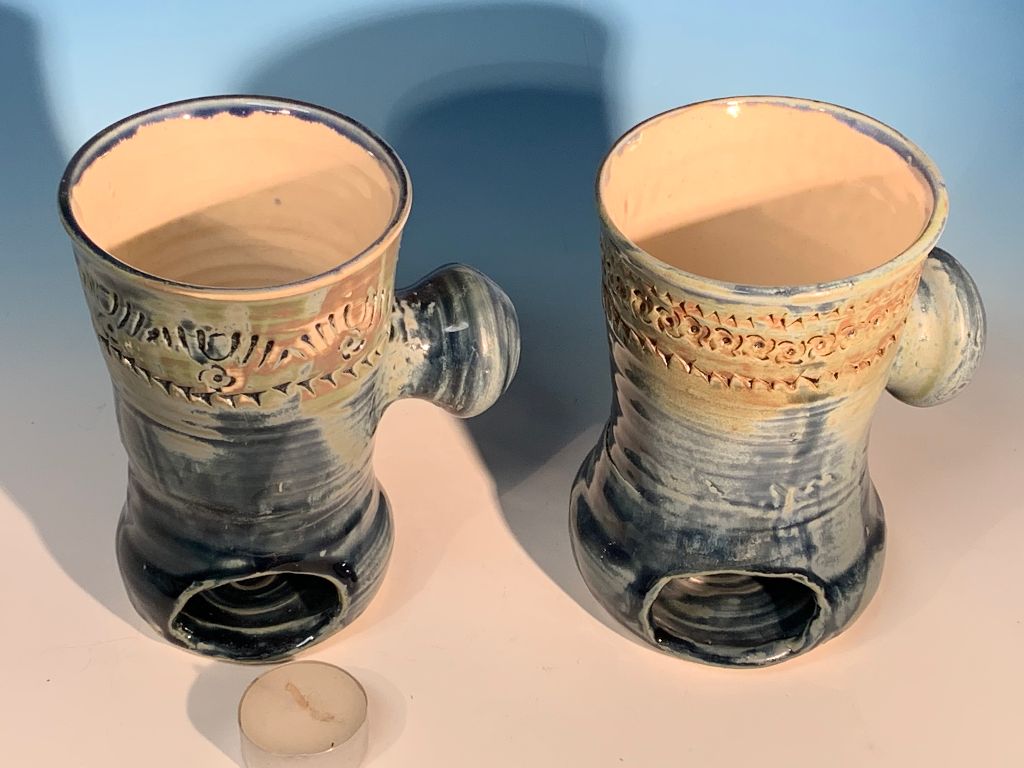
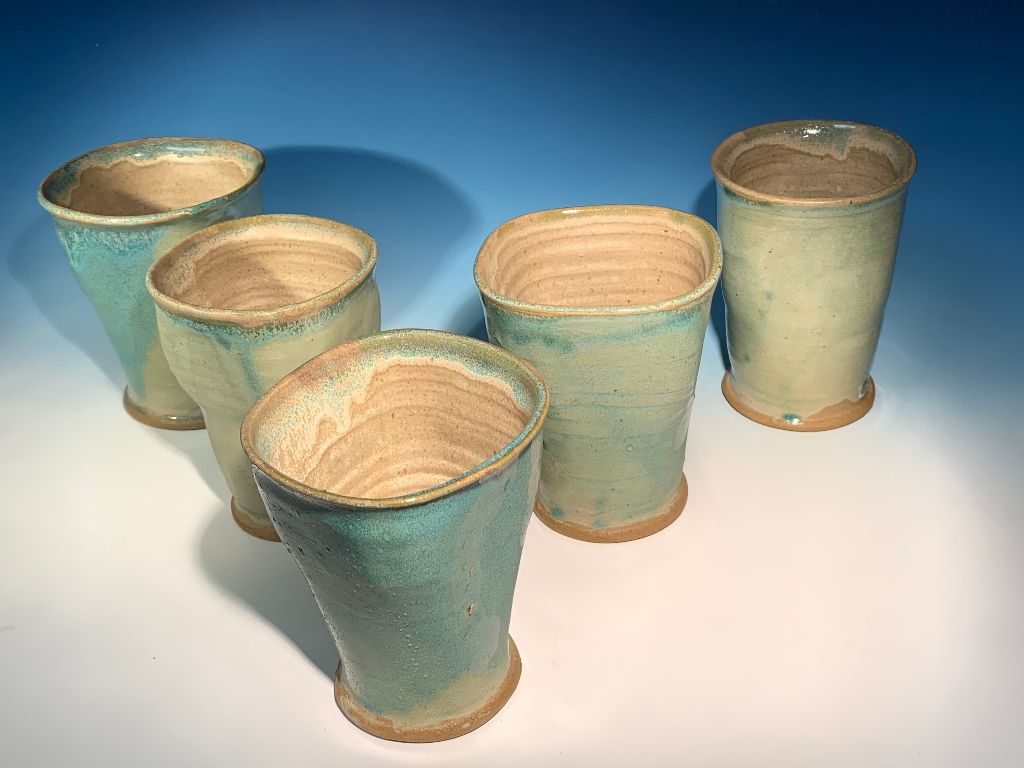
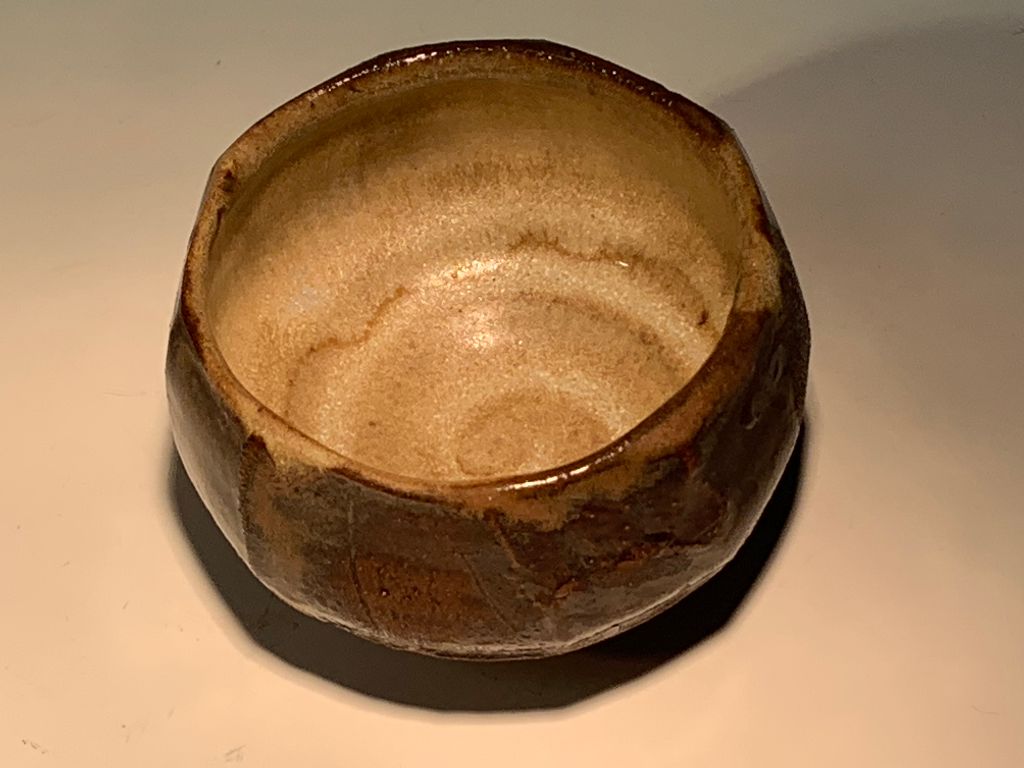
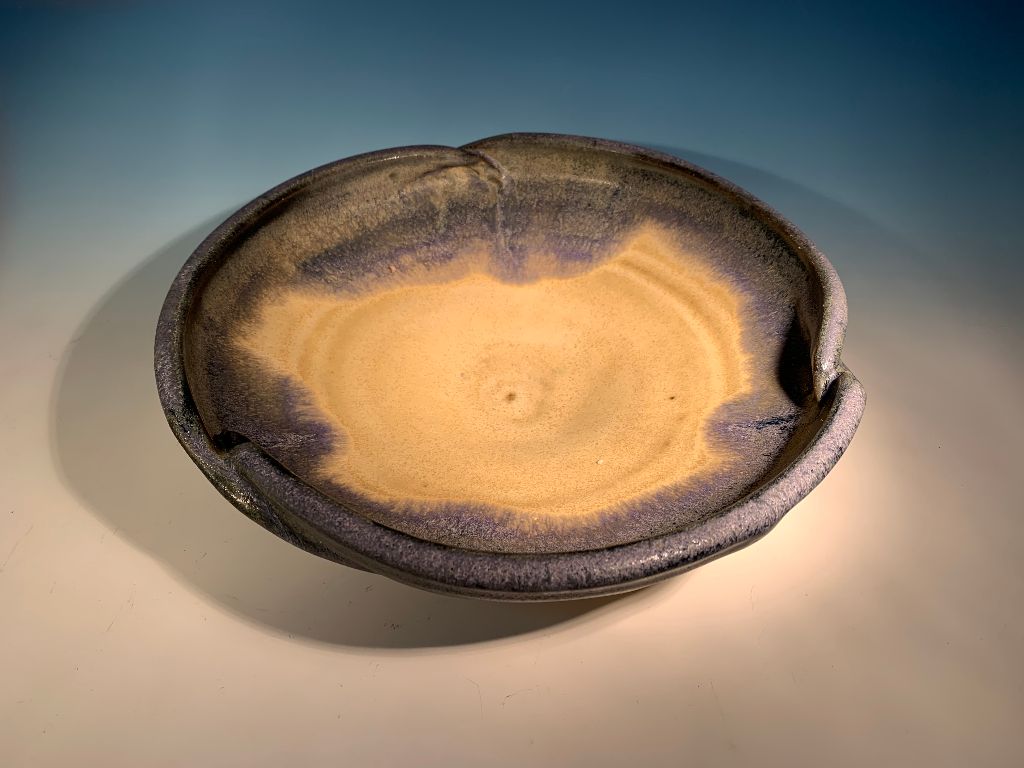
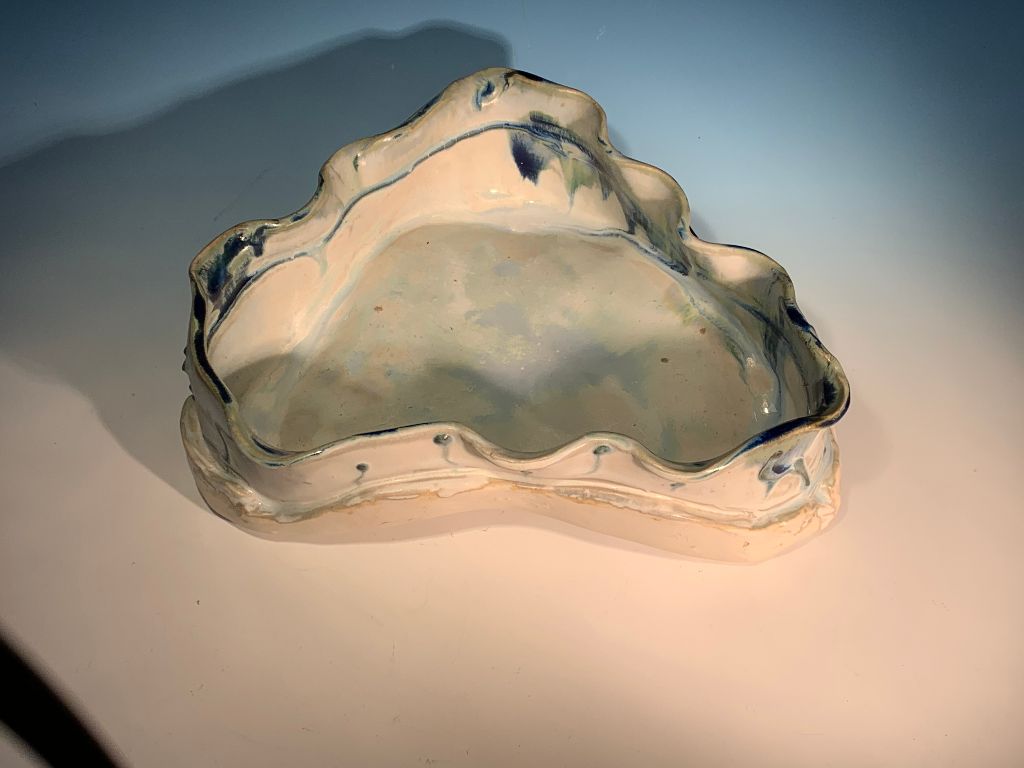
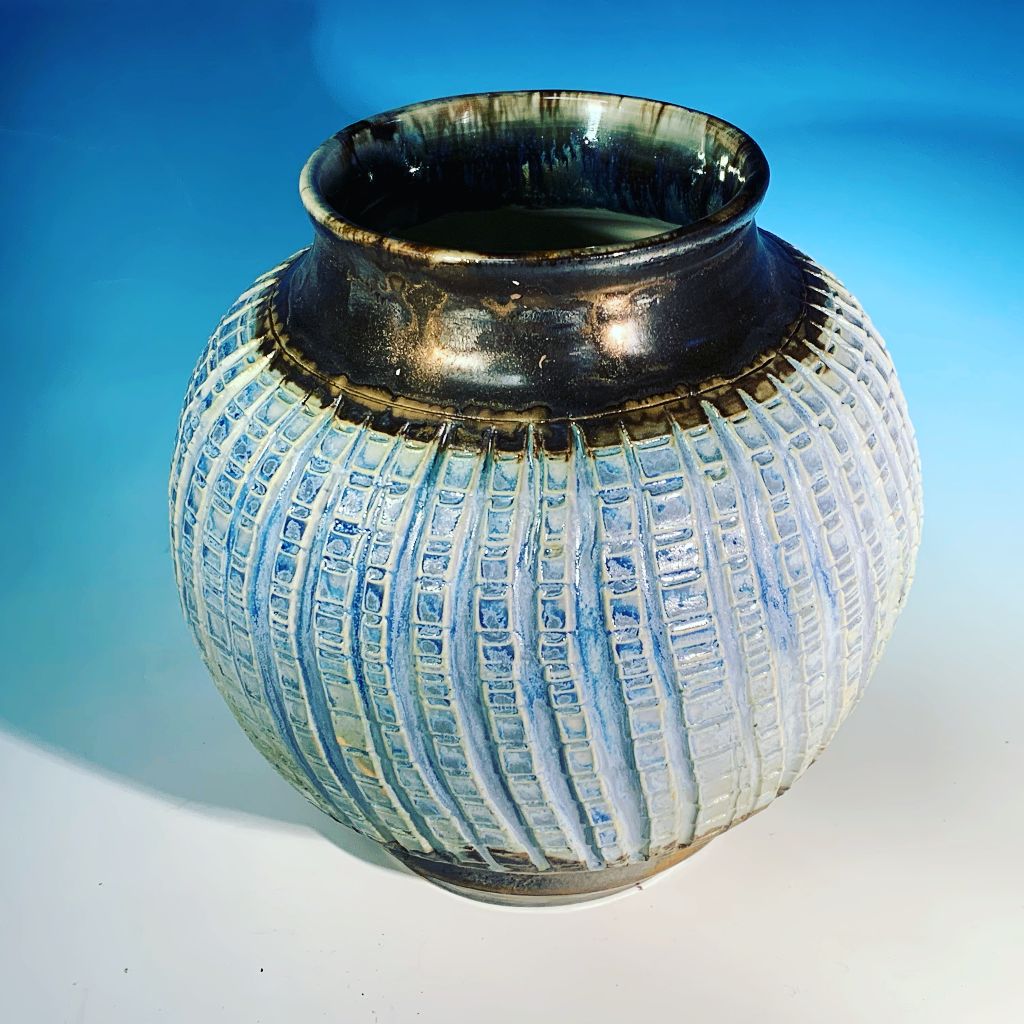
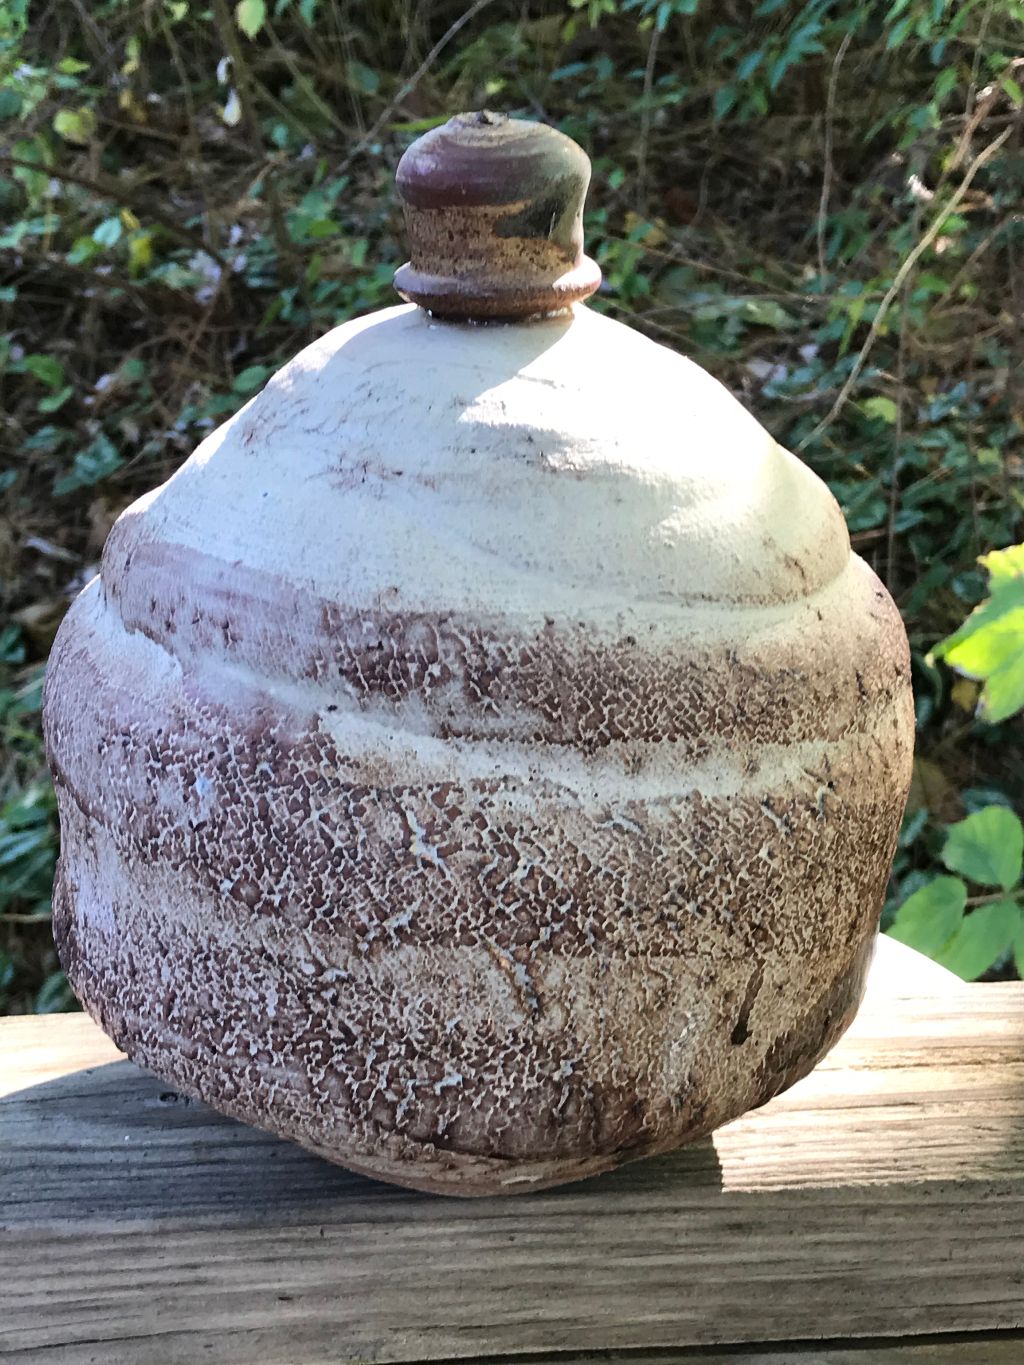
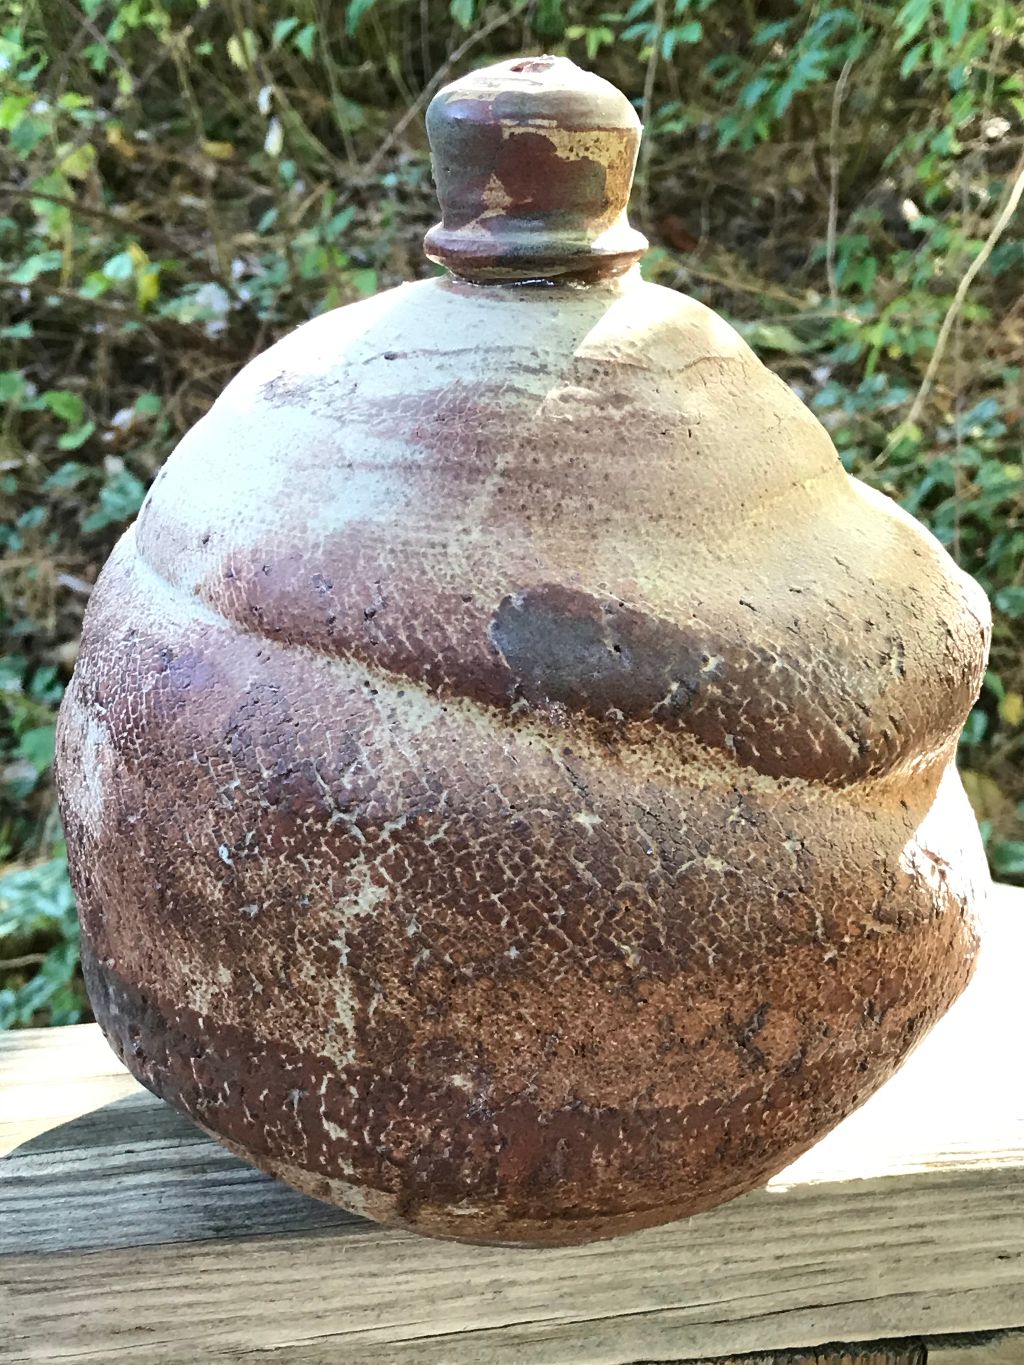
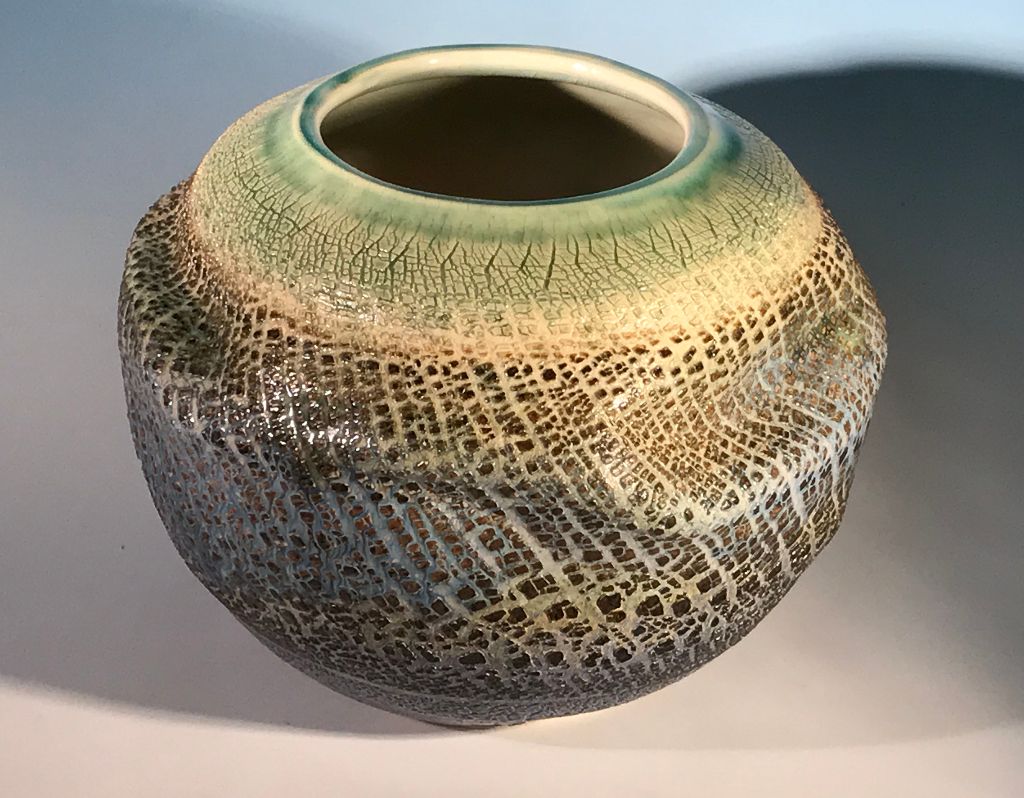
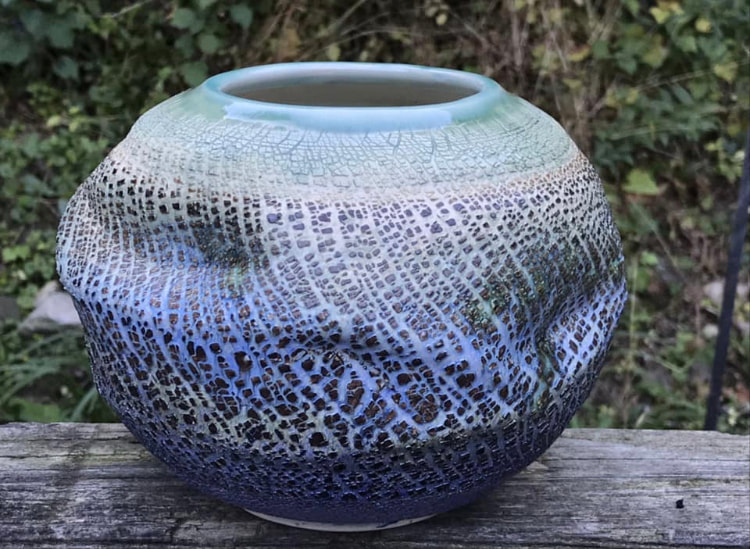
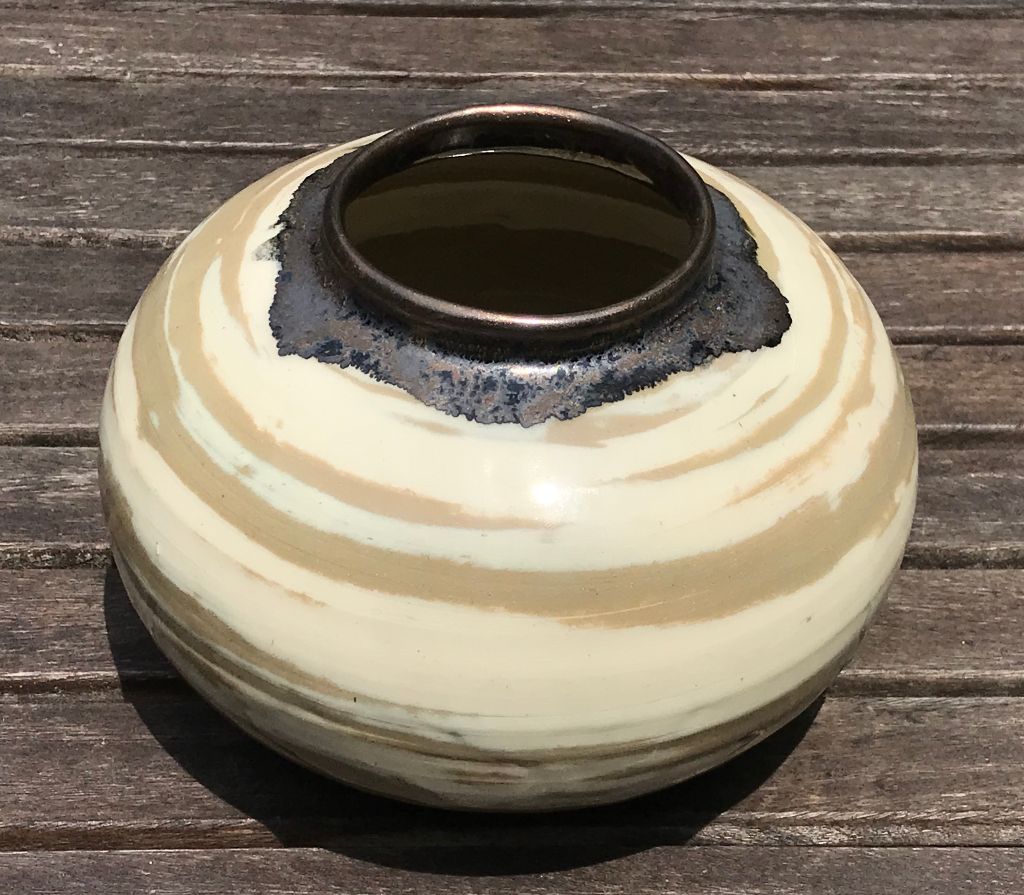
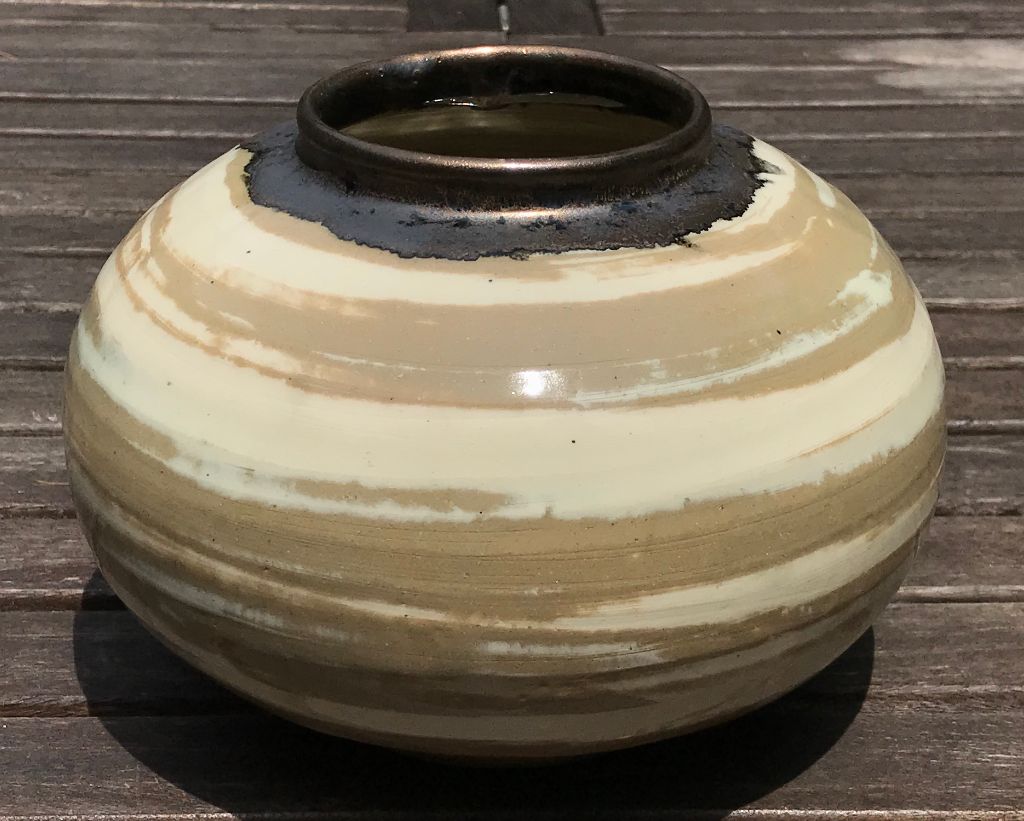
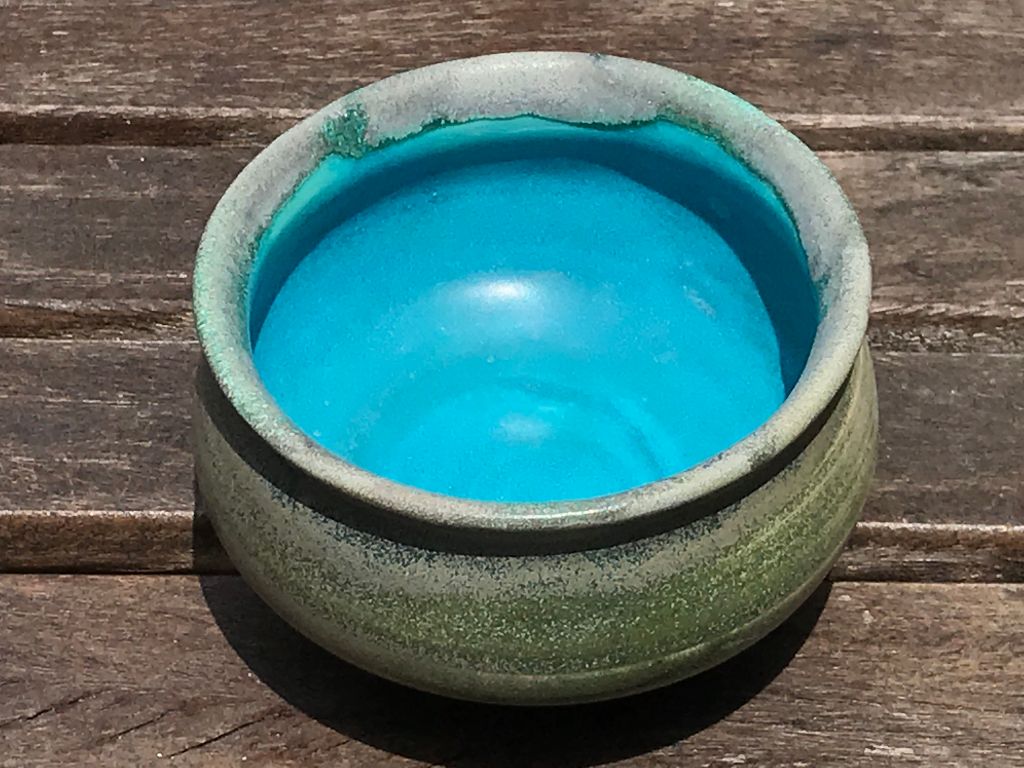
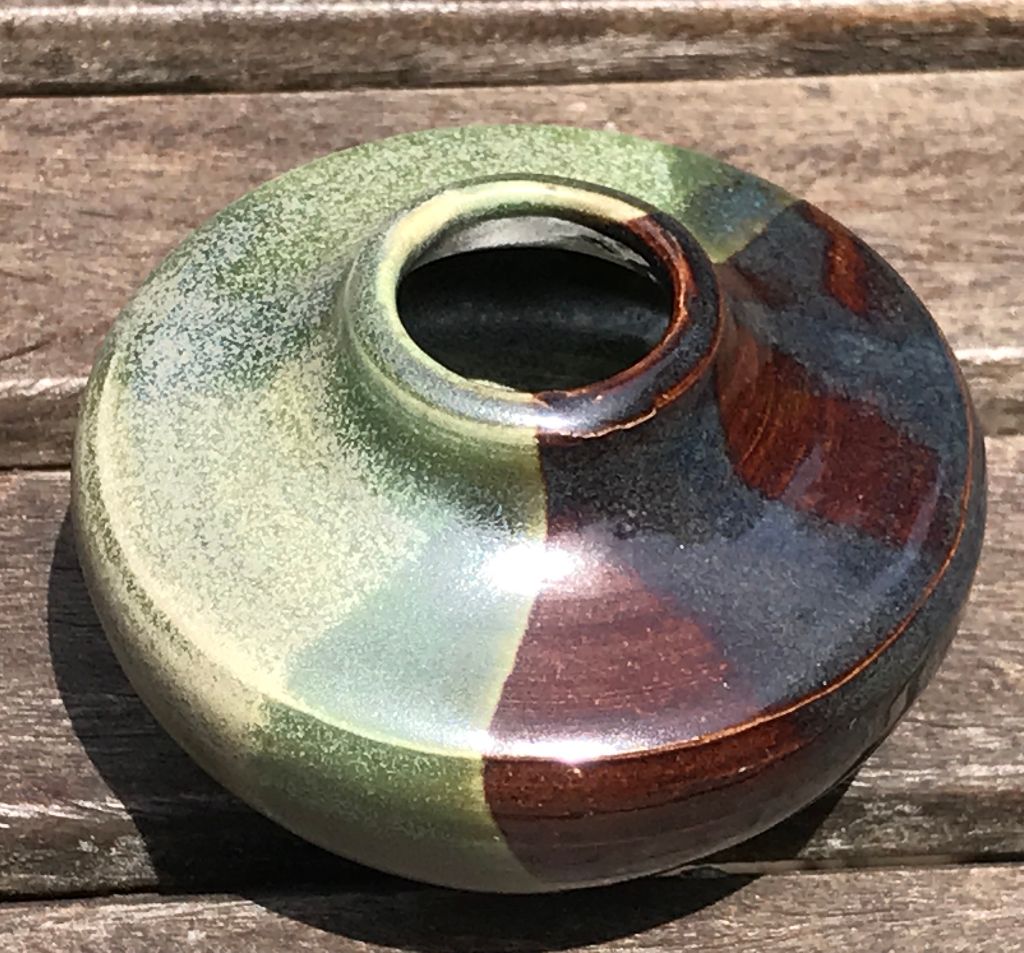
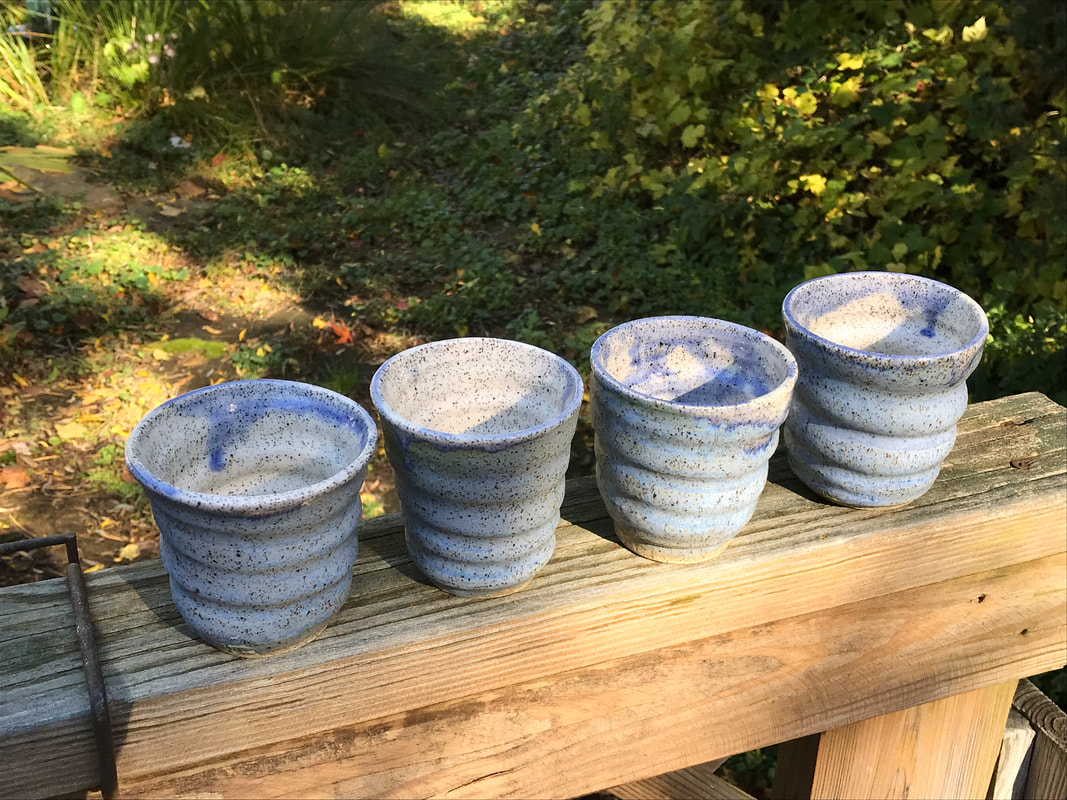
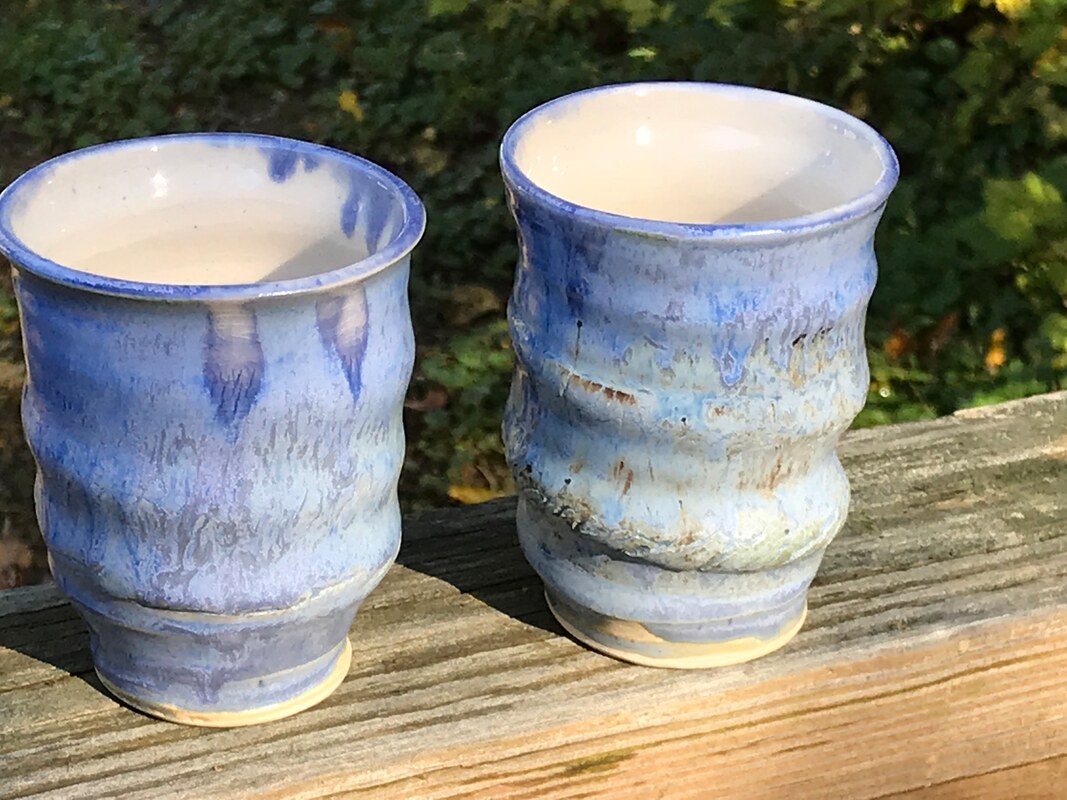
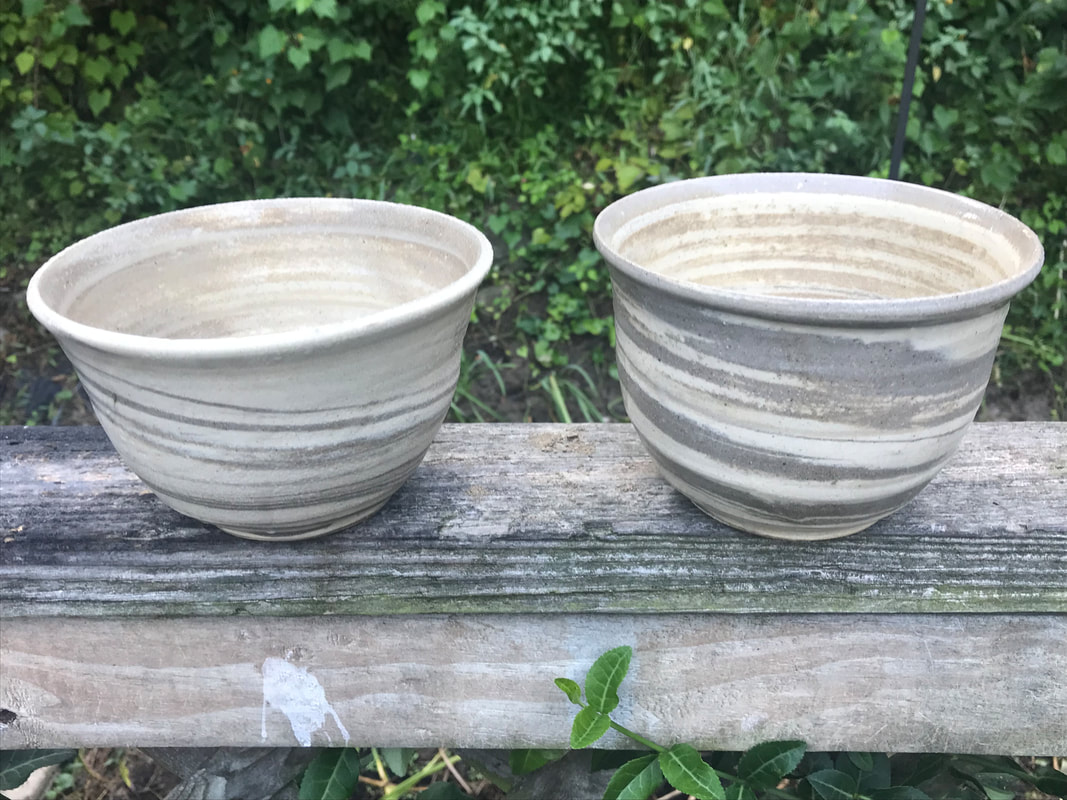
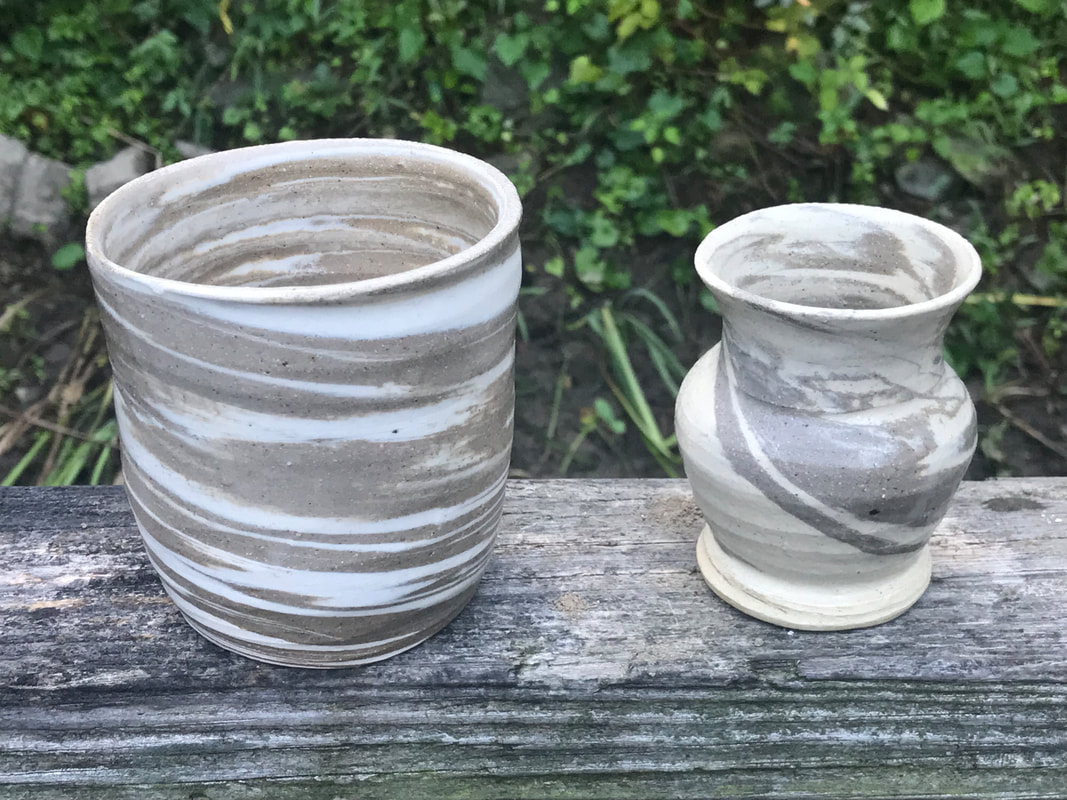
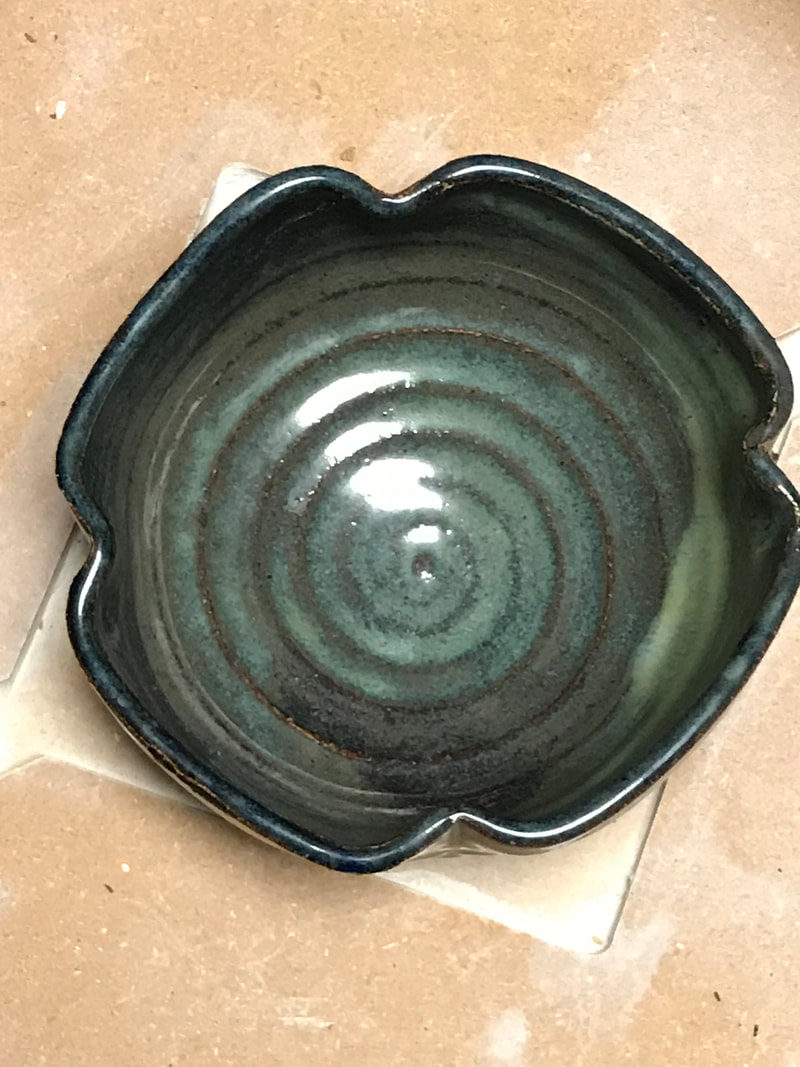
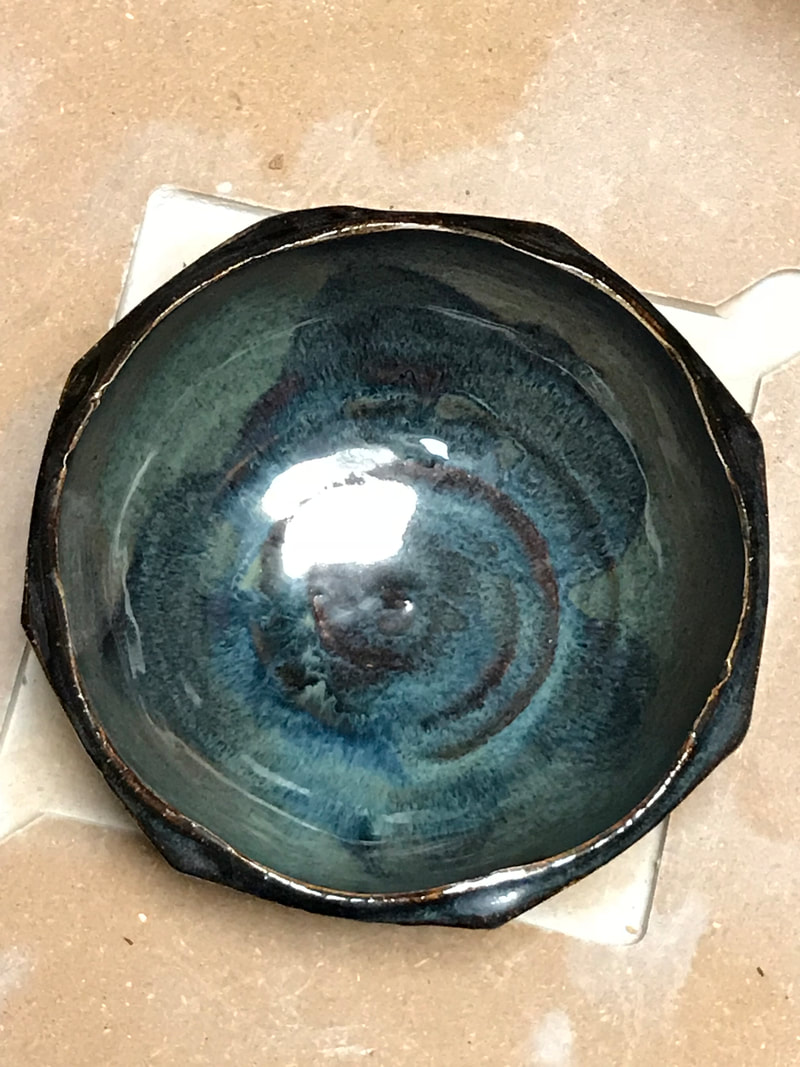
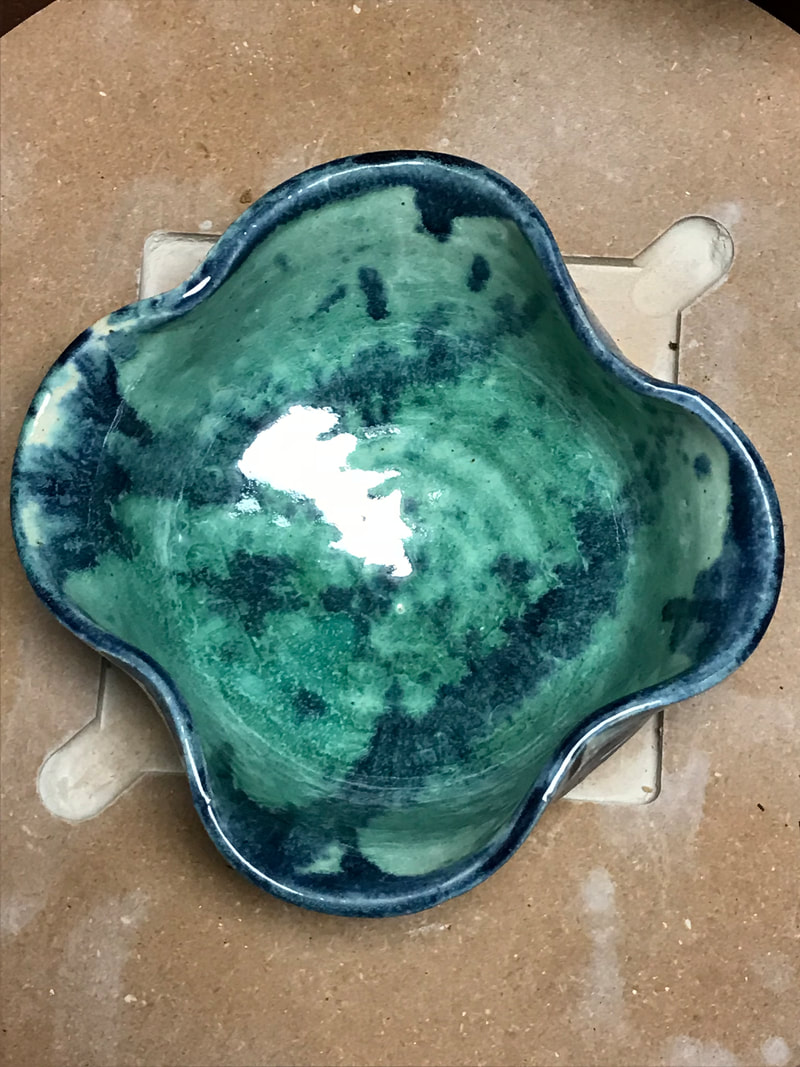
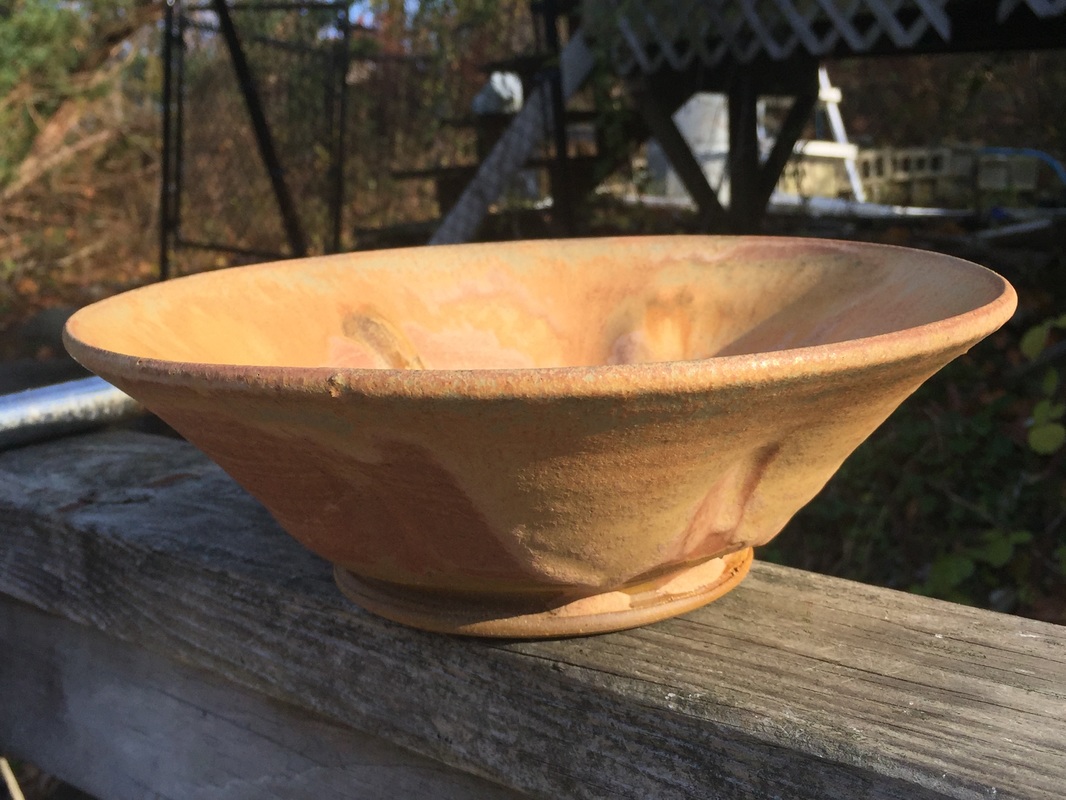
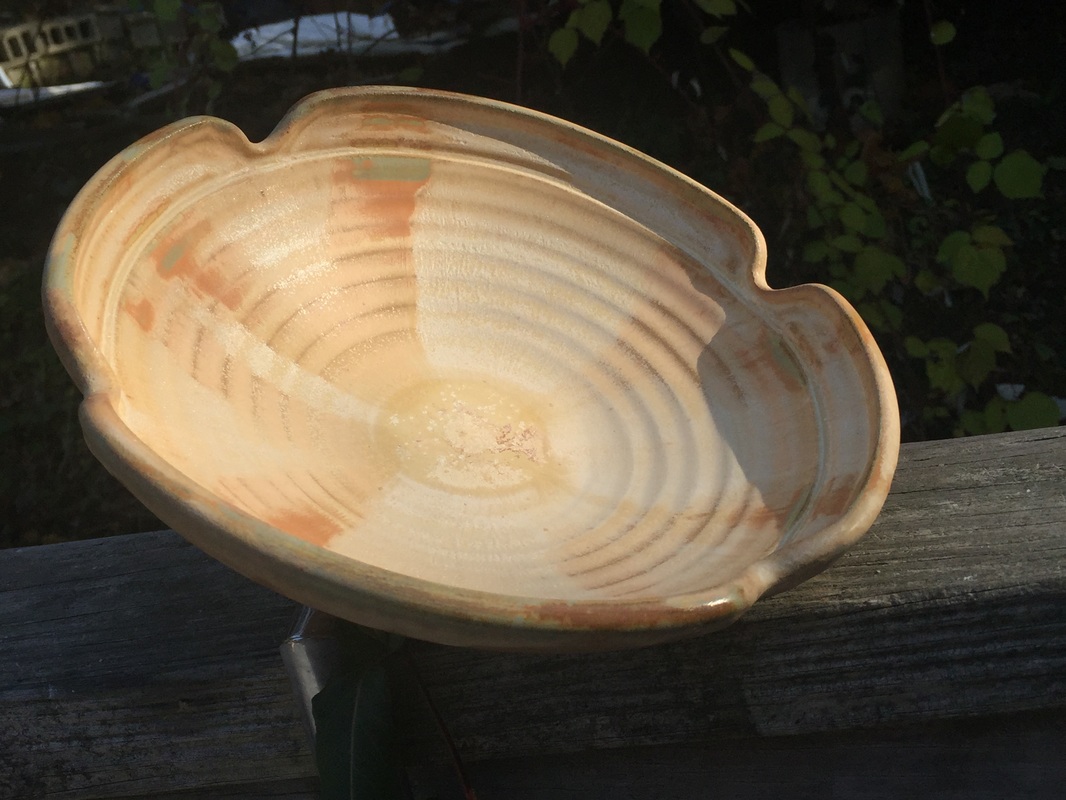
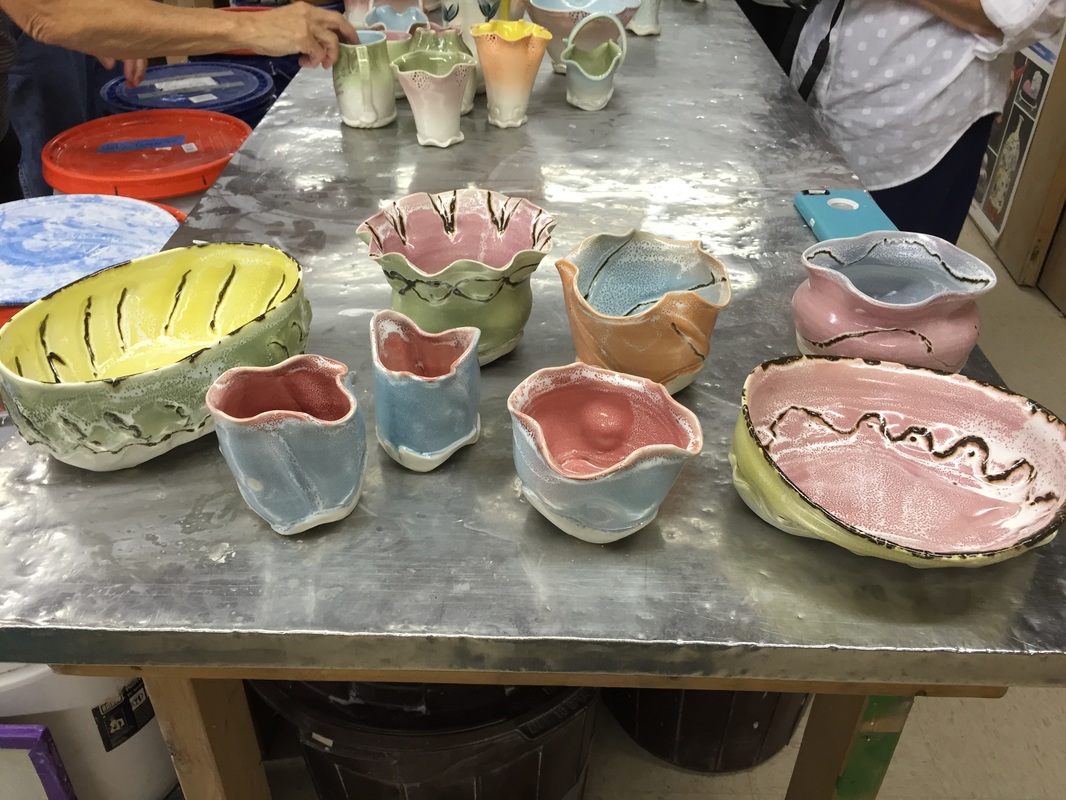
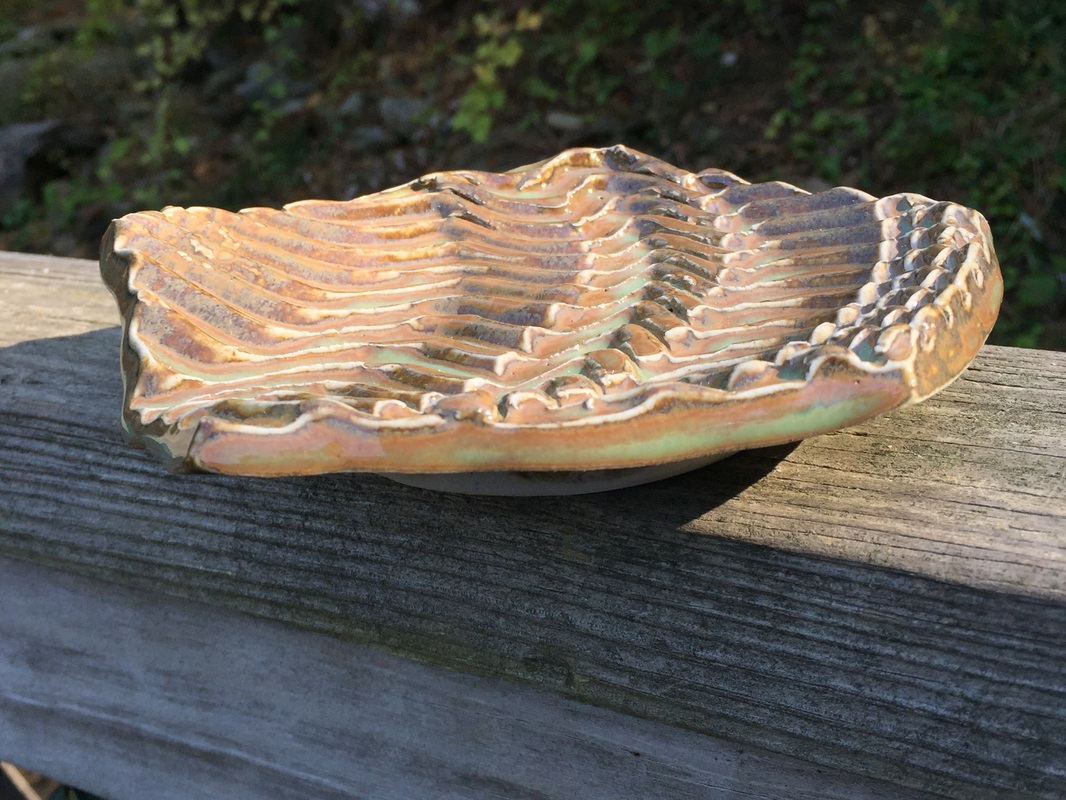
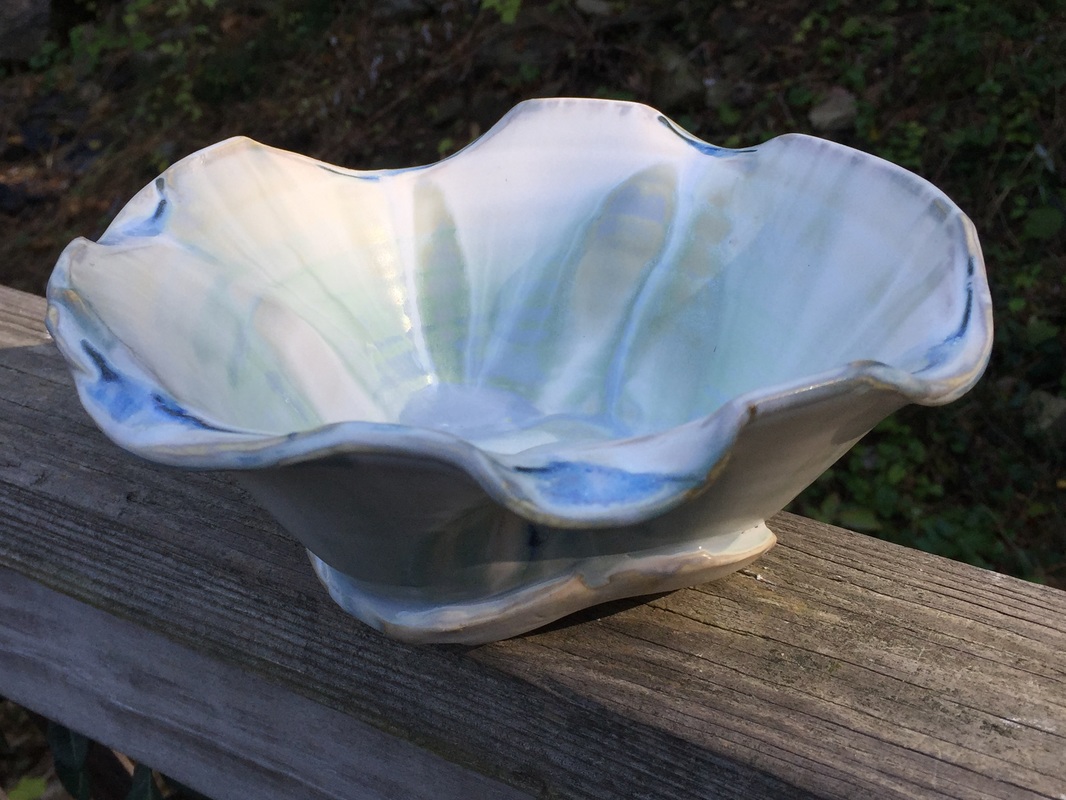
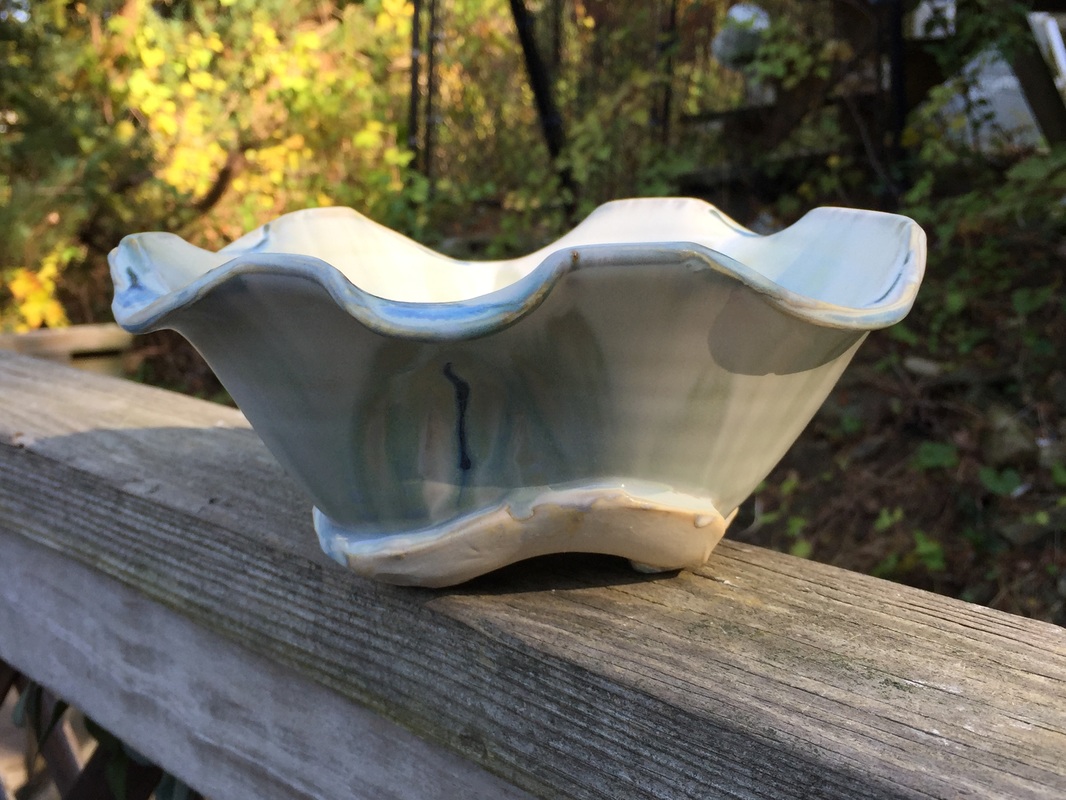
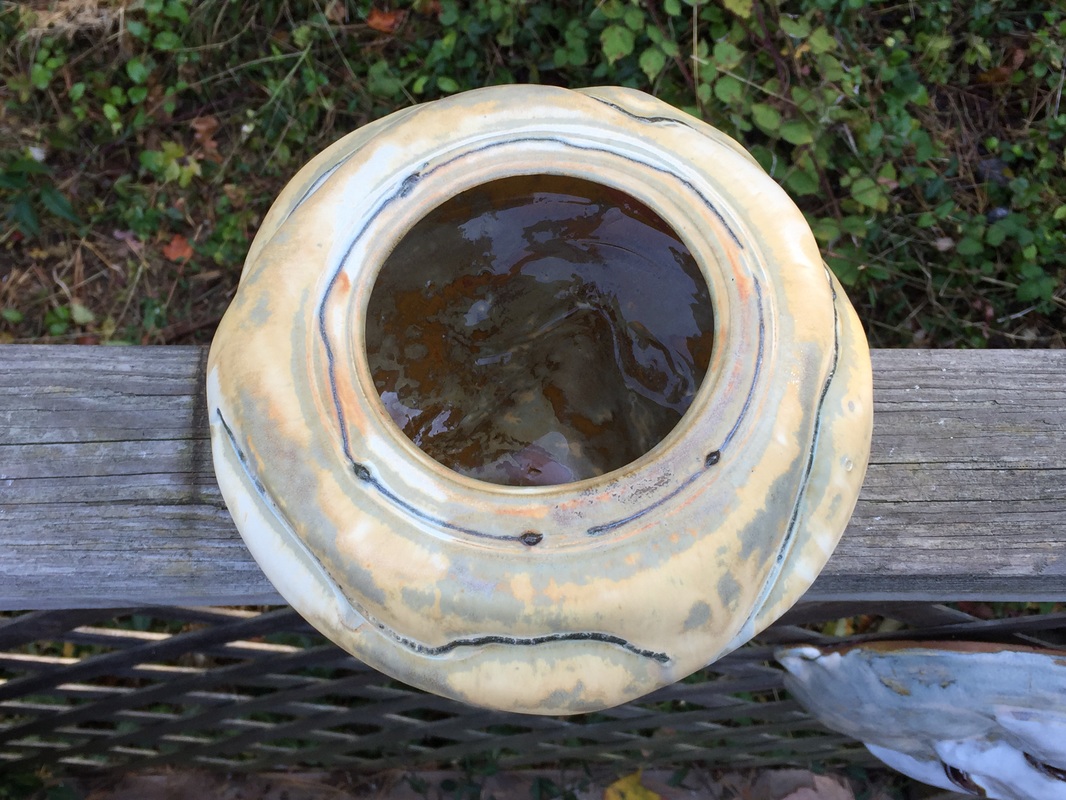
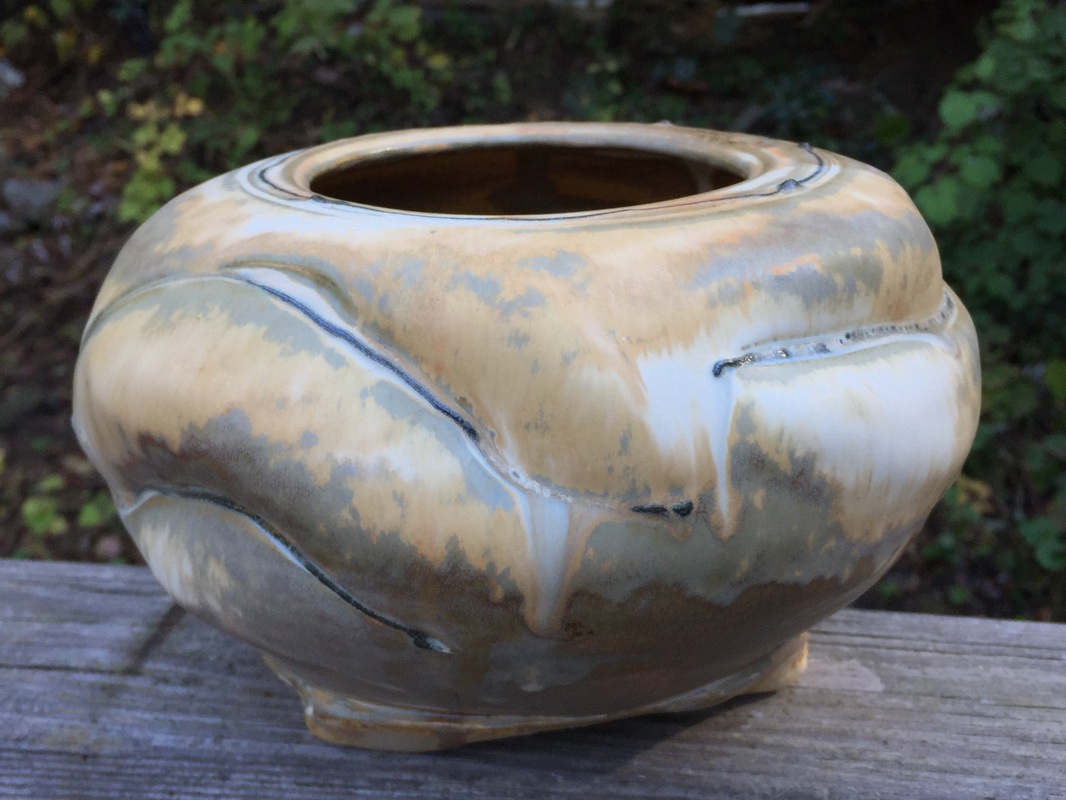
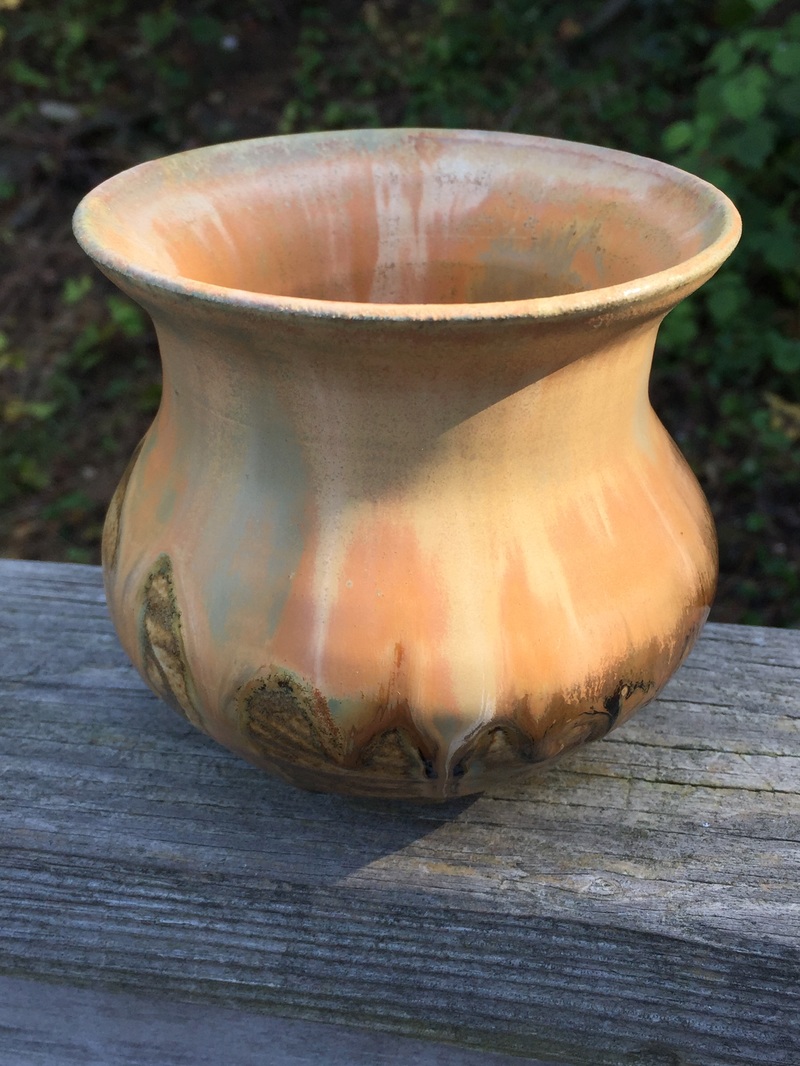
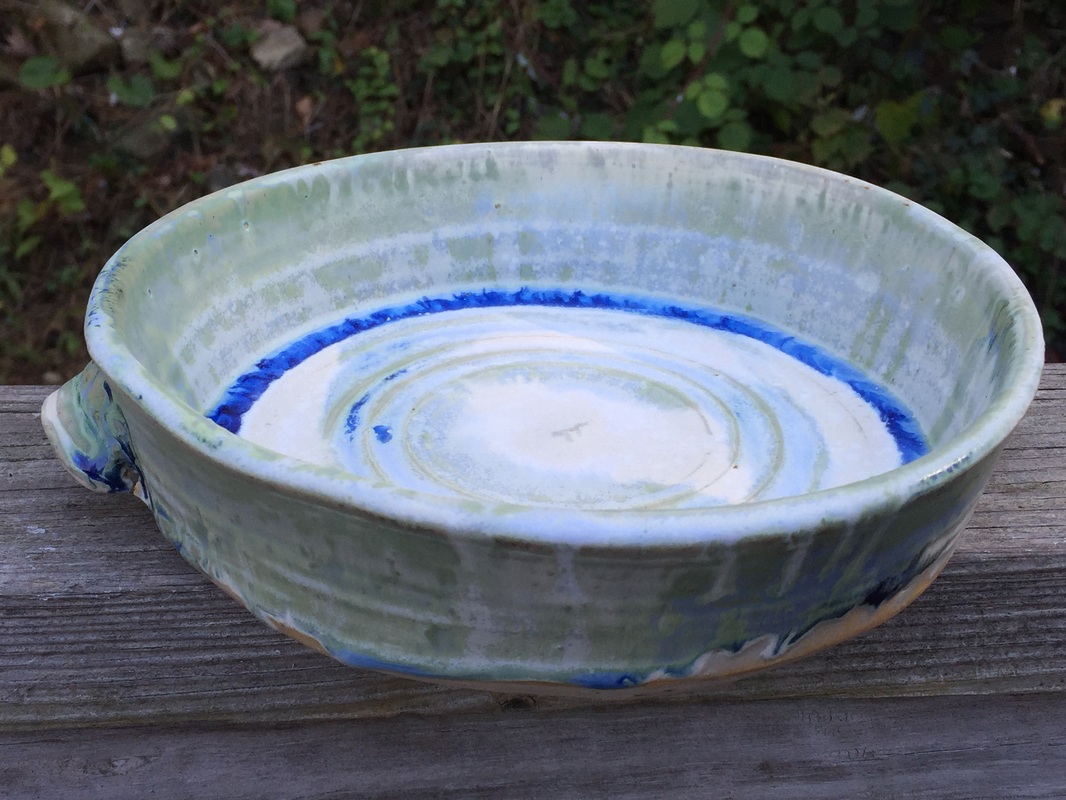
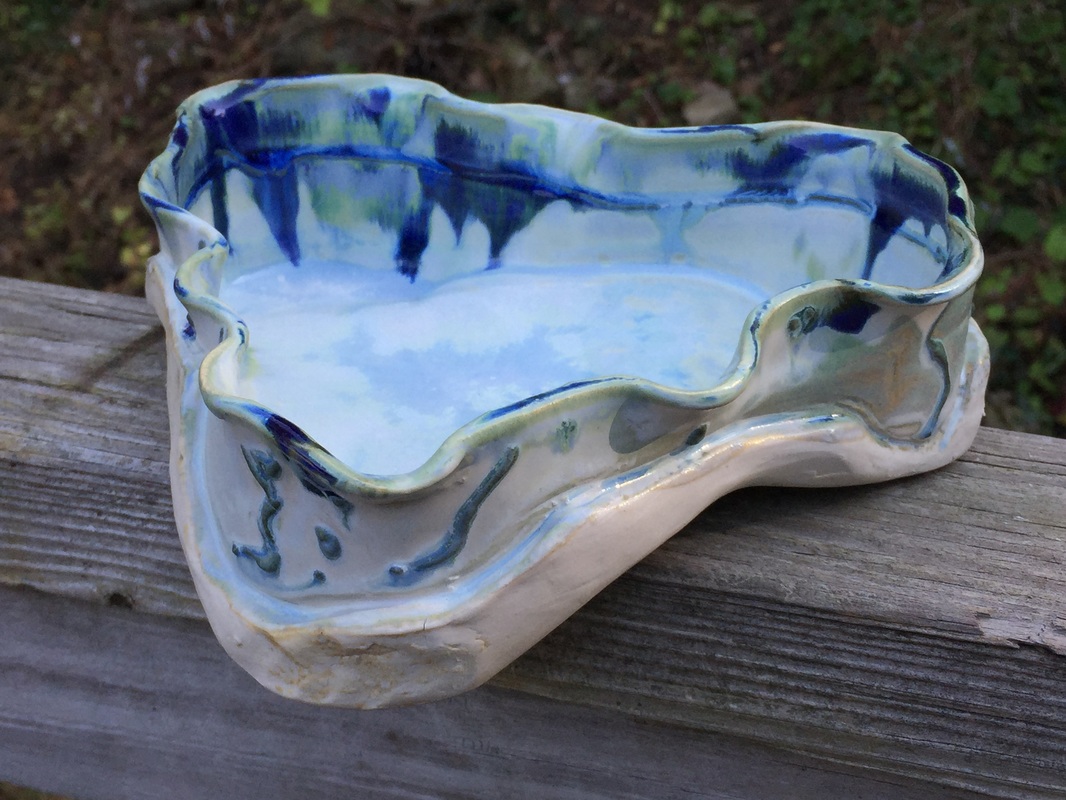
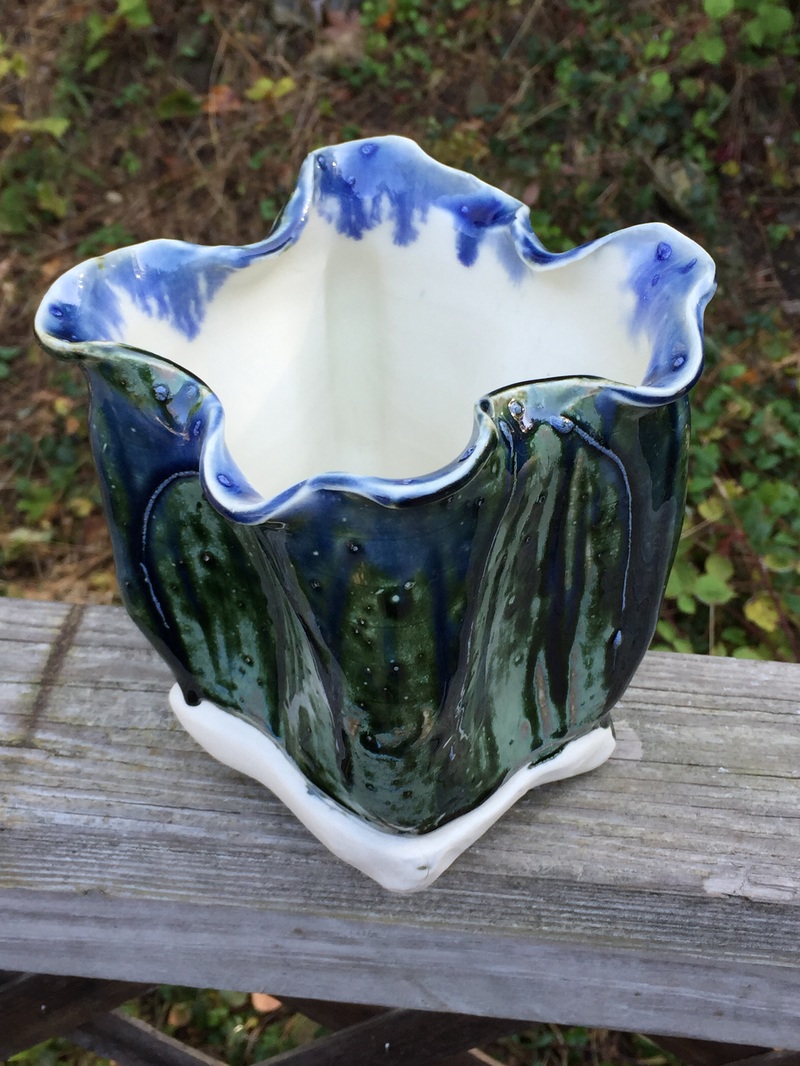
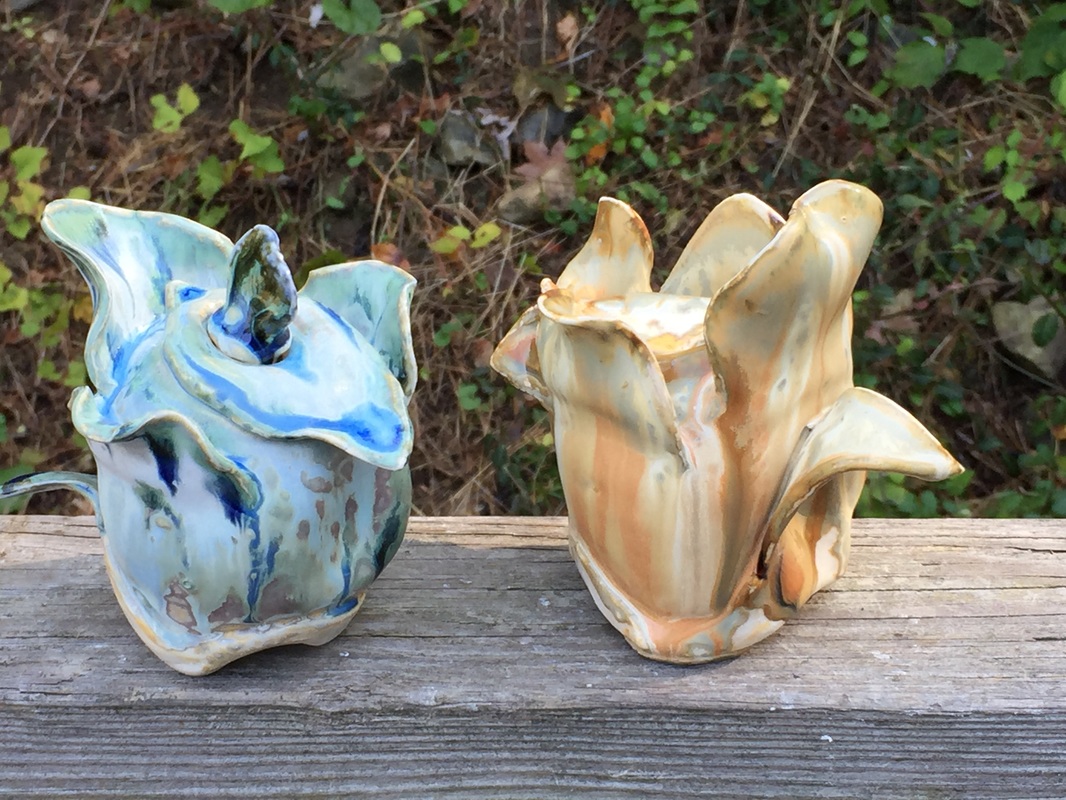
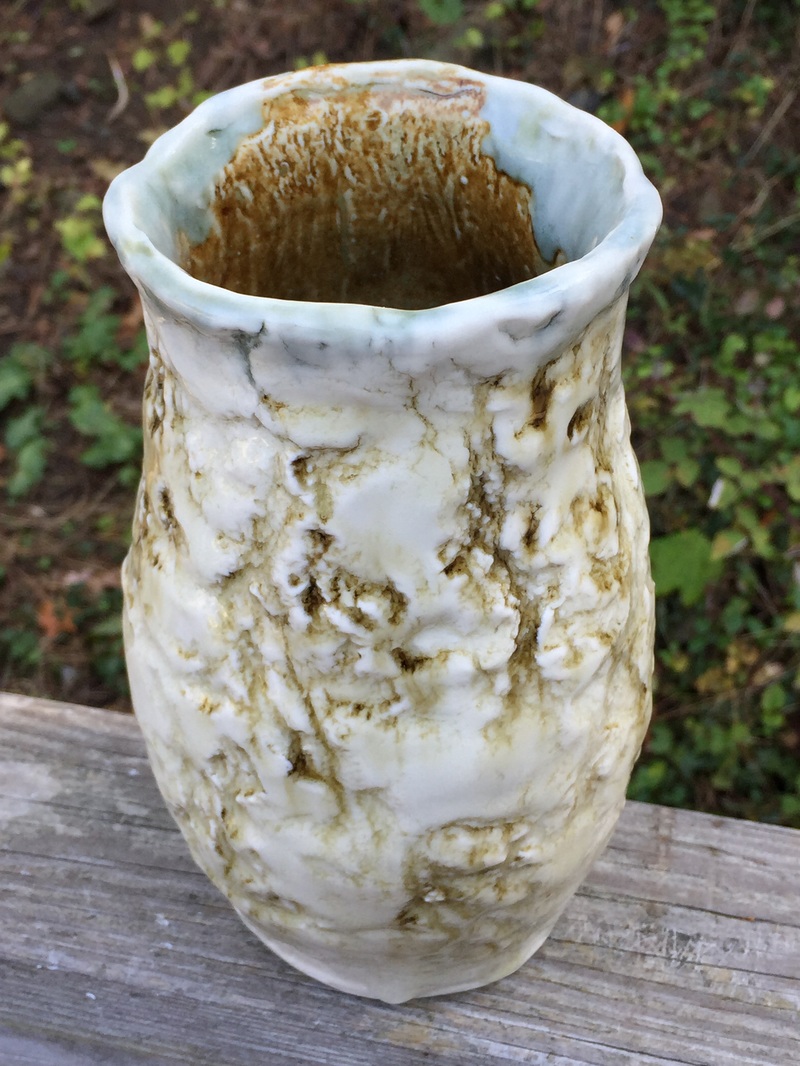
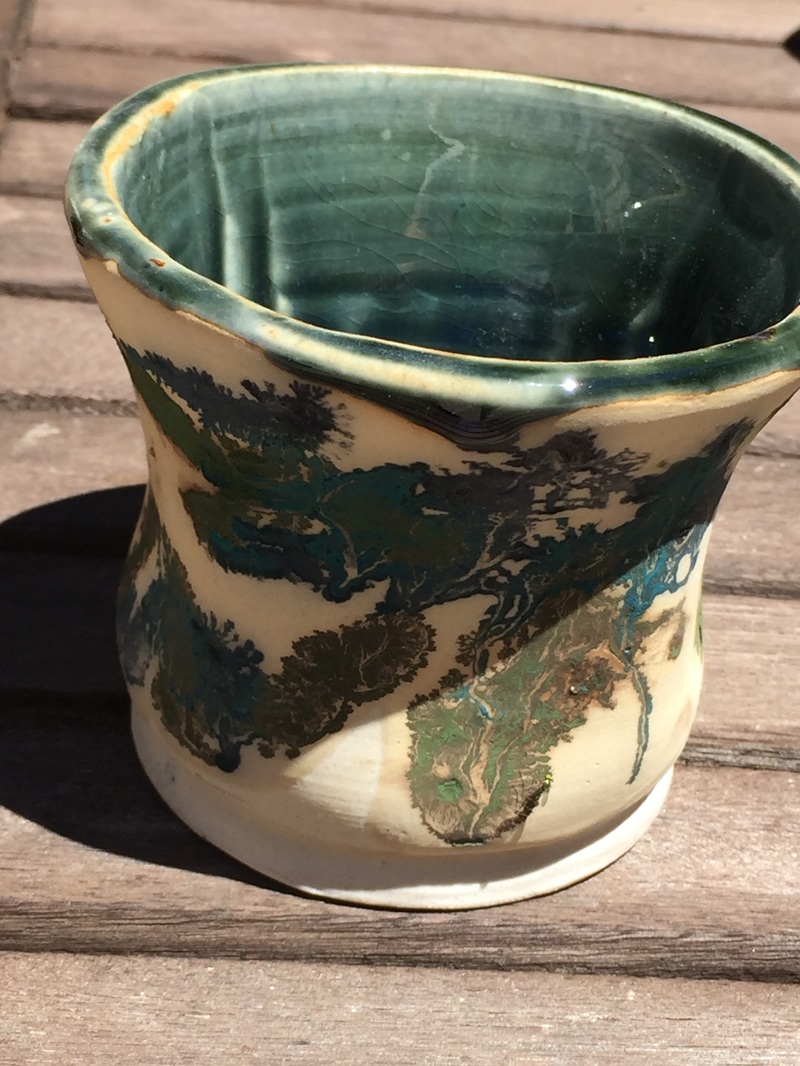
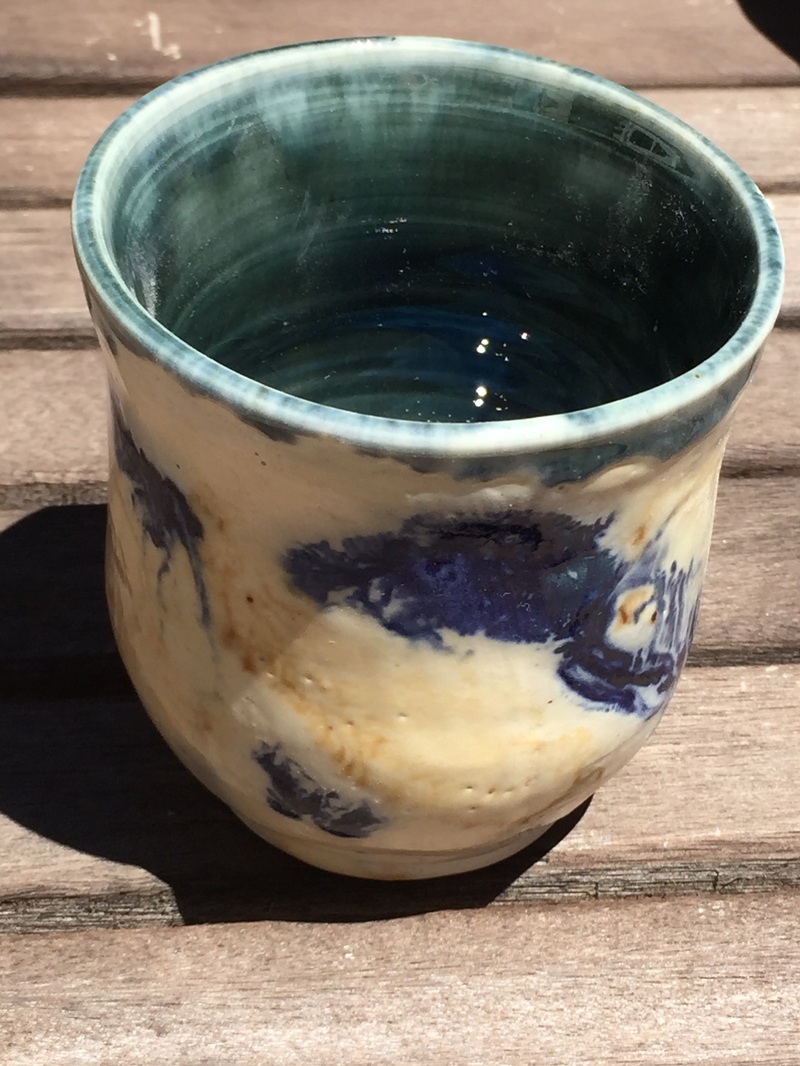
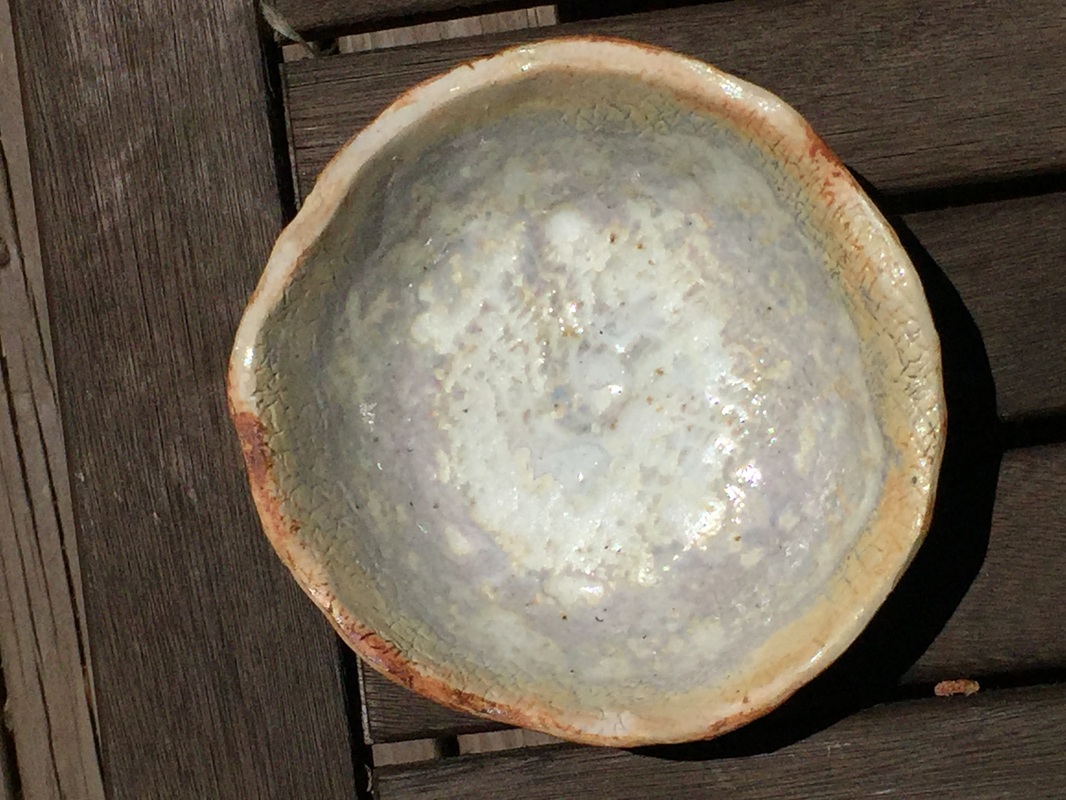
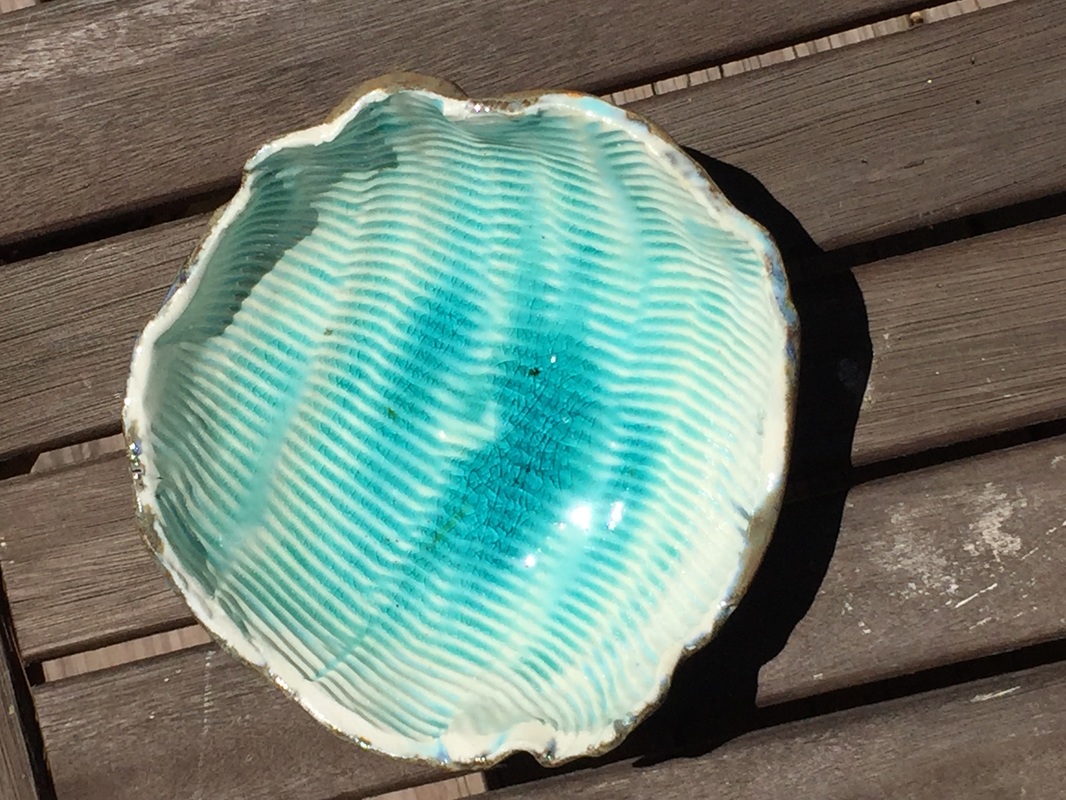
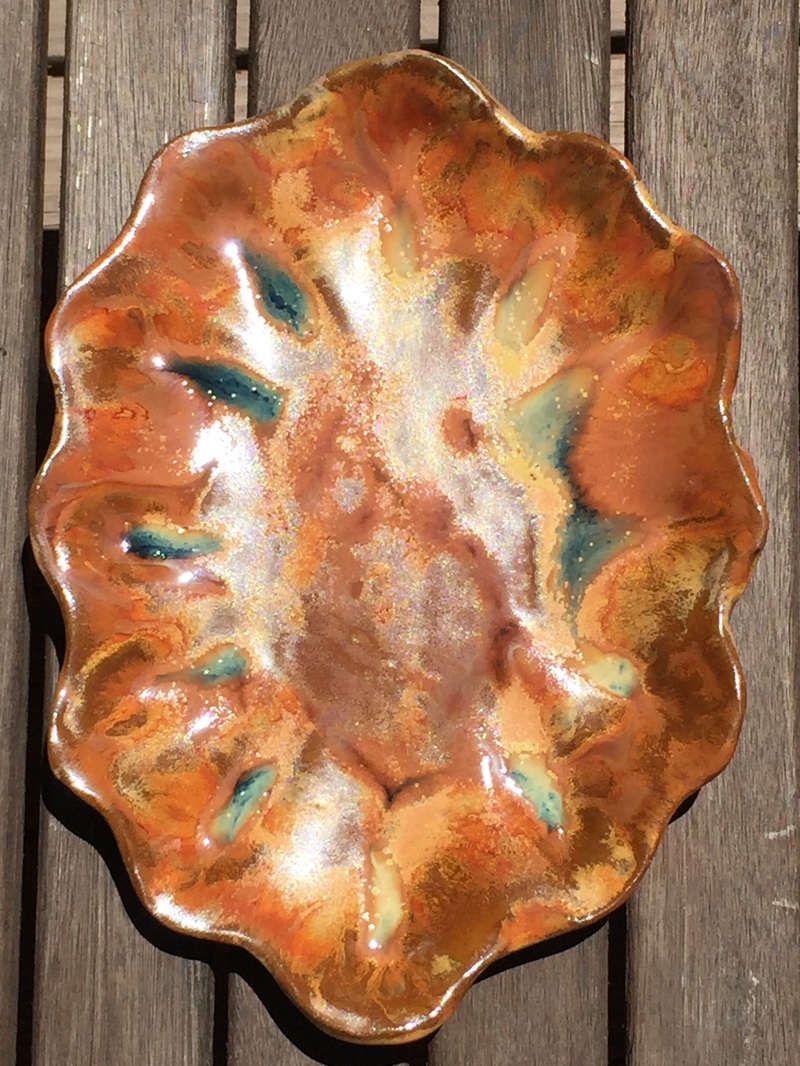
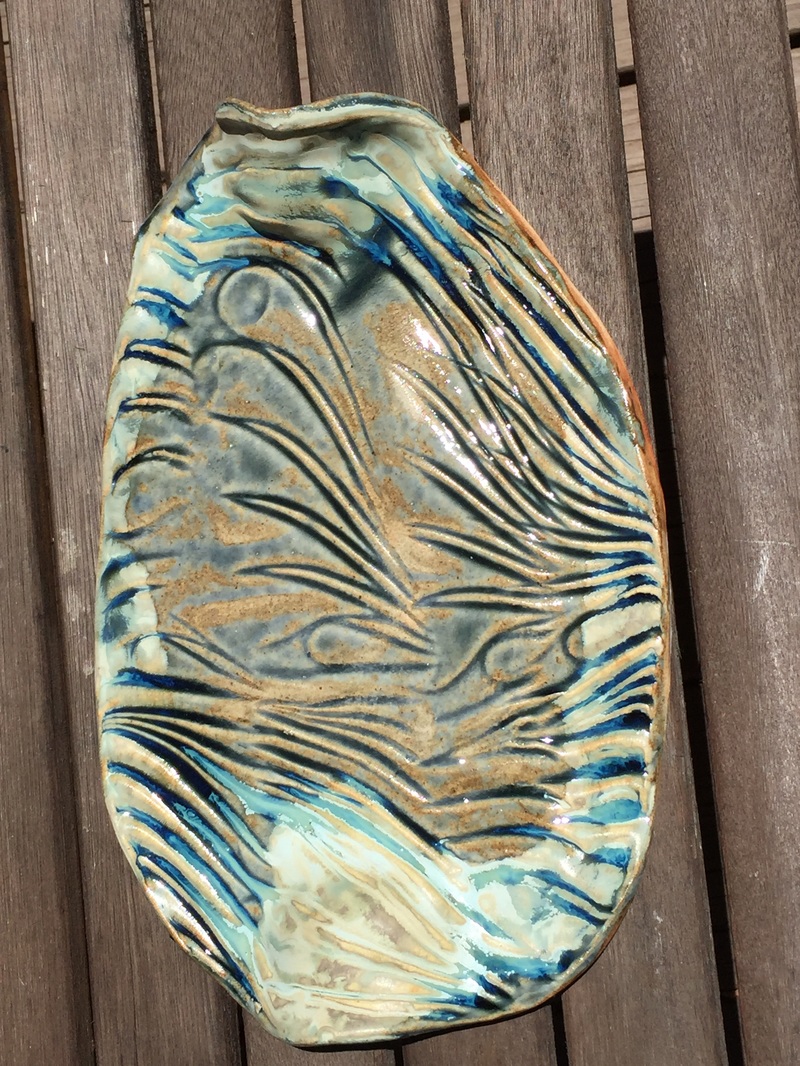
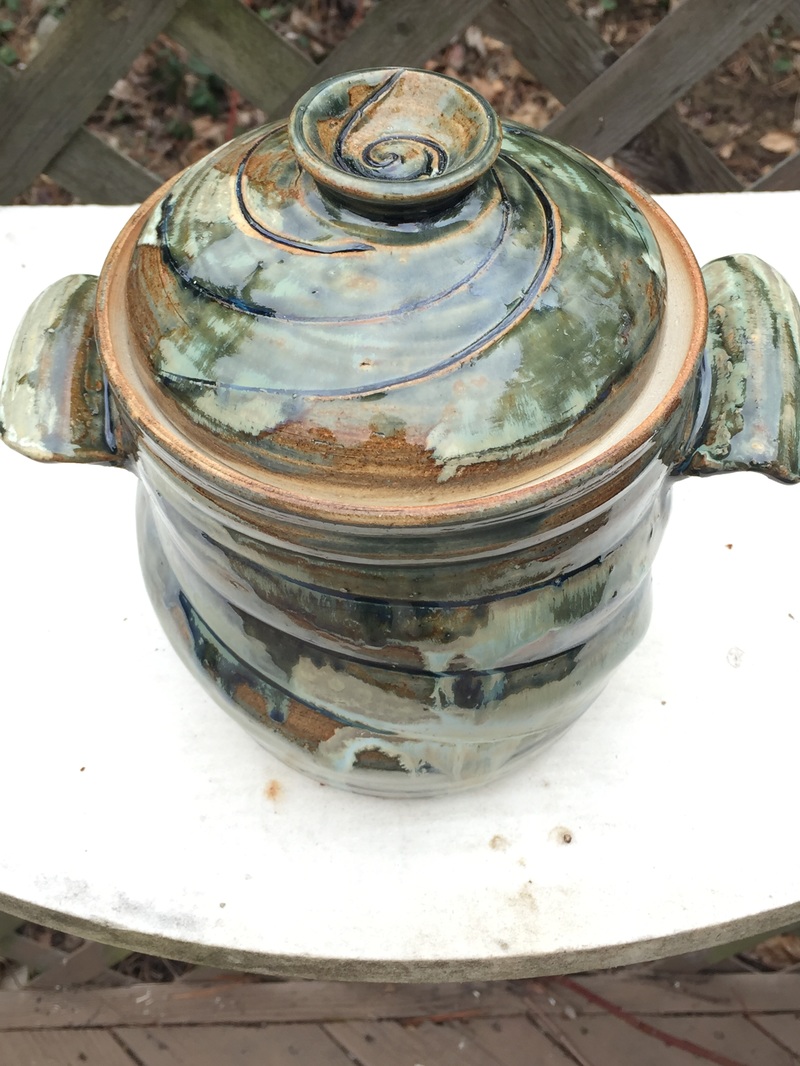
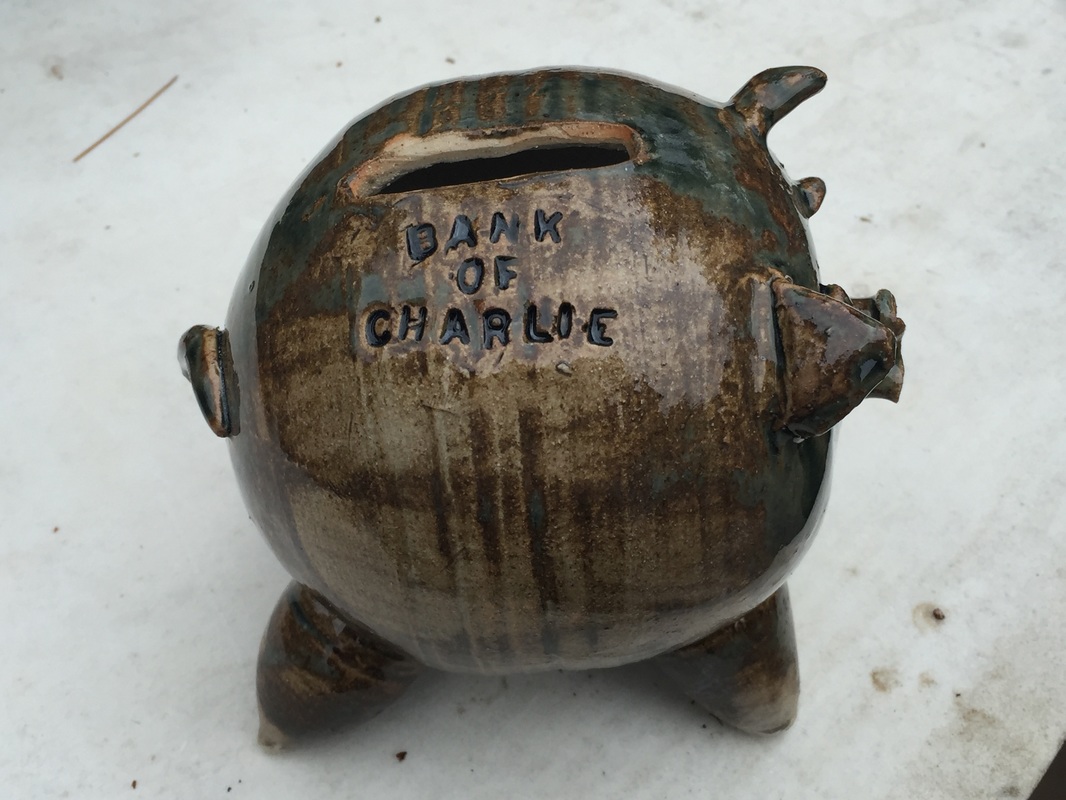
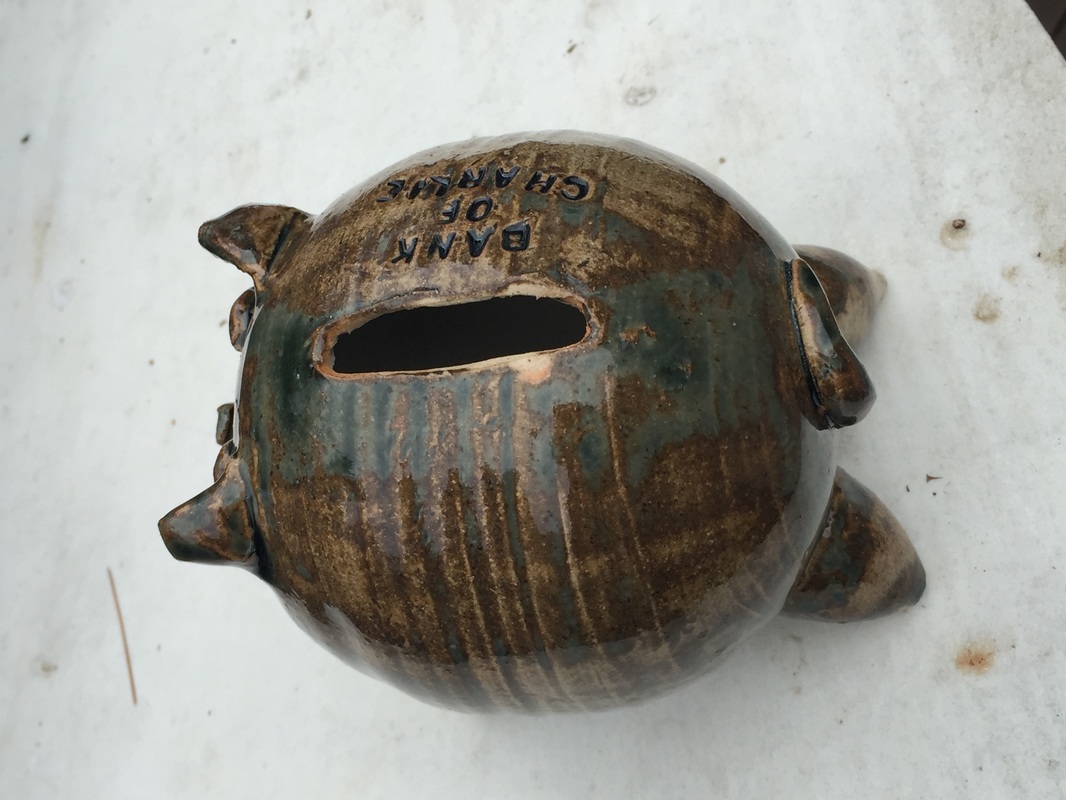
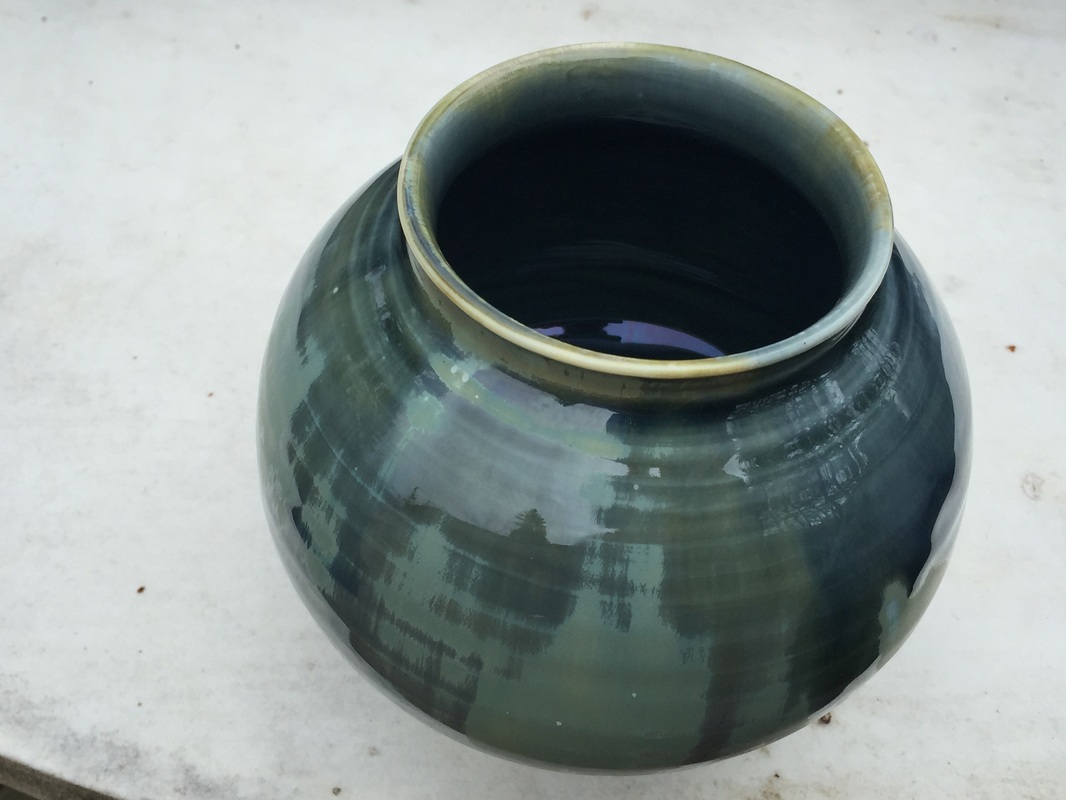
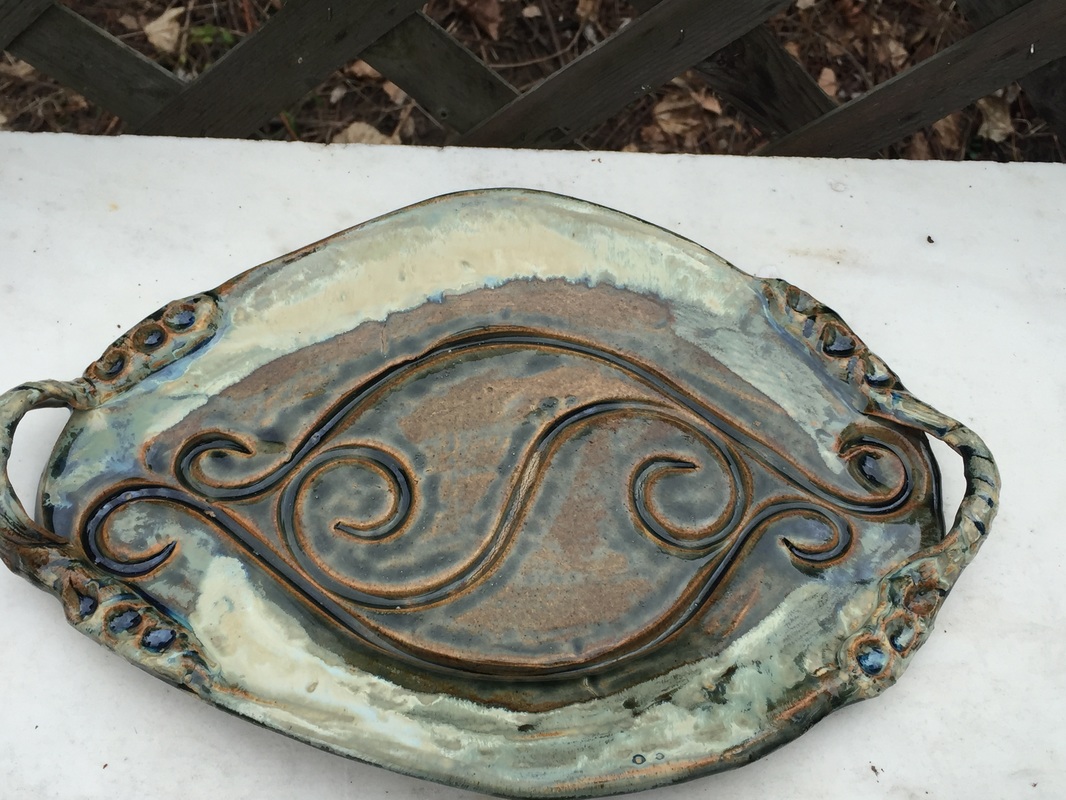
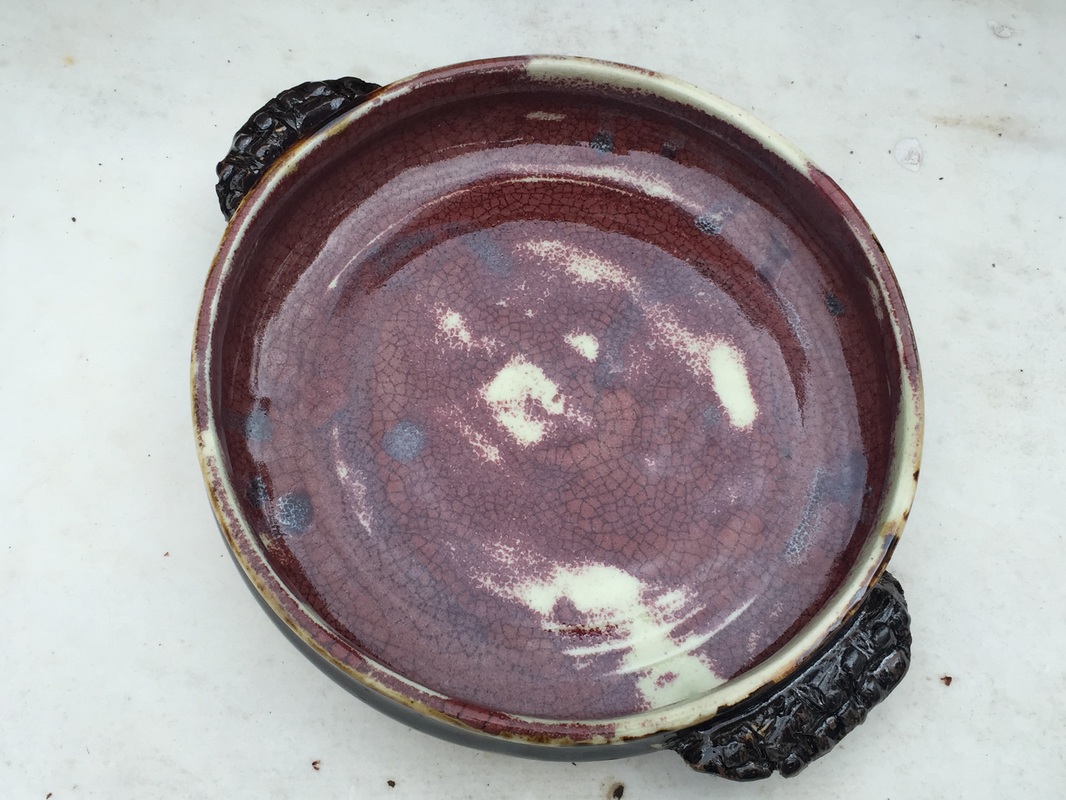
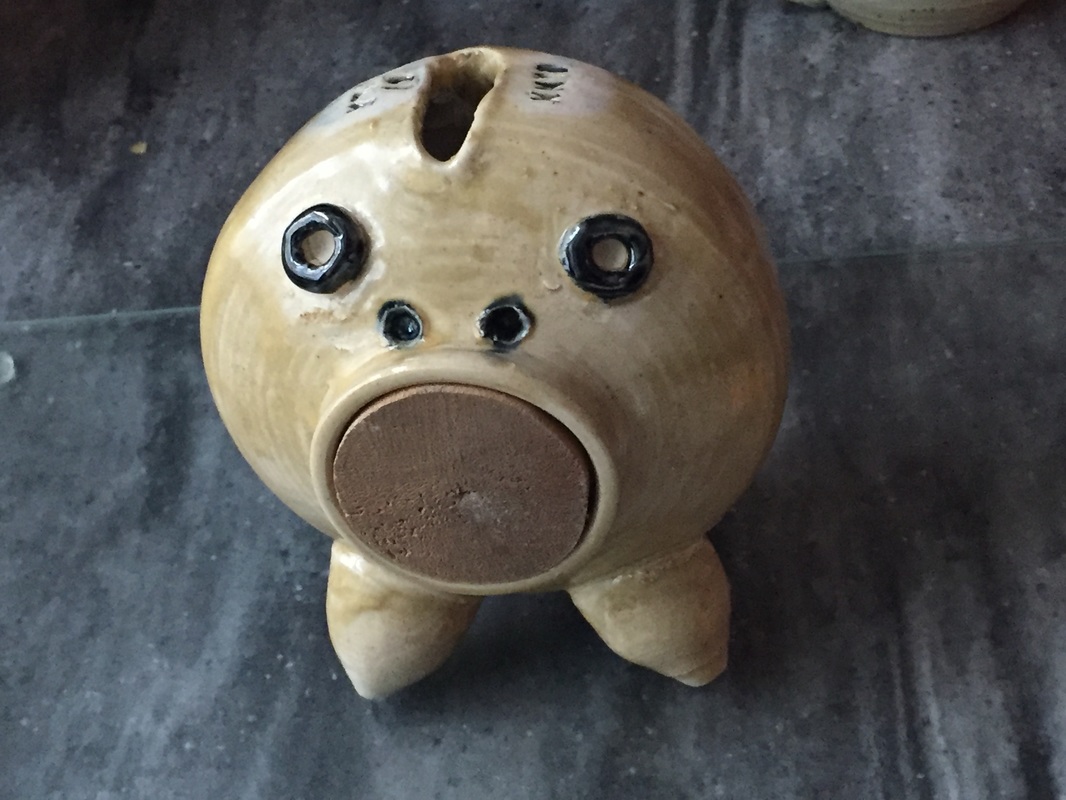
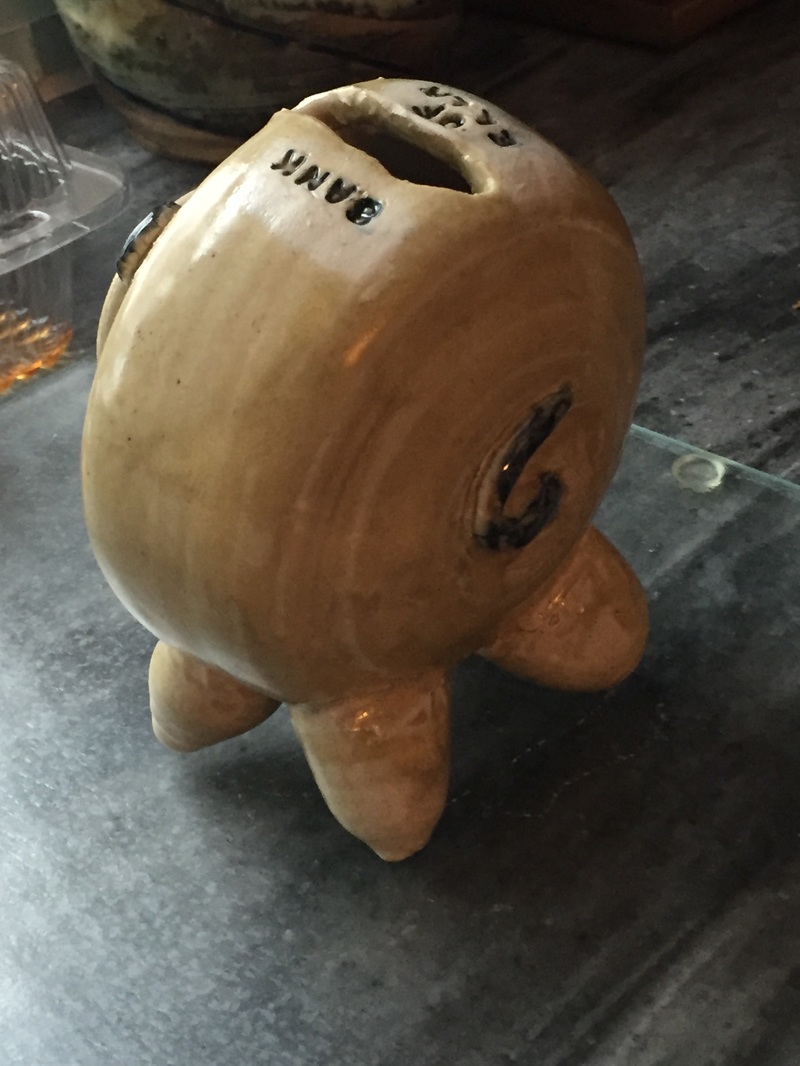
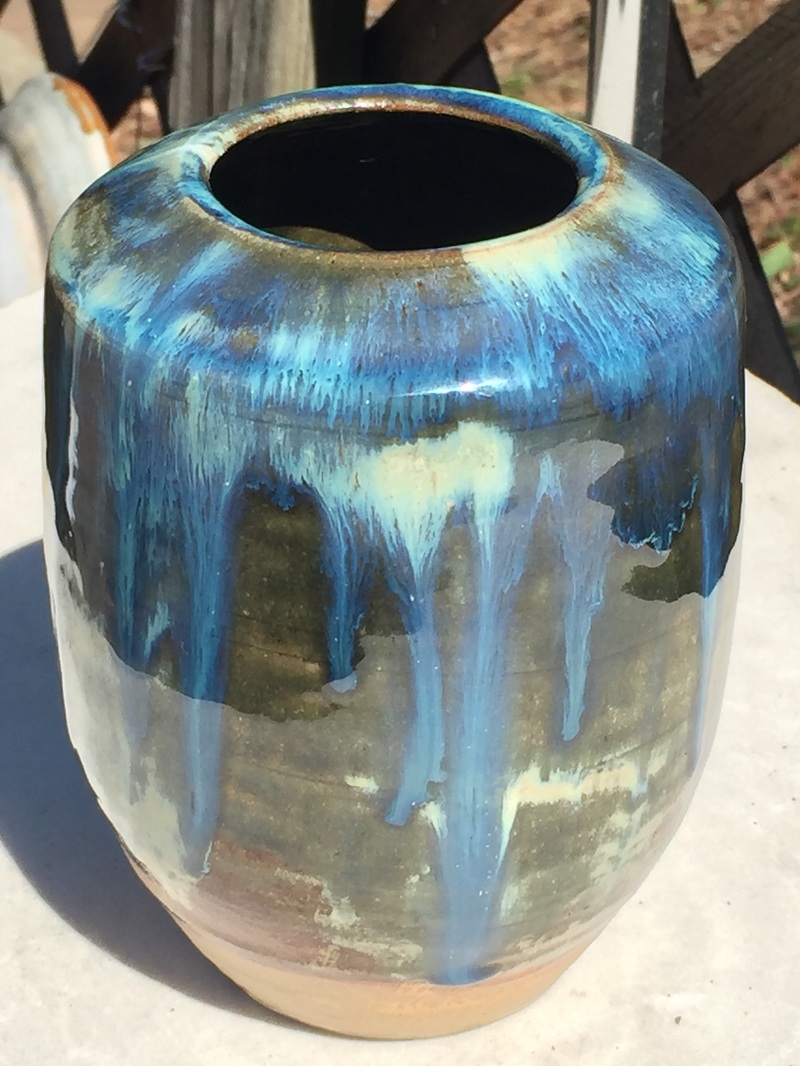
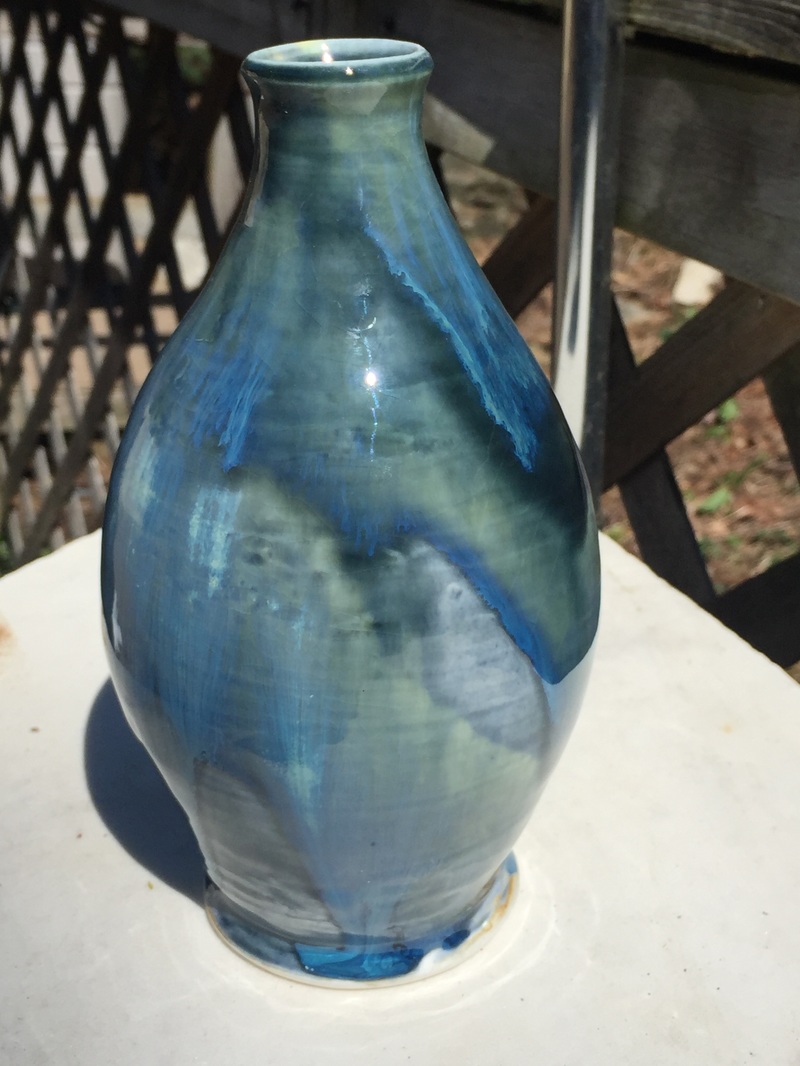
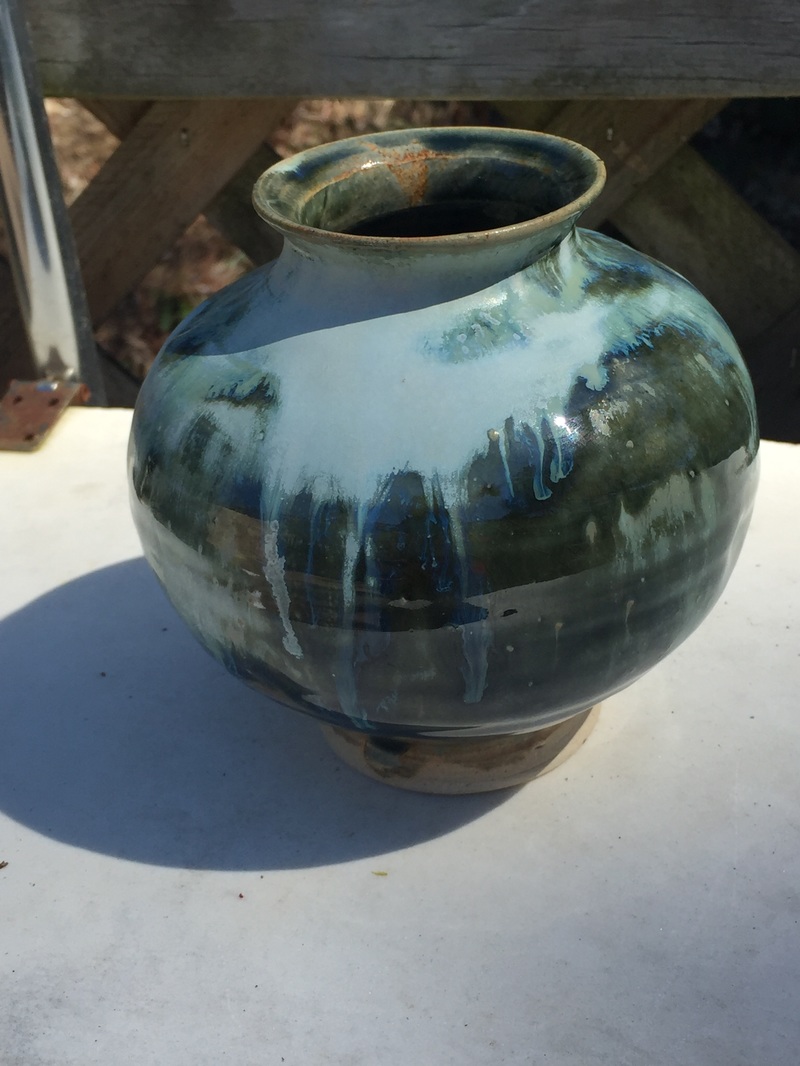
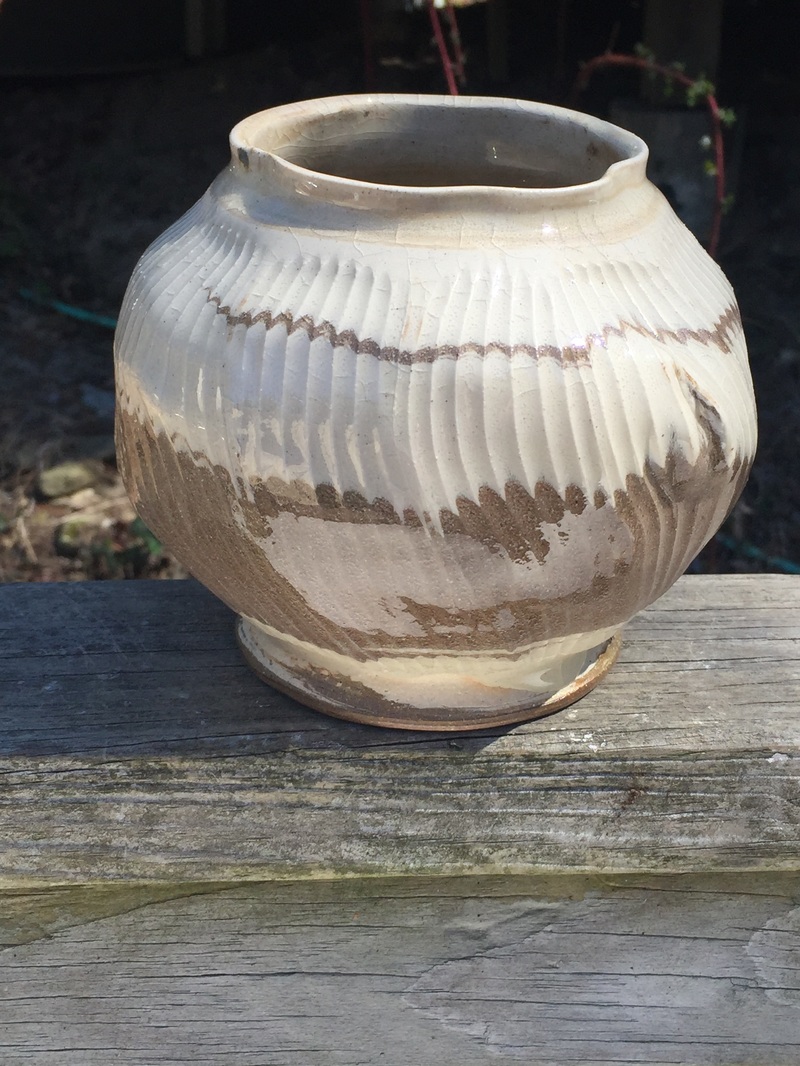
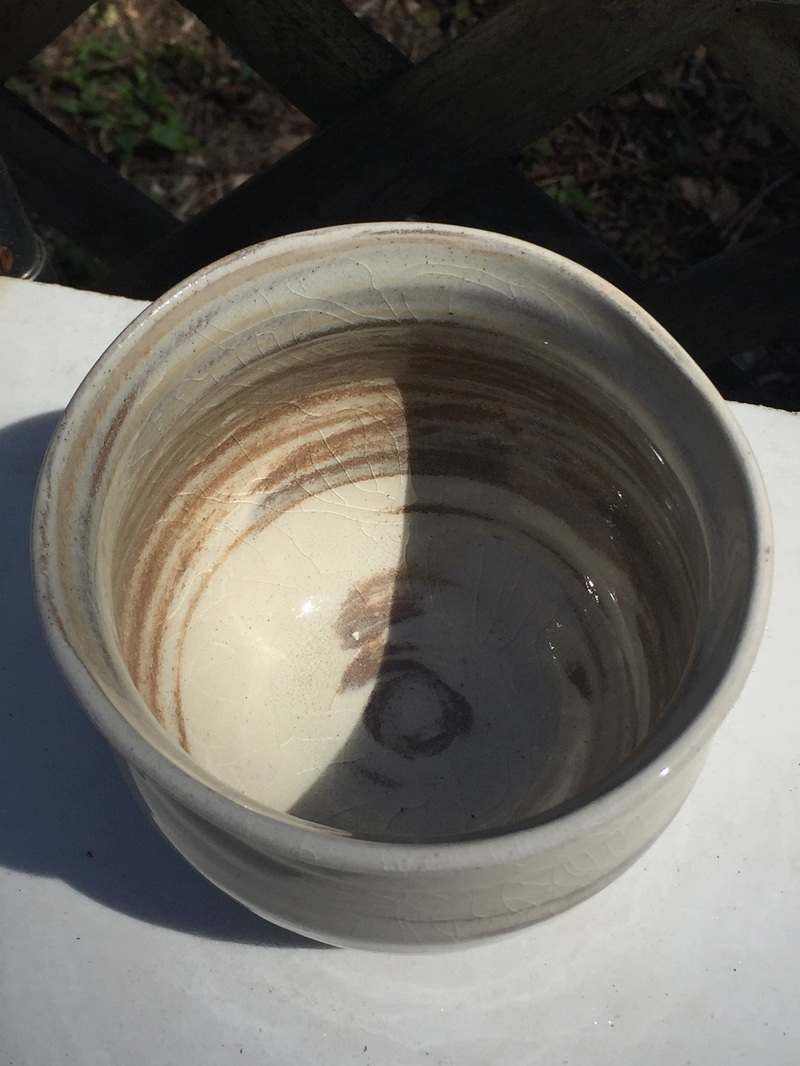
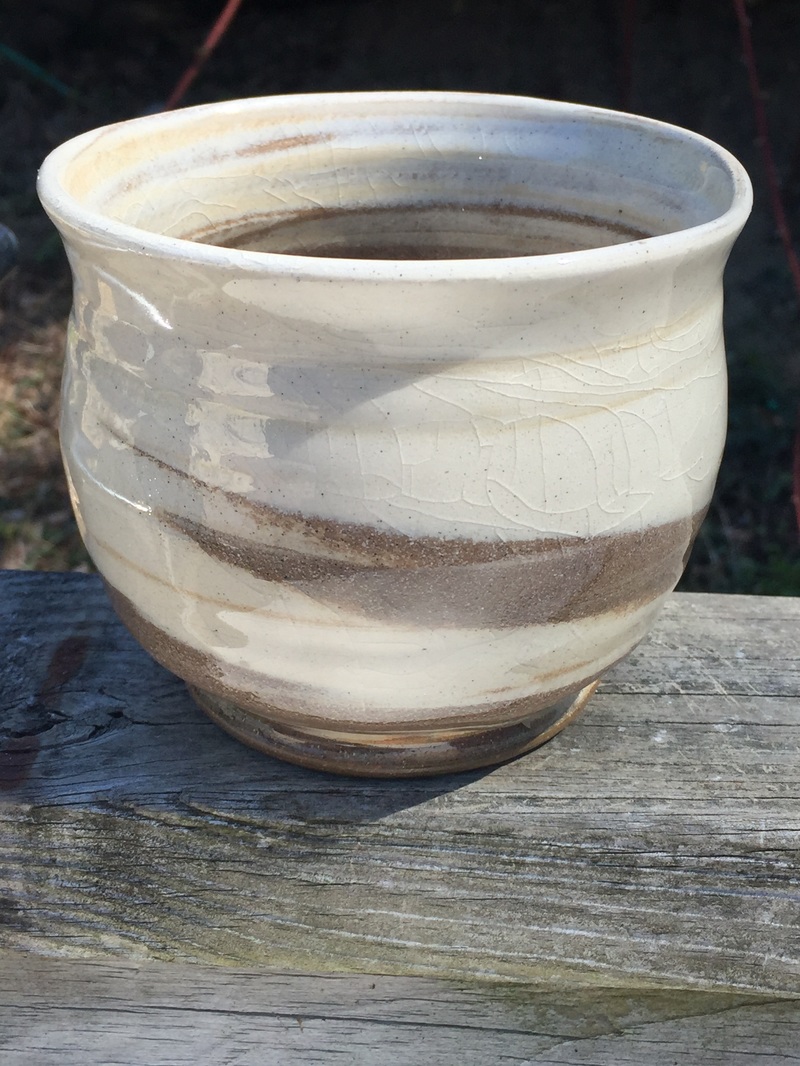
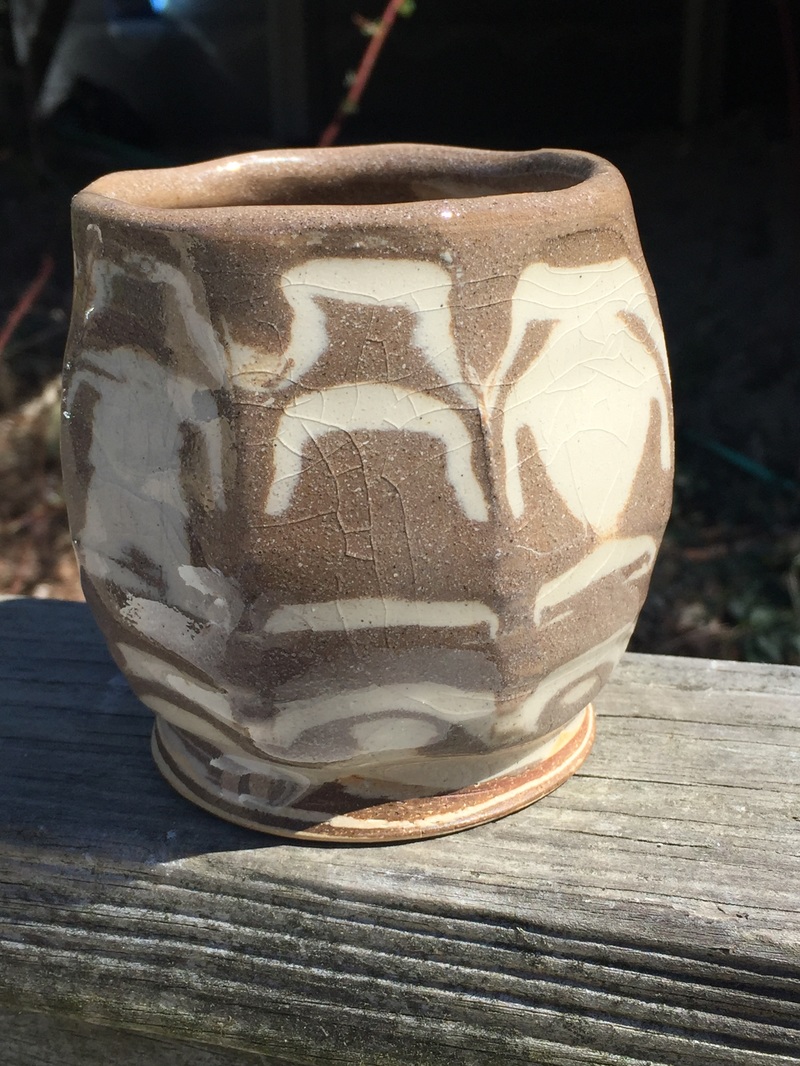
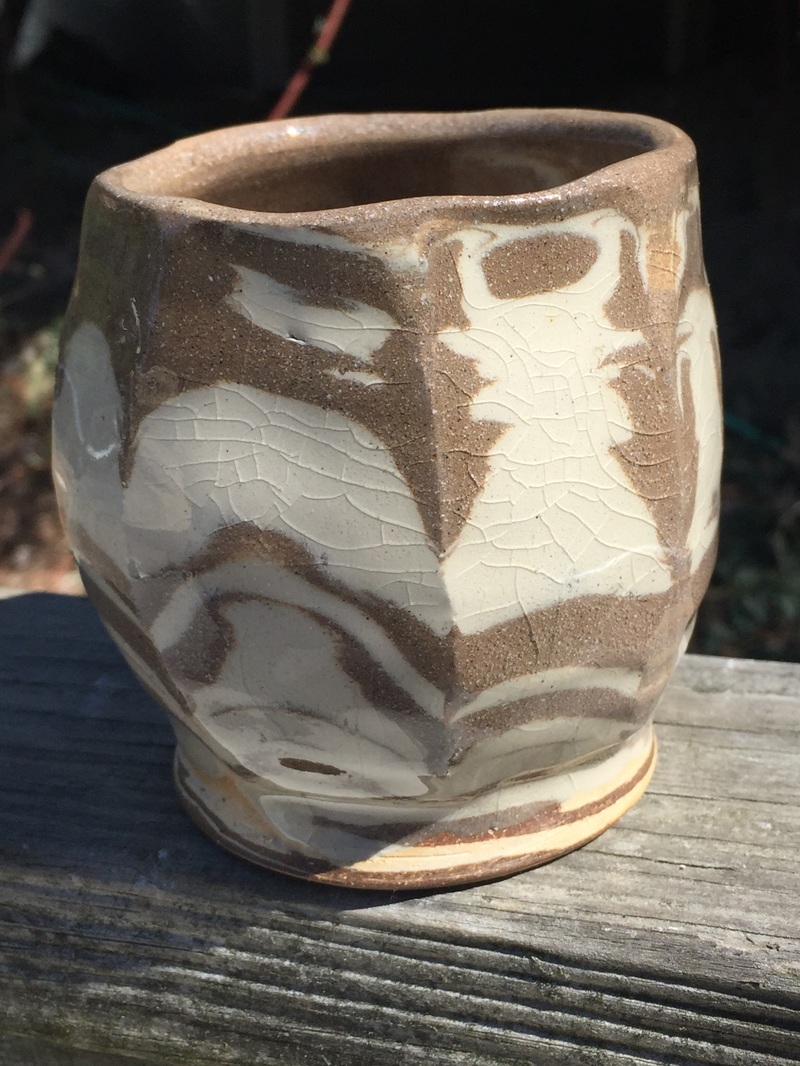
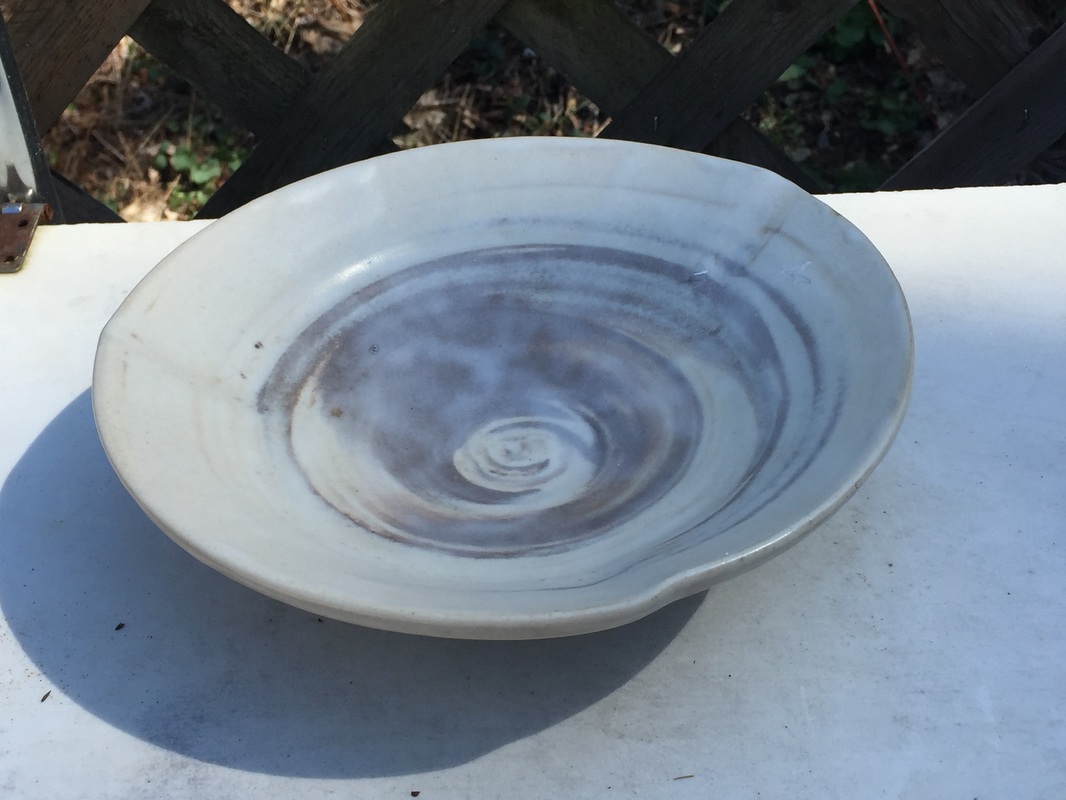
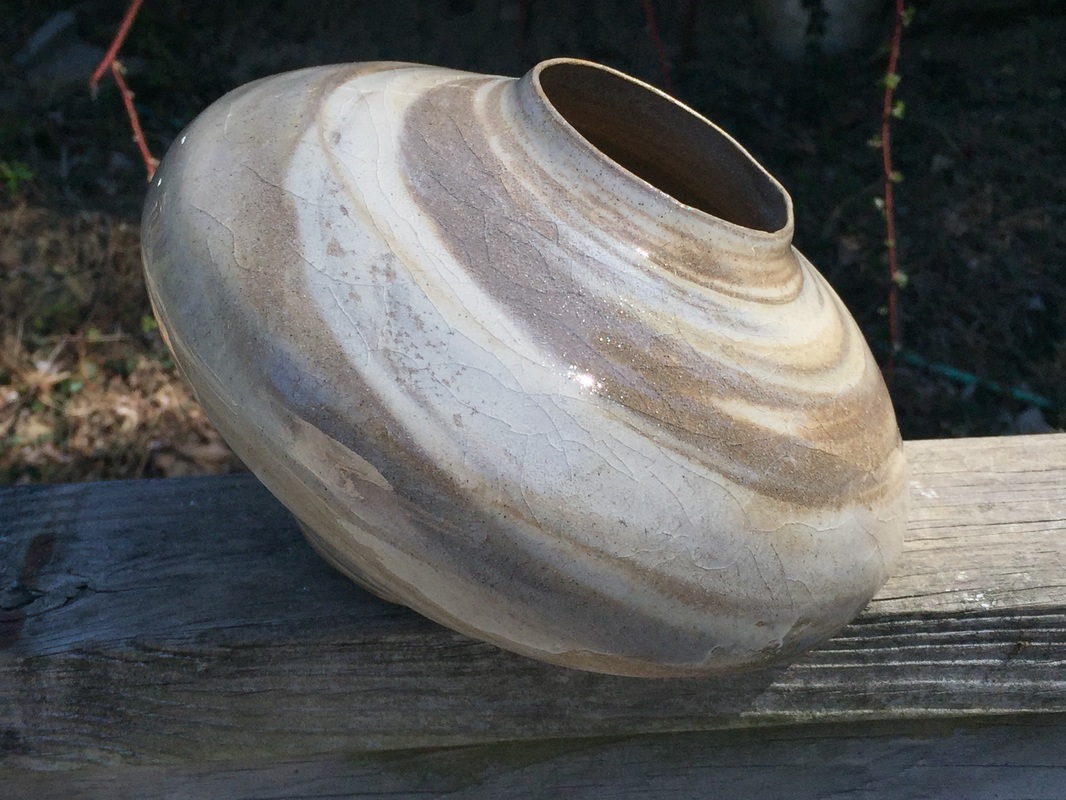
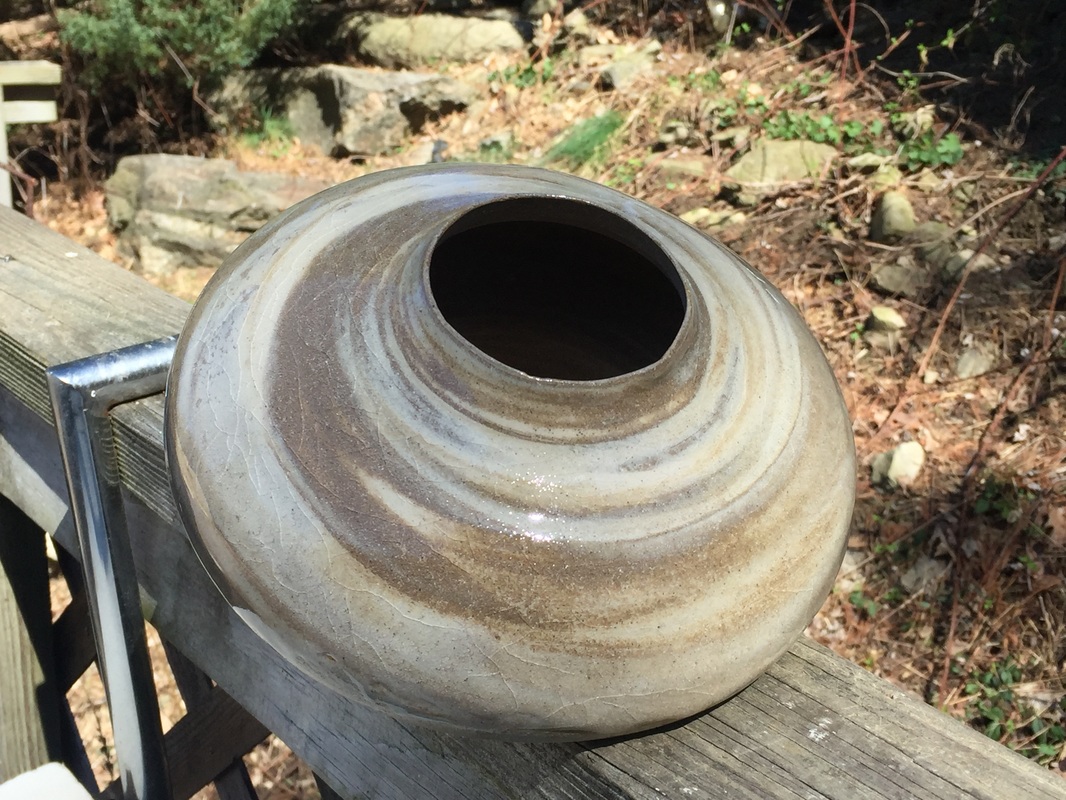
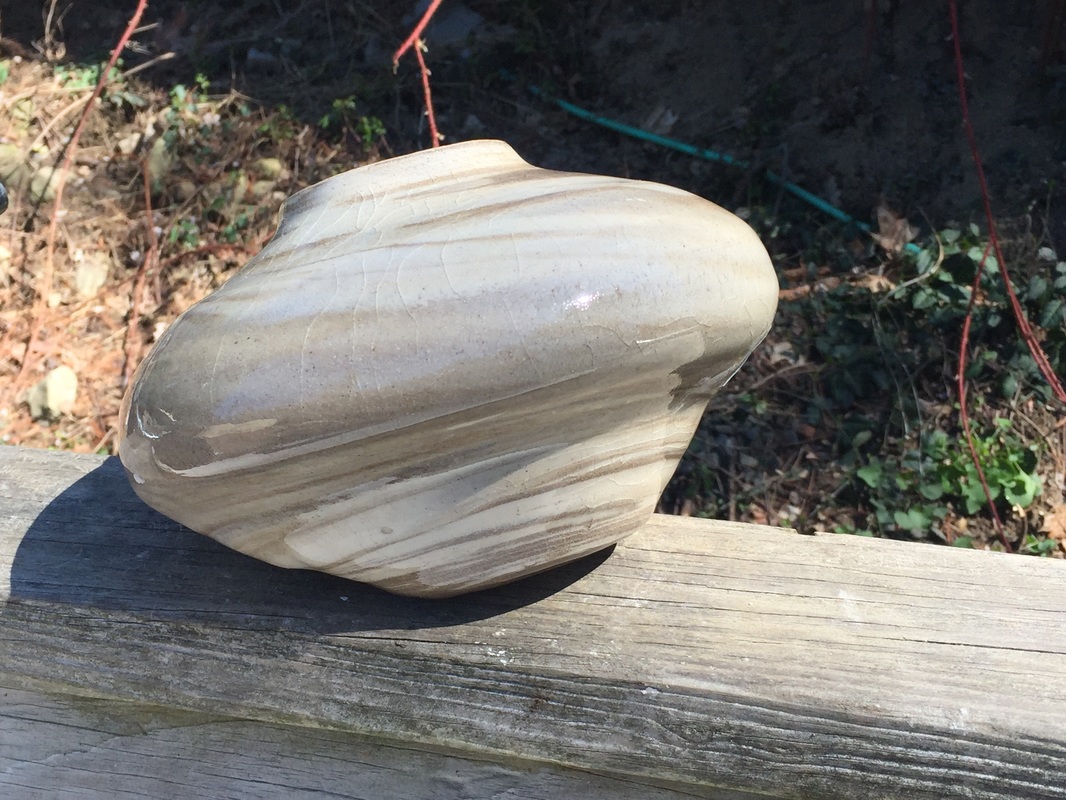
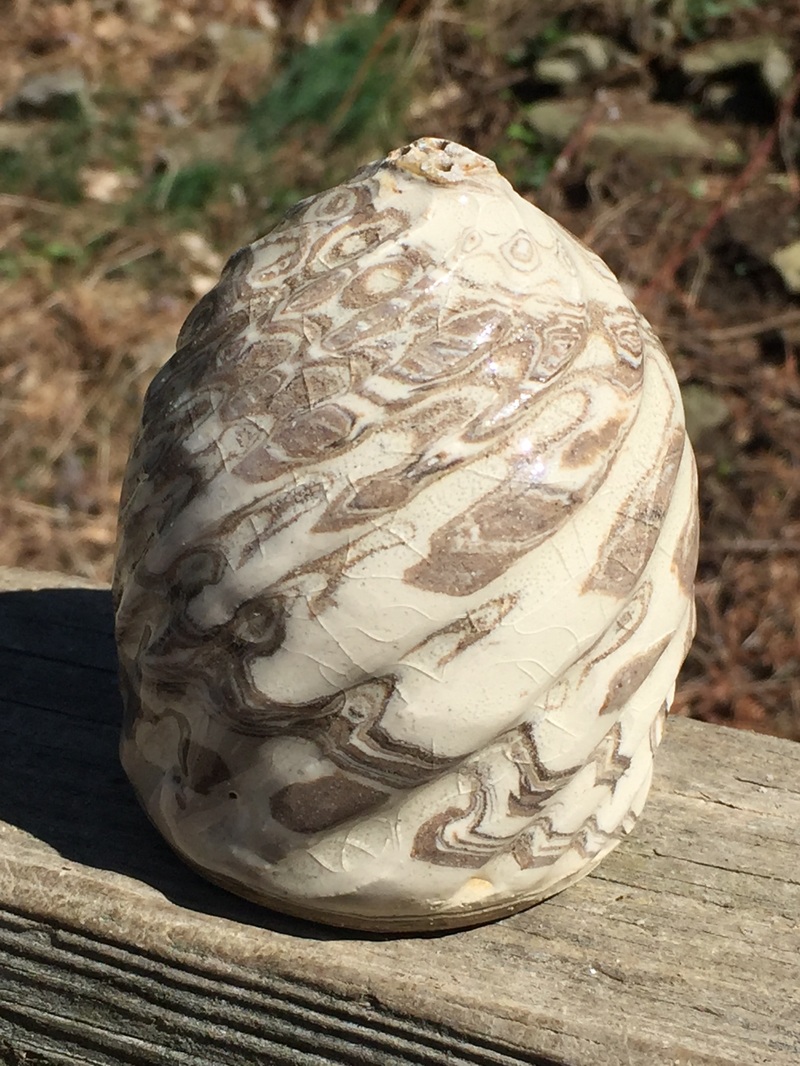
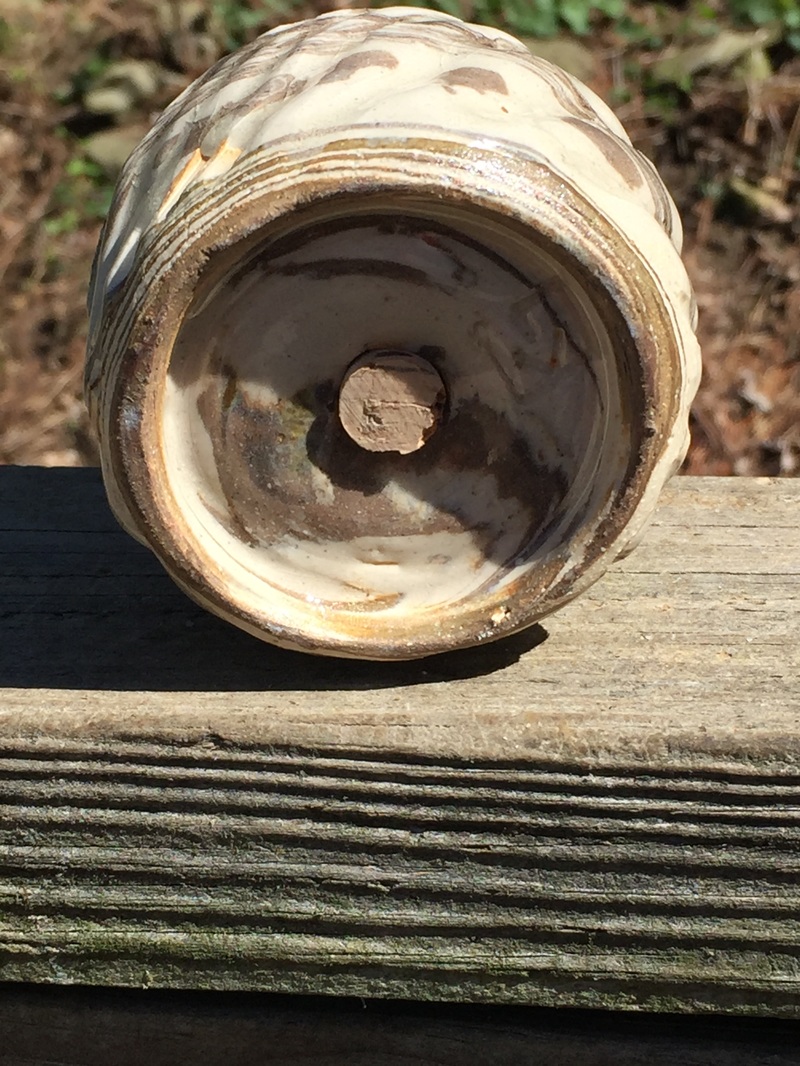
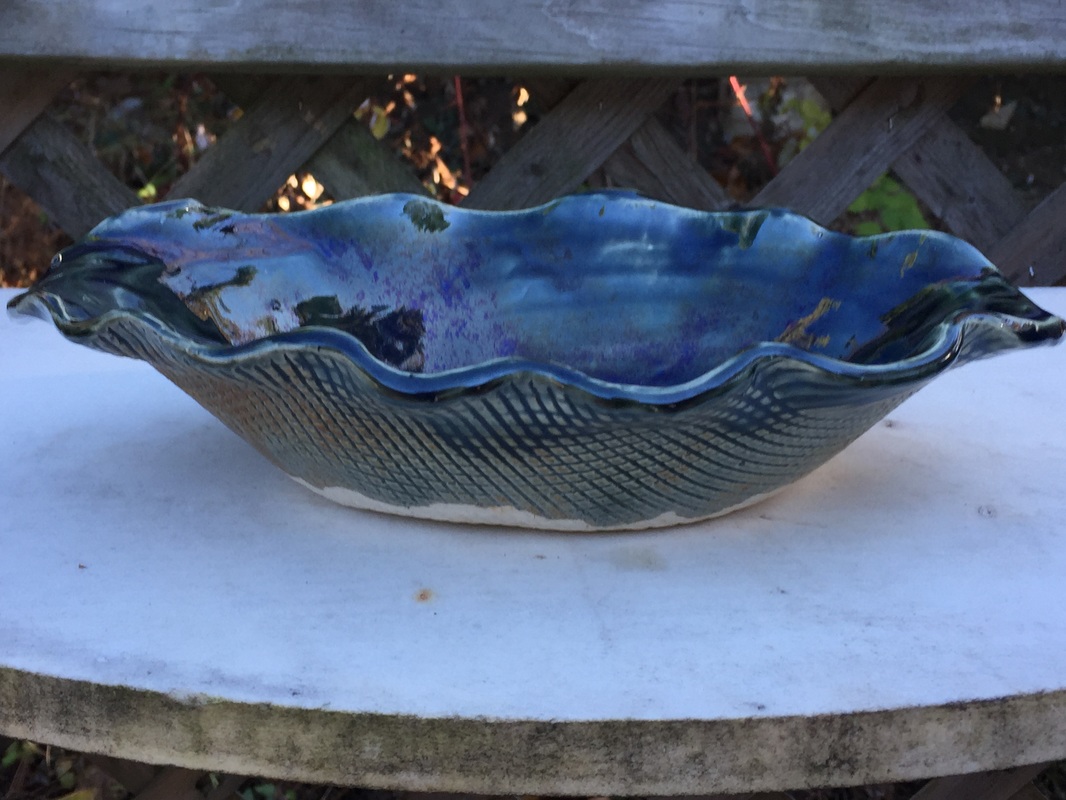
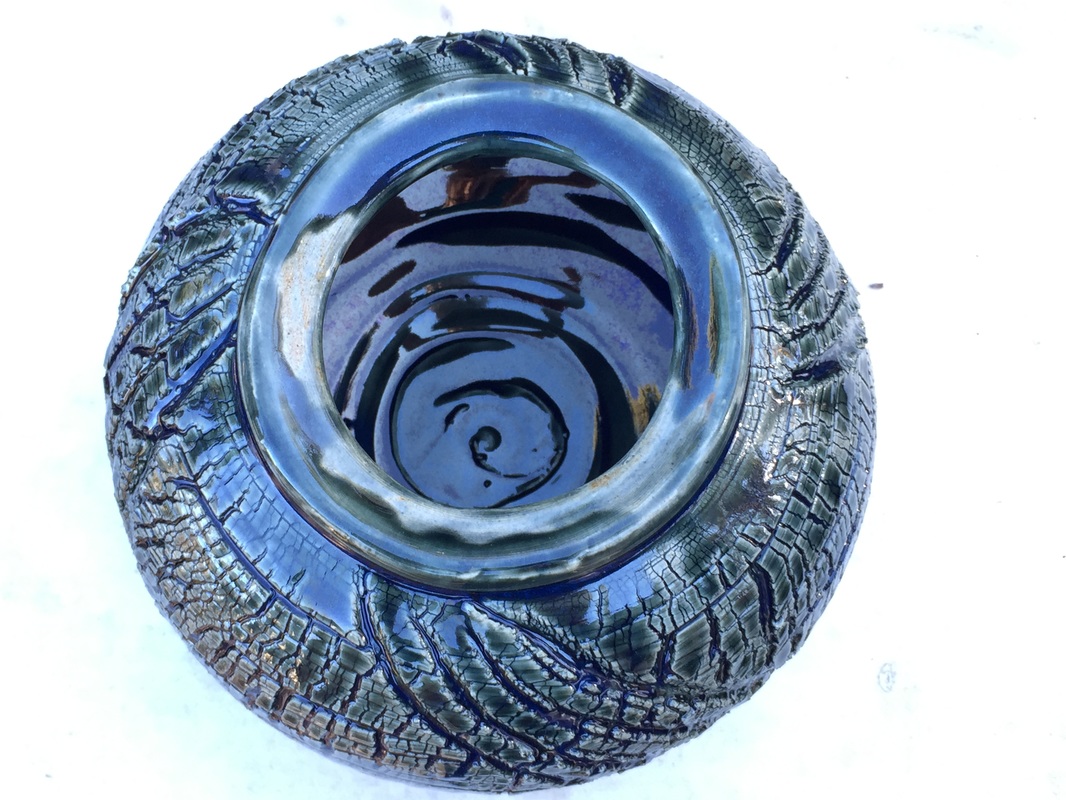
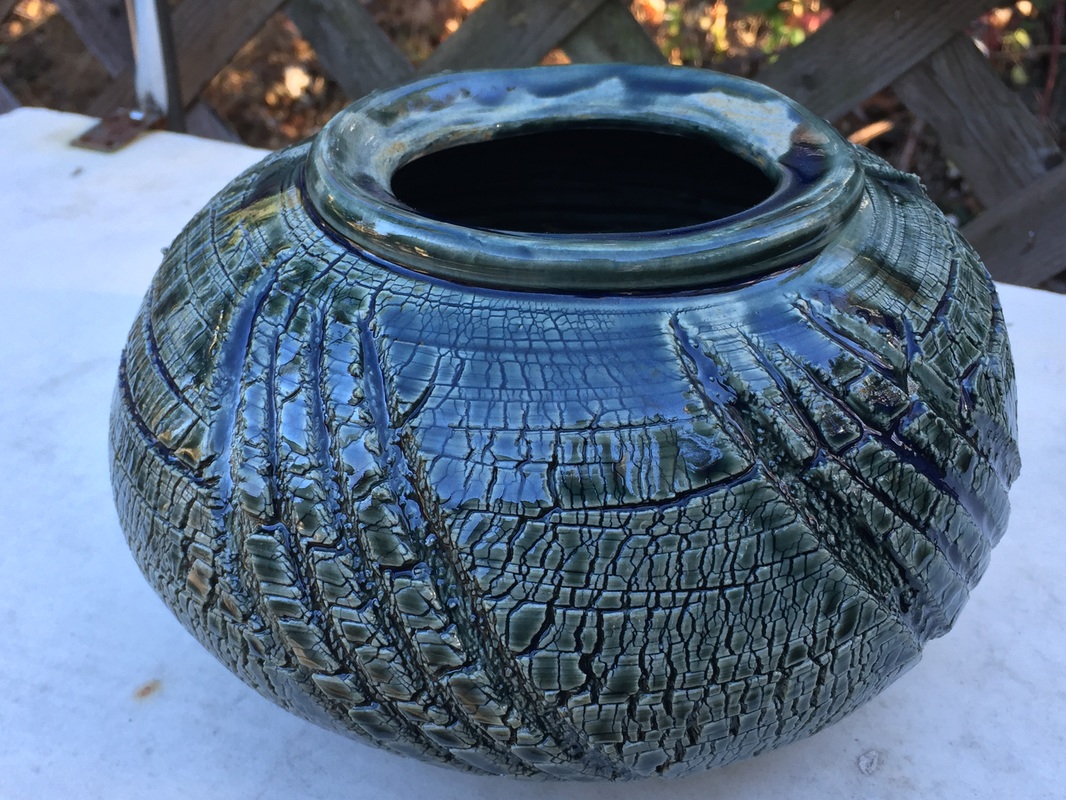
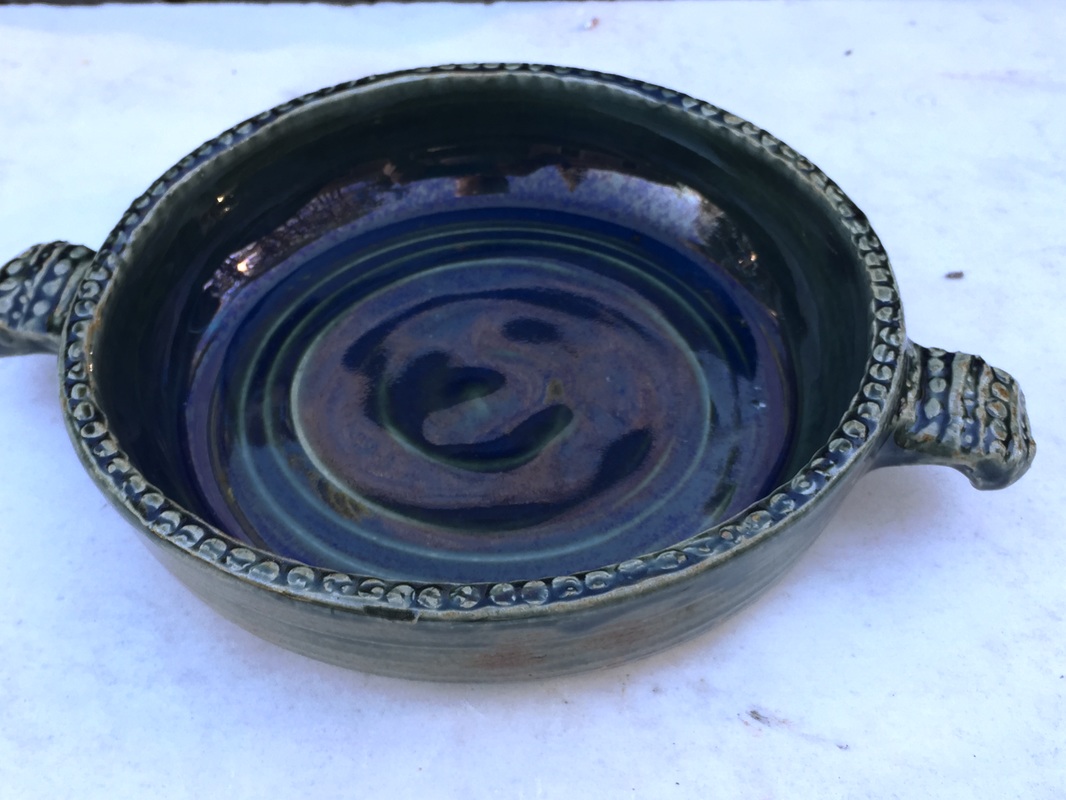
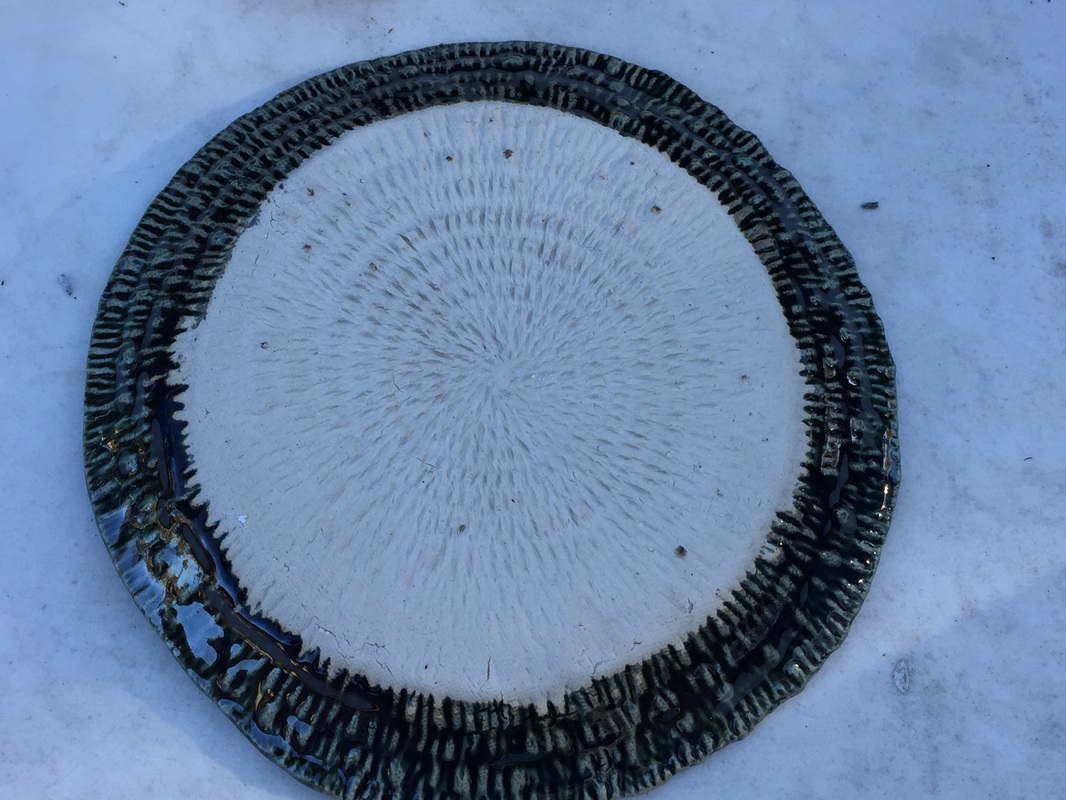
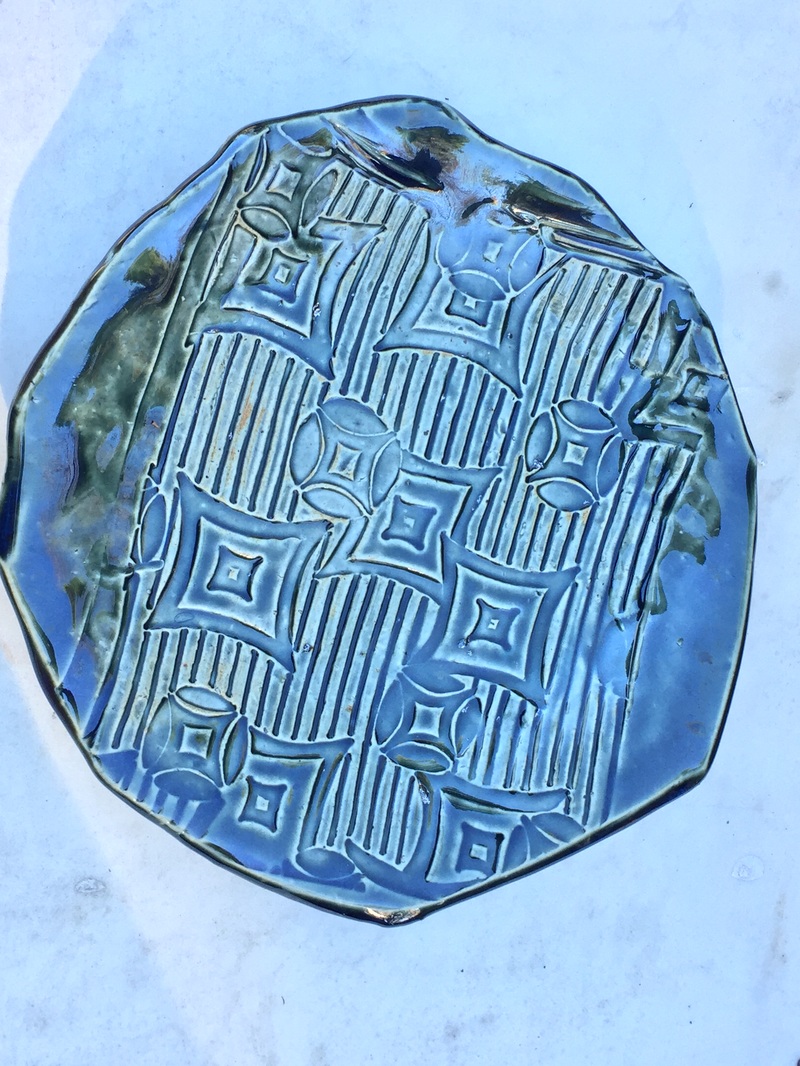
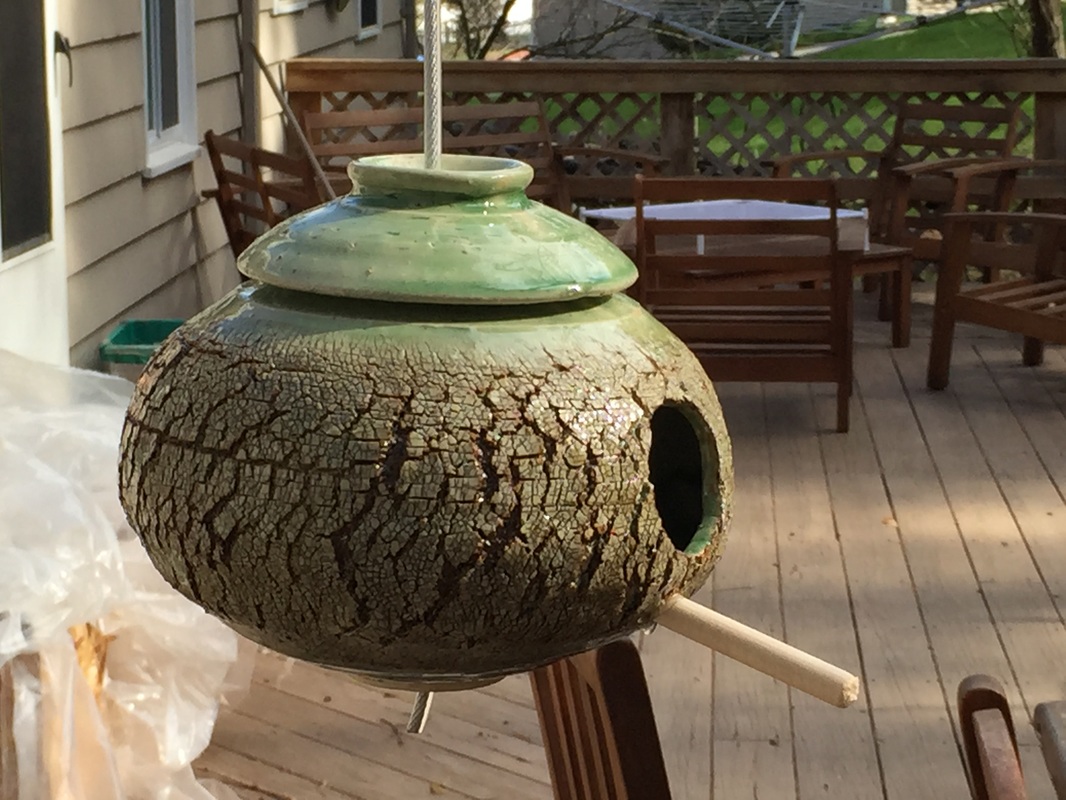
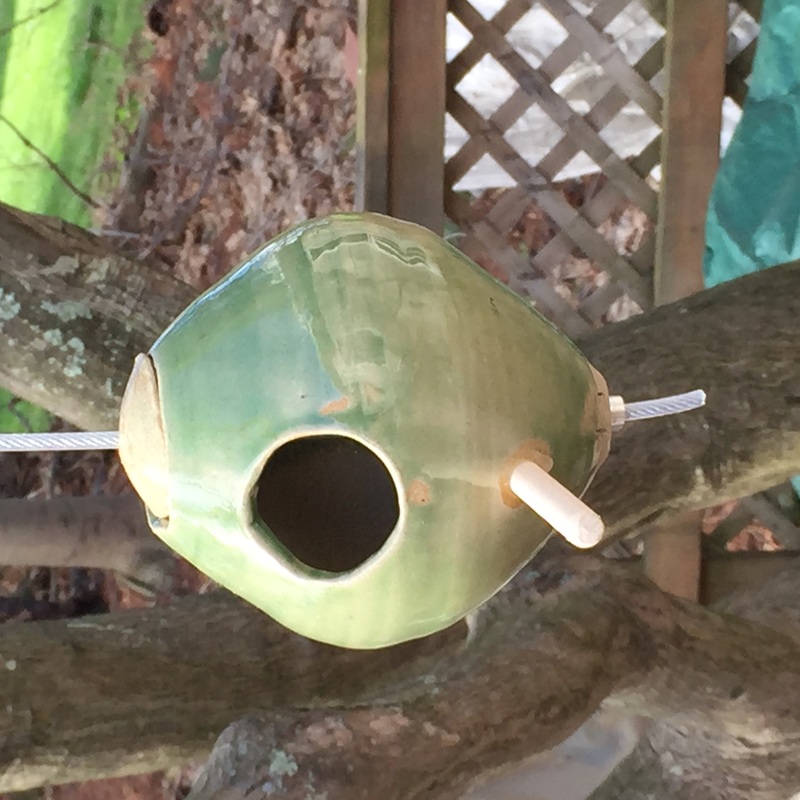
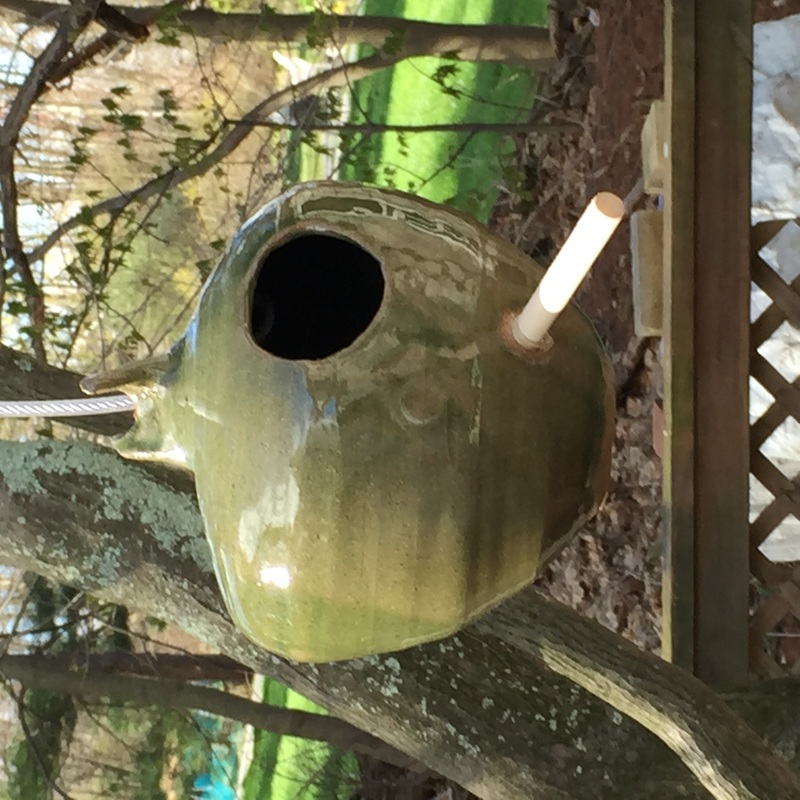
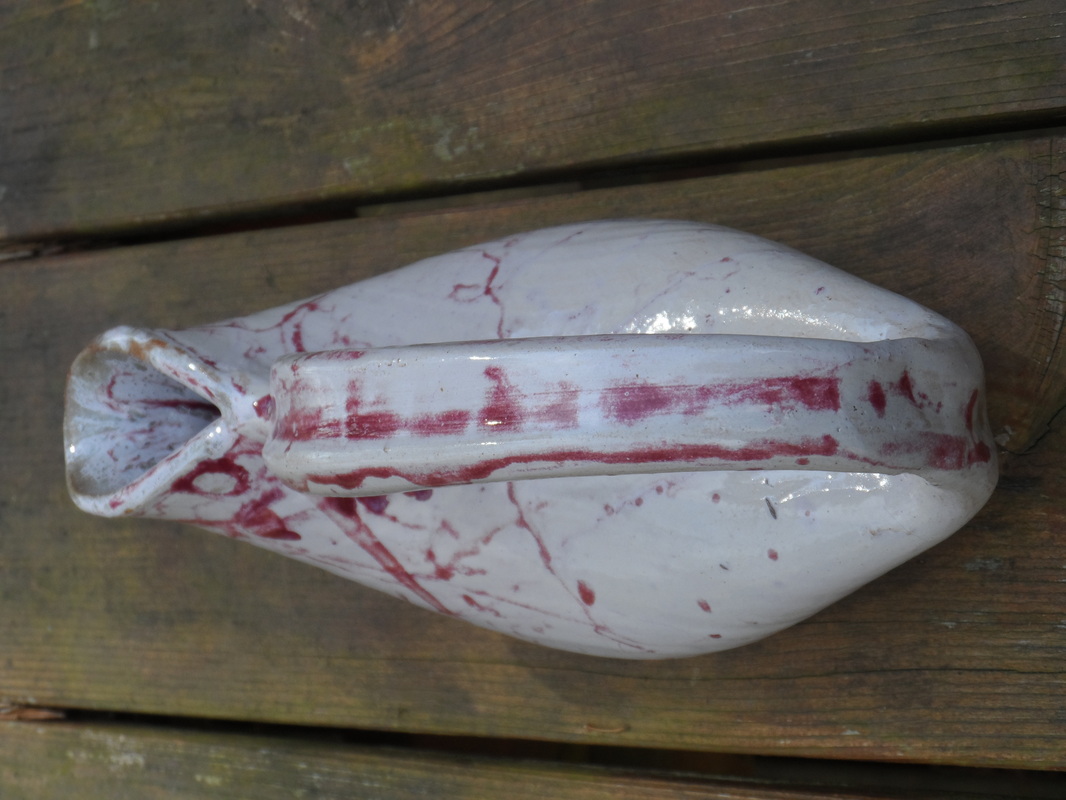
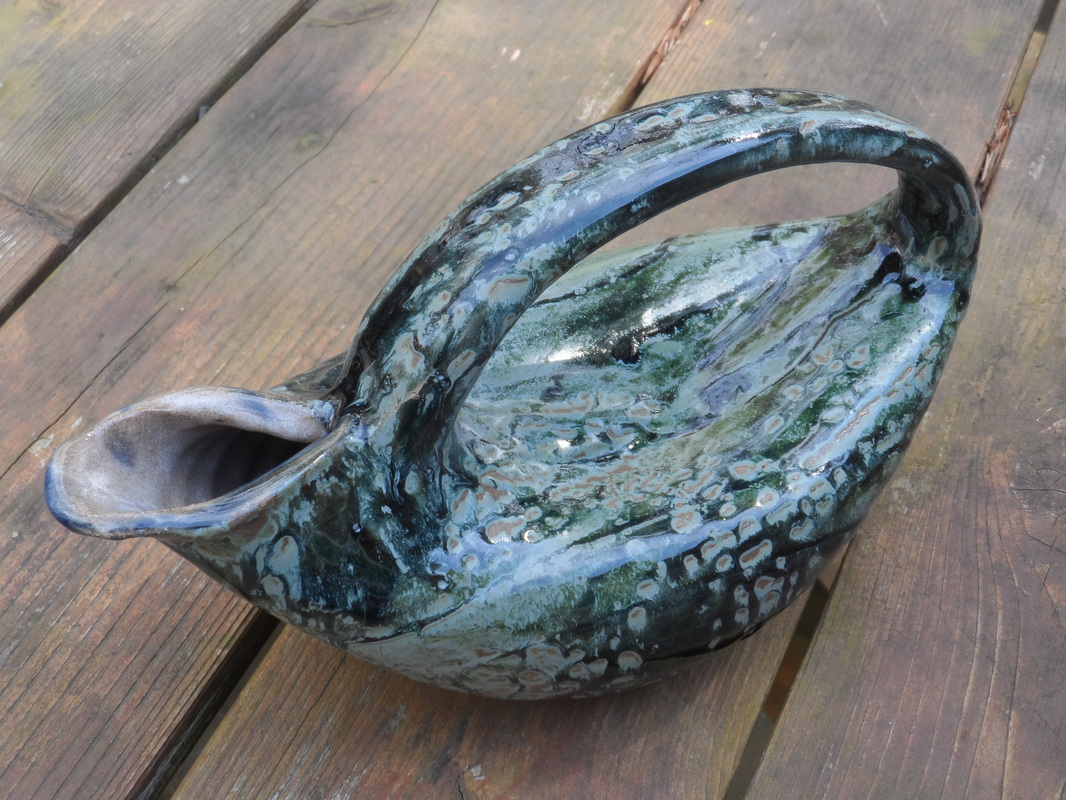
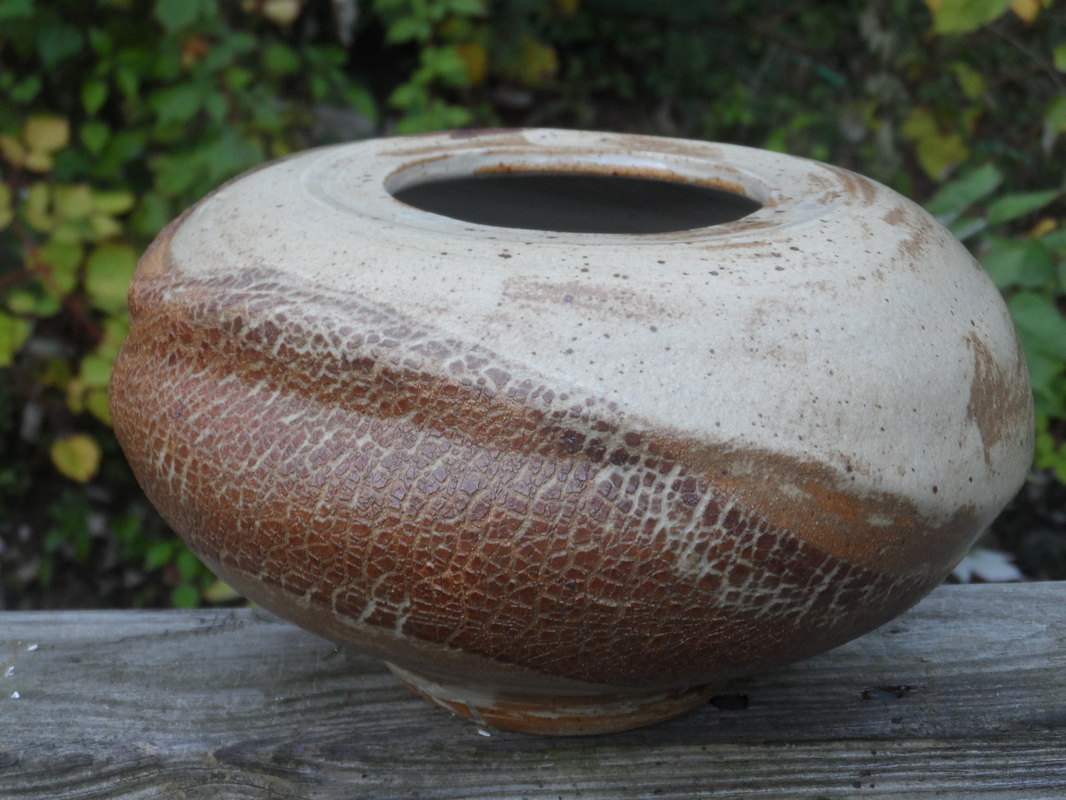
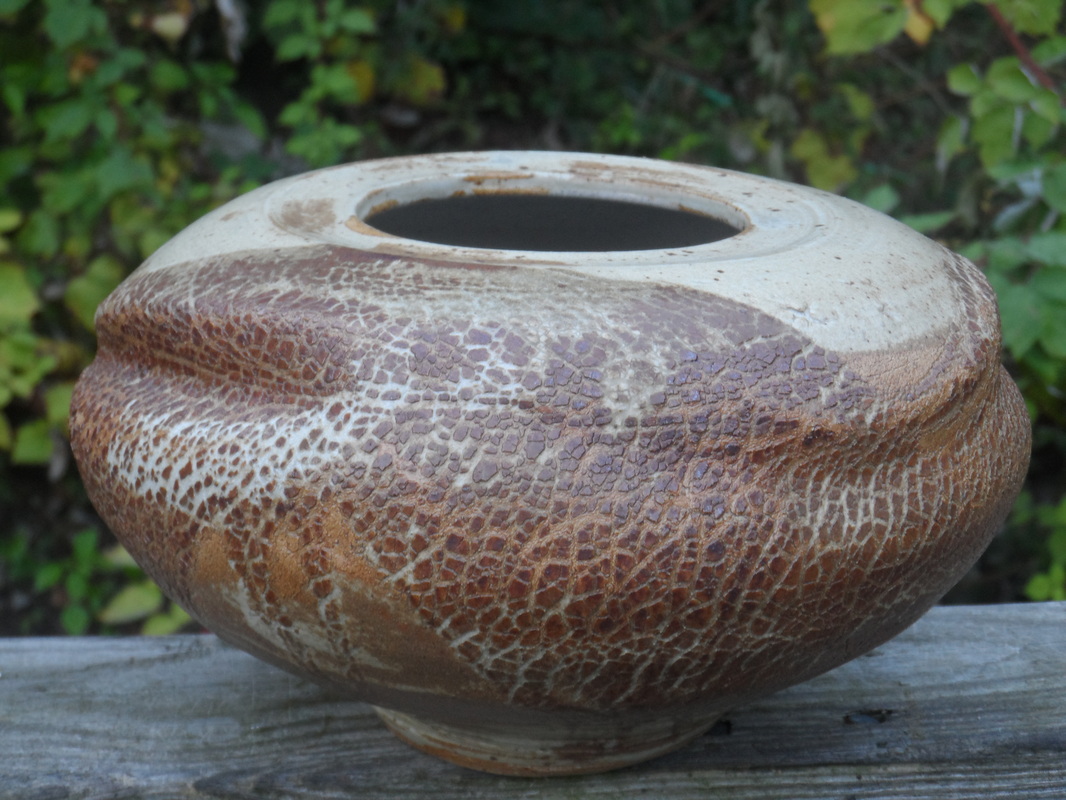
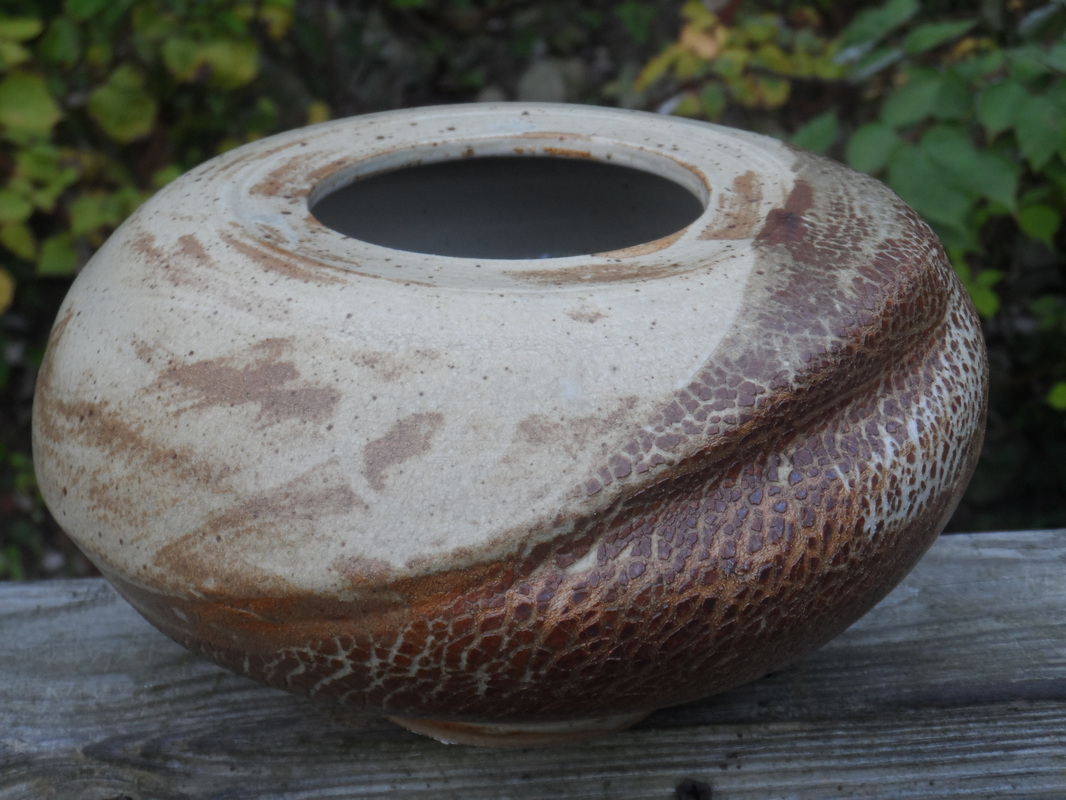
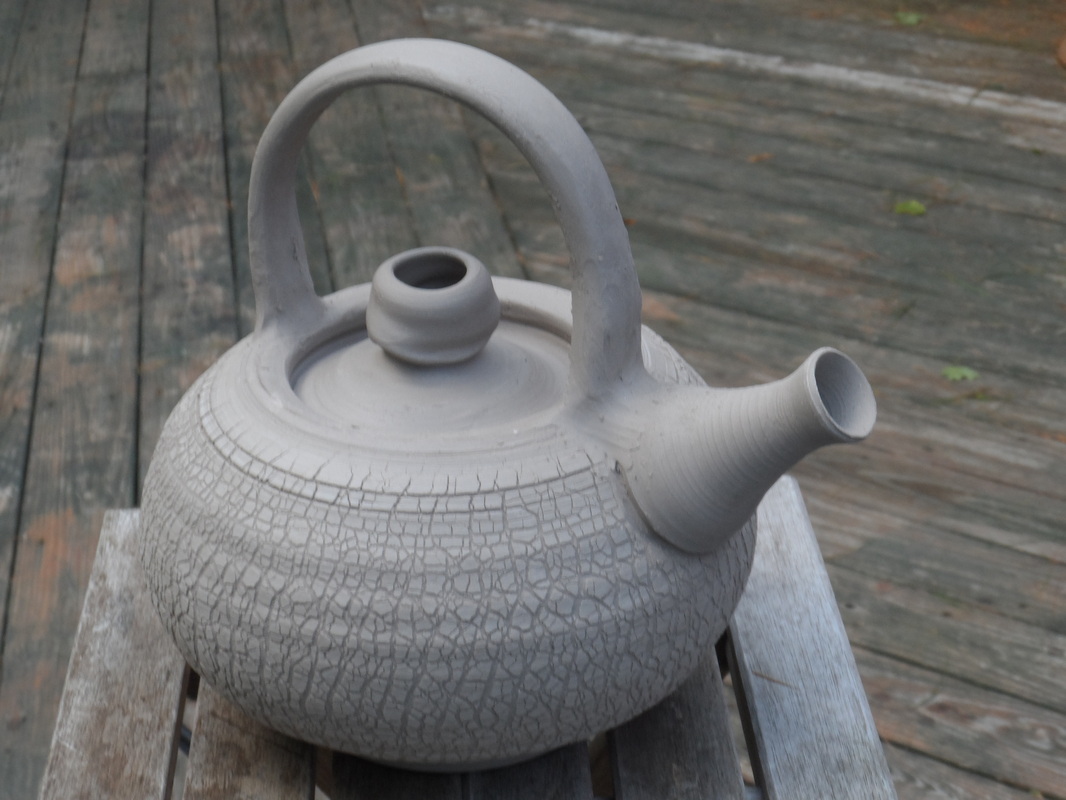
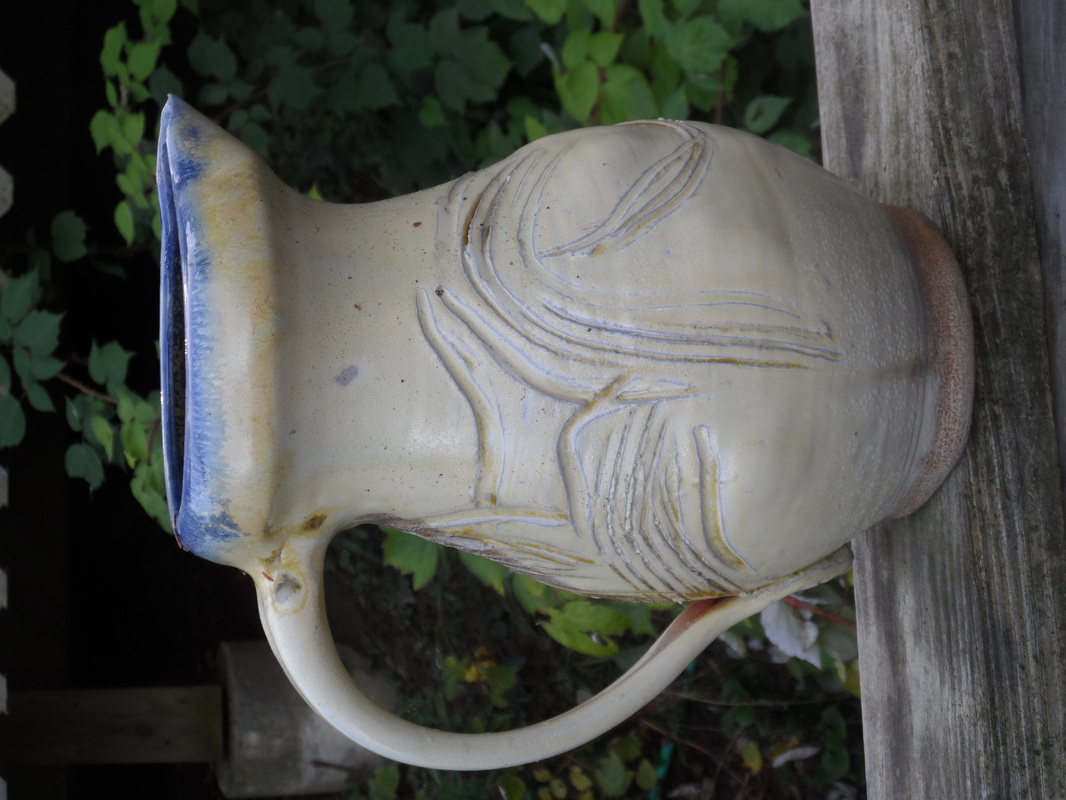
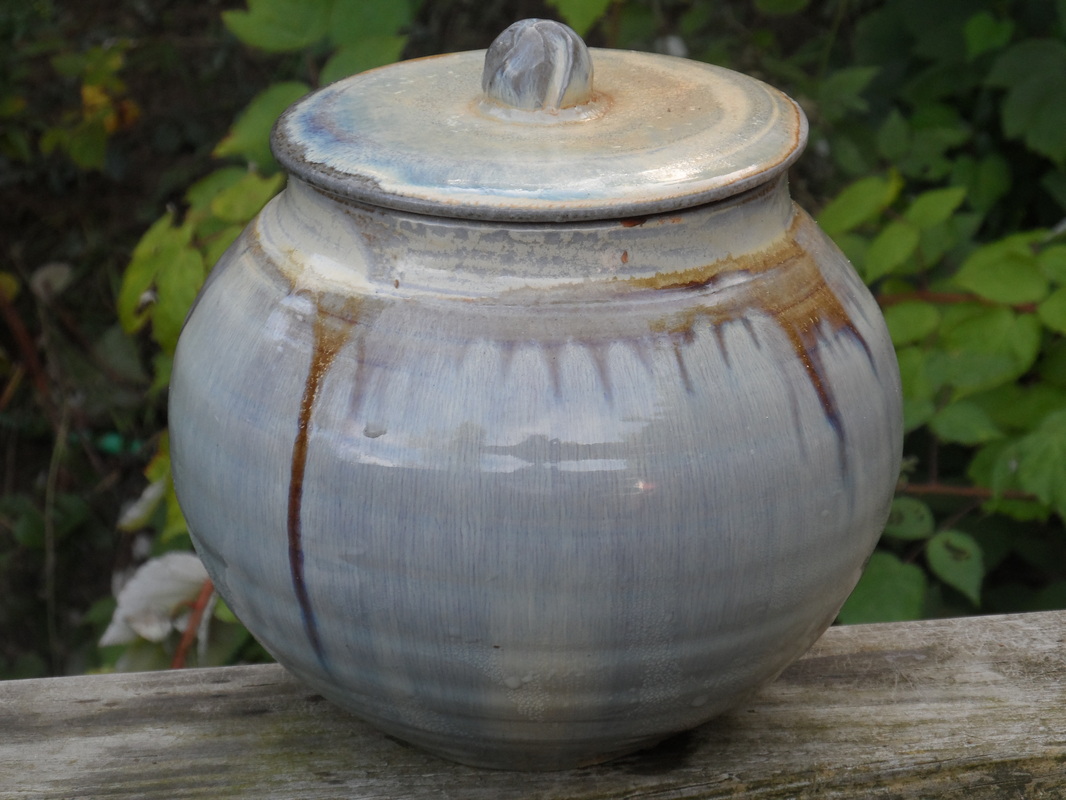
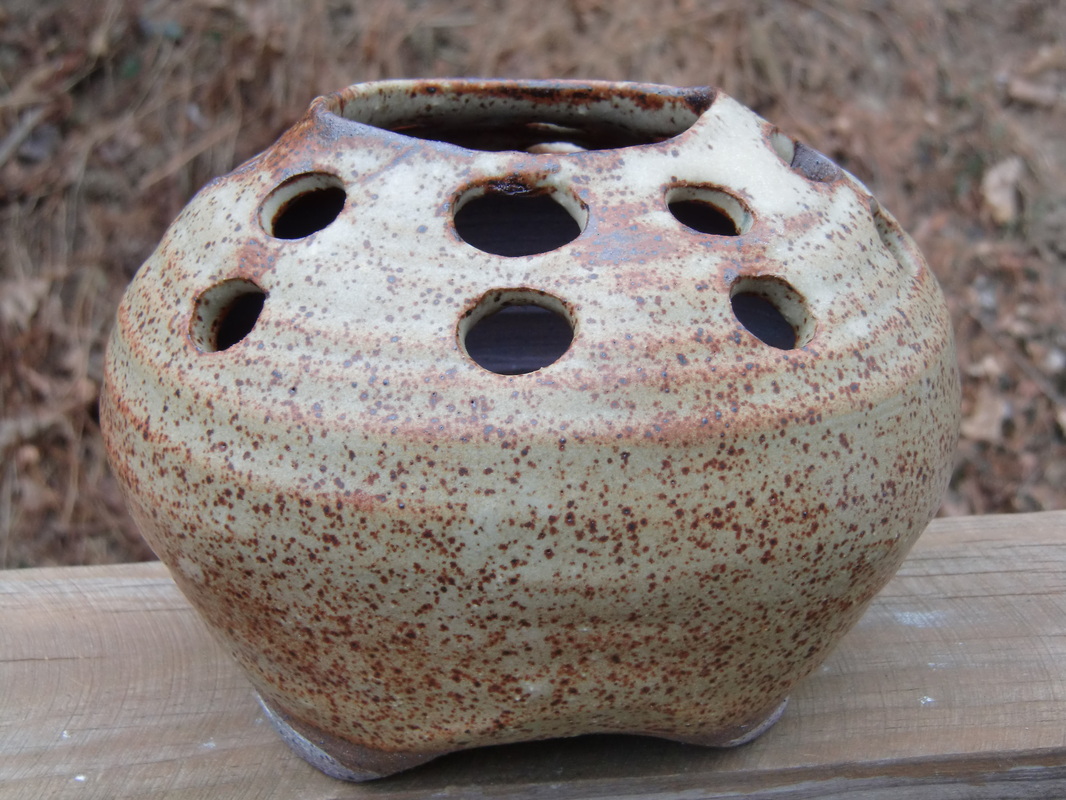
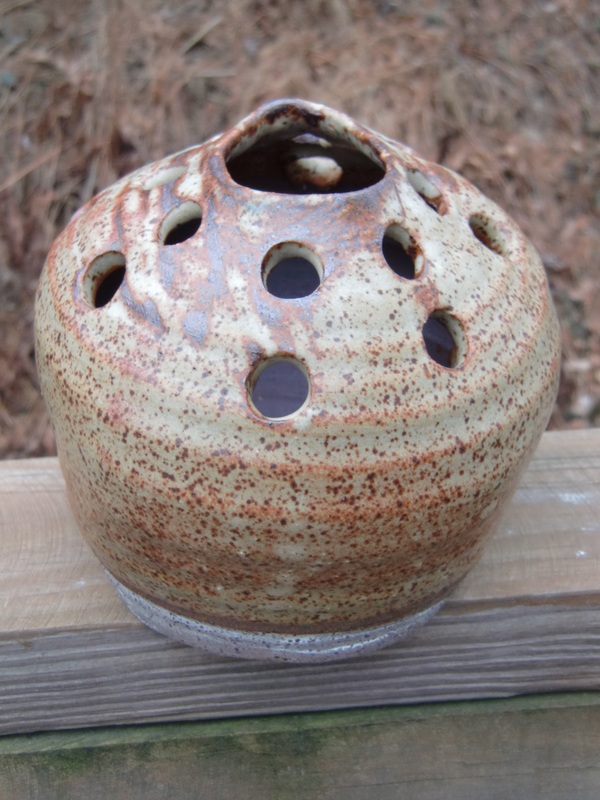
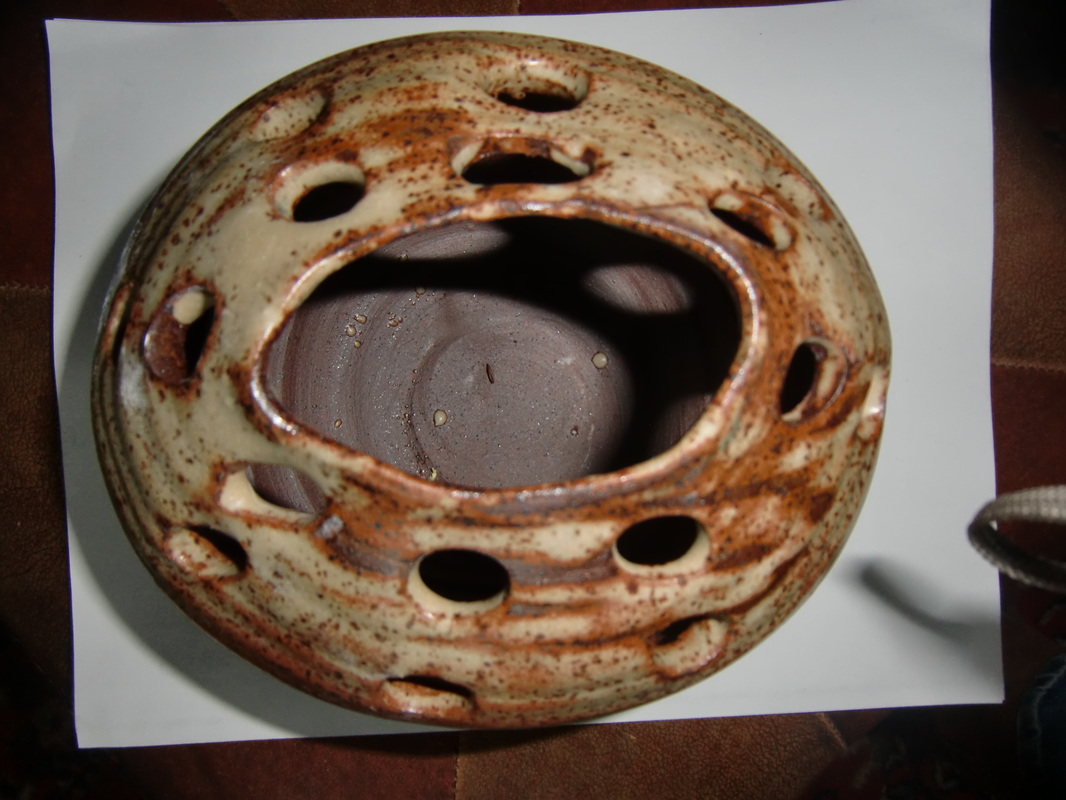
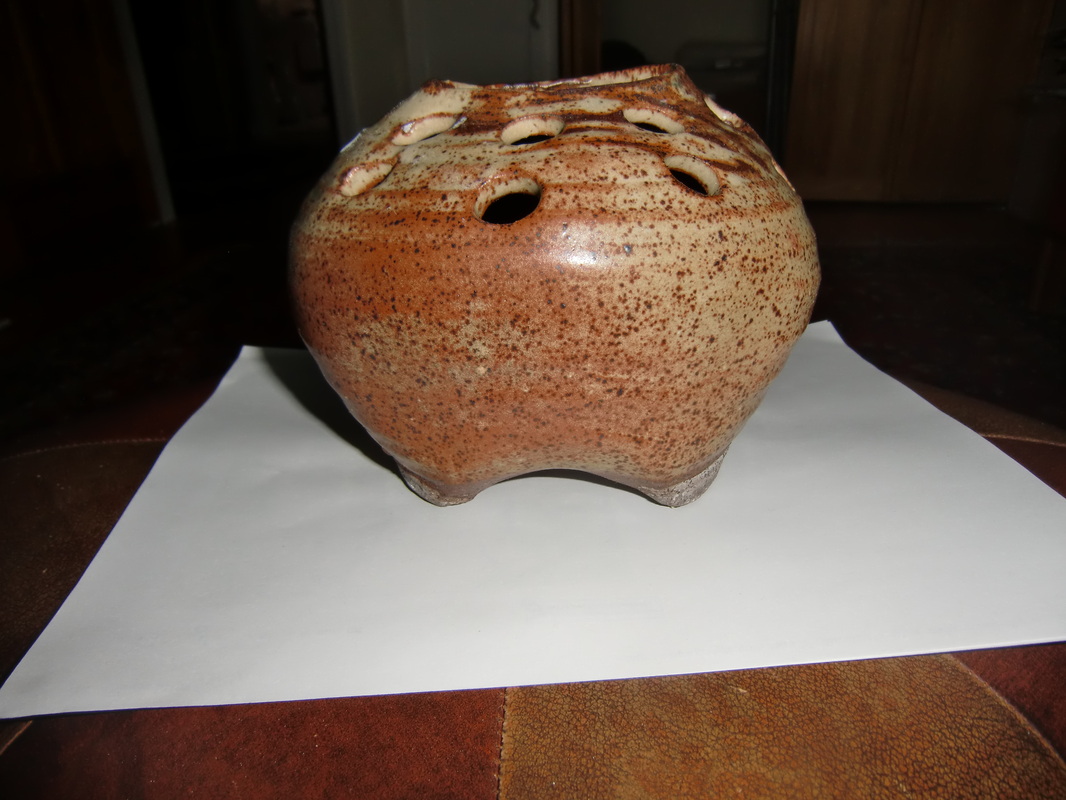
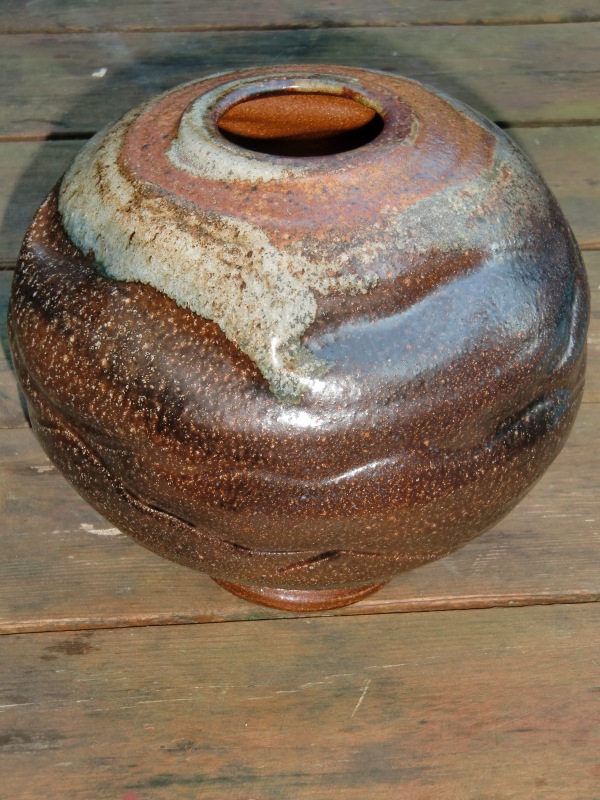
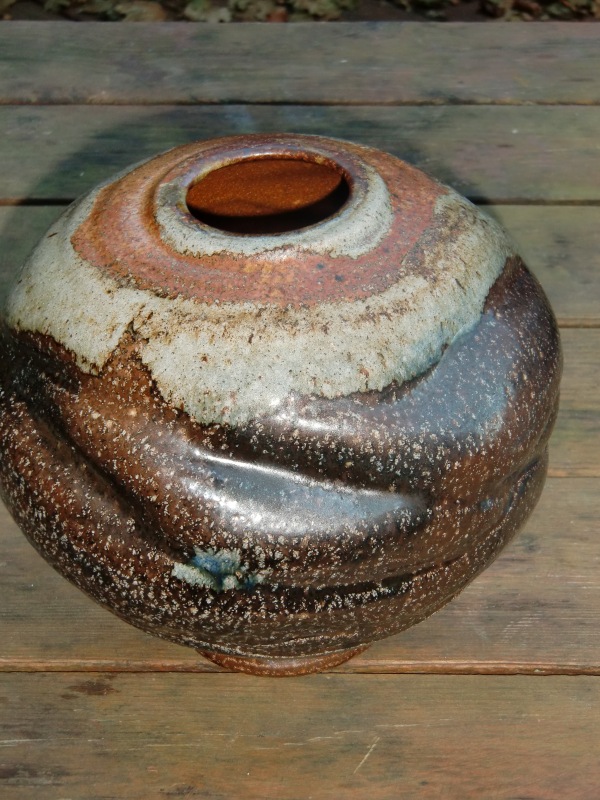
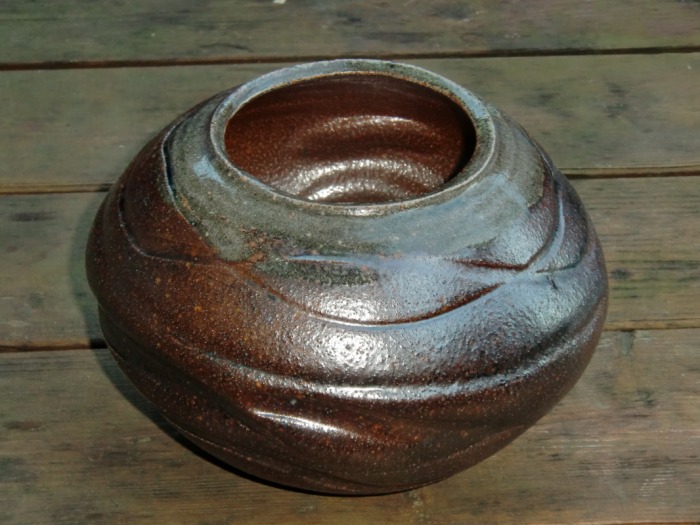
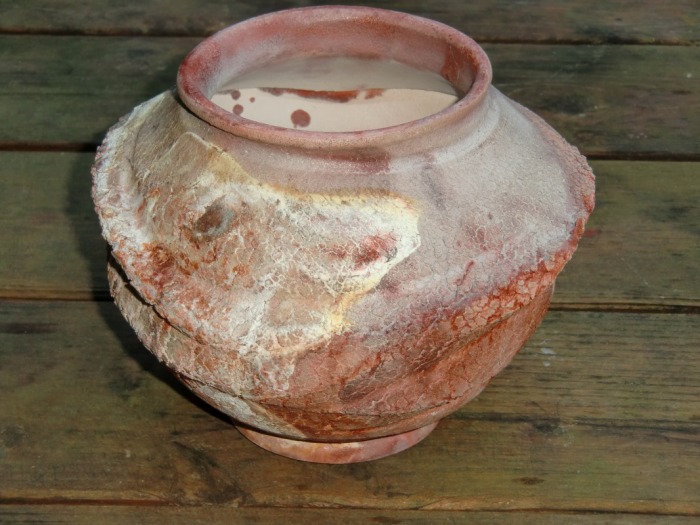
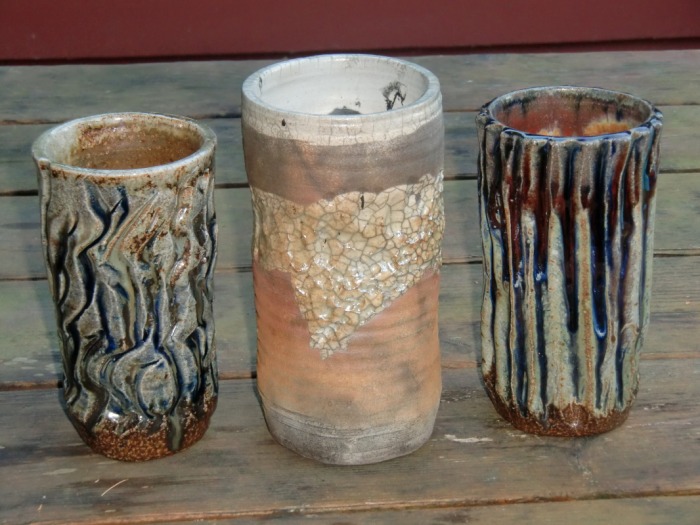
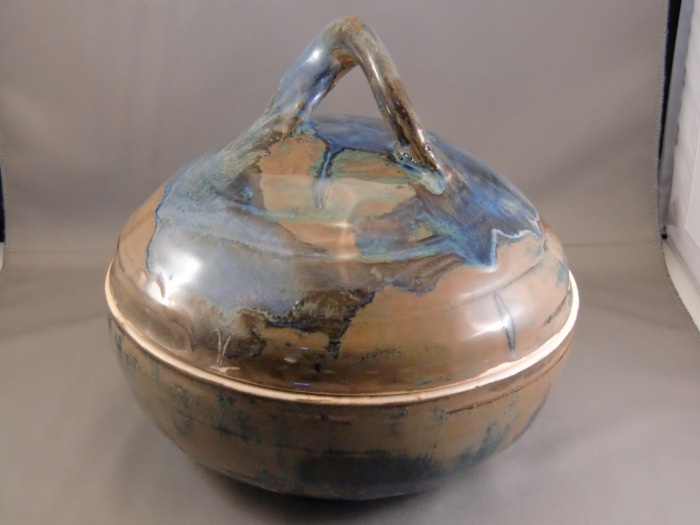
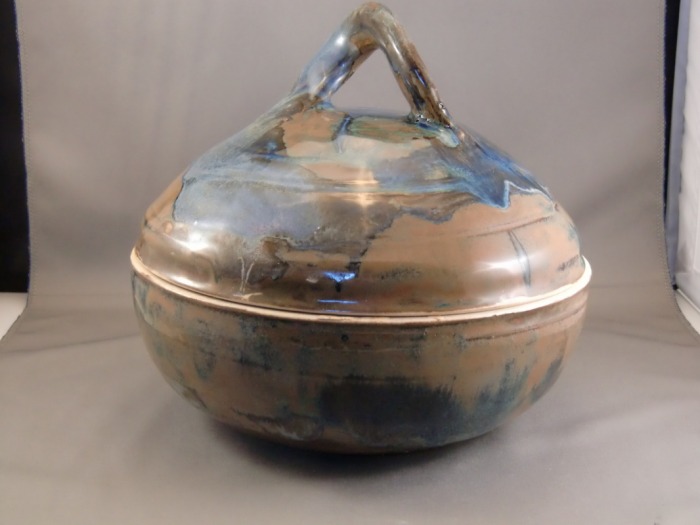
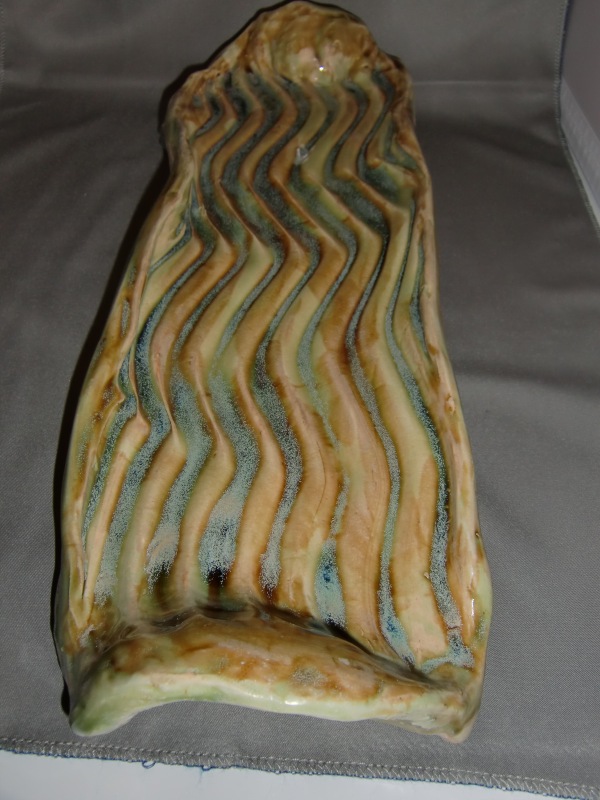
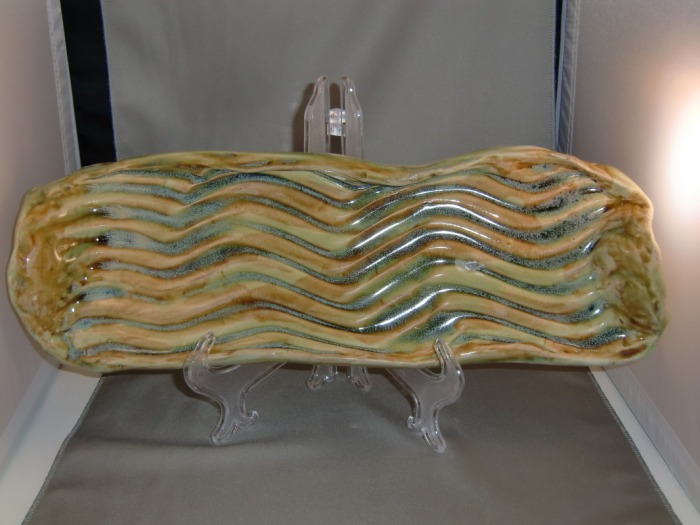
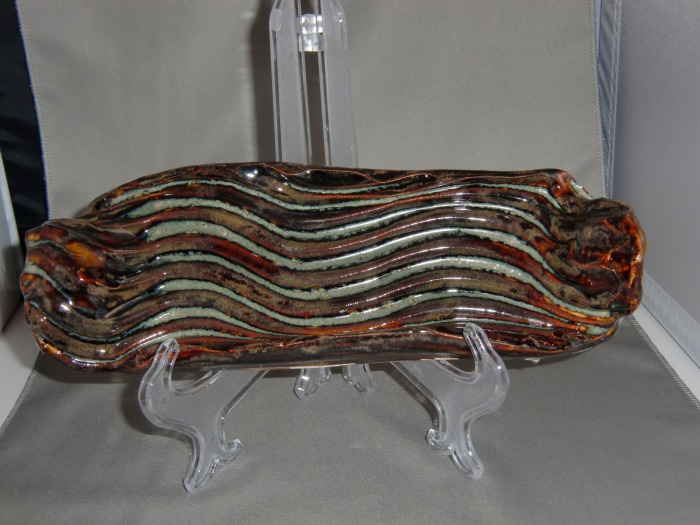
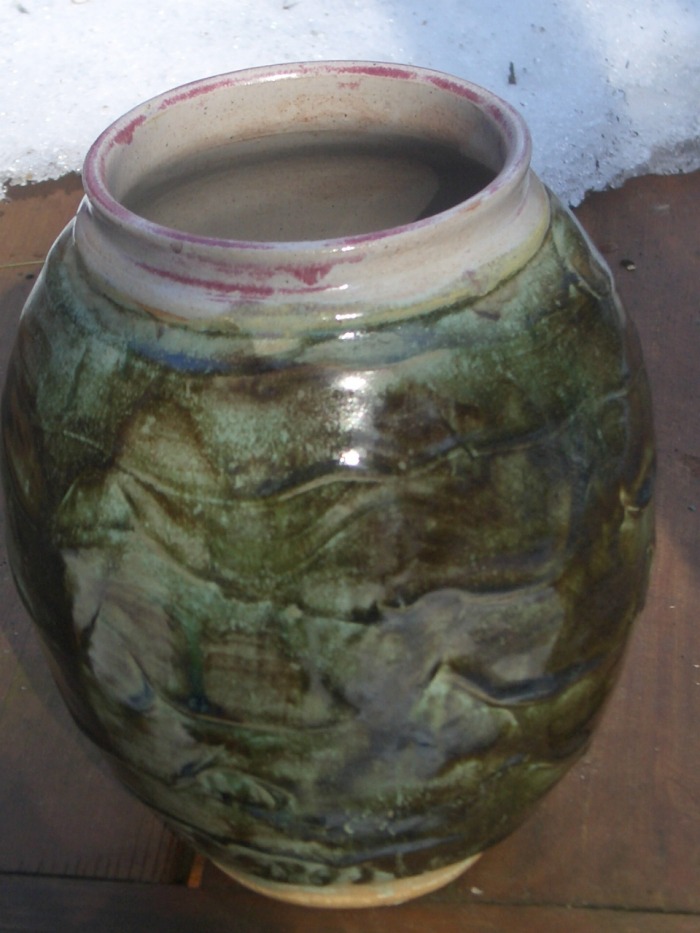
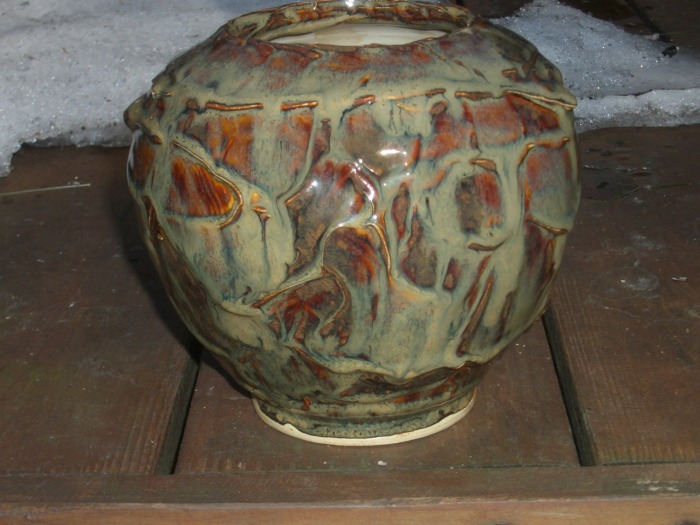
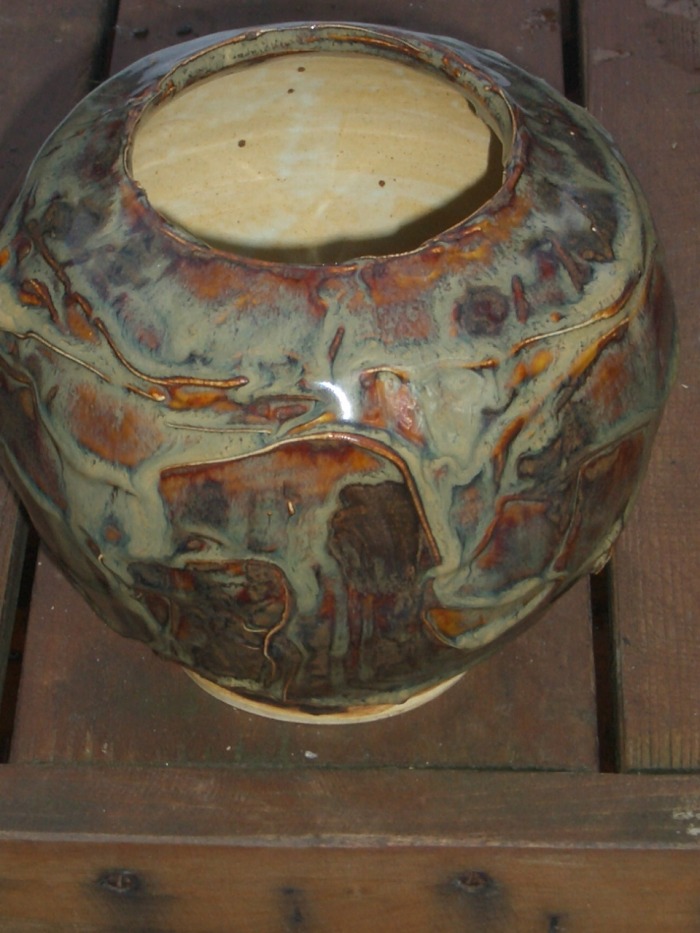
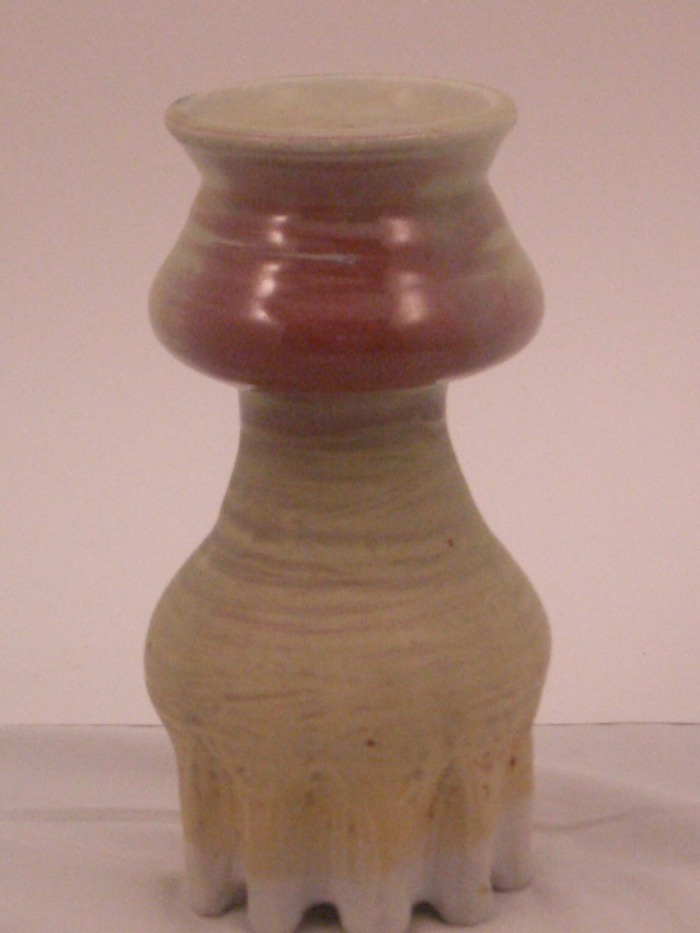
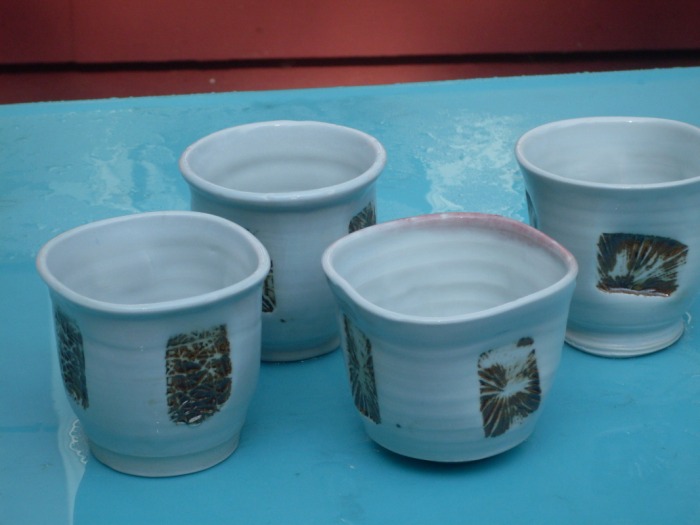
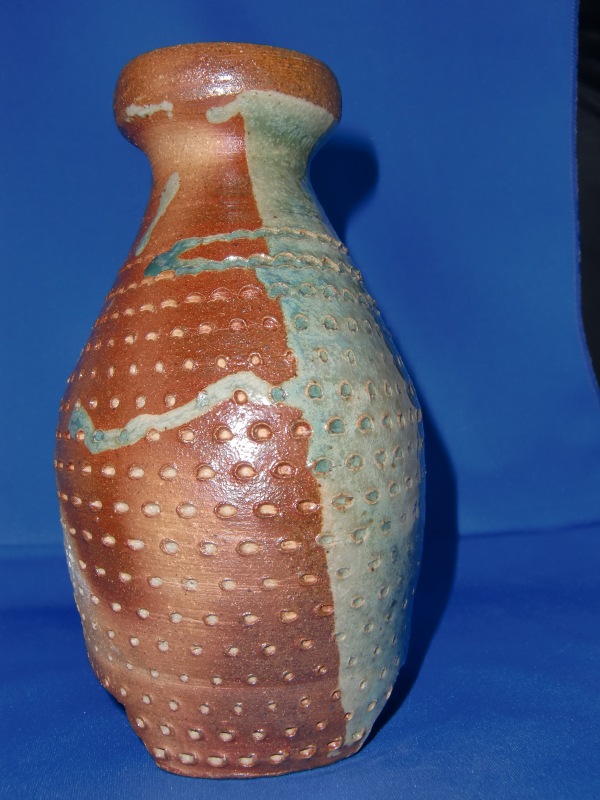
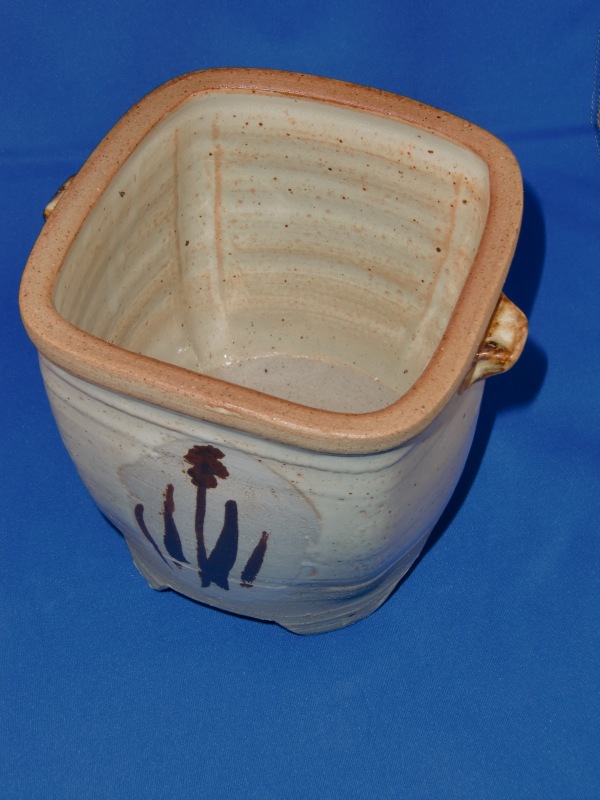
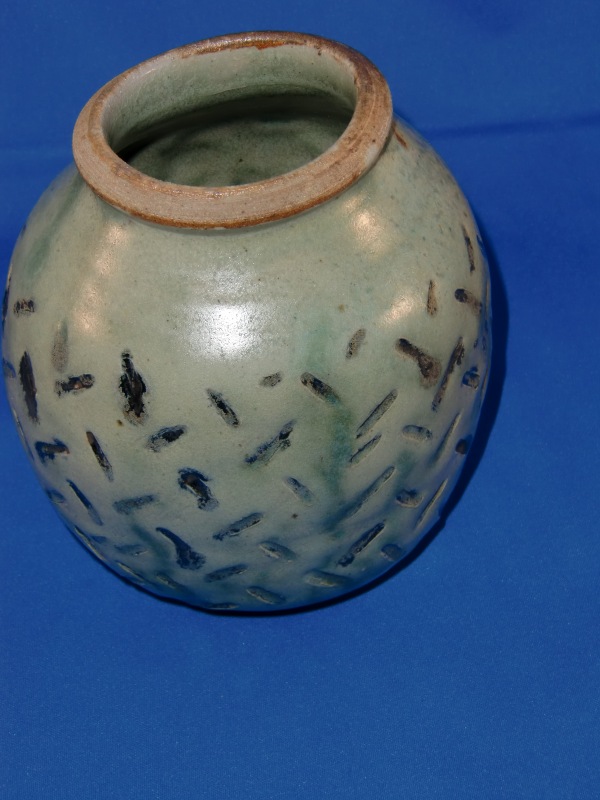
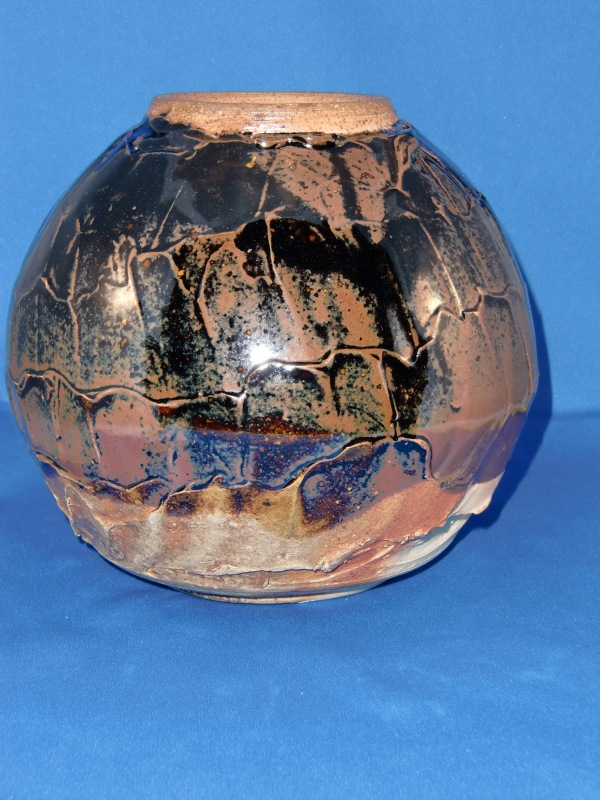
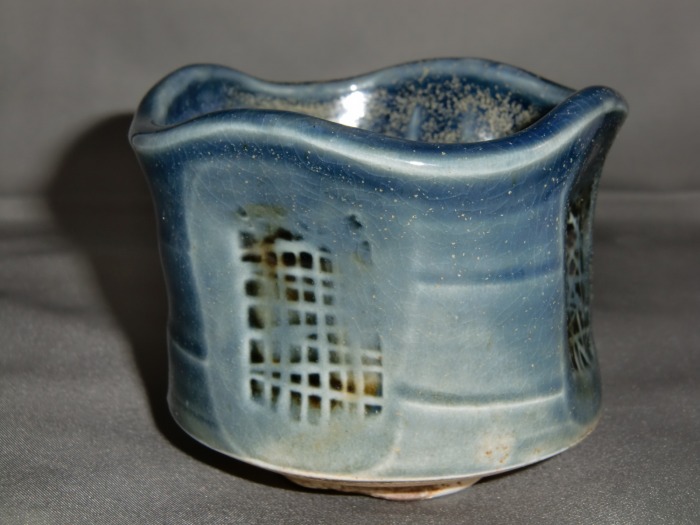
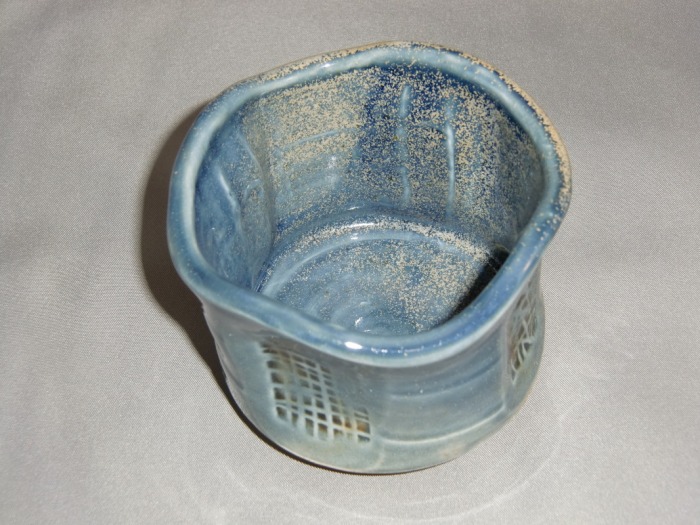
These 3 pots were thrown using sodium silicate tinted with iron oxide and stretched from the inside before being modified. They were fired on Groundhog day in my hybrid electric-propane kiln to cone 6-7.

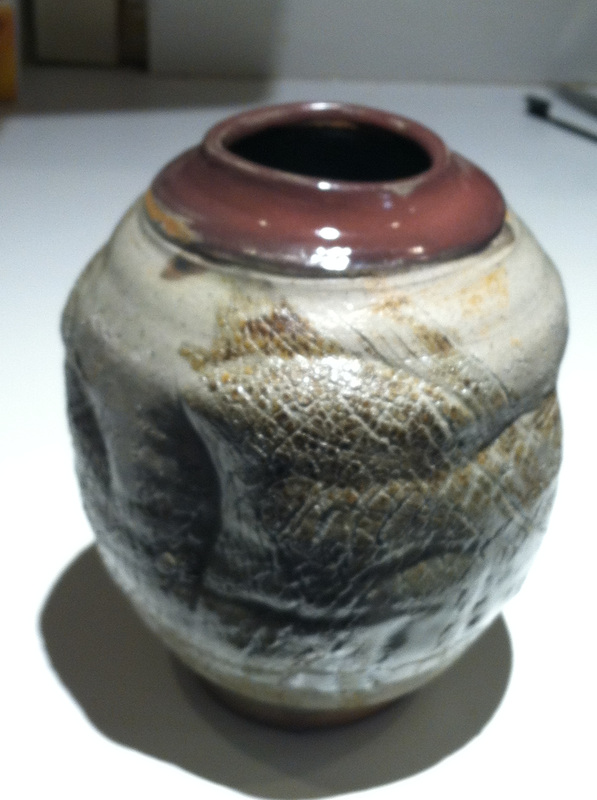

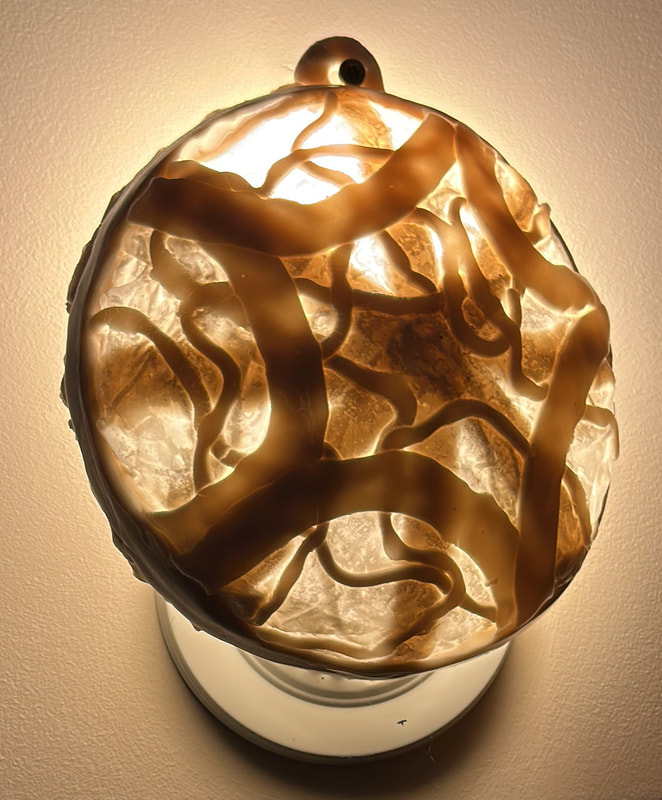
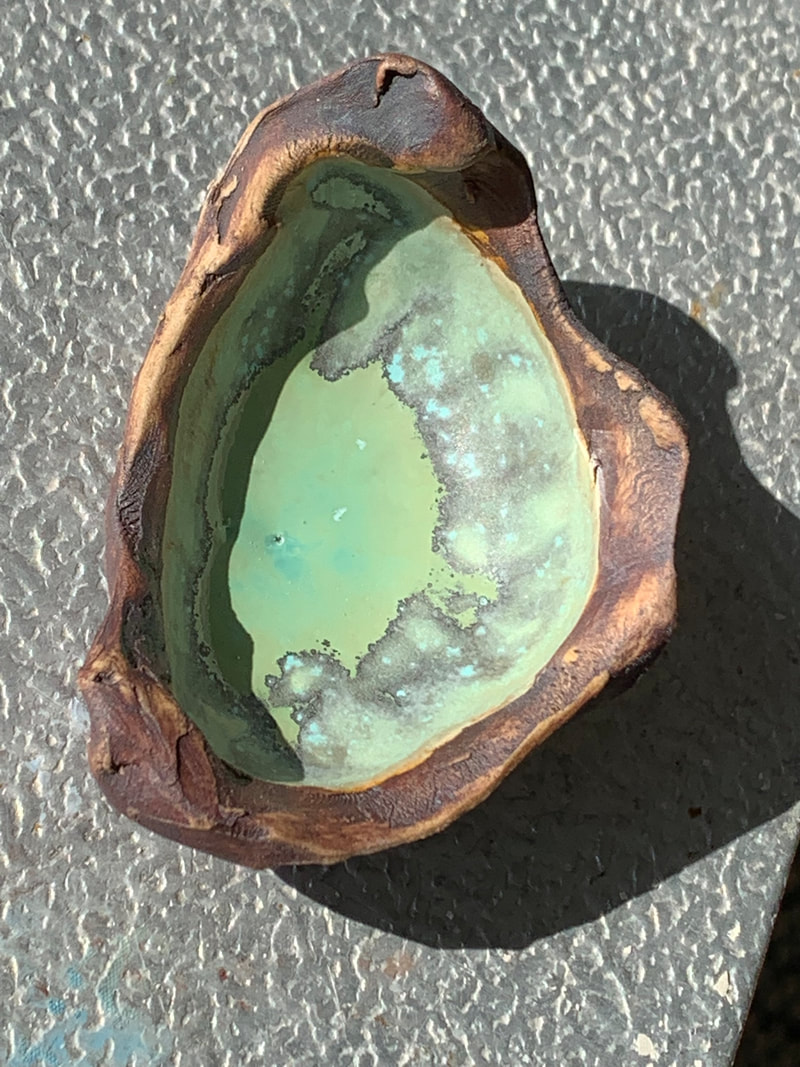
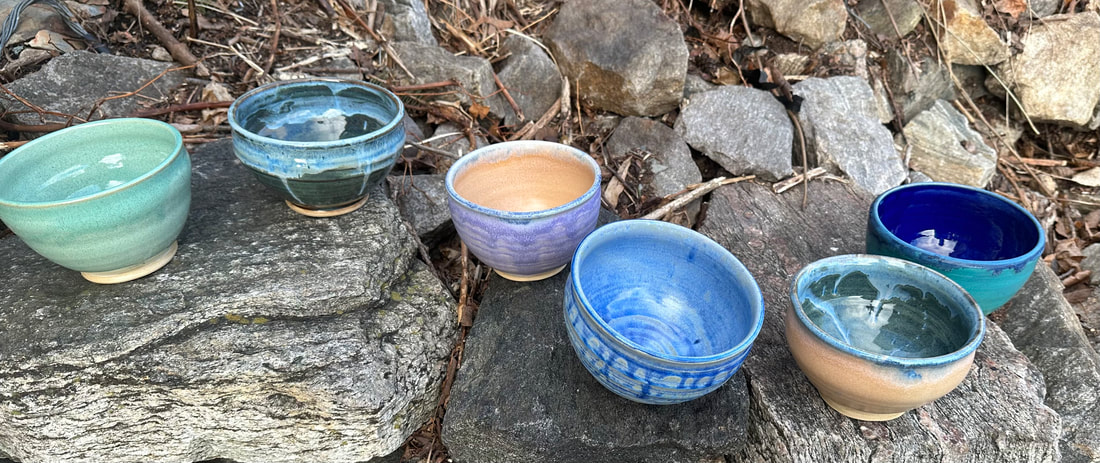
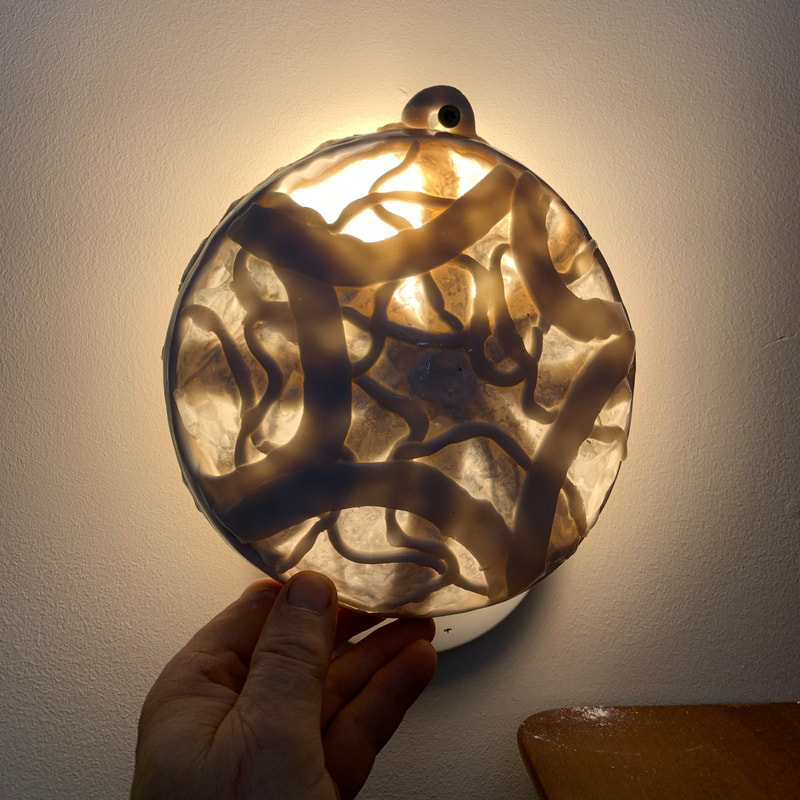
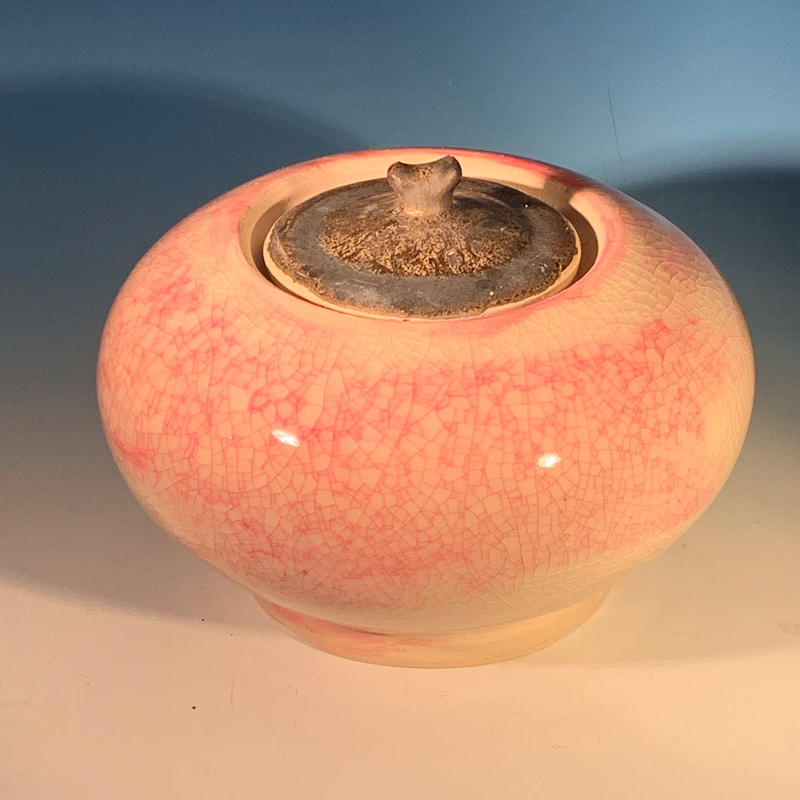
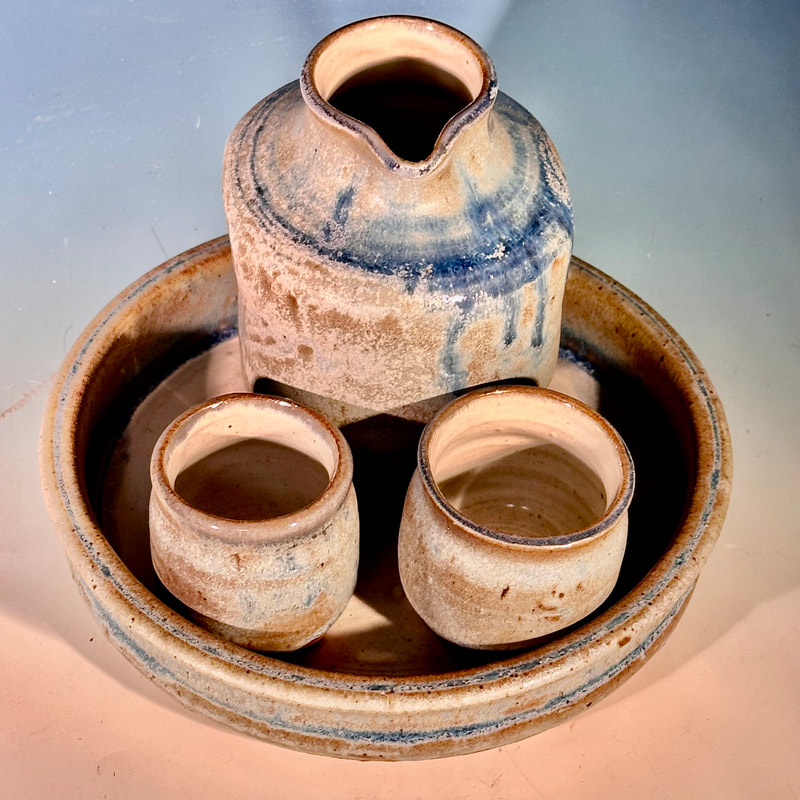
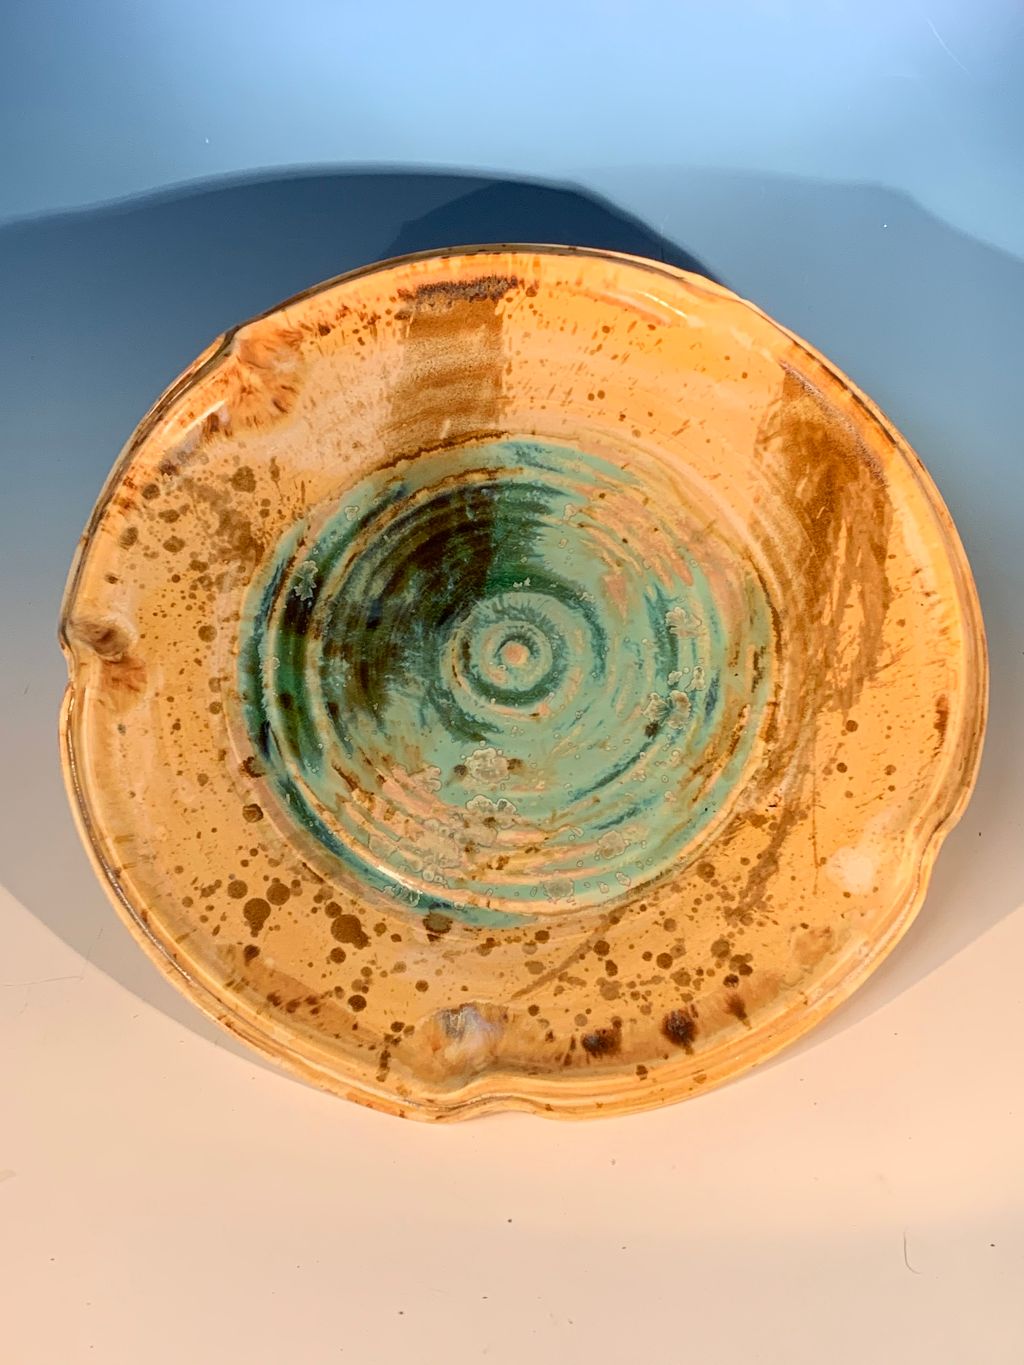
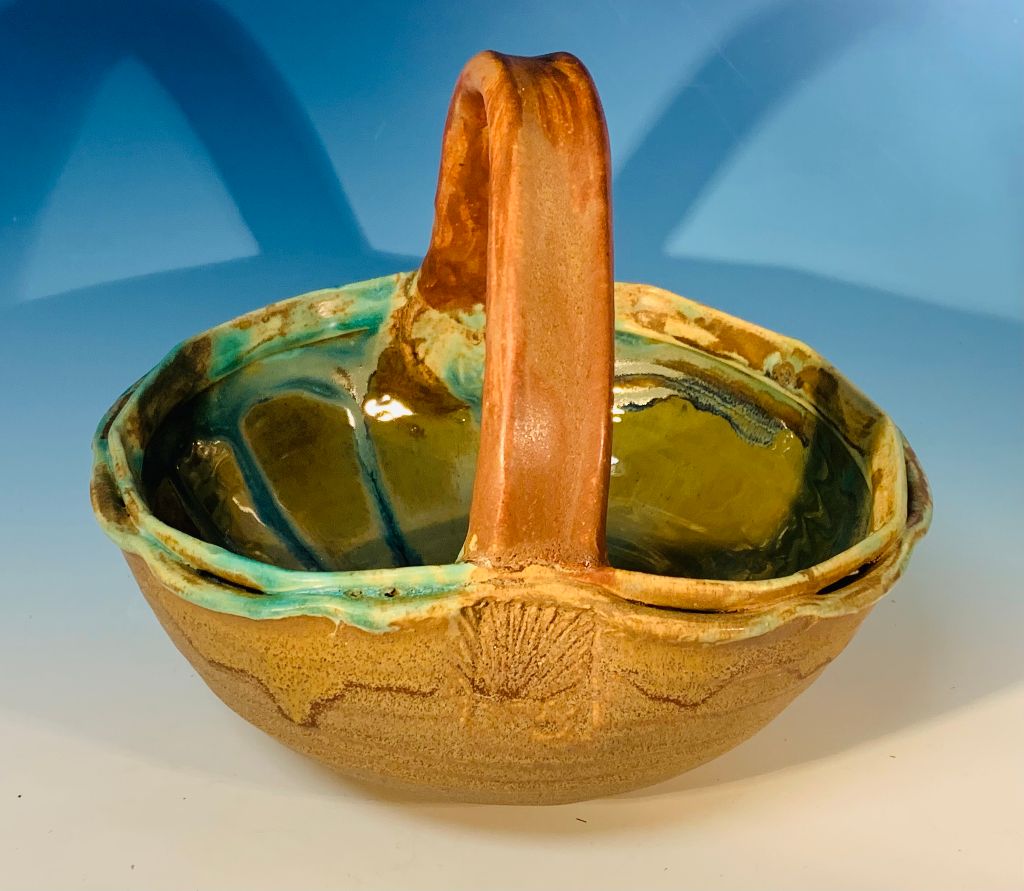
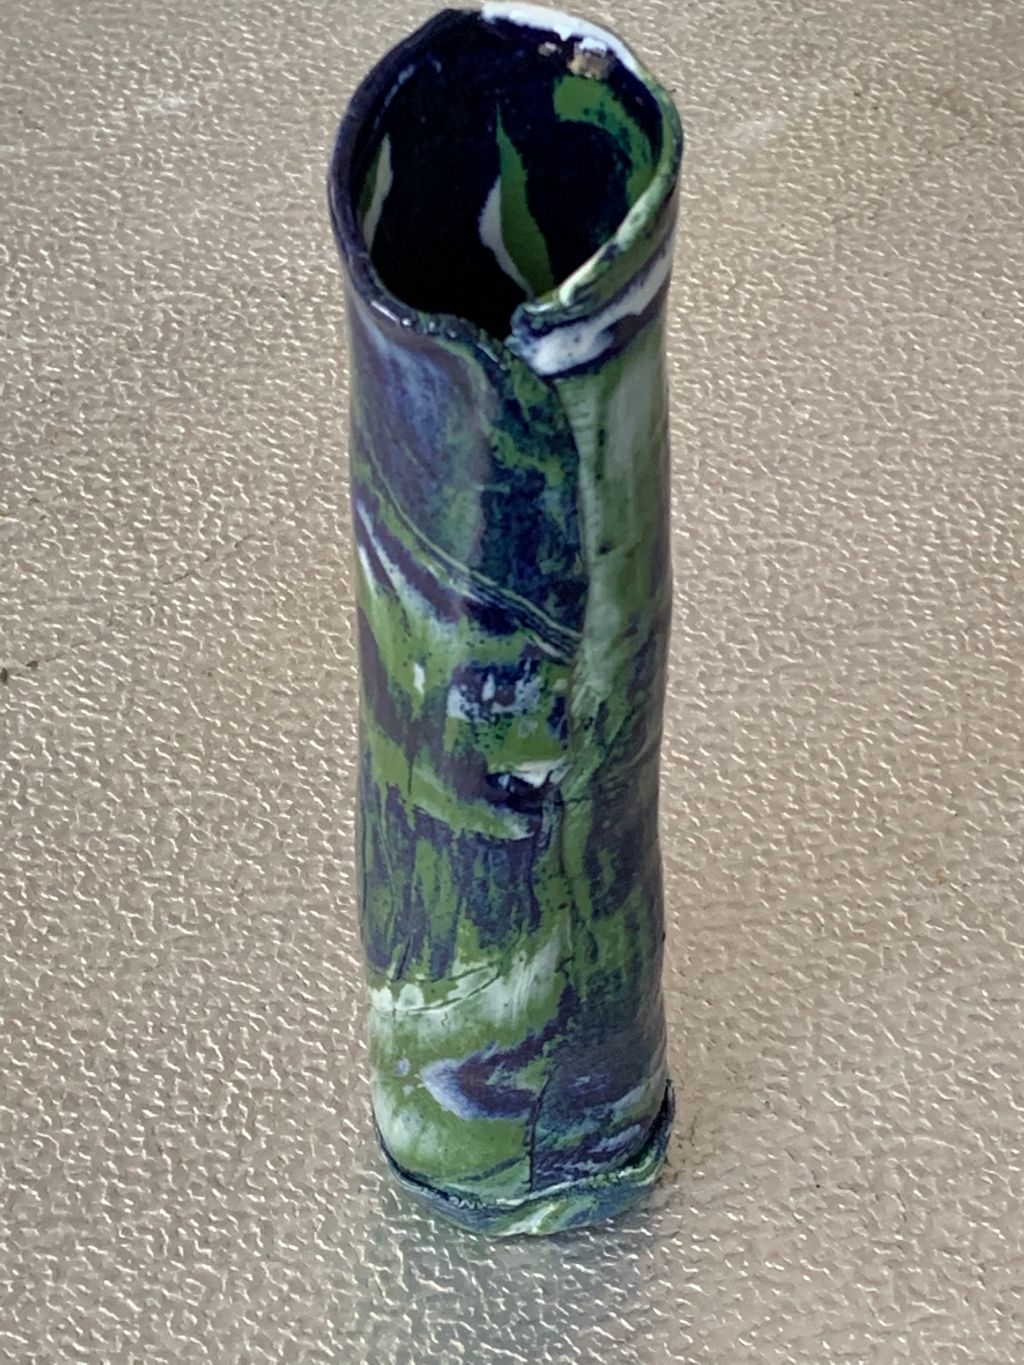
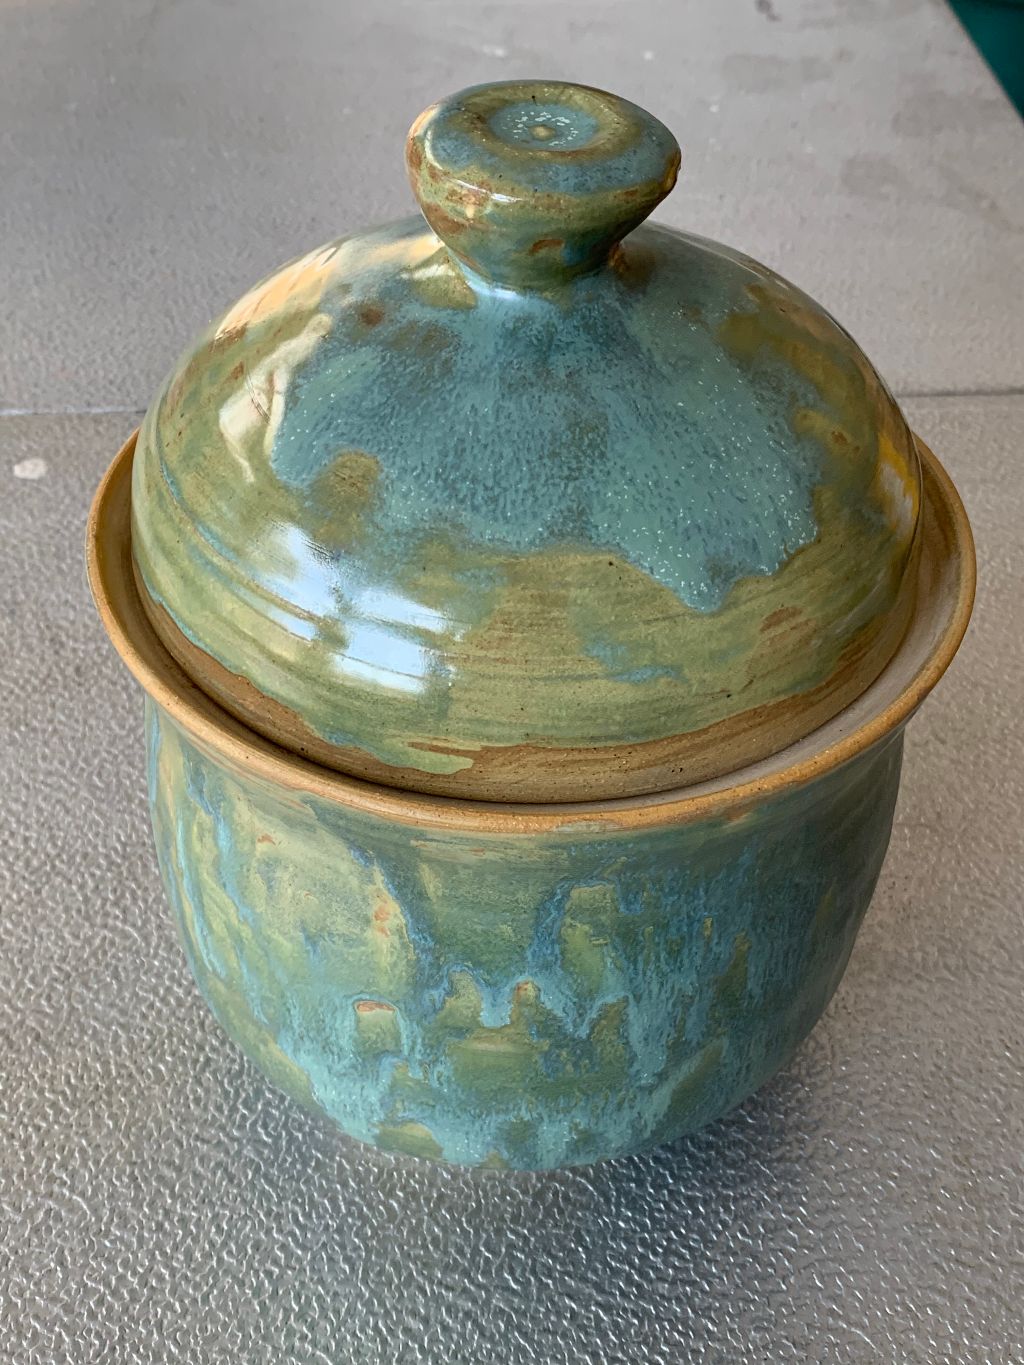
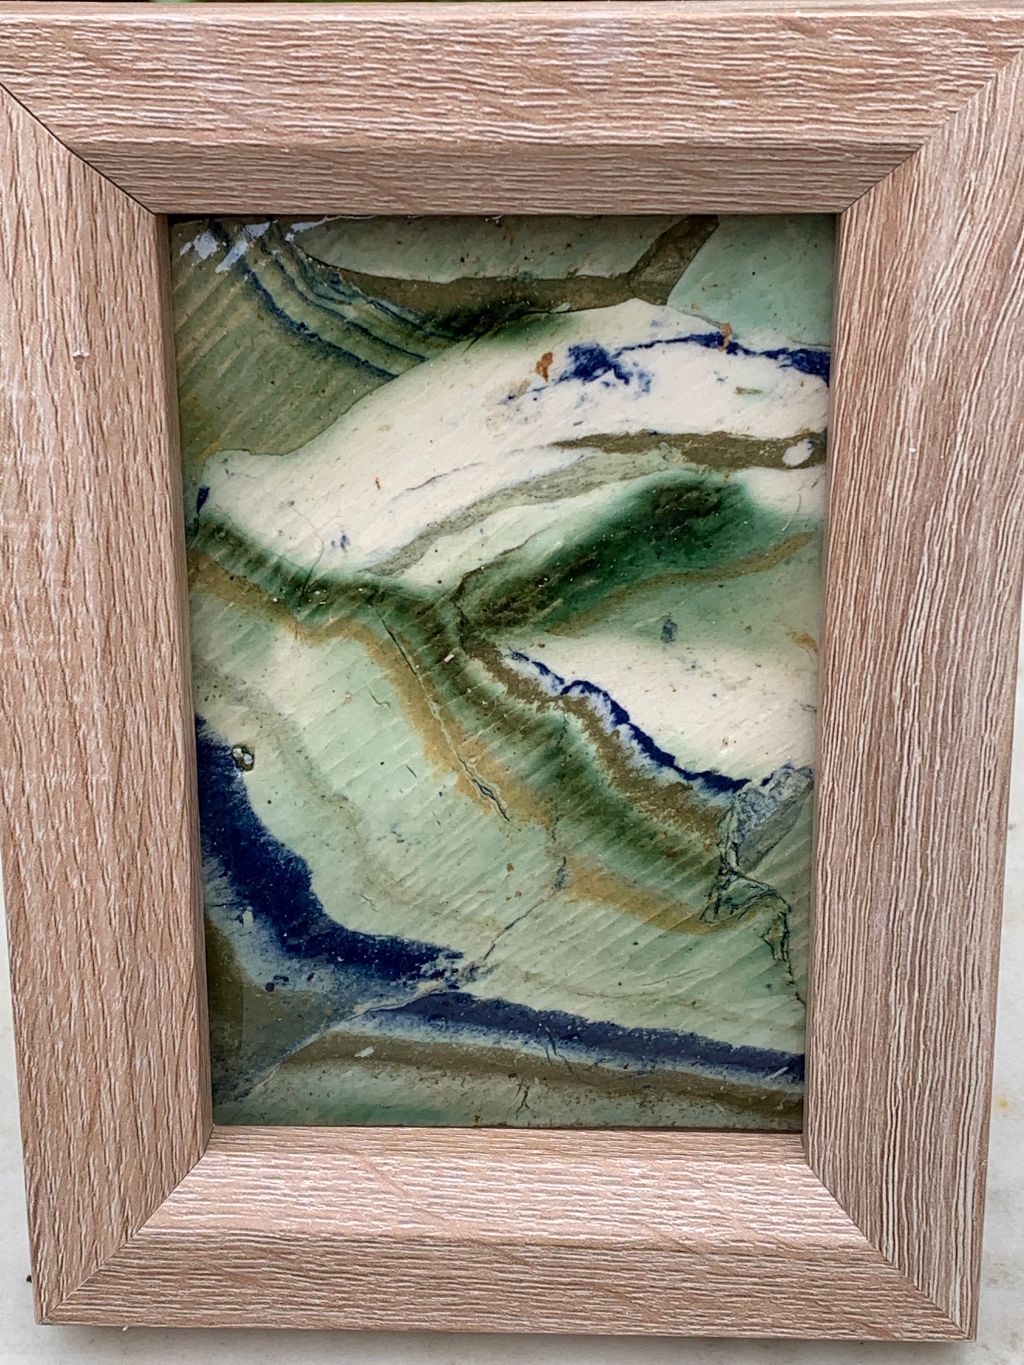
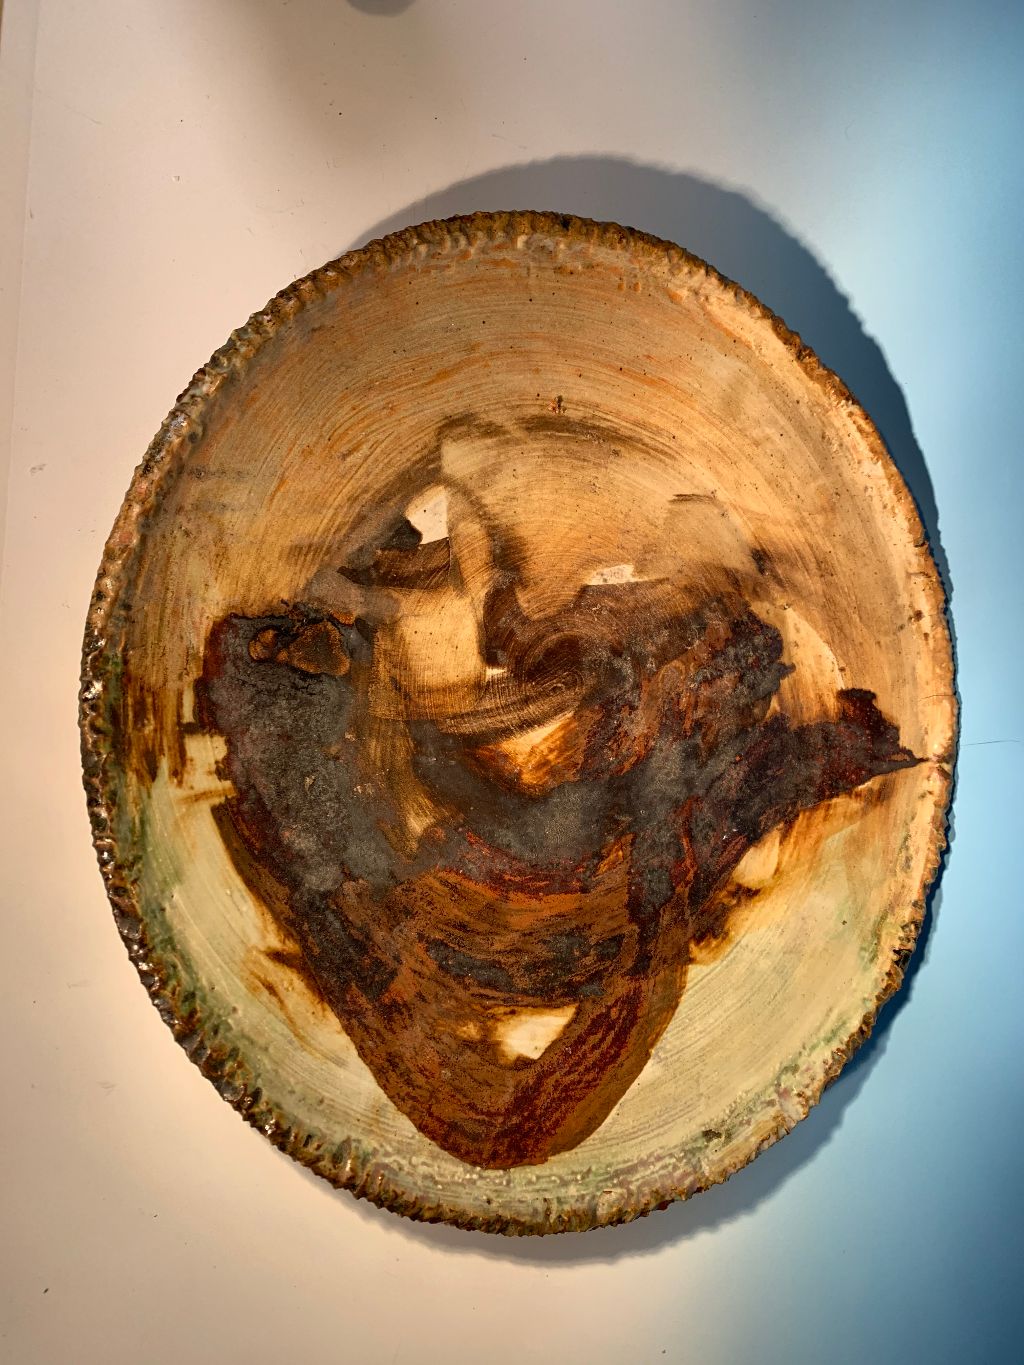
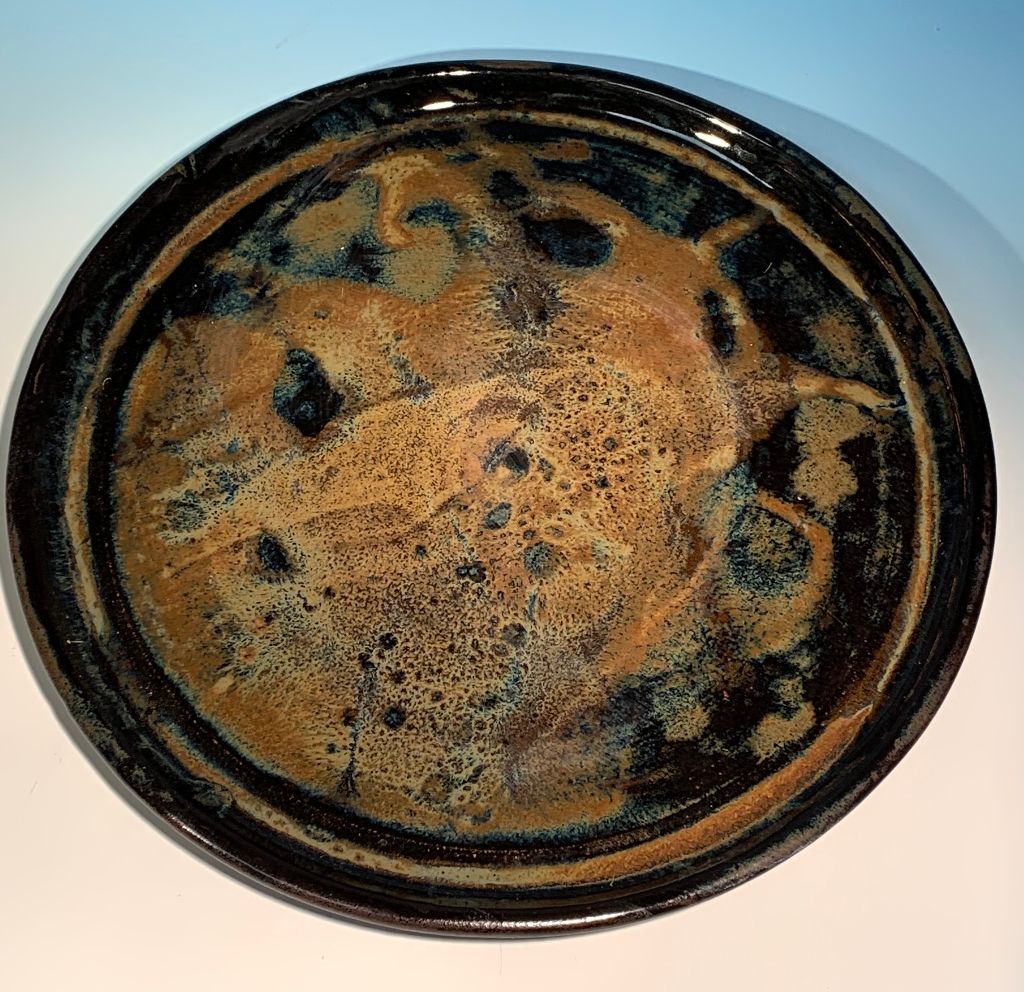
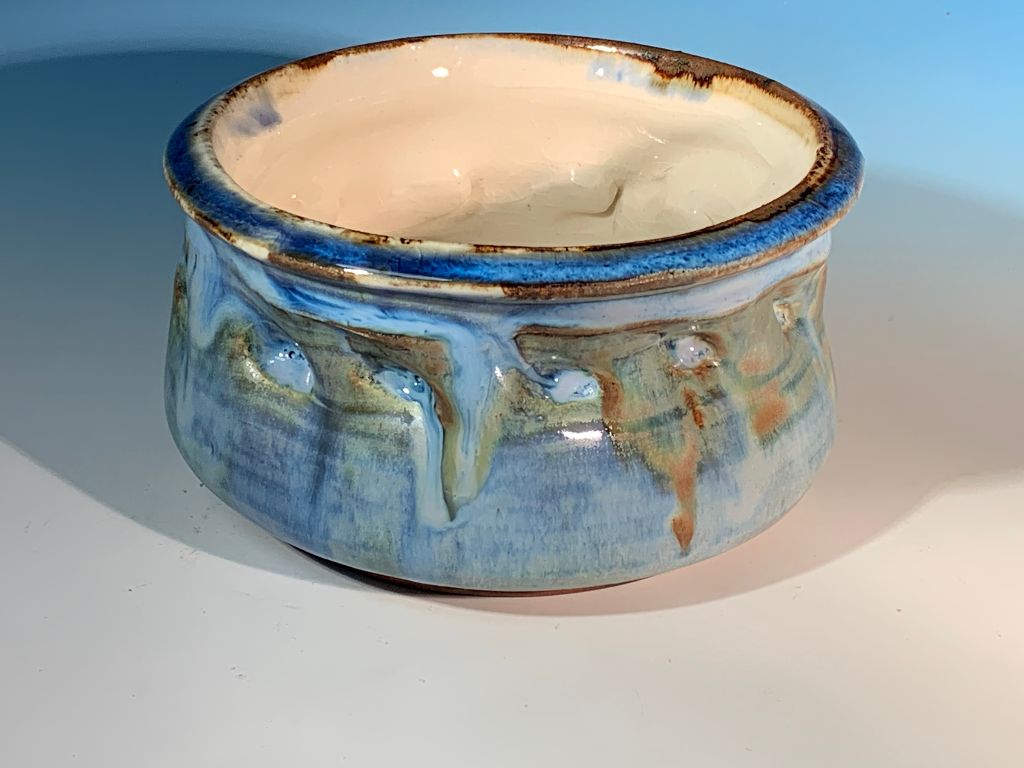
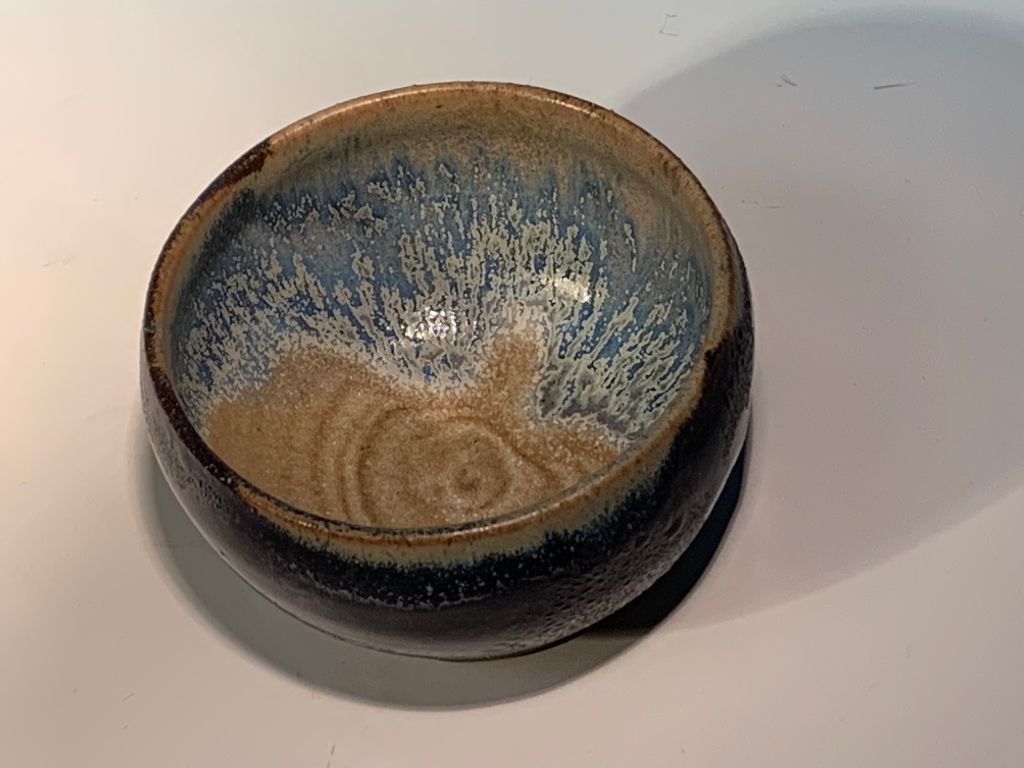
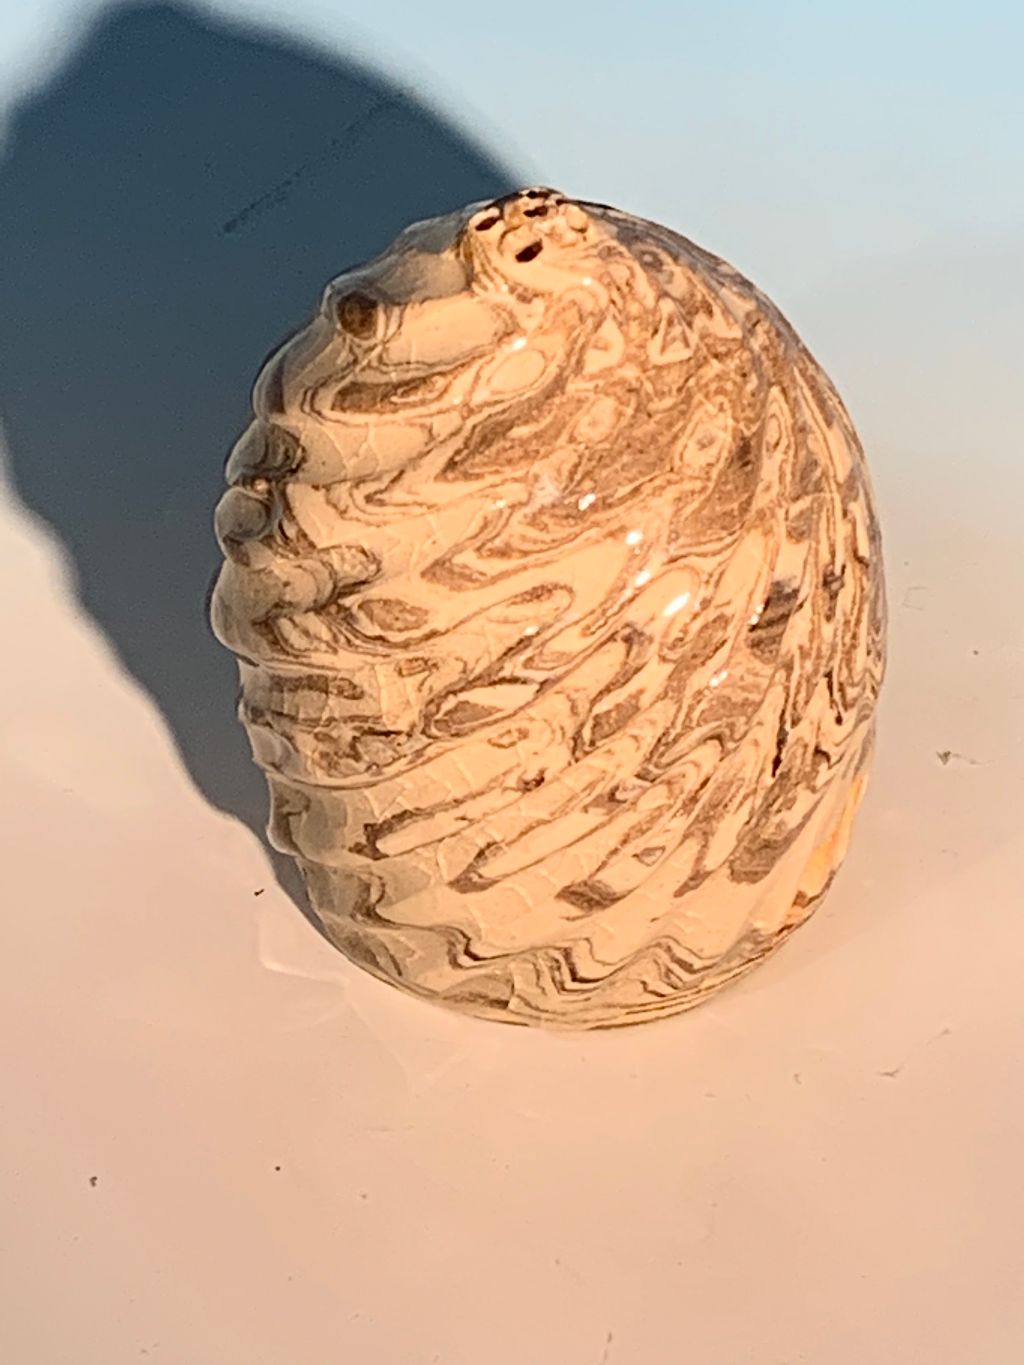
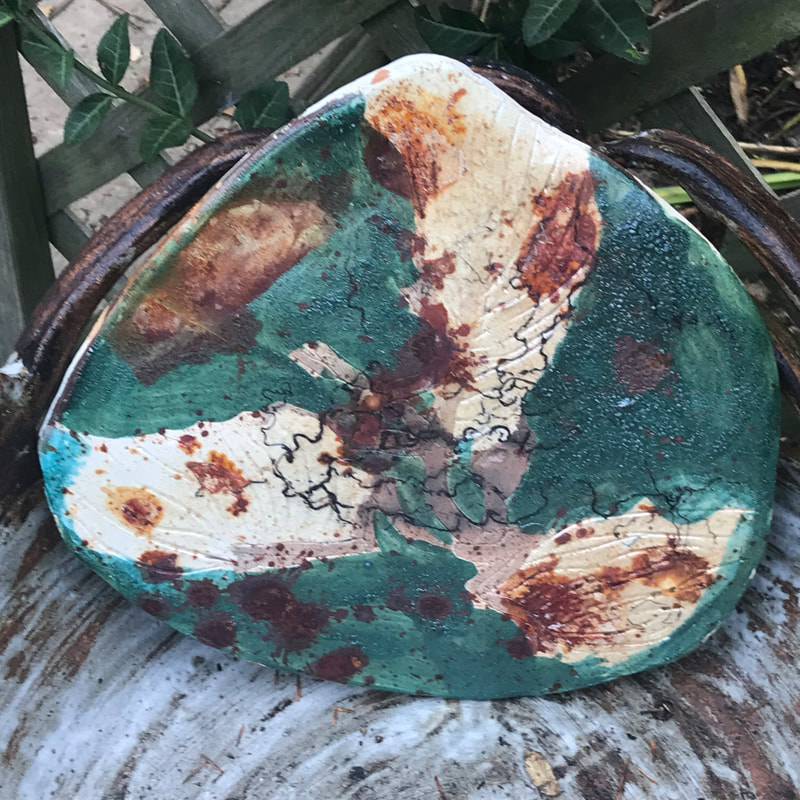
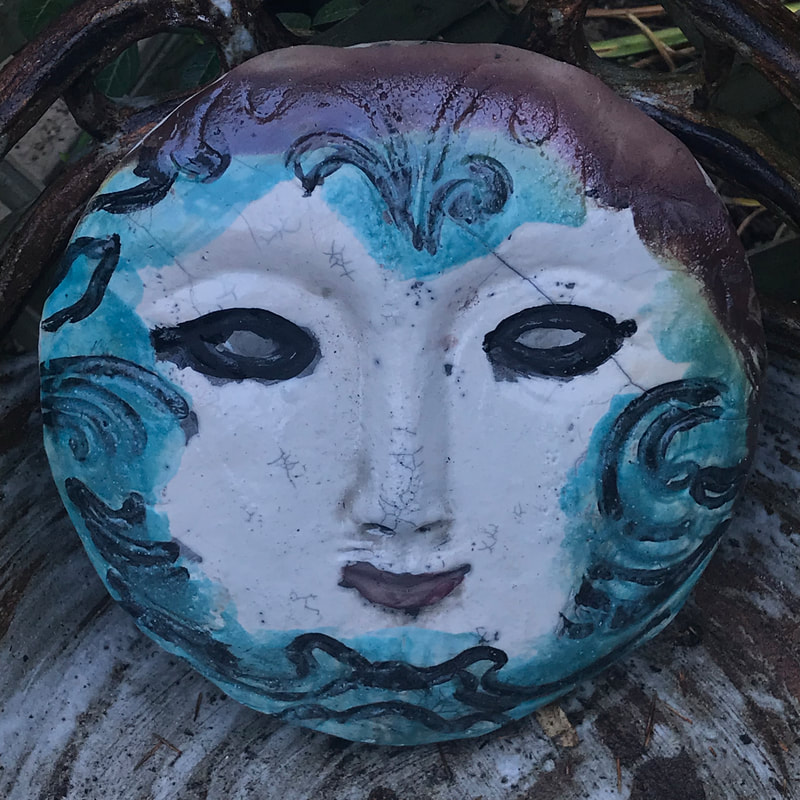
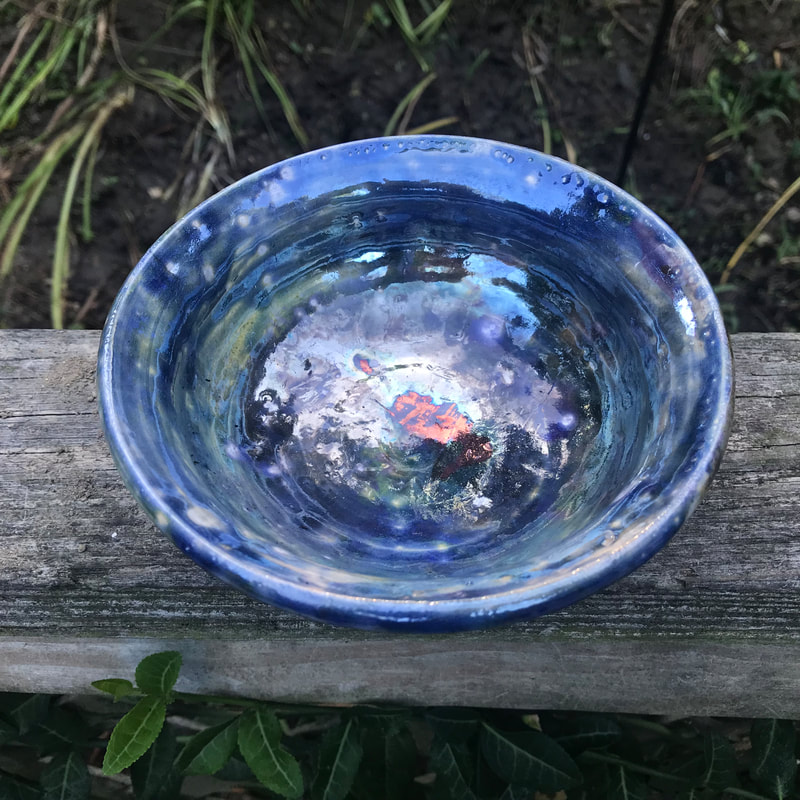
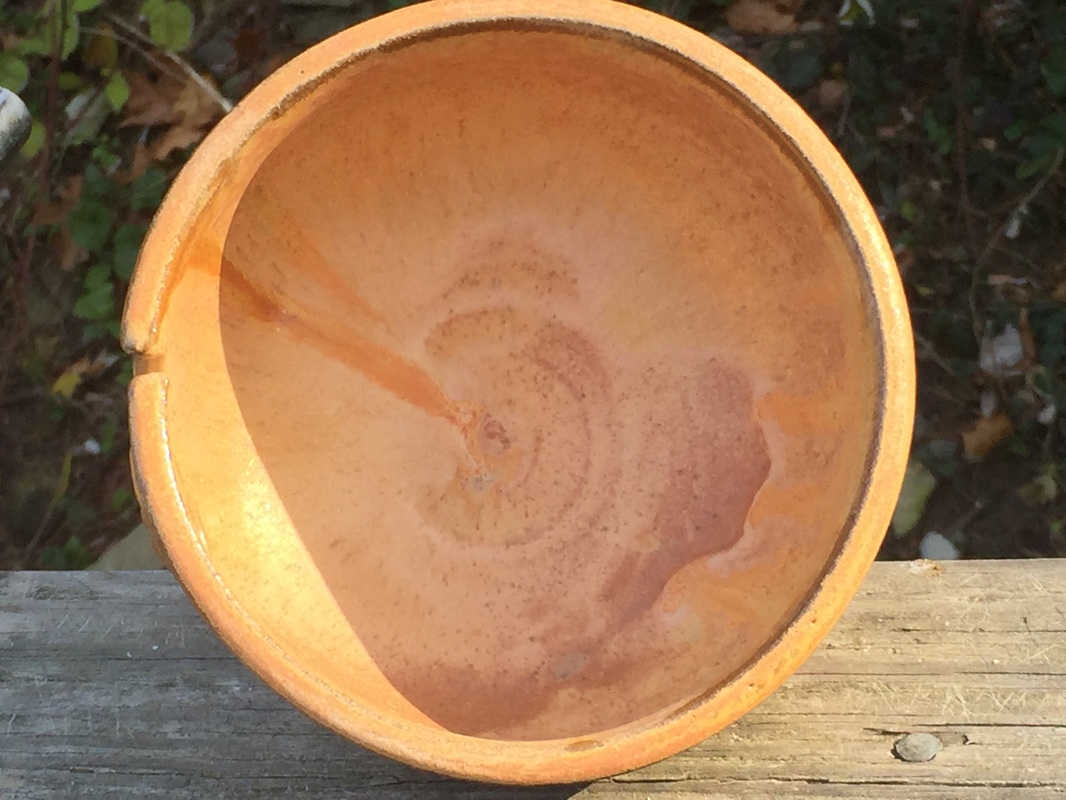
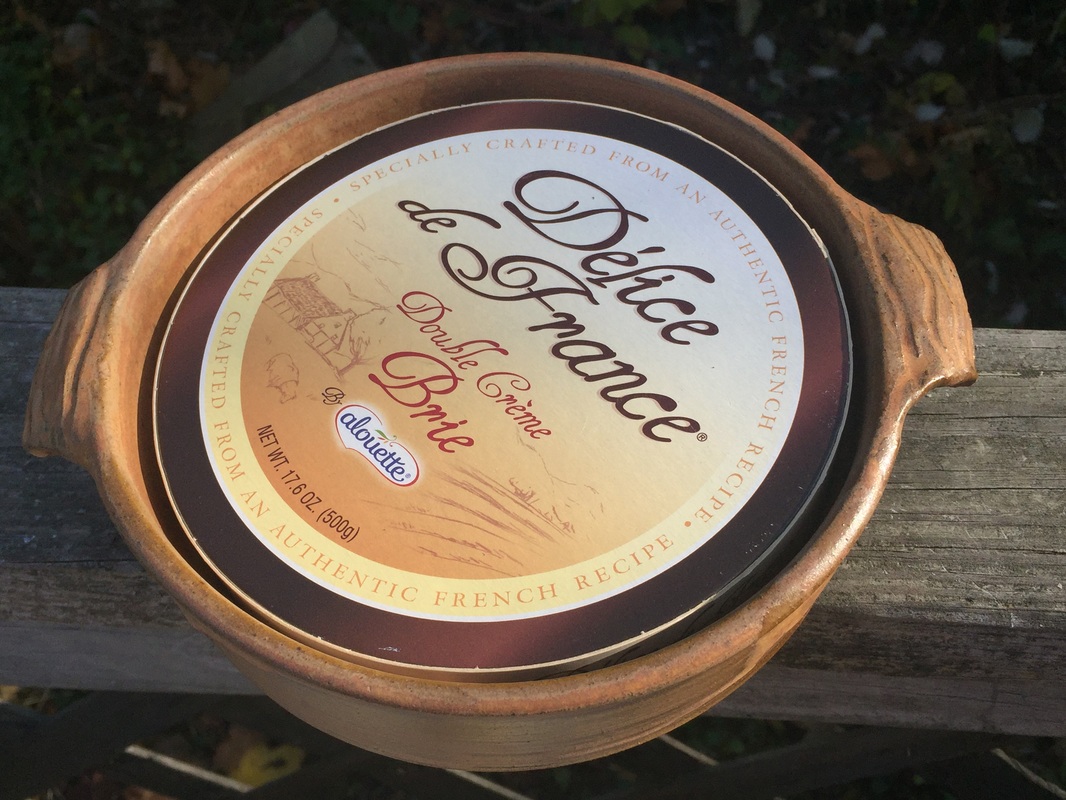
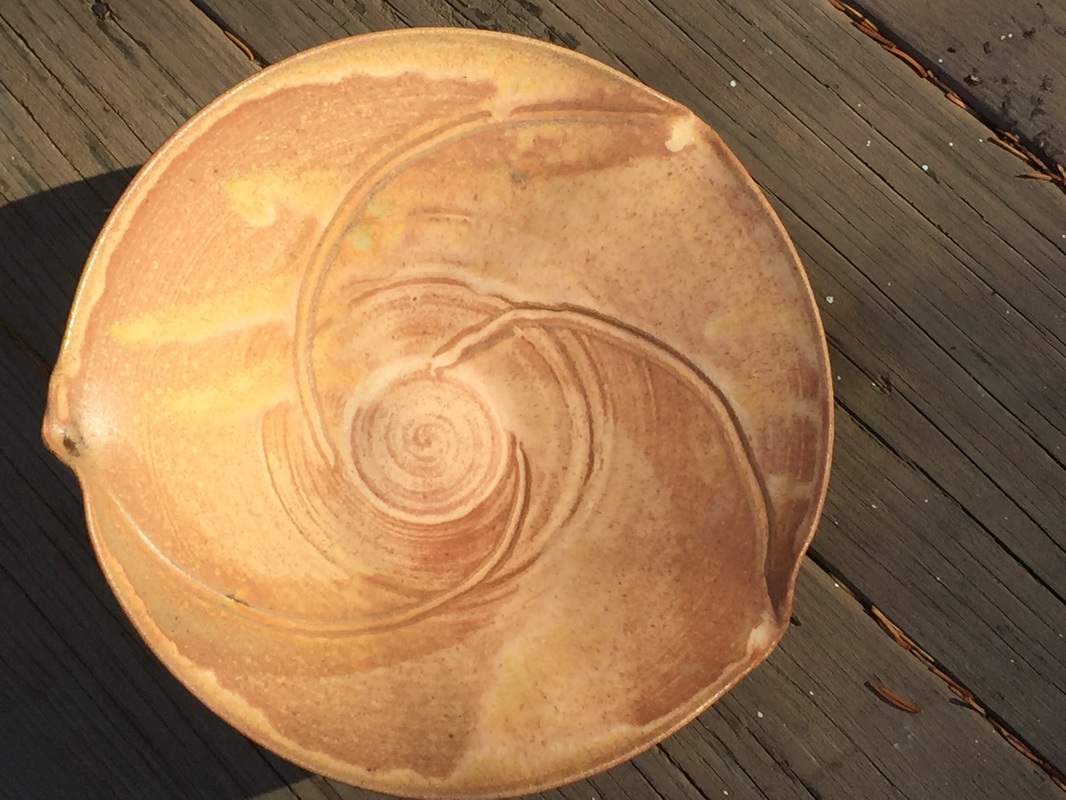
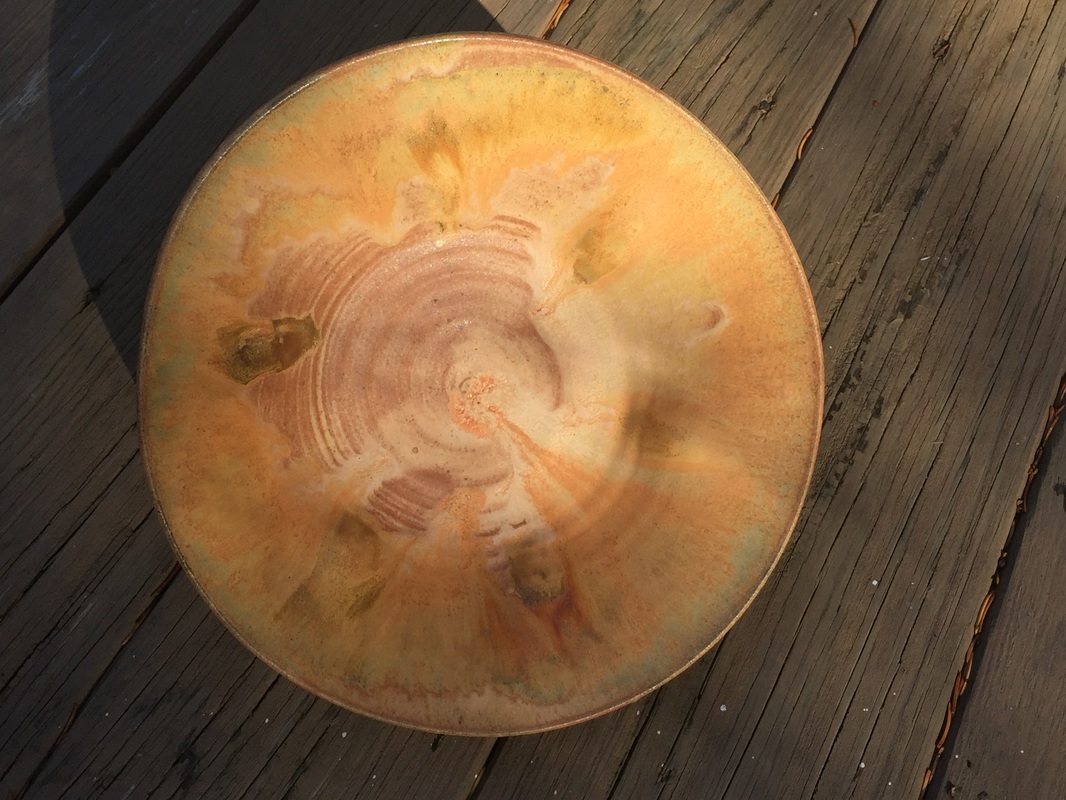
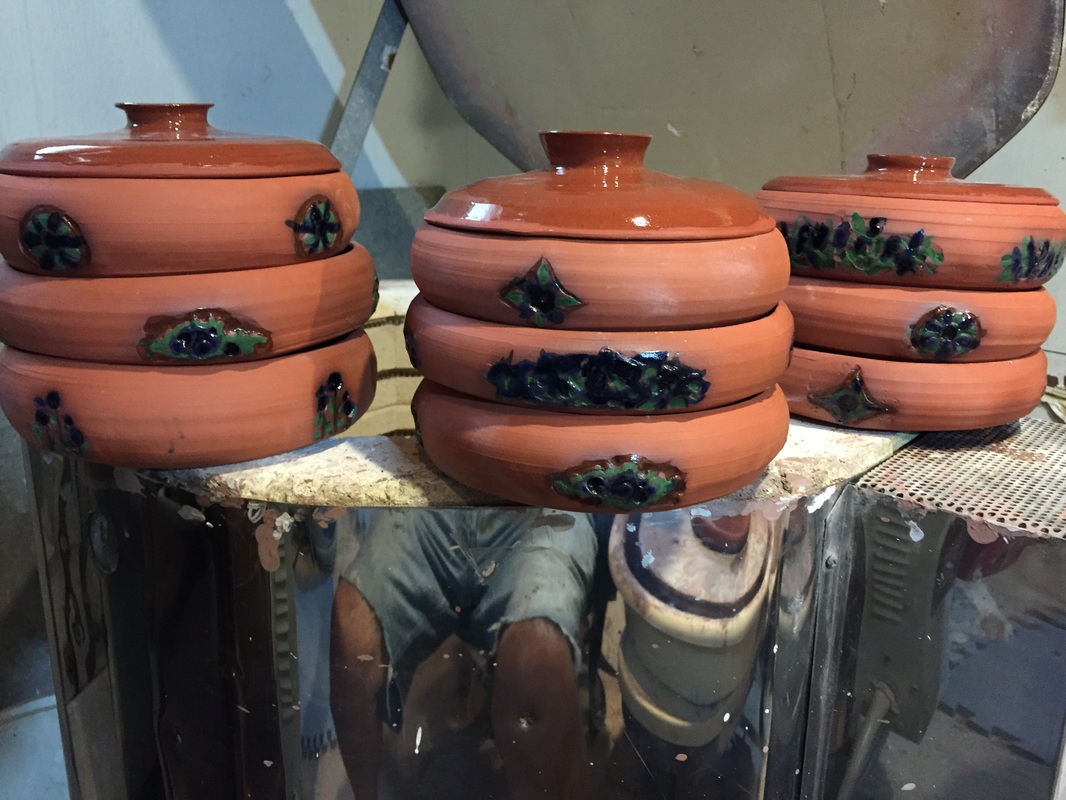
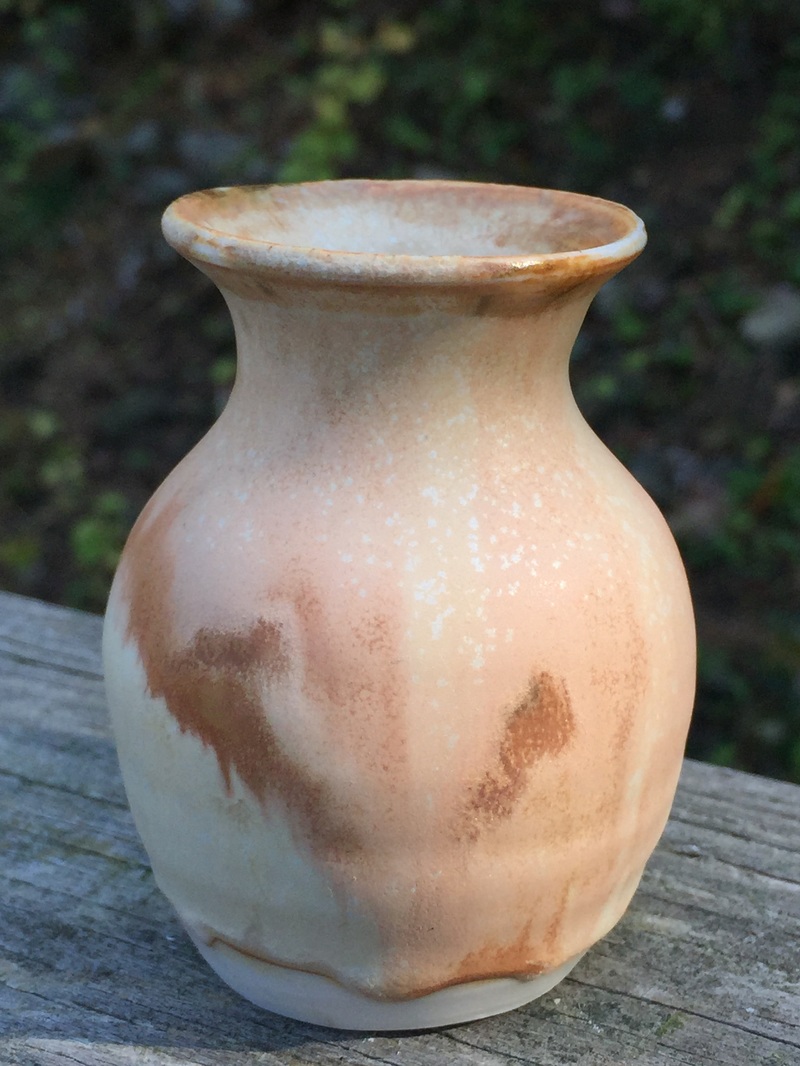
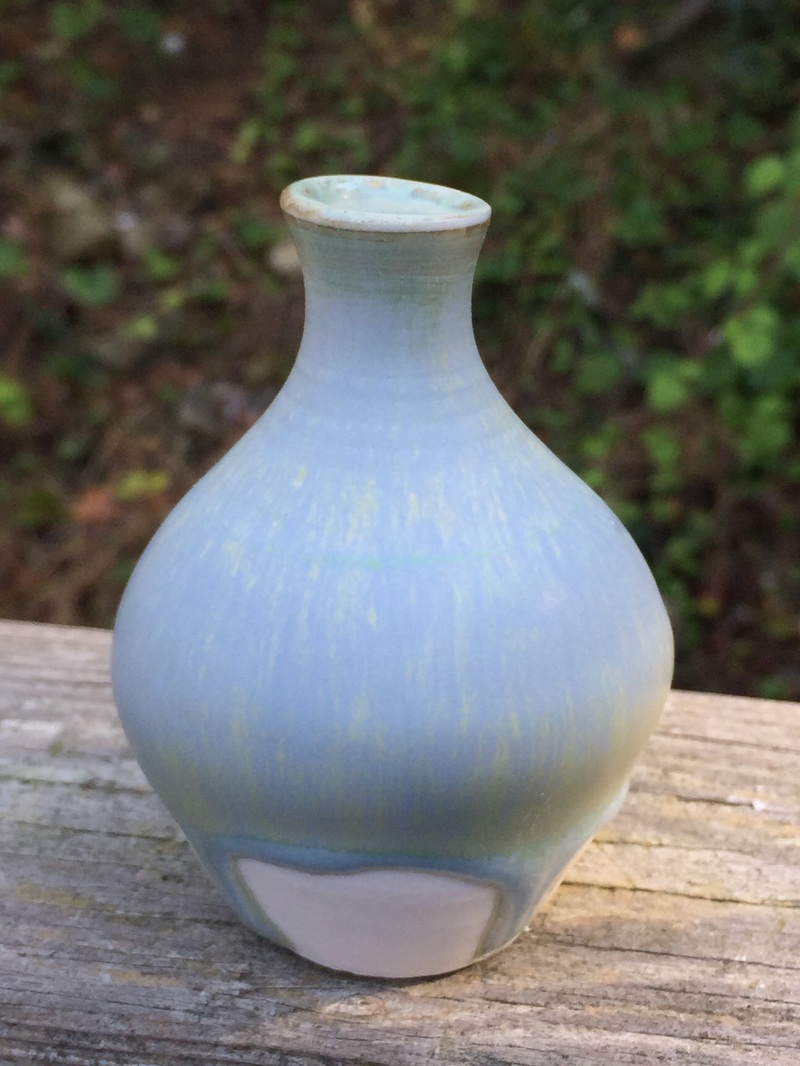
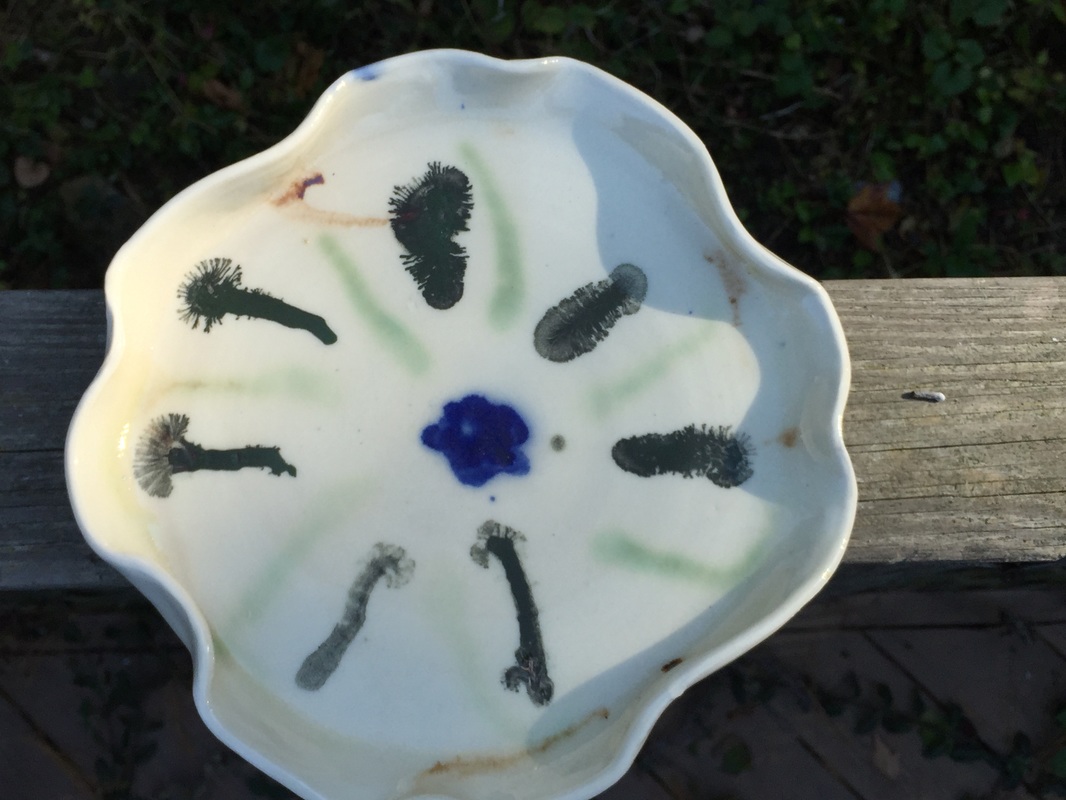
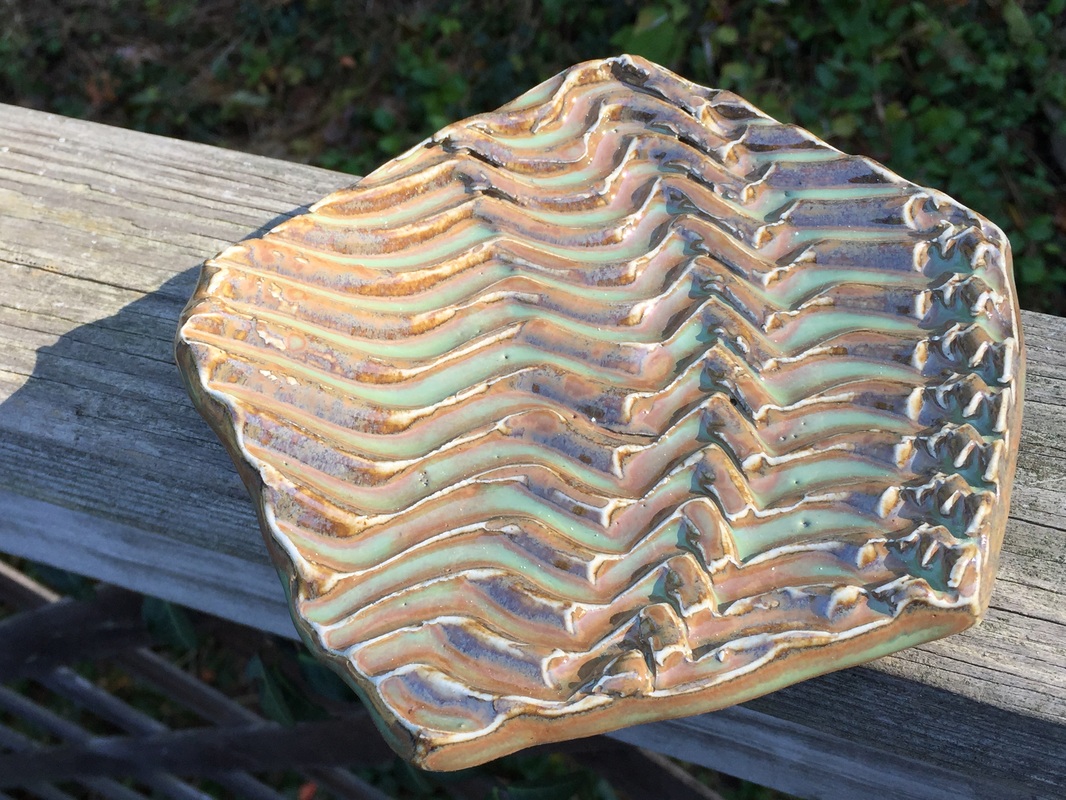
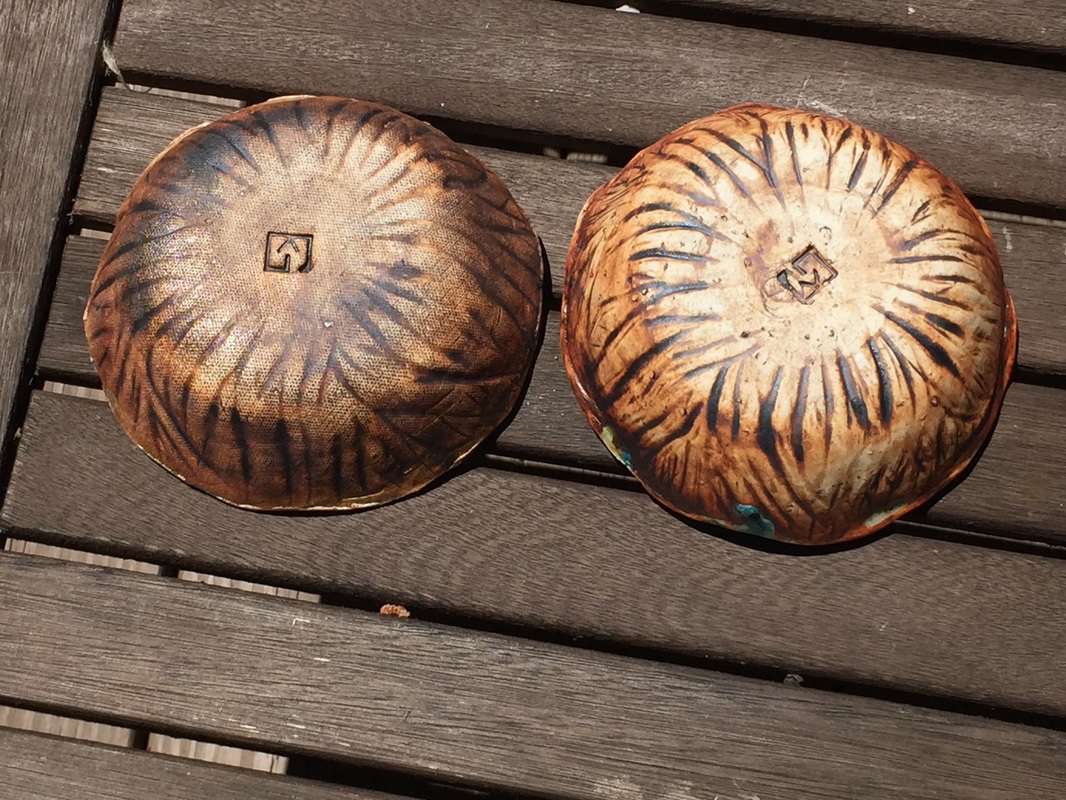
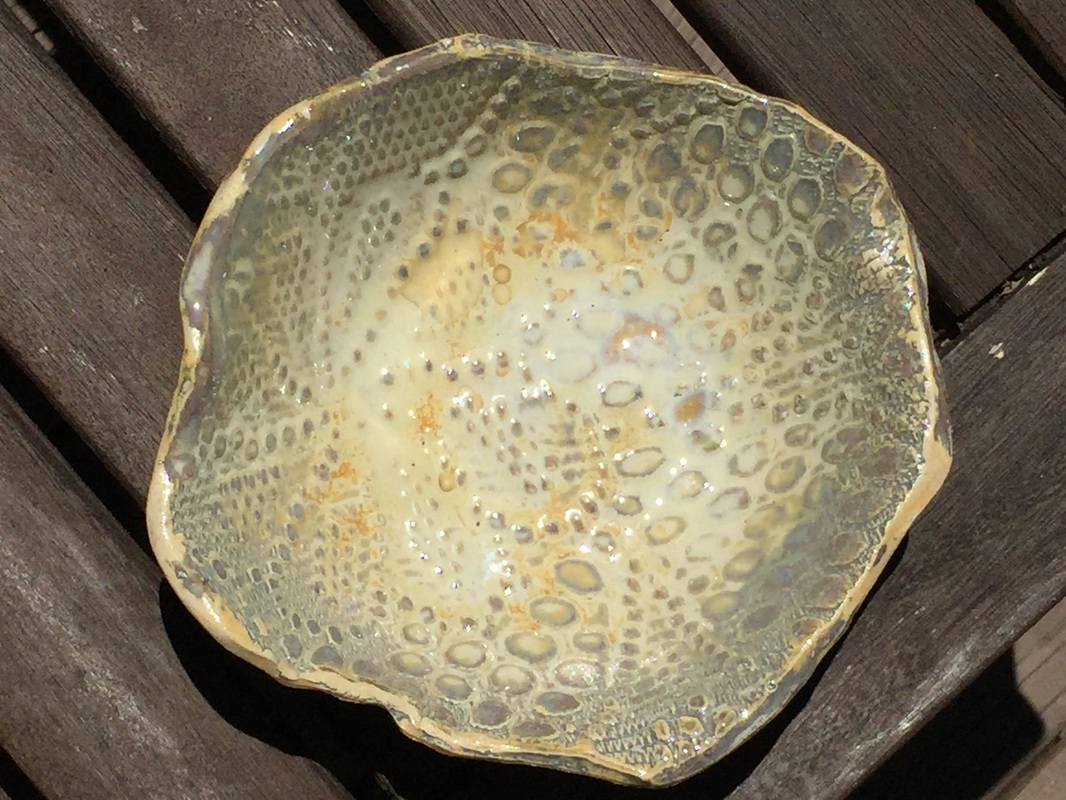
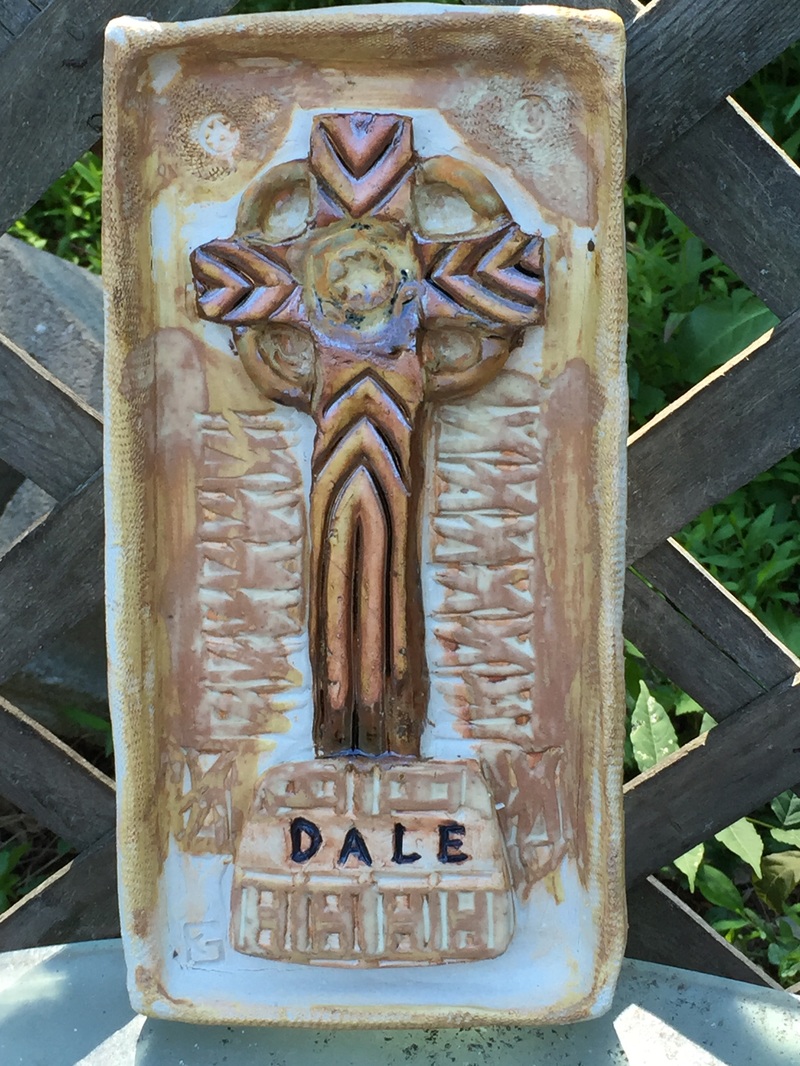
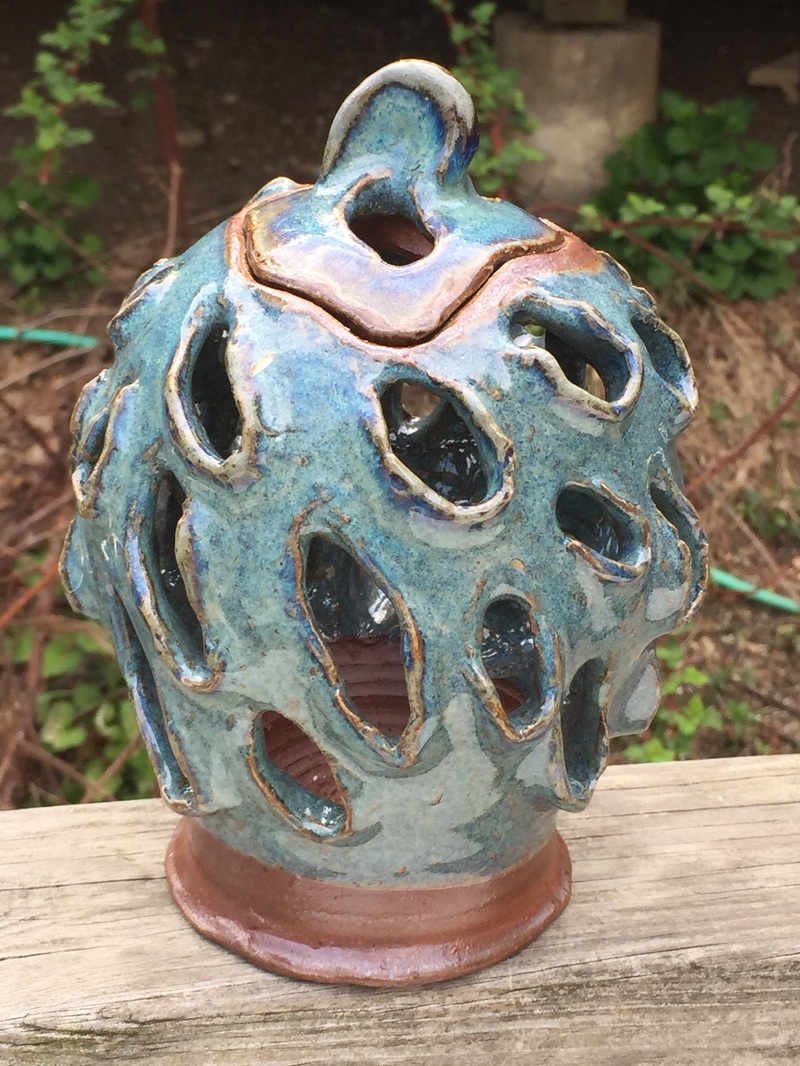
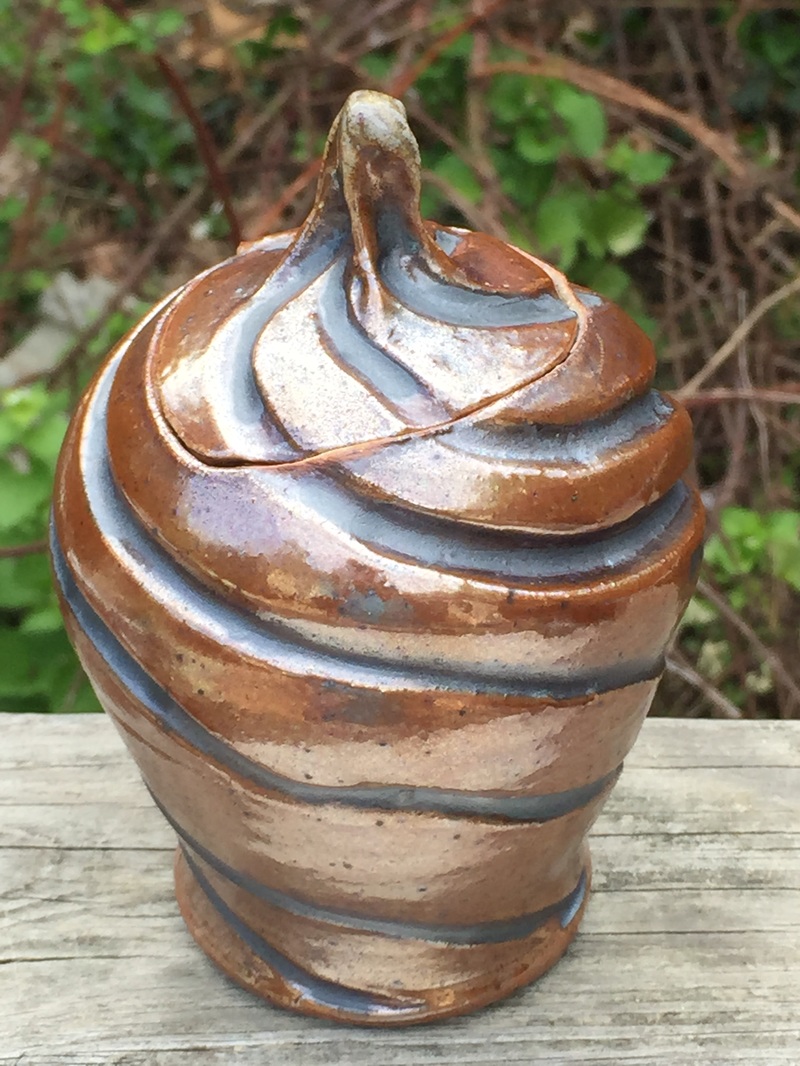
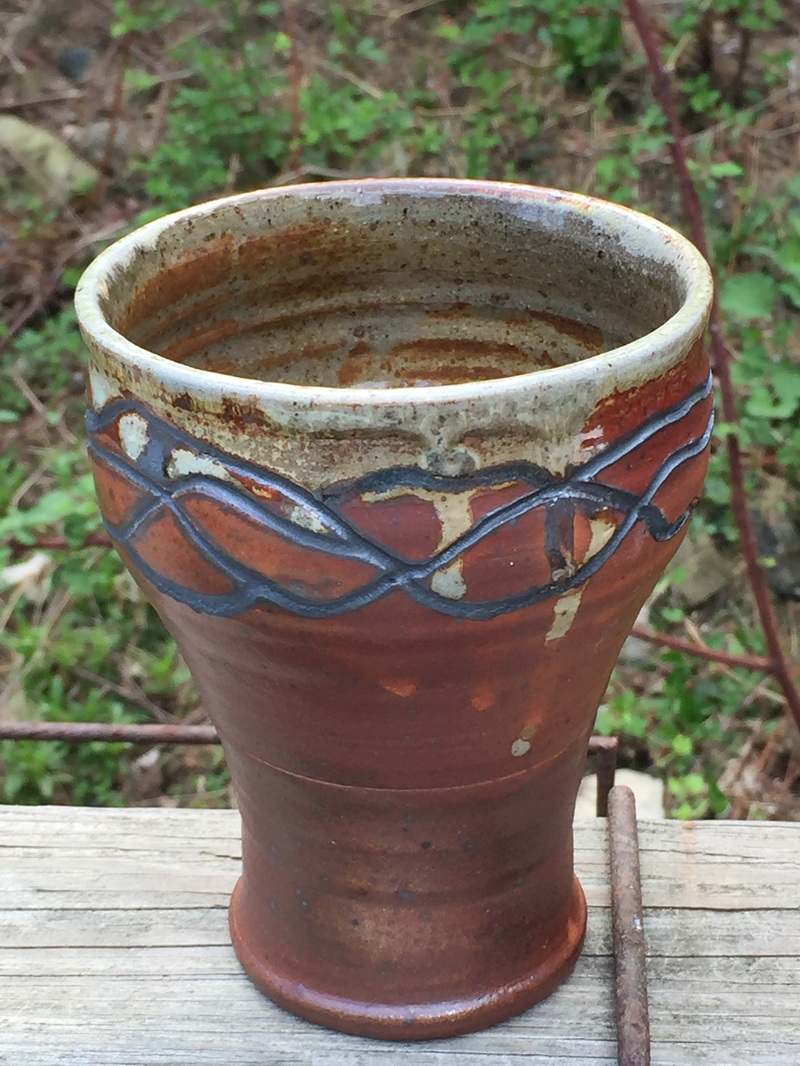
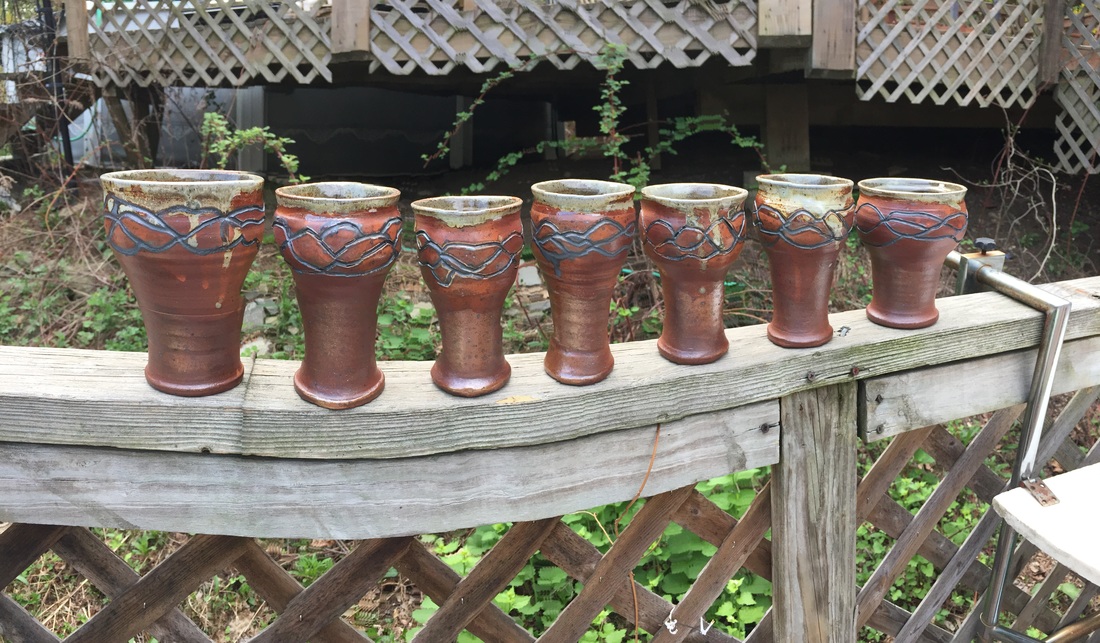
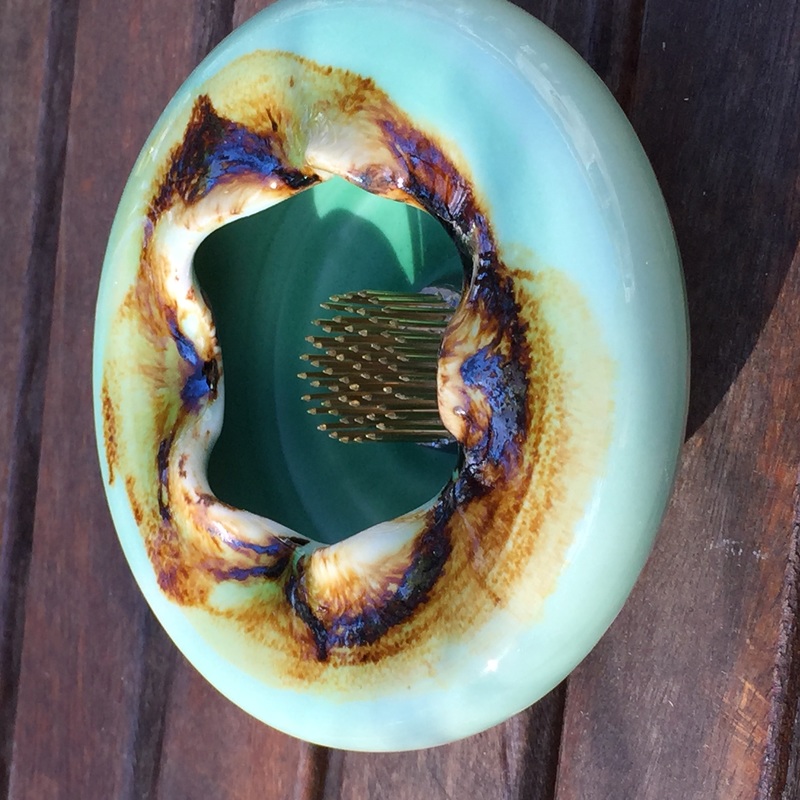
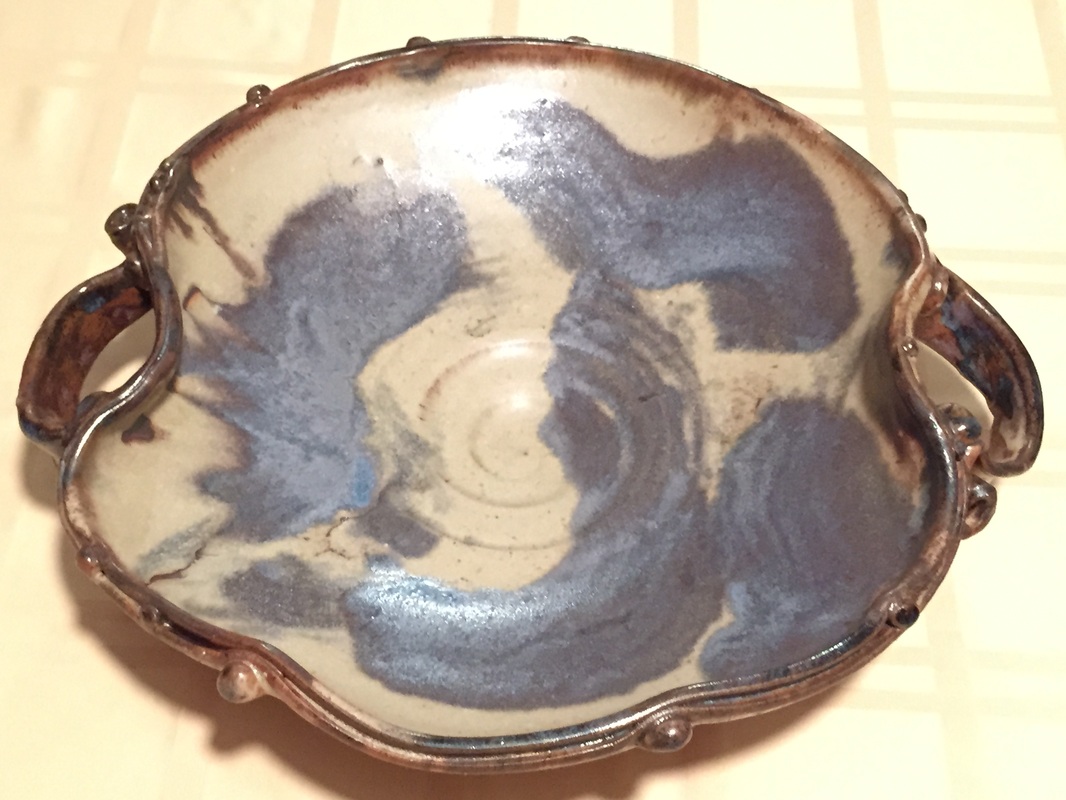
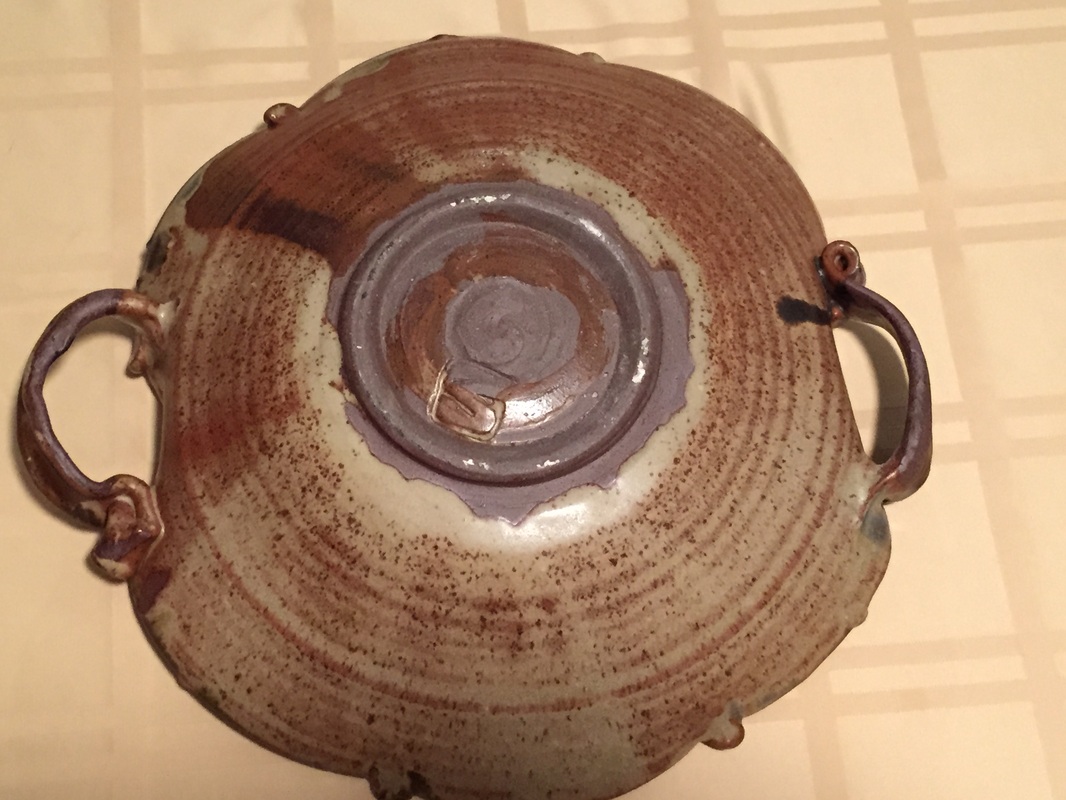
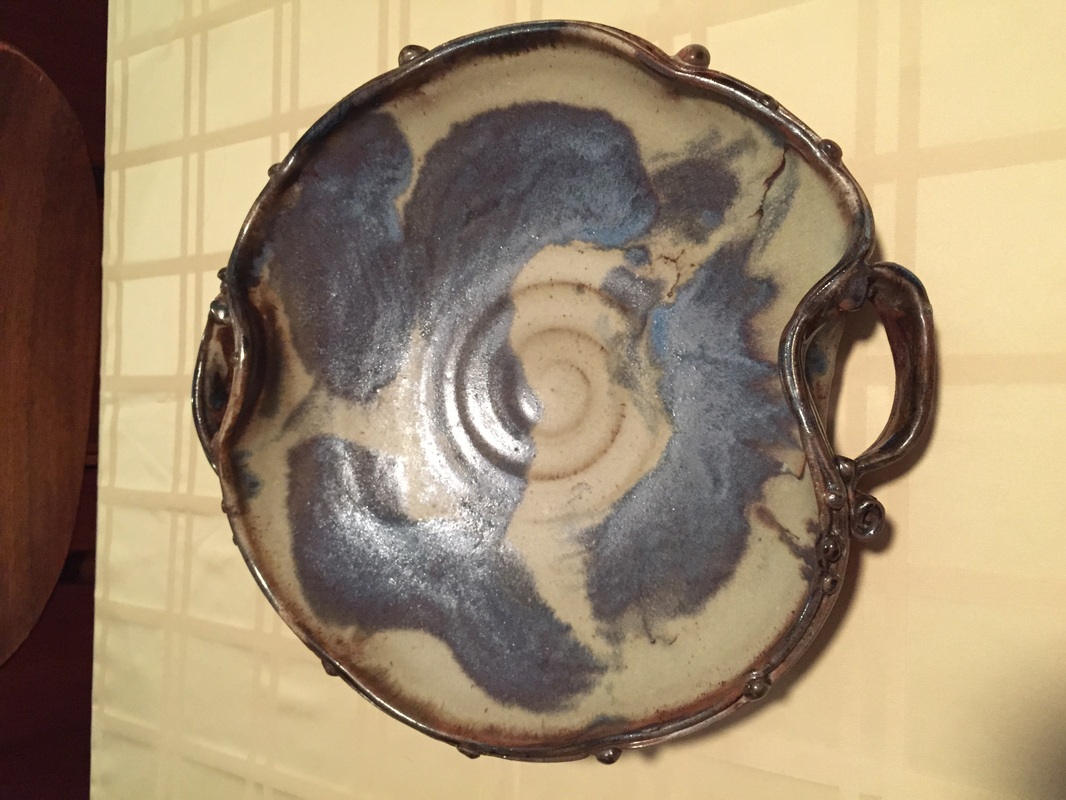
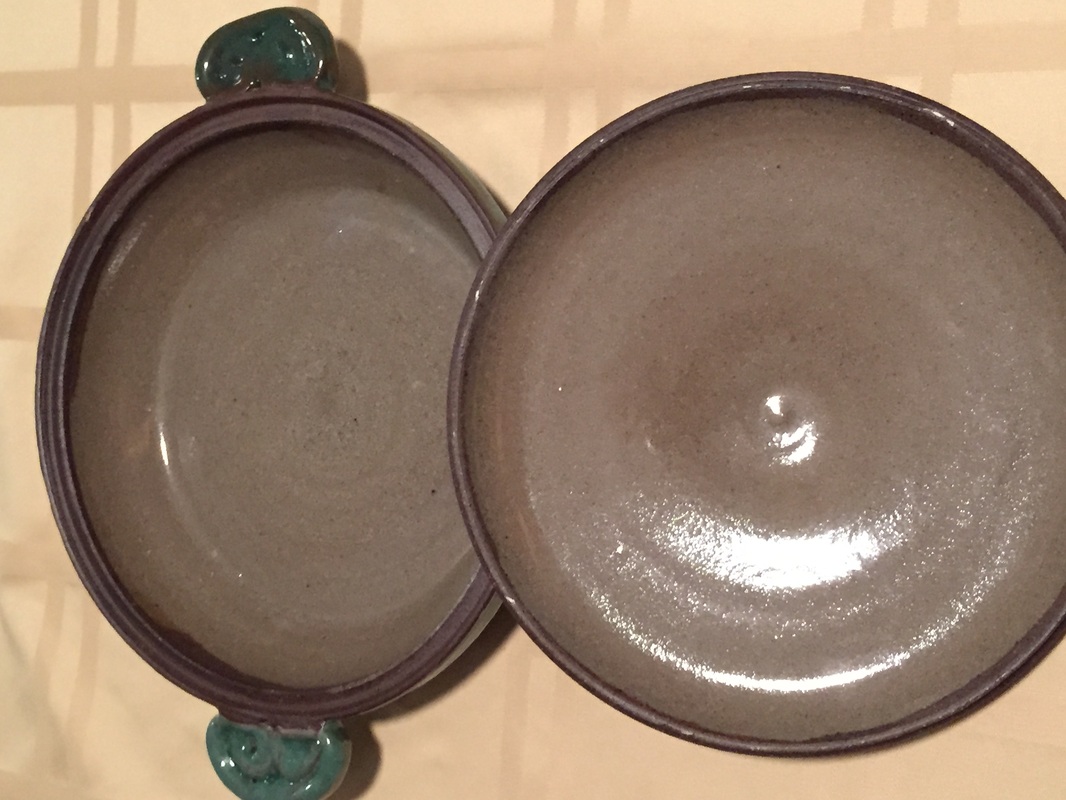
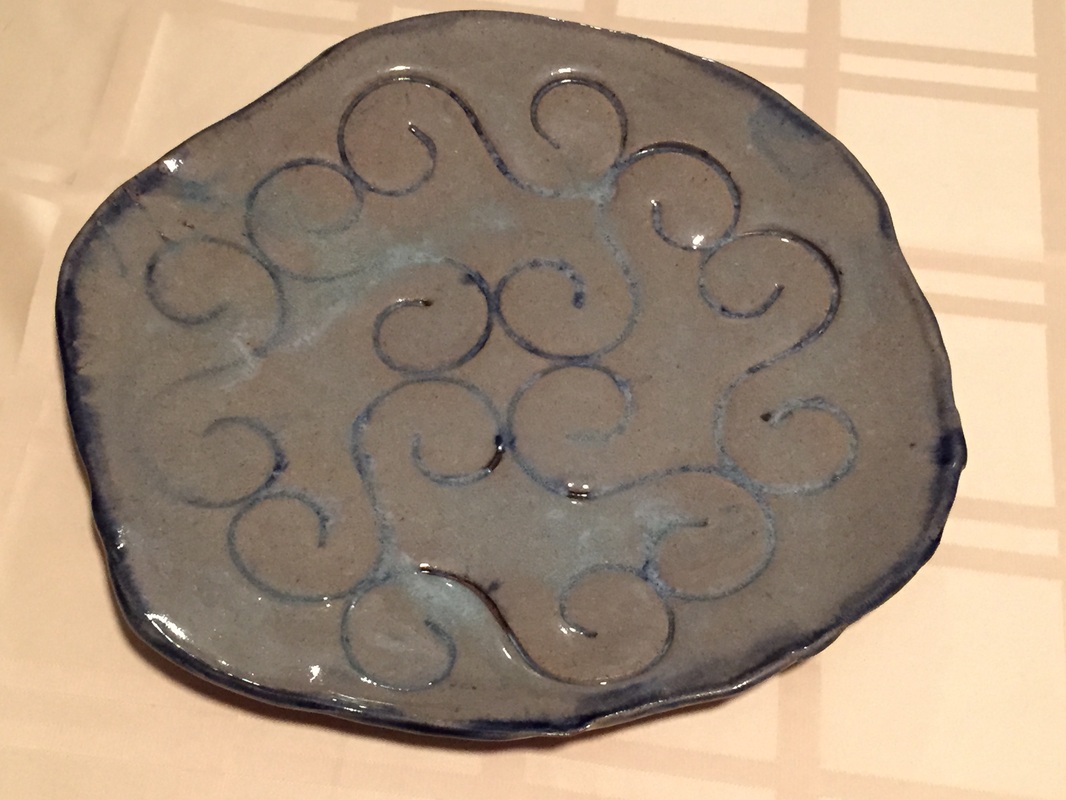
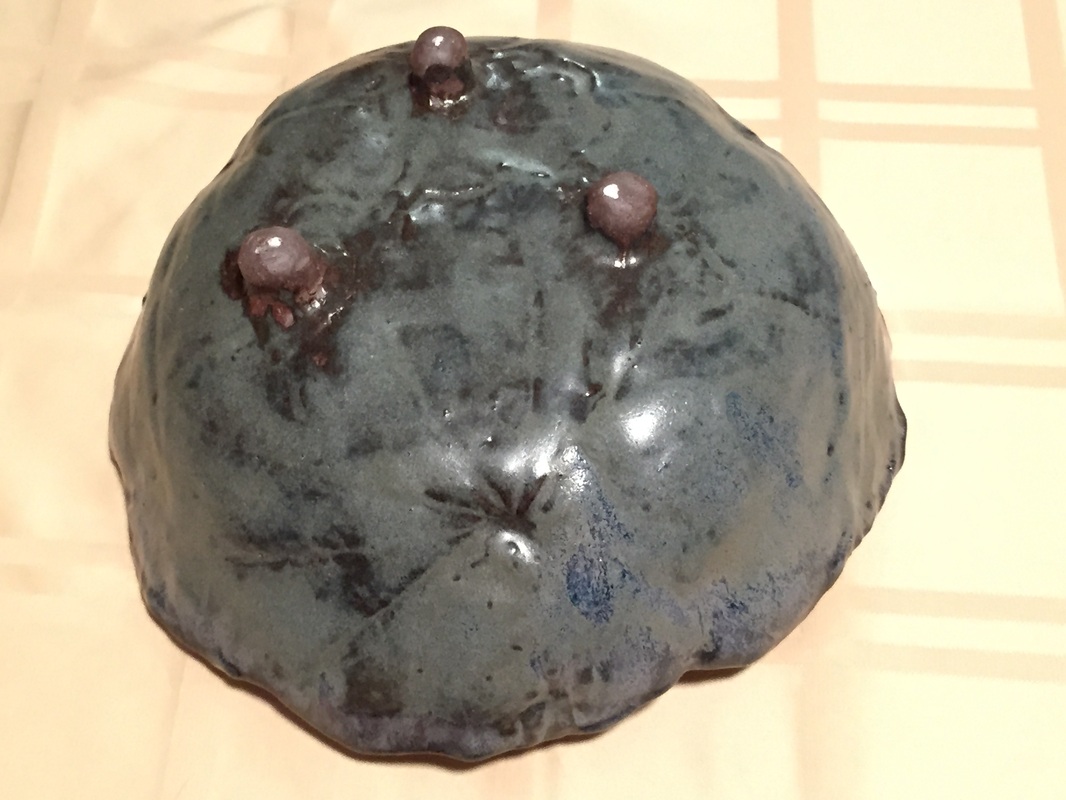
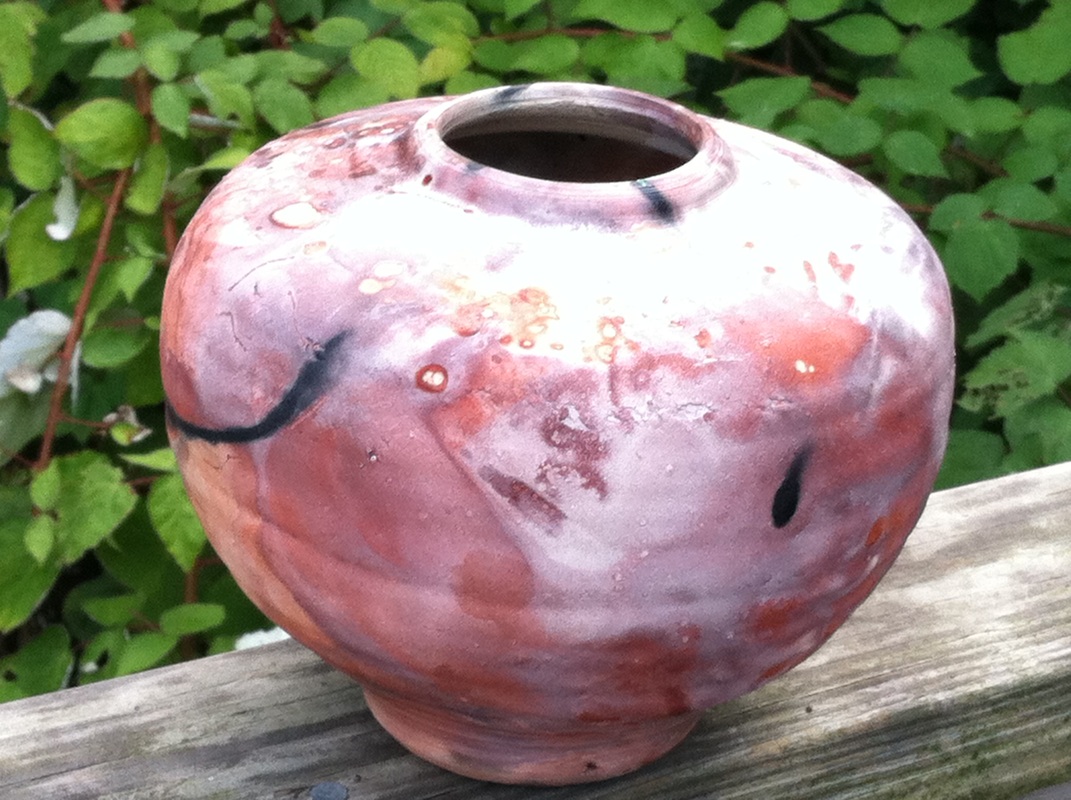
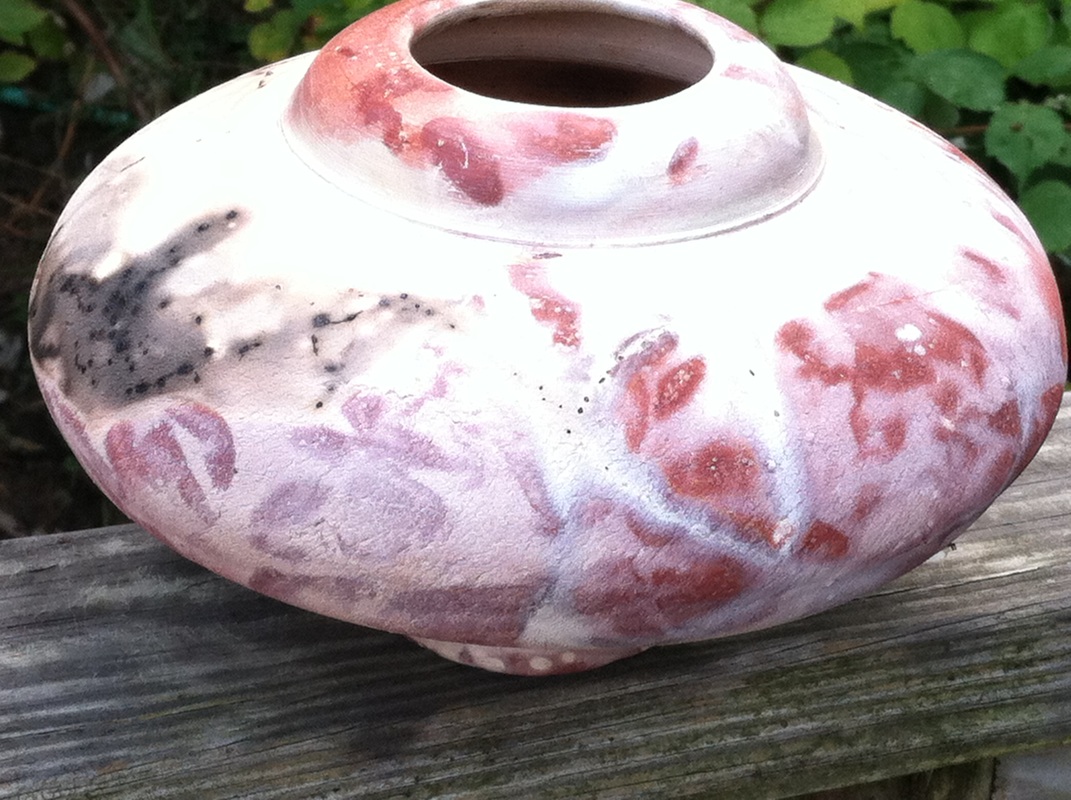
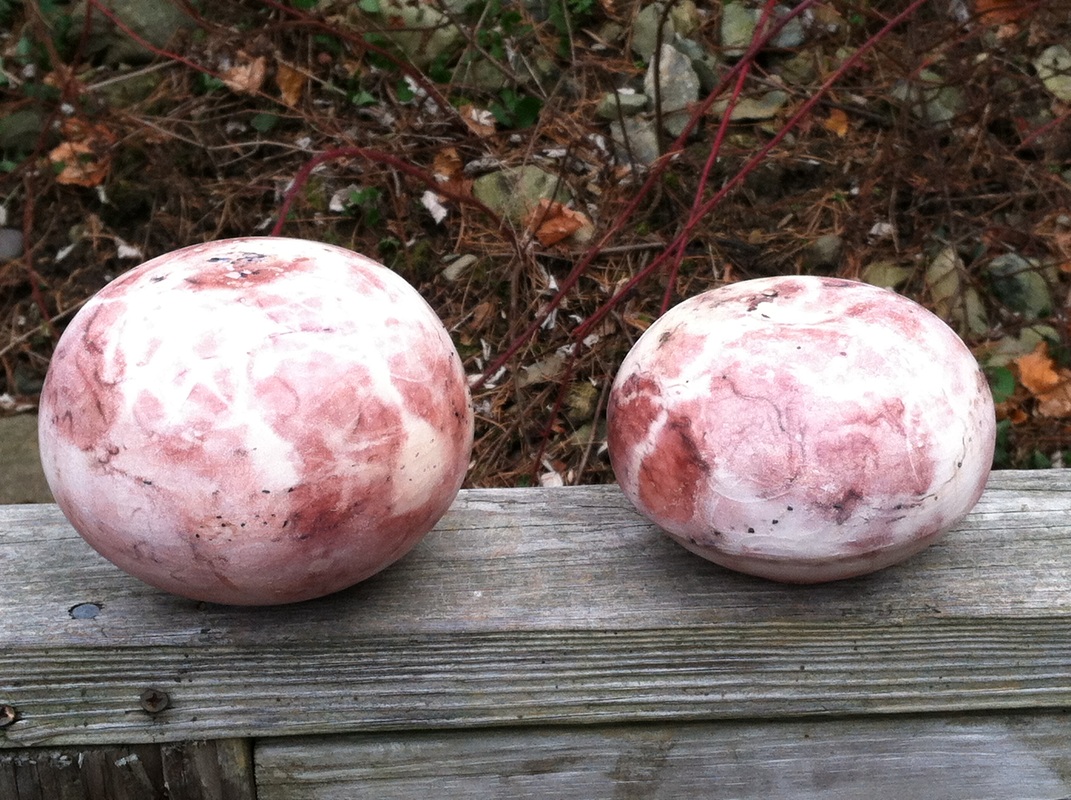
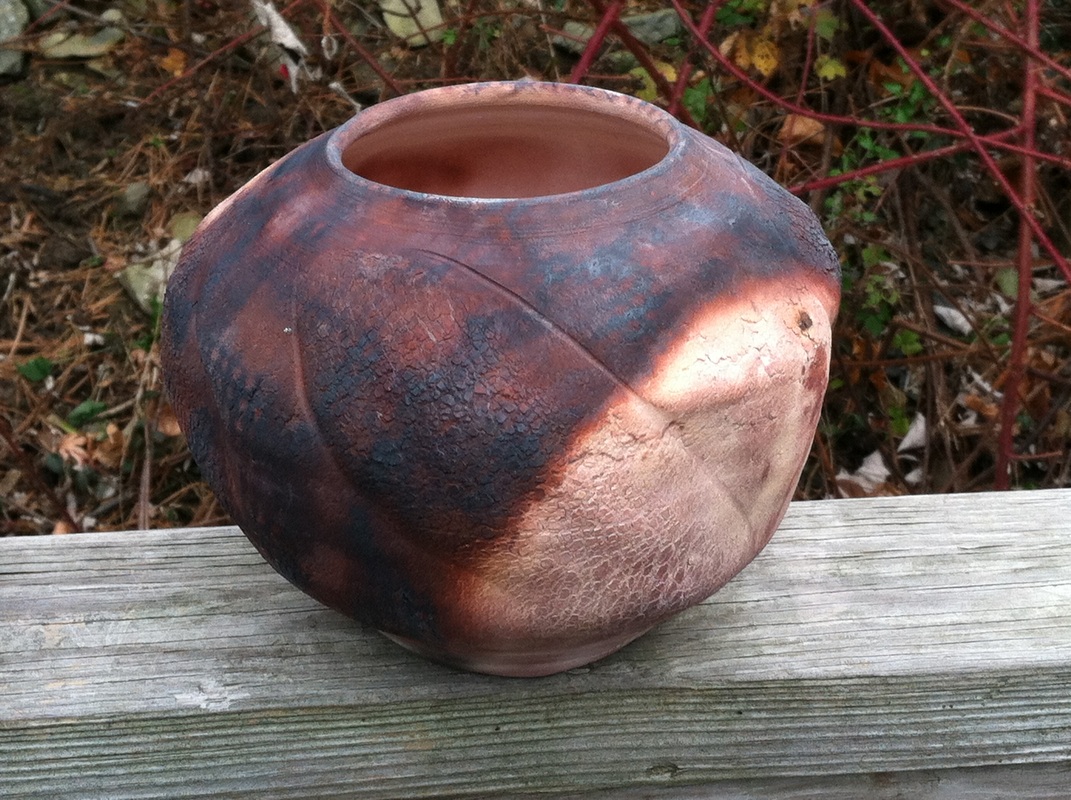
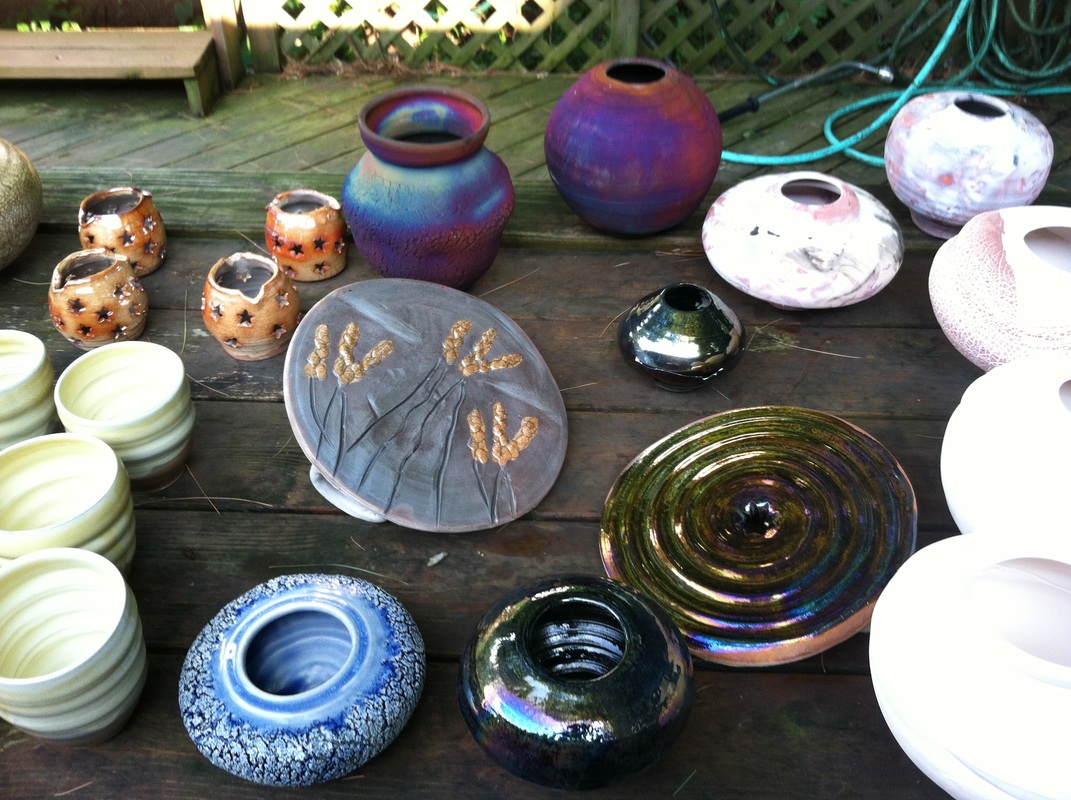
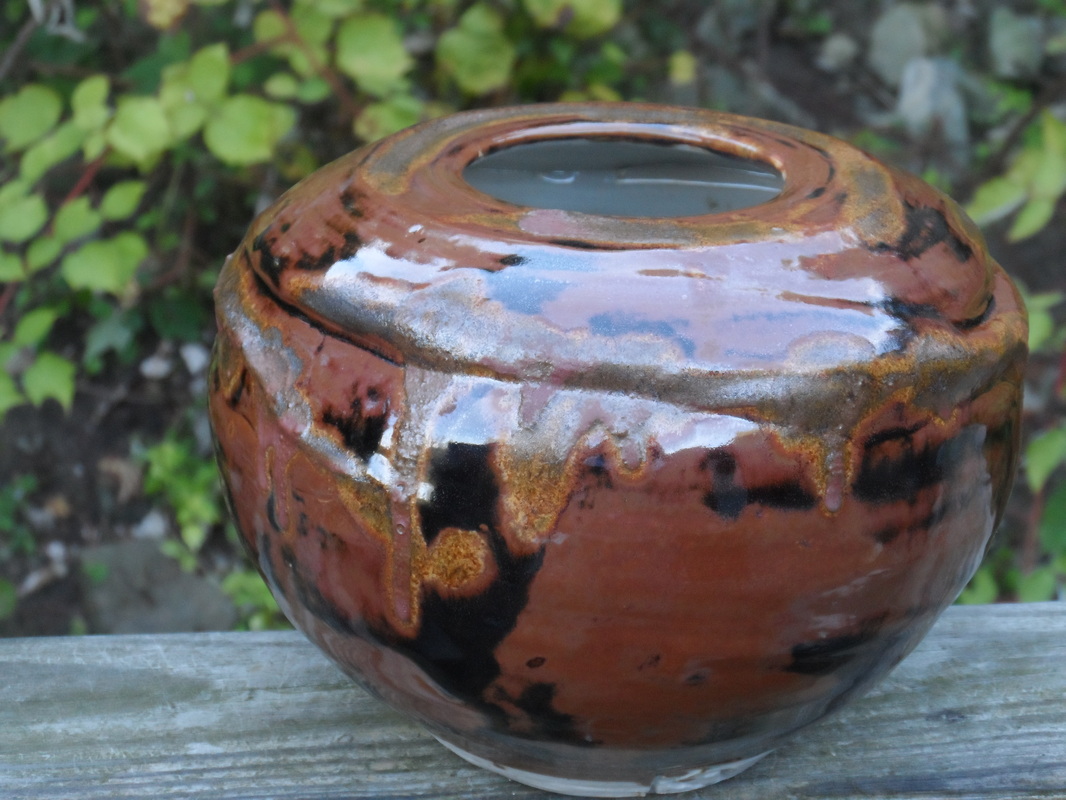
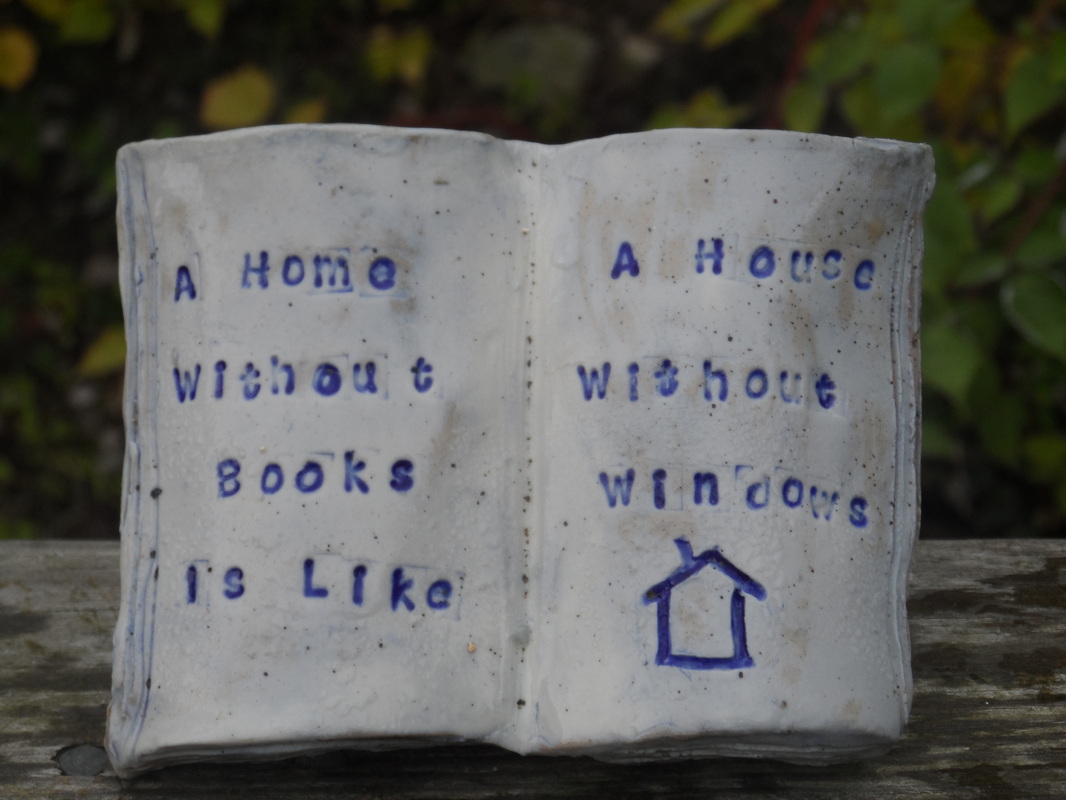
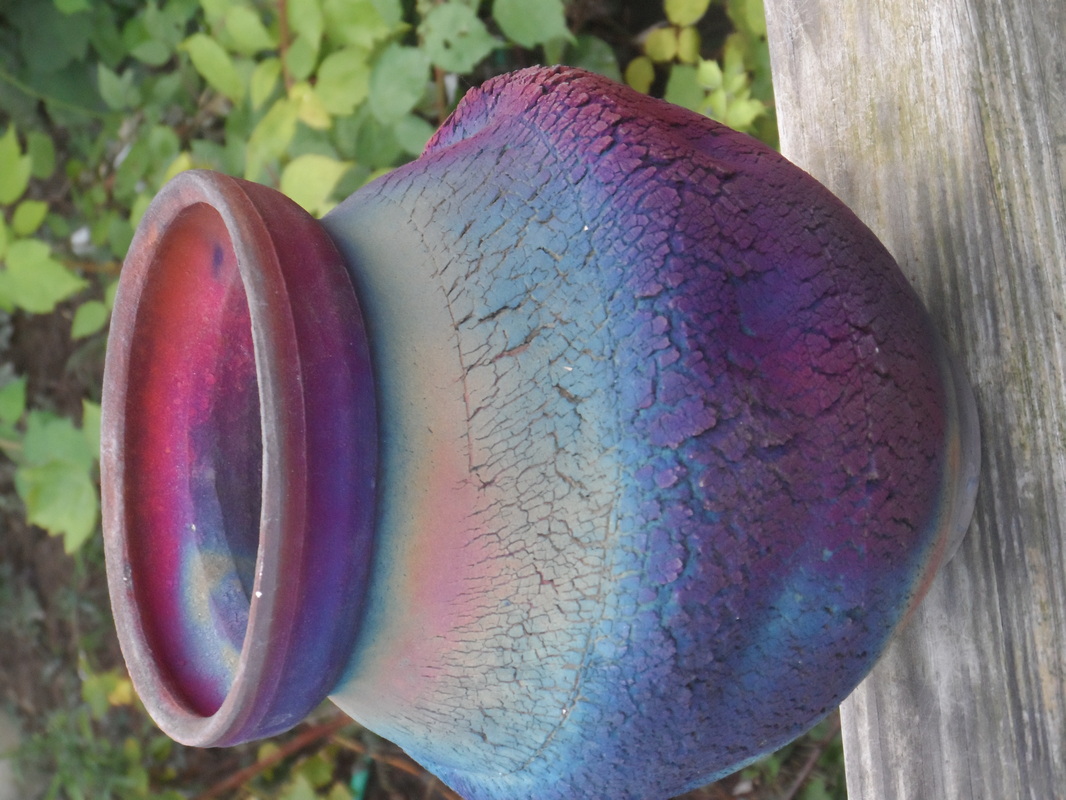
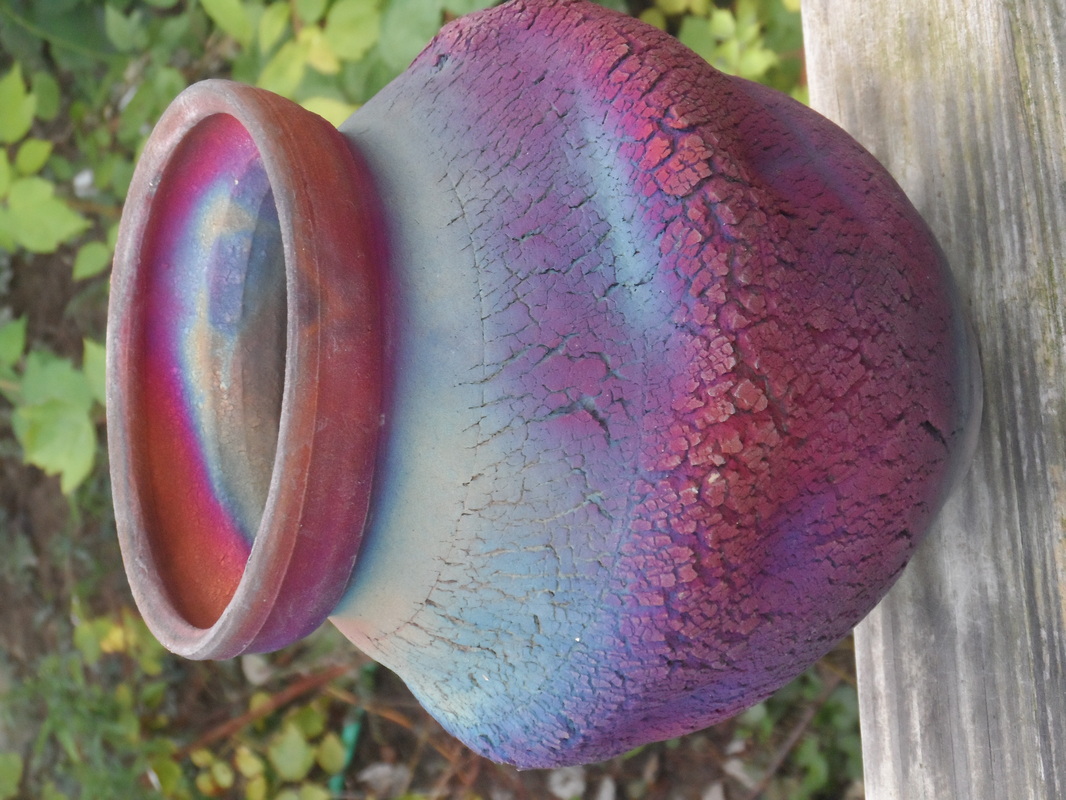
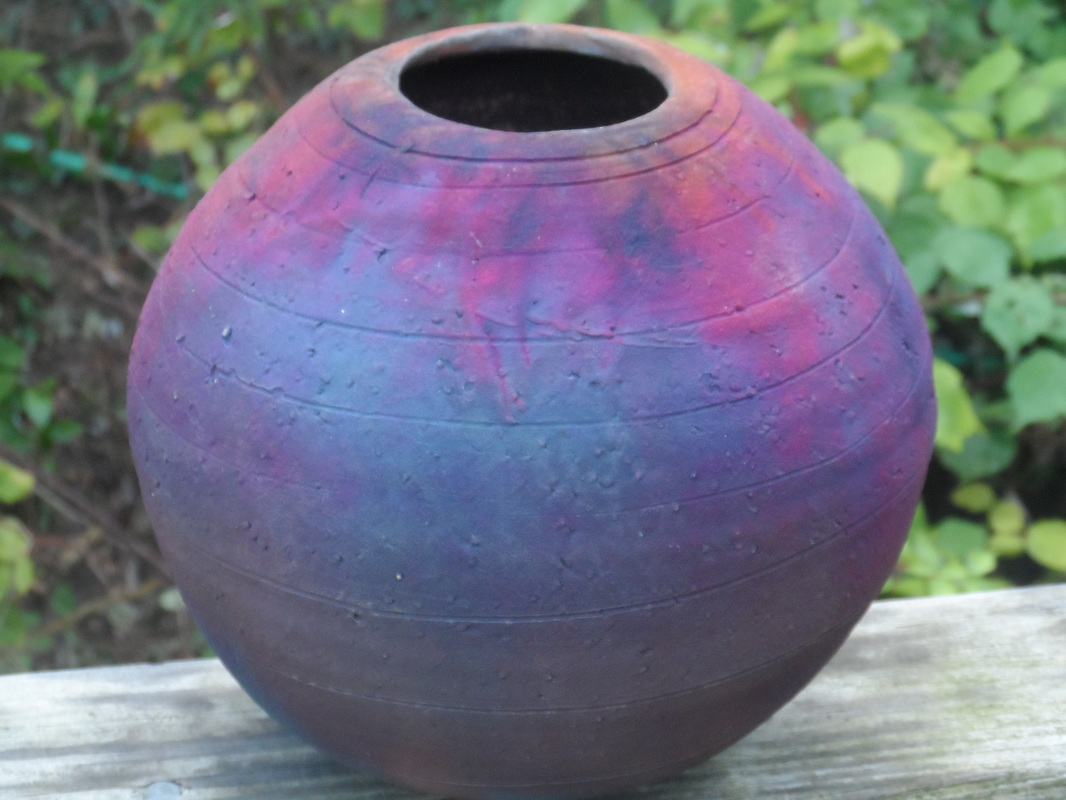
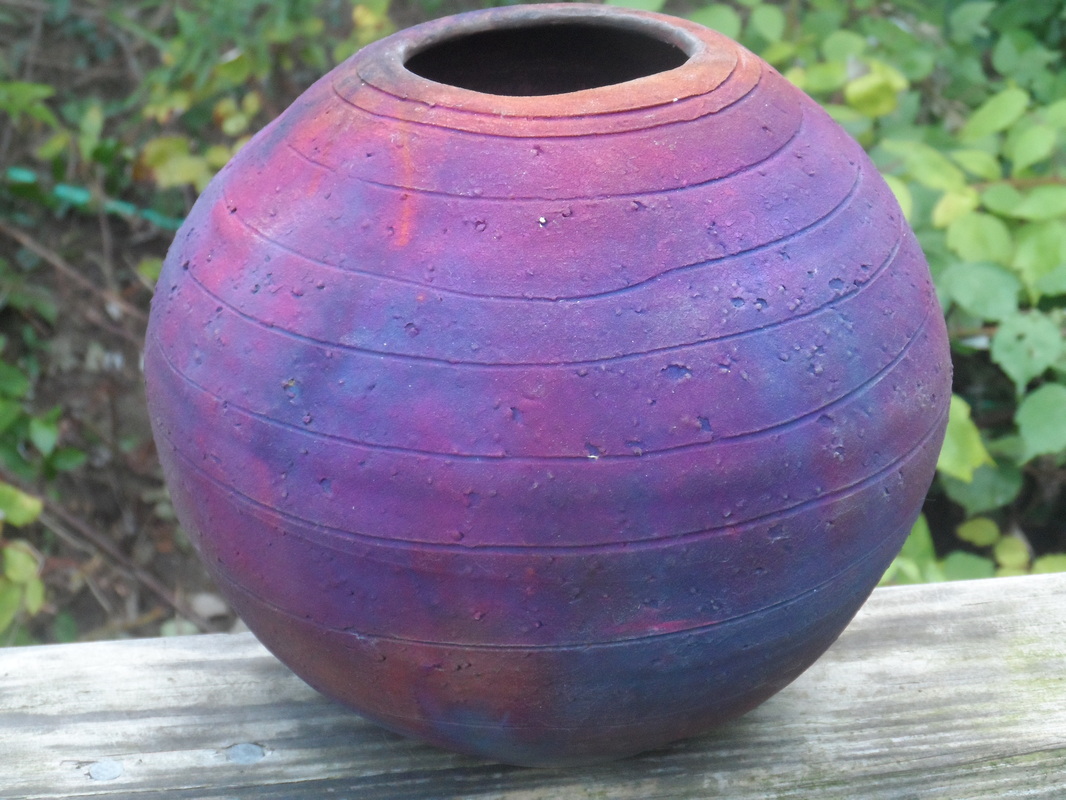
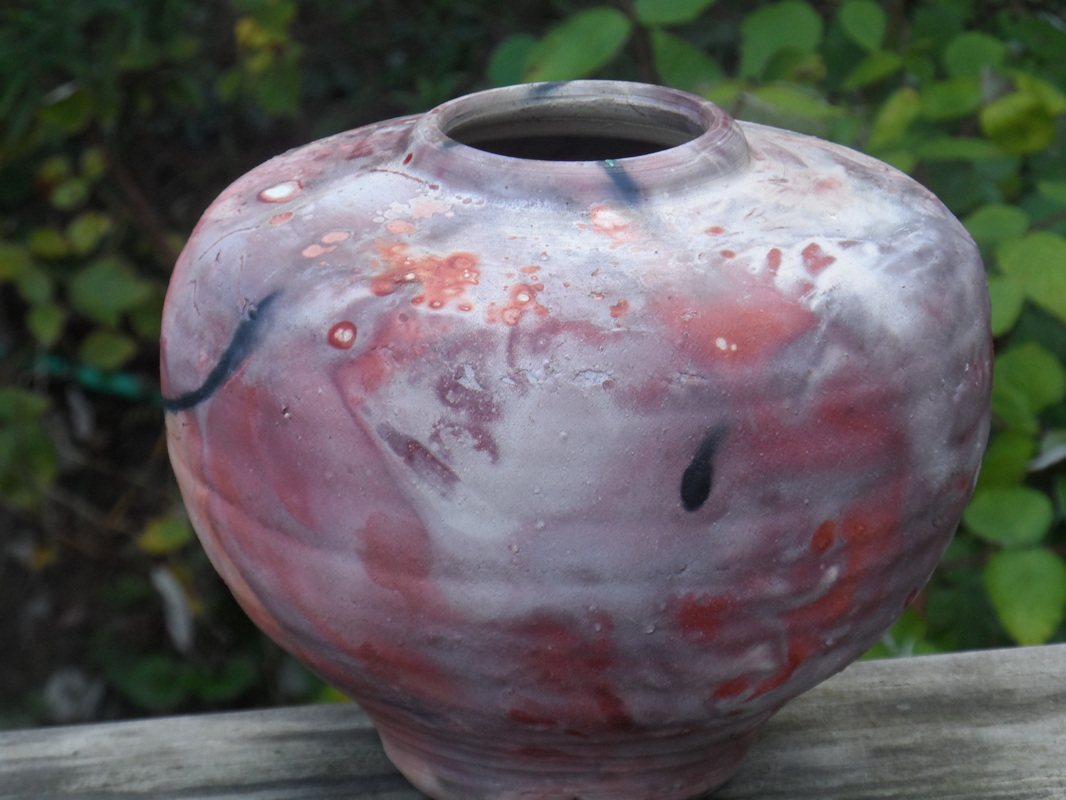
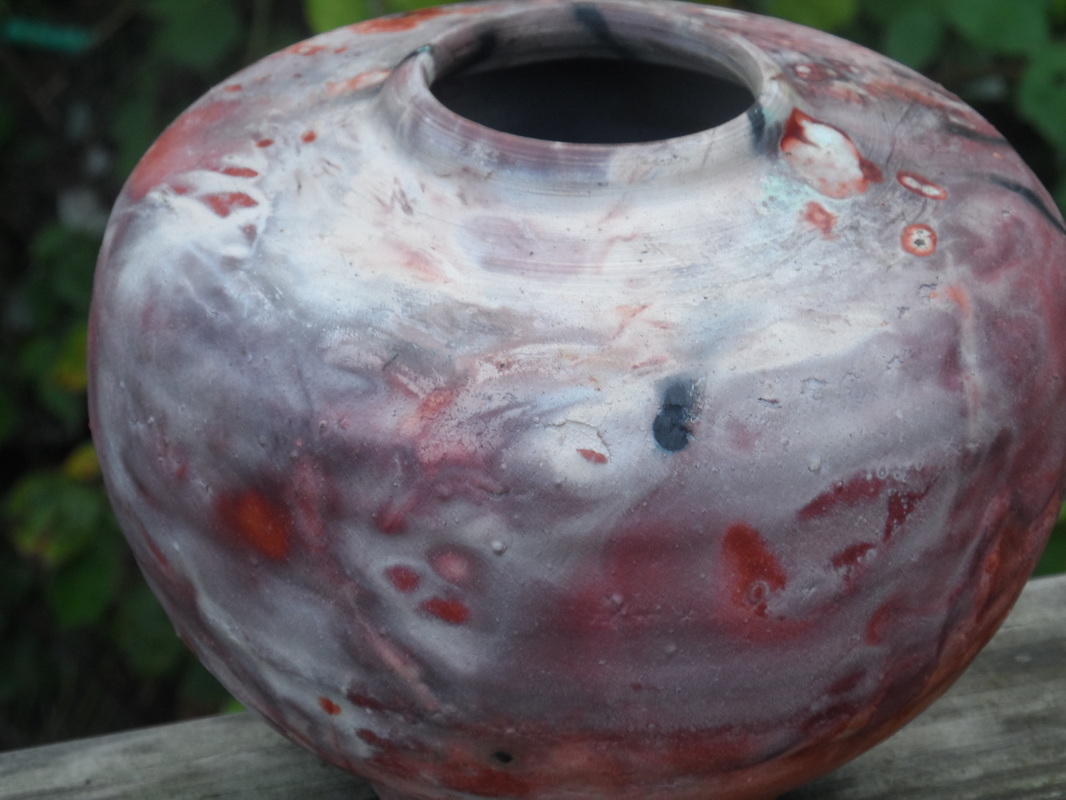
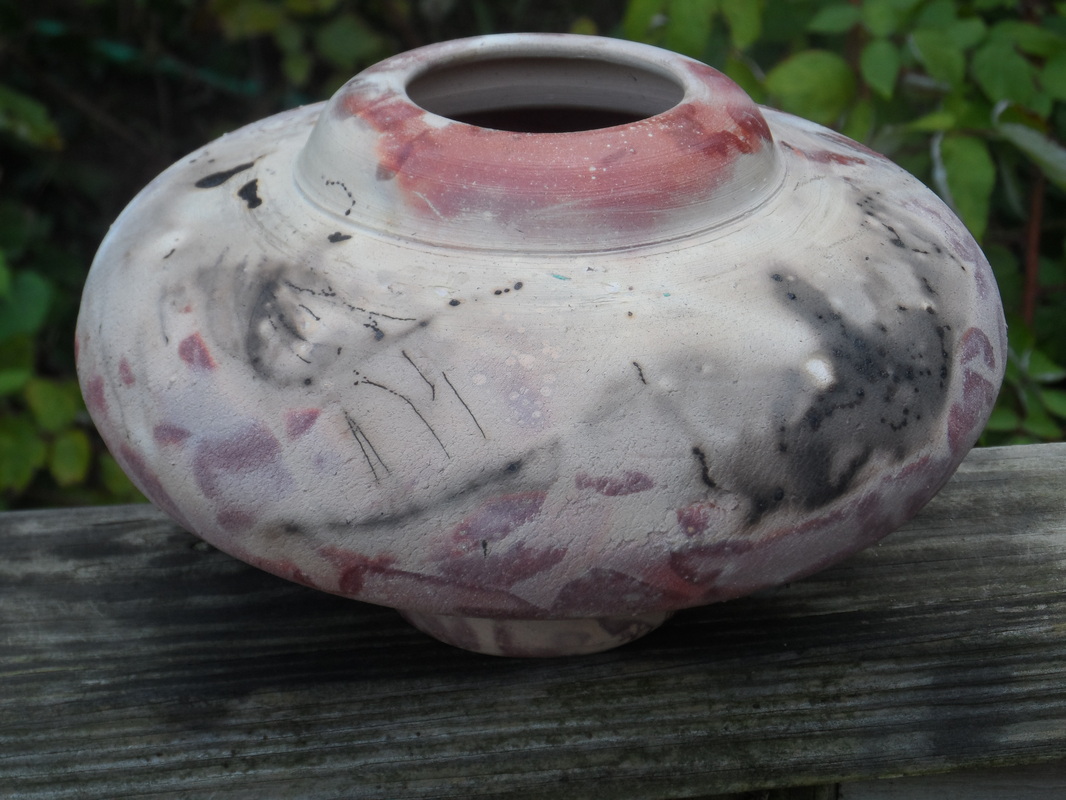
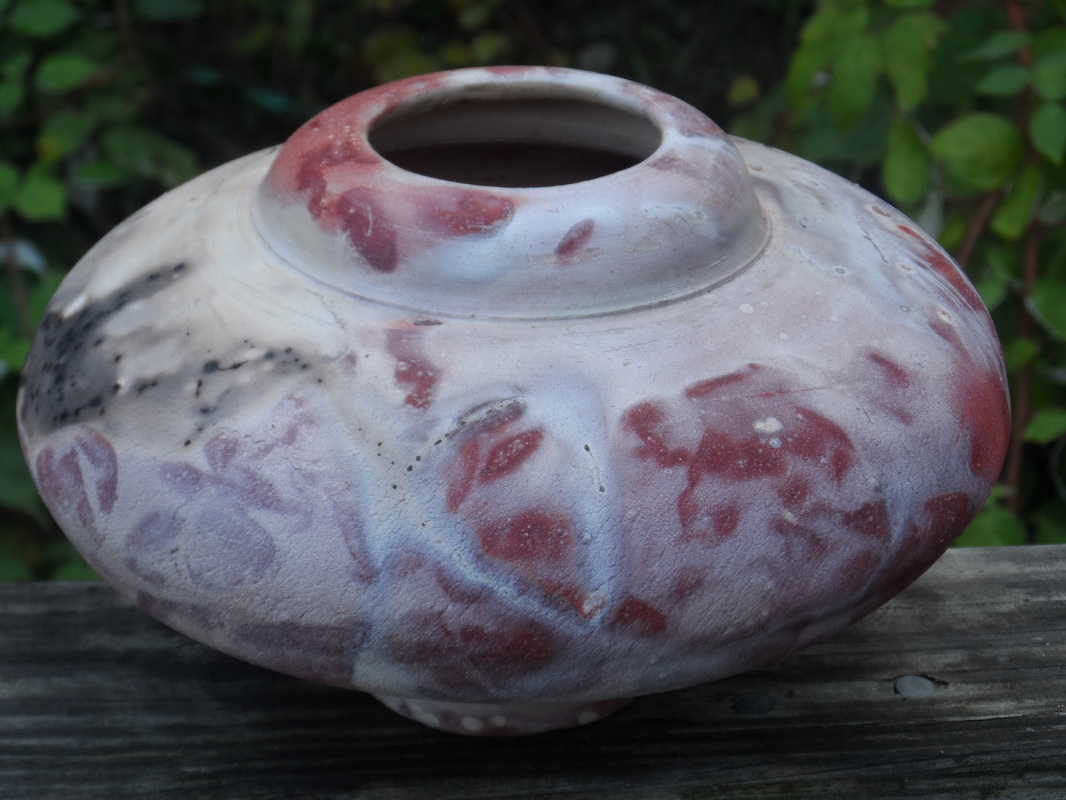
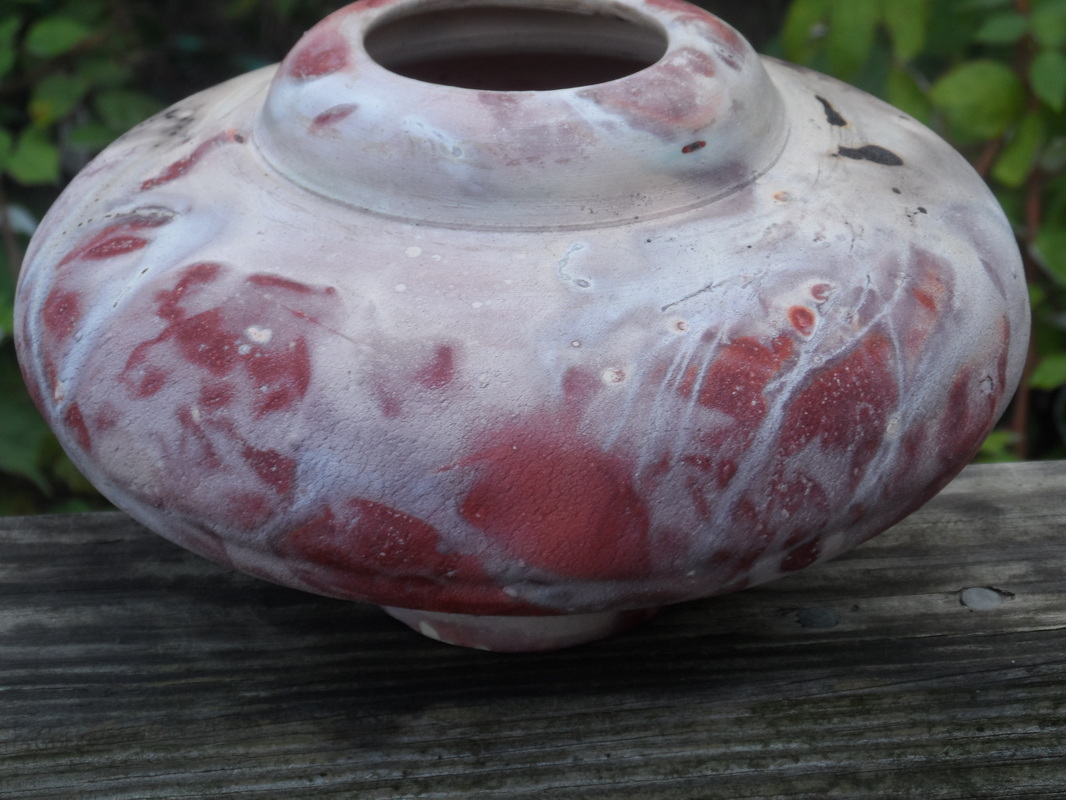
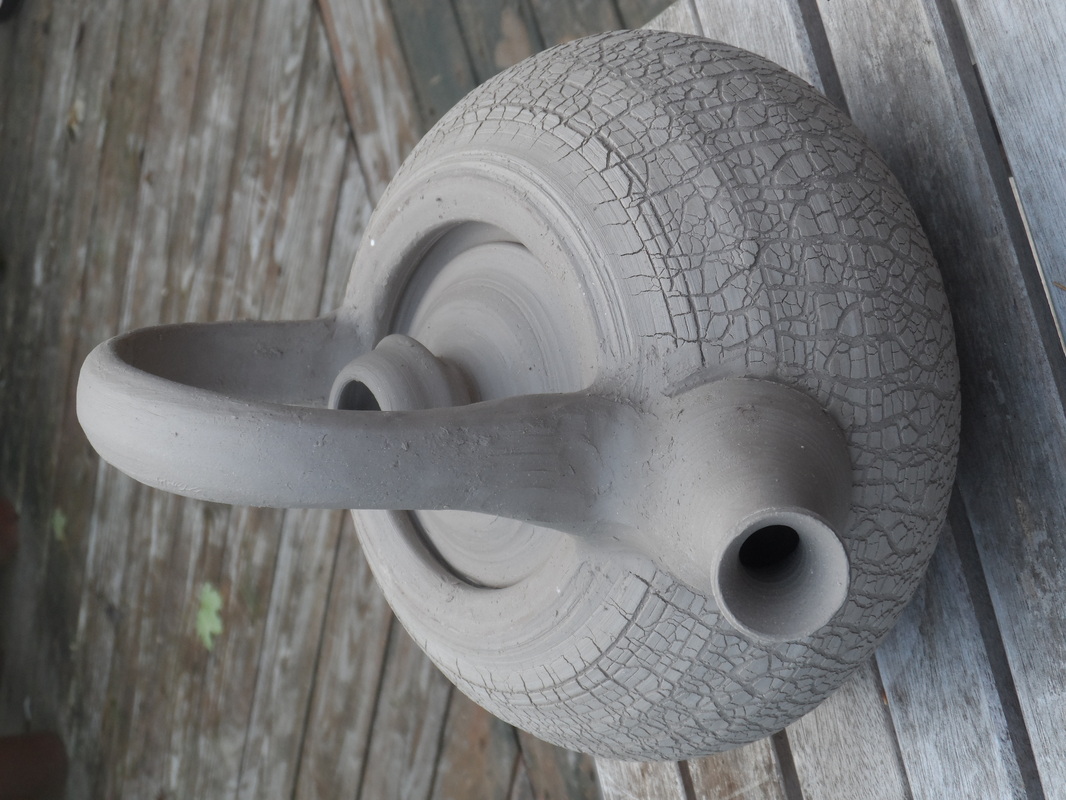
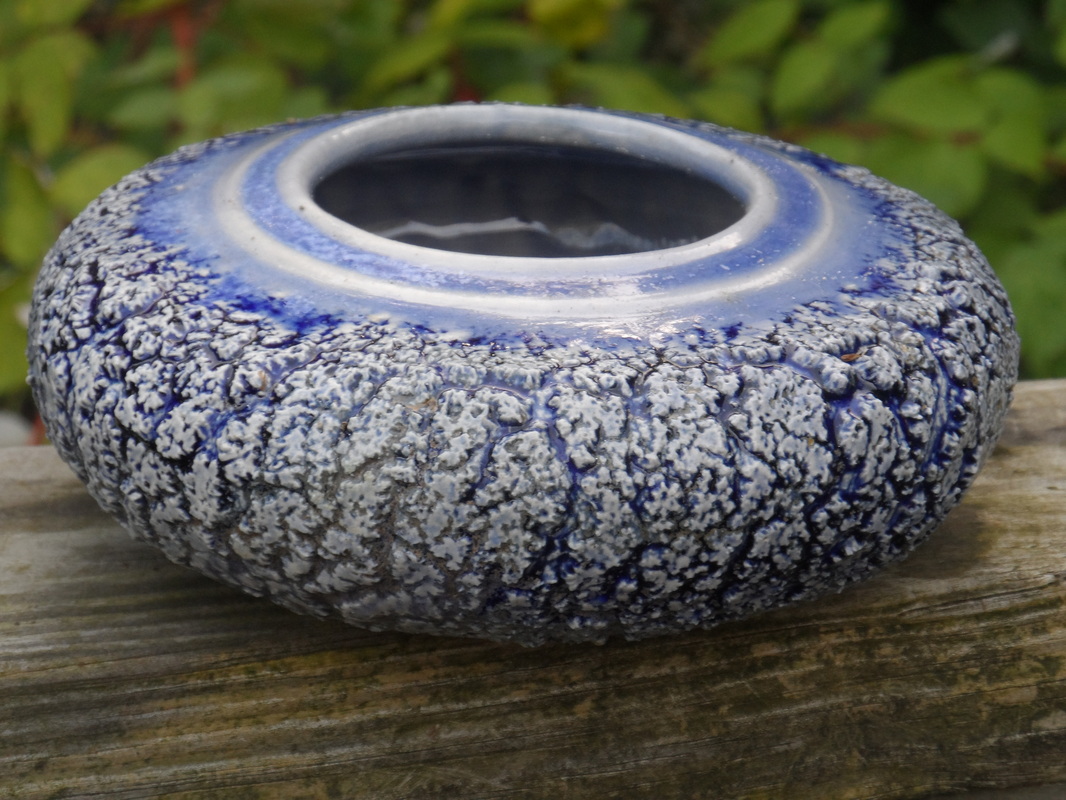
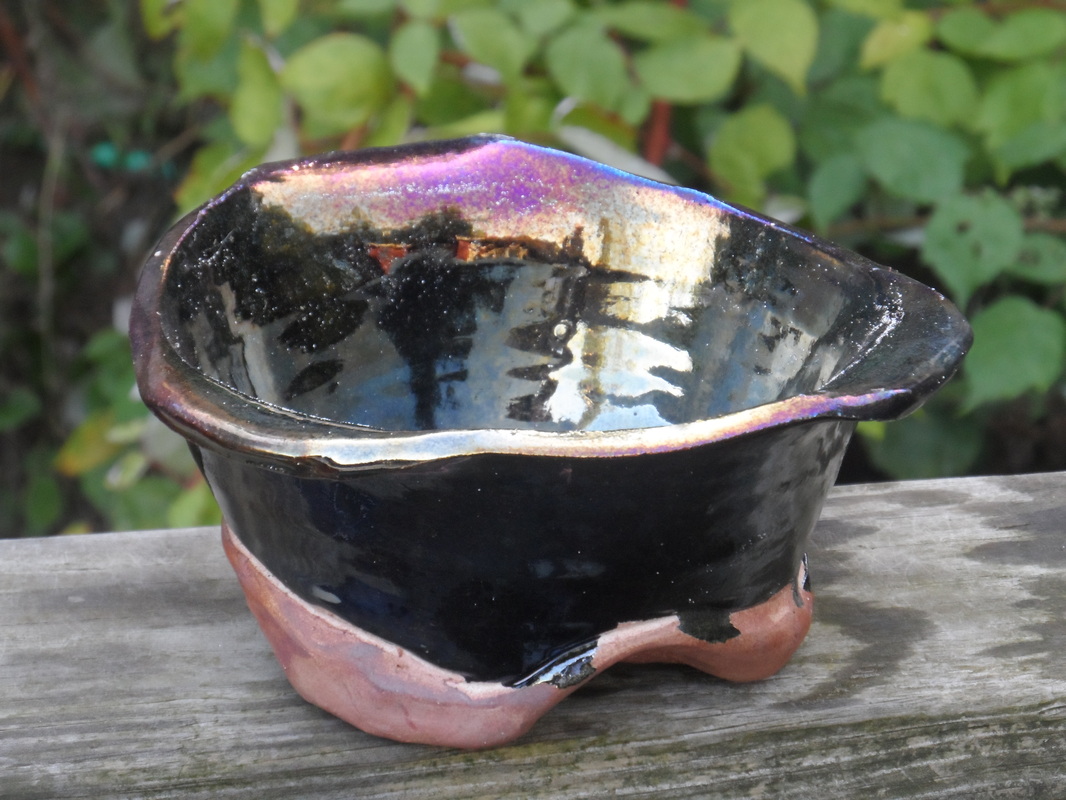
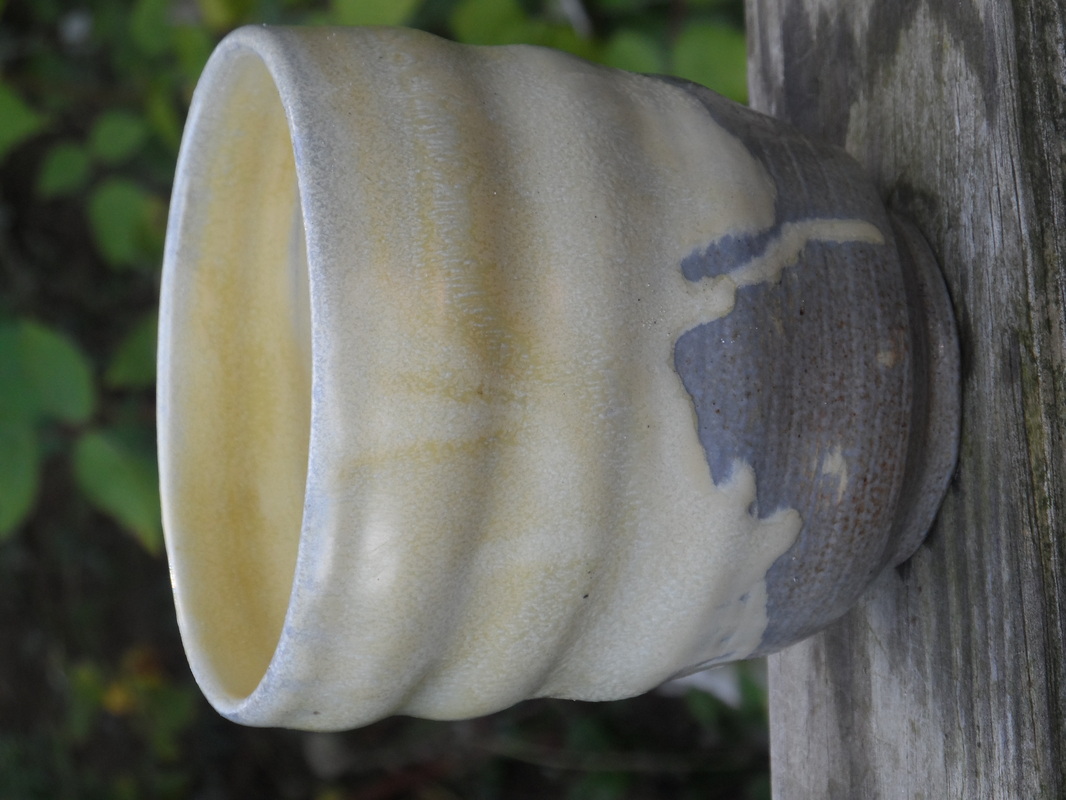
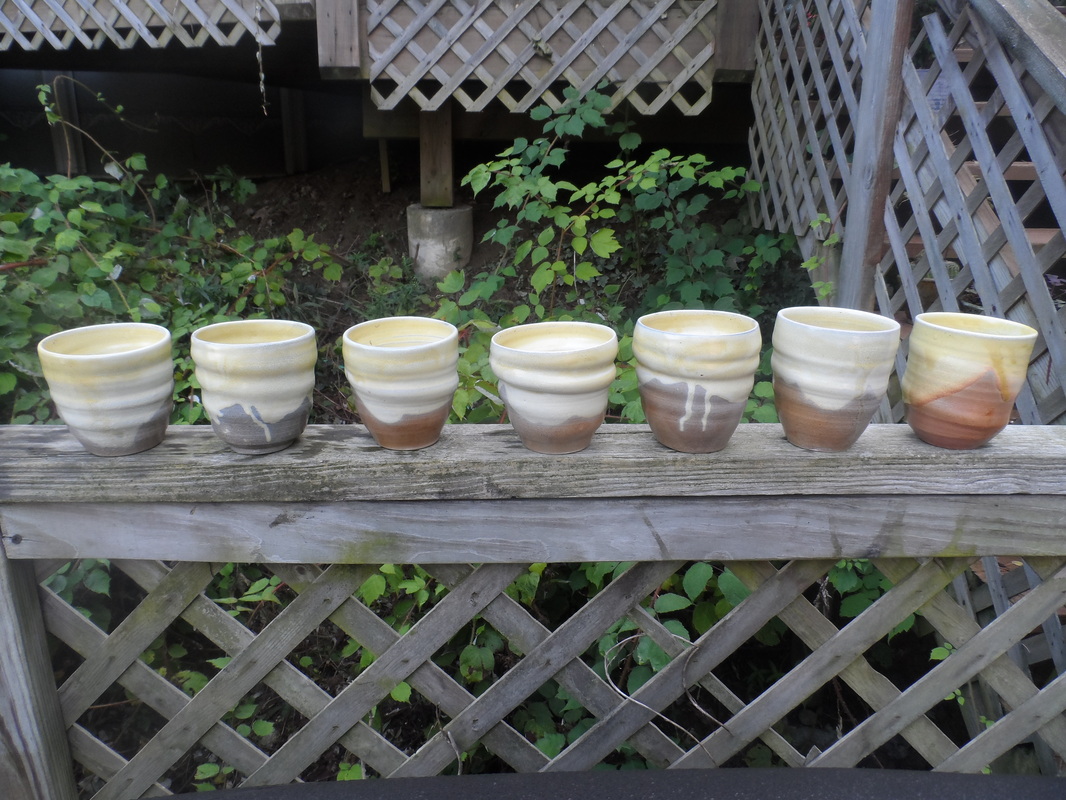
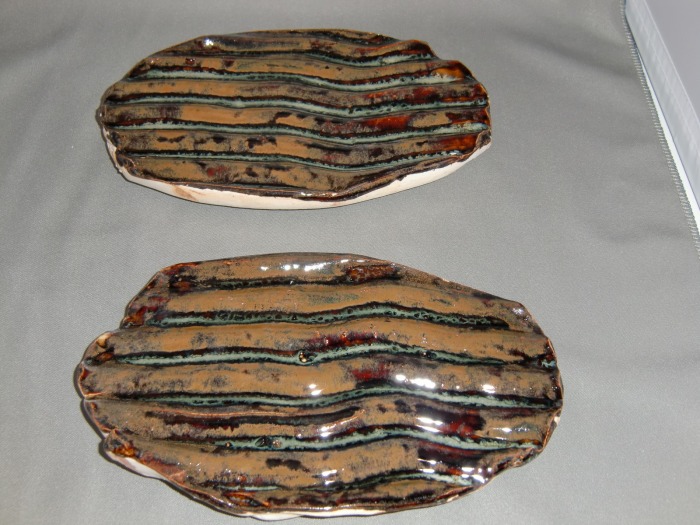
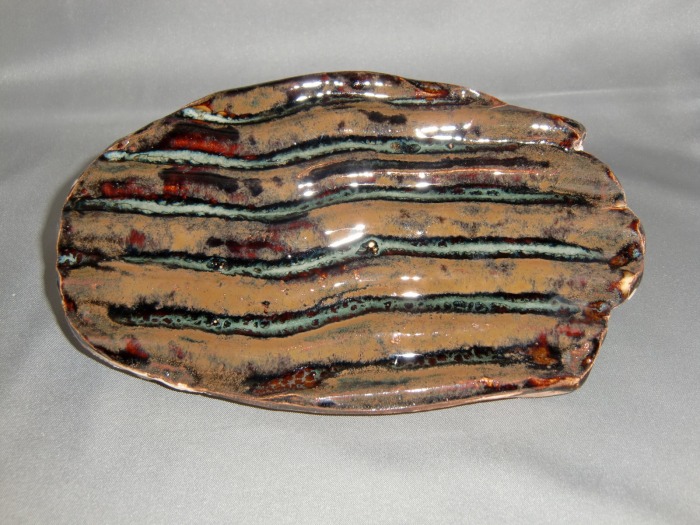
Foil Saggar Raku Firing
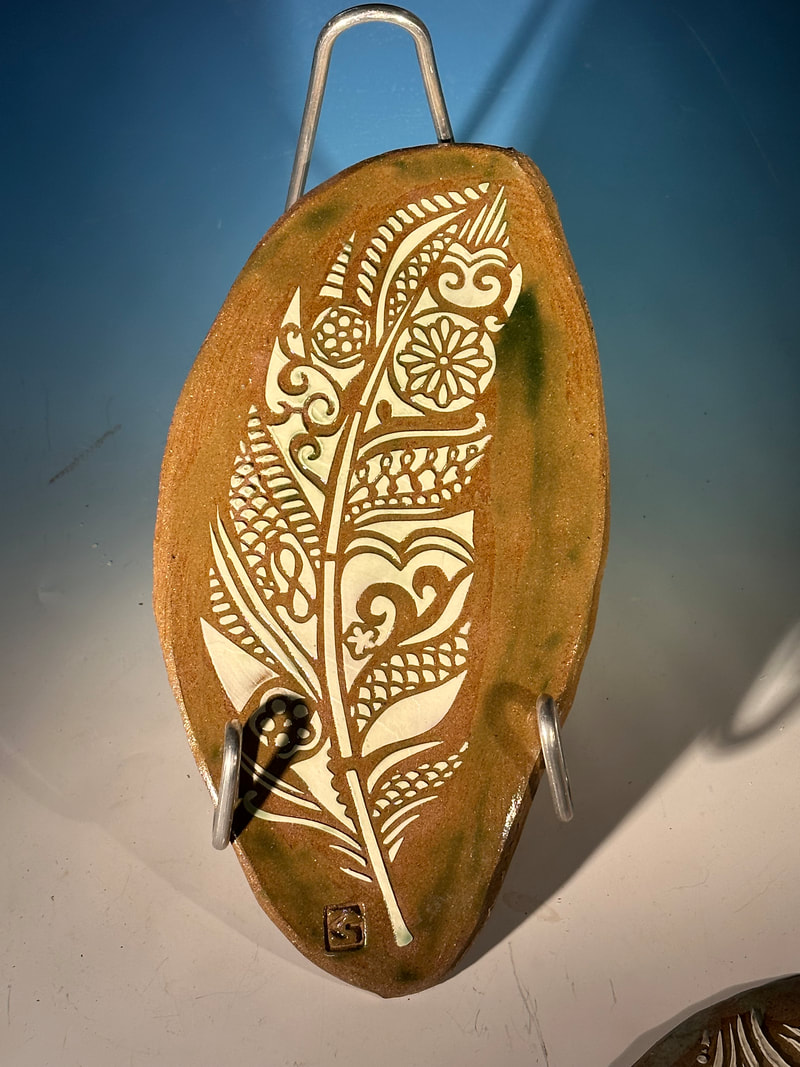
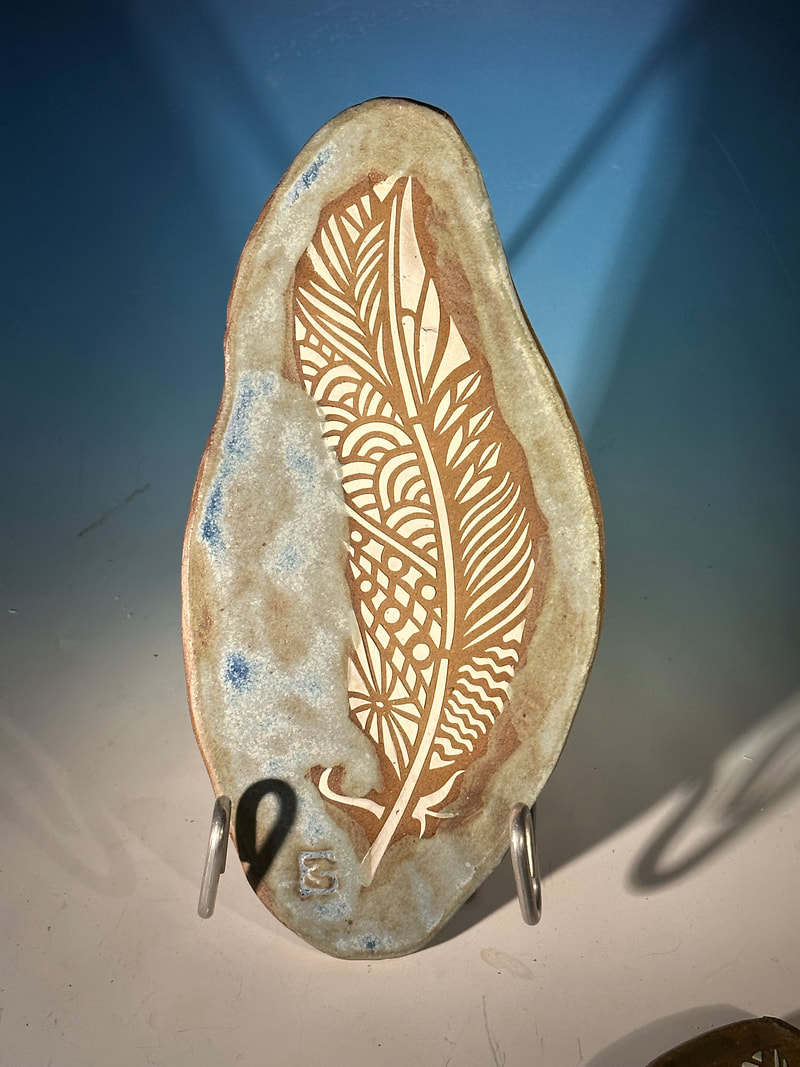
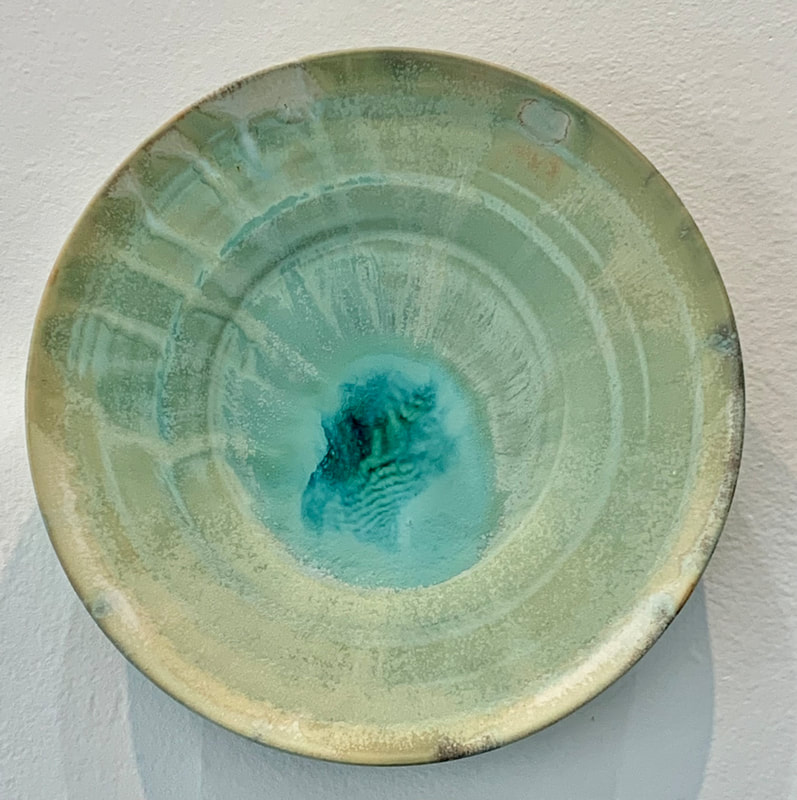
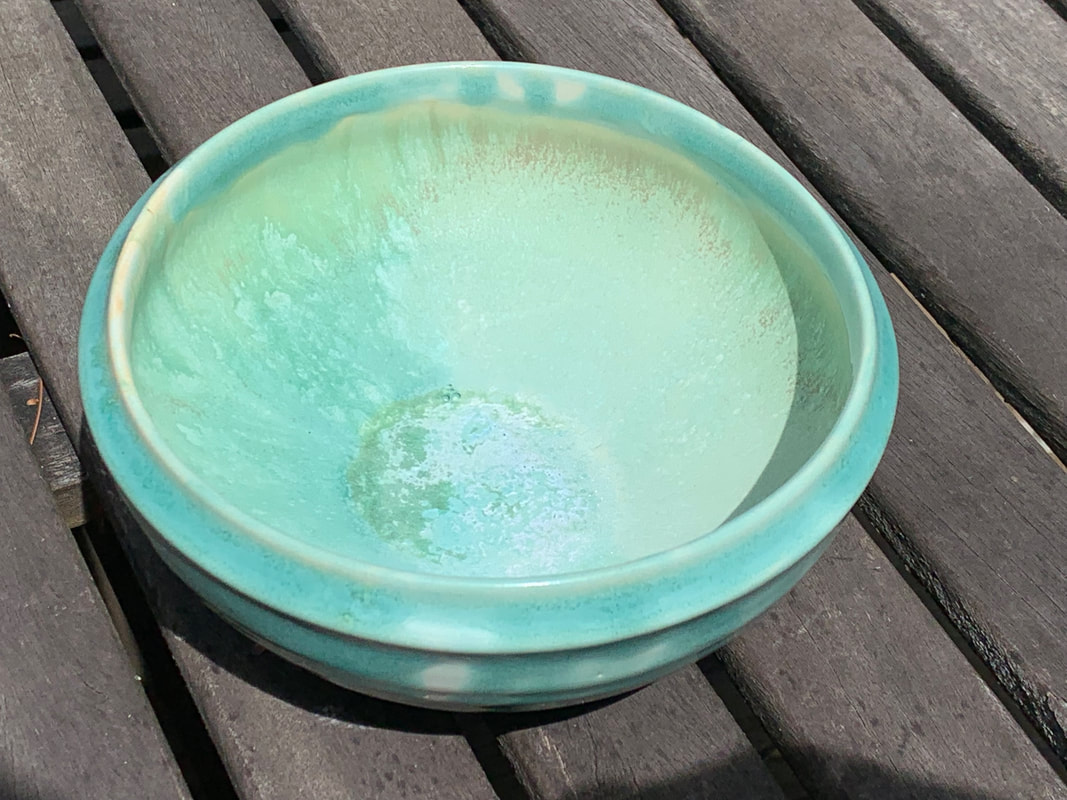
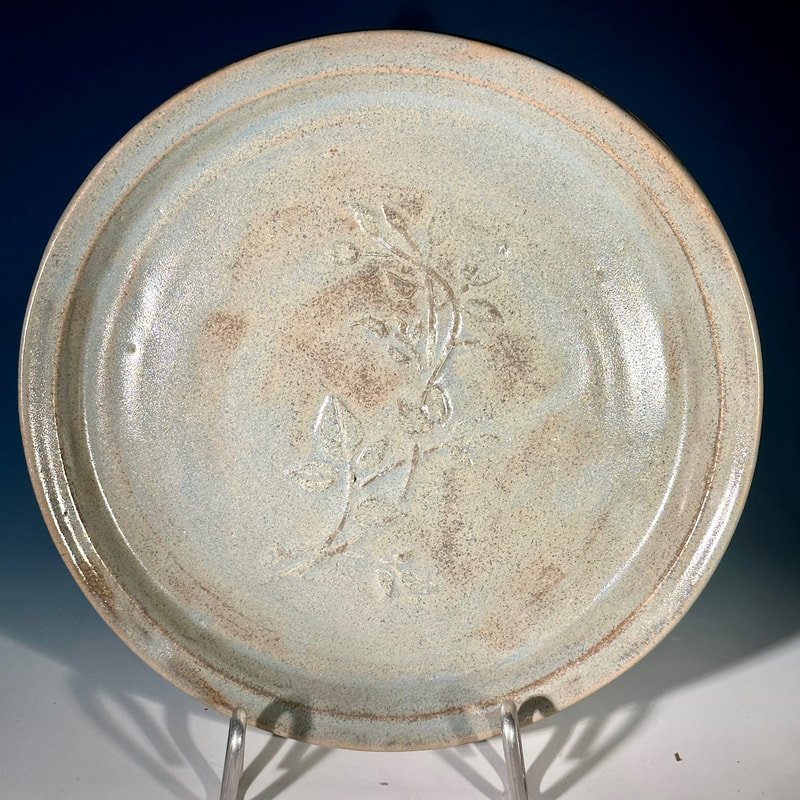
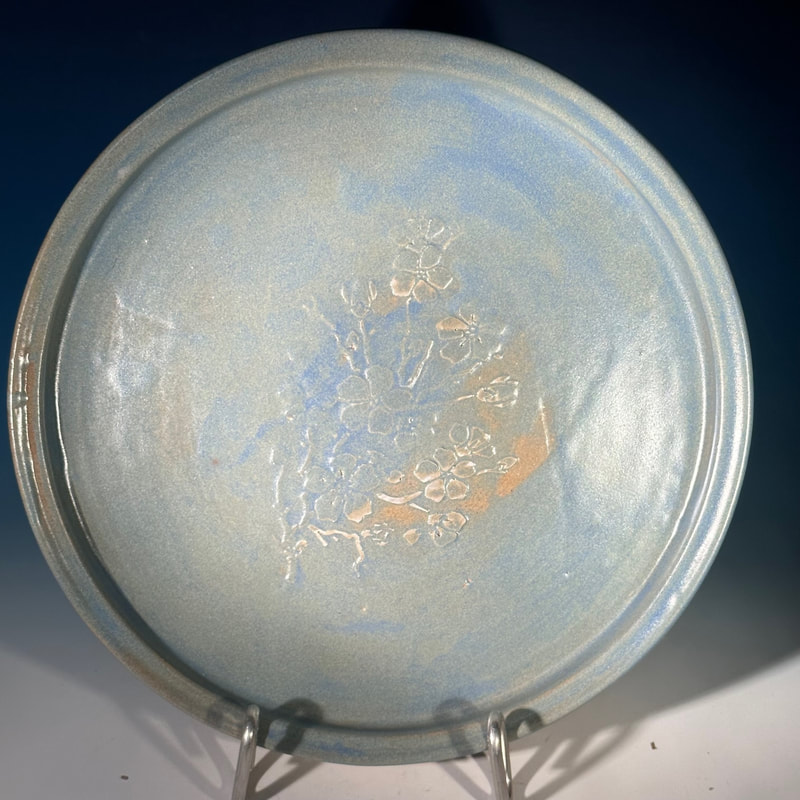
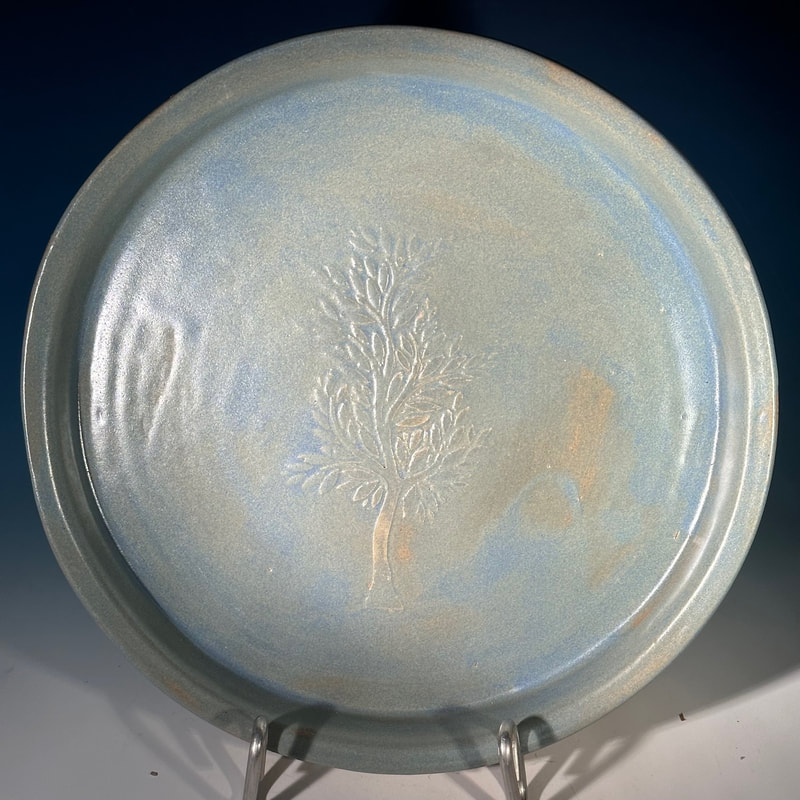
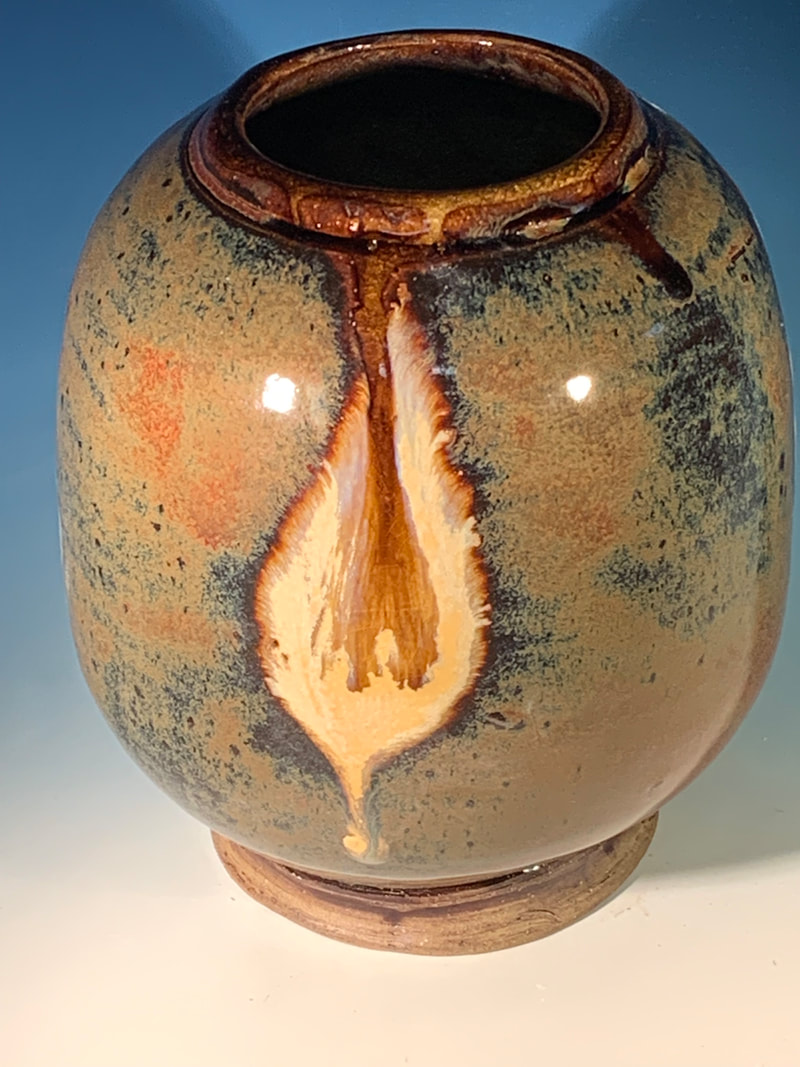
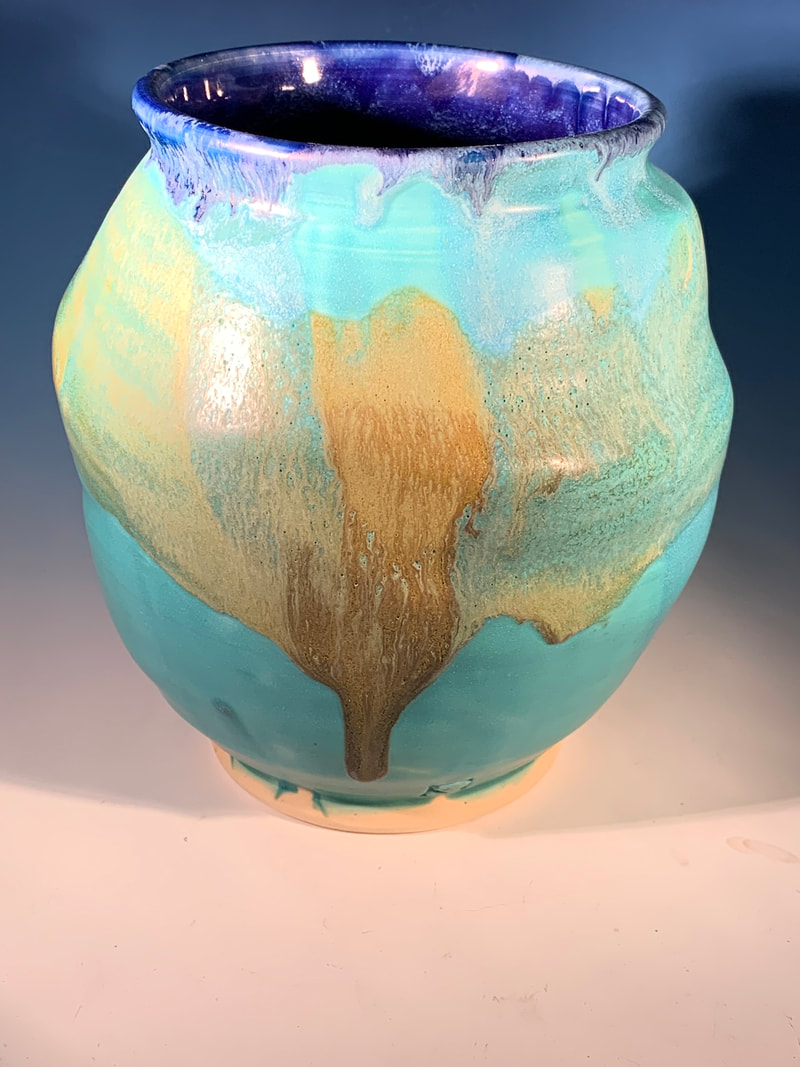
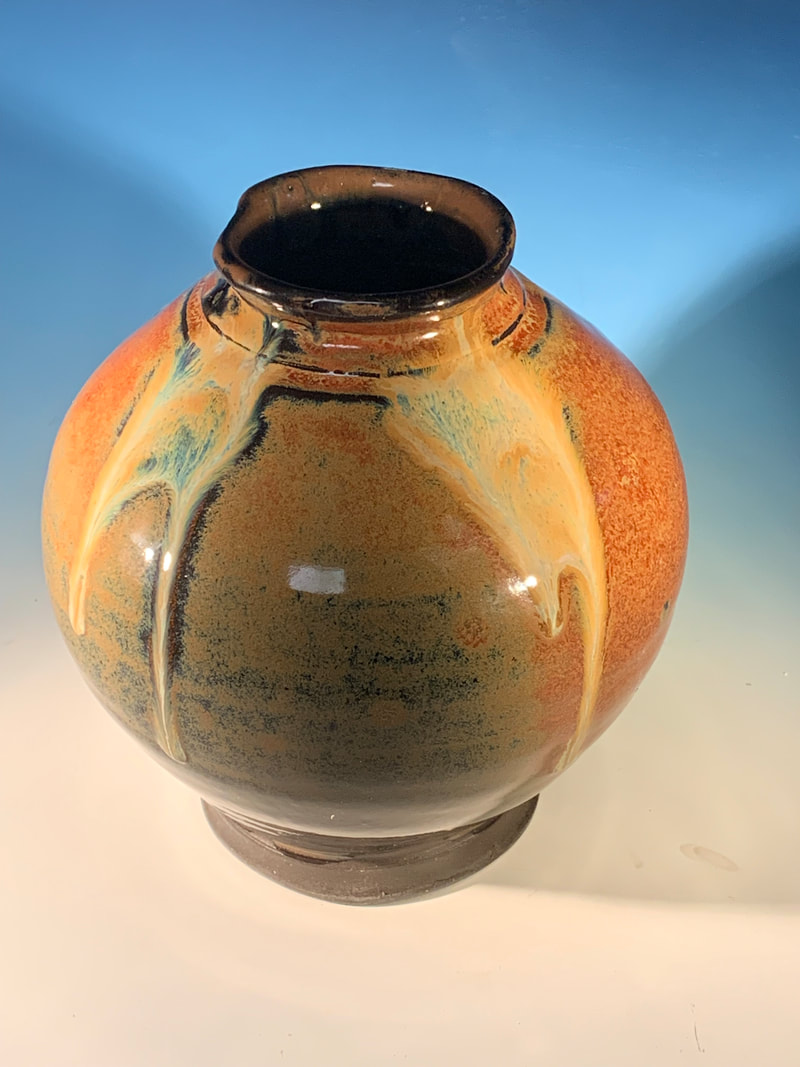
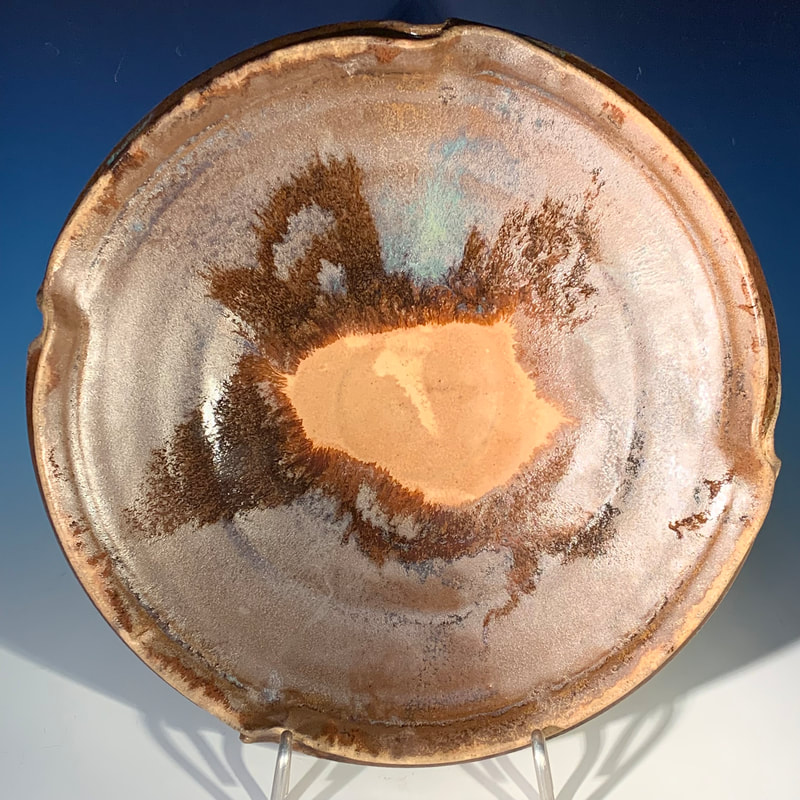
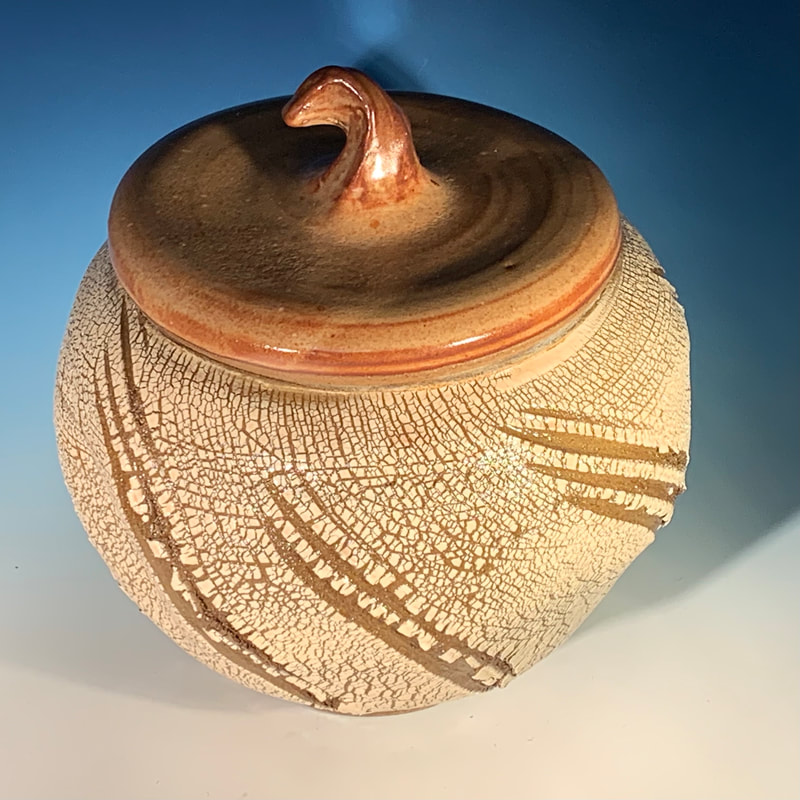
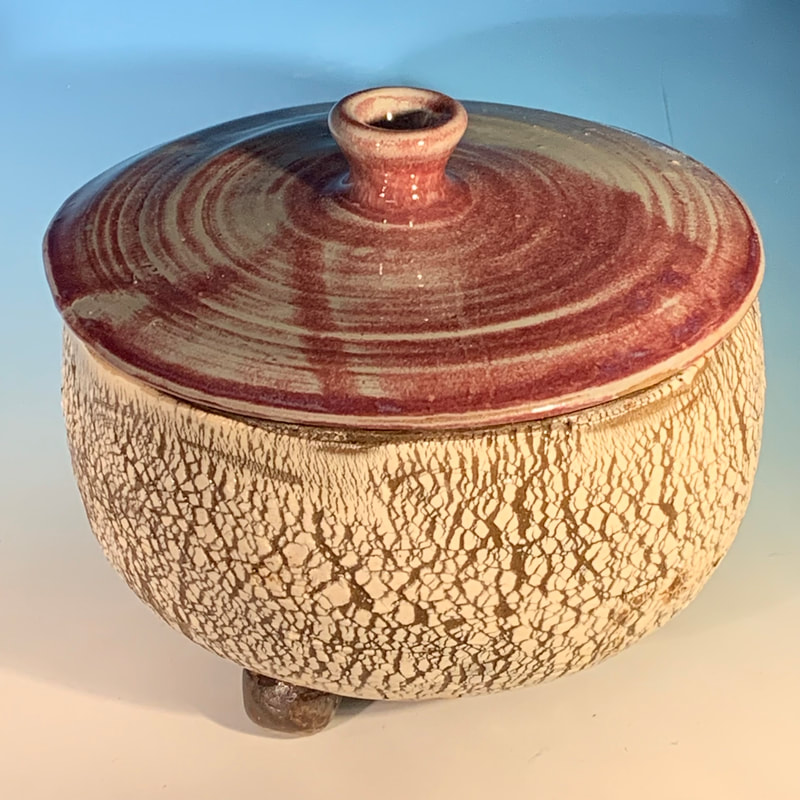
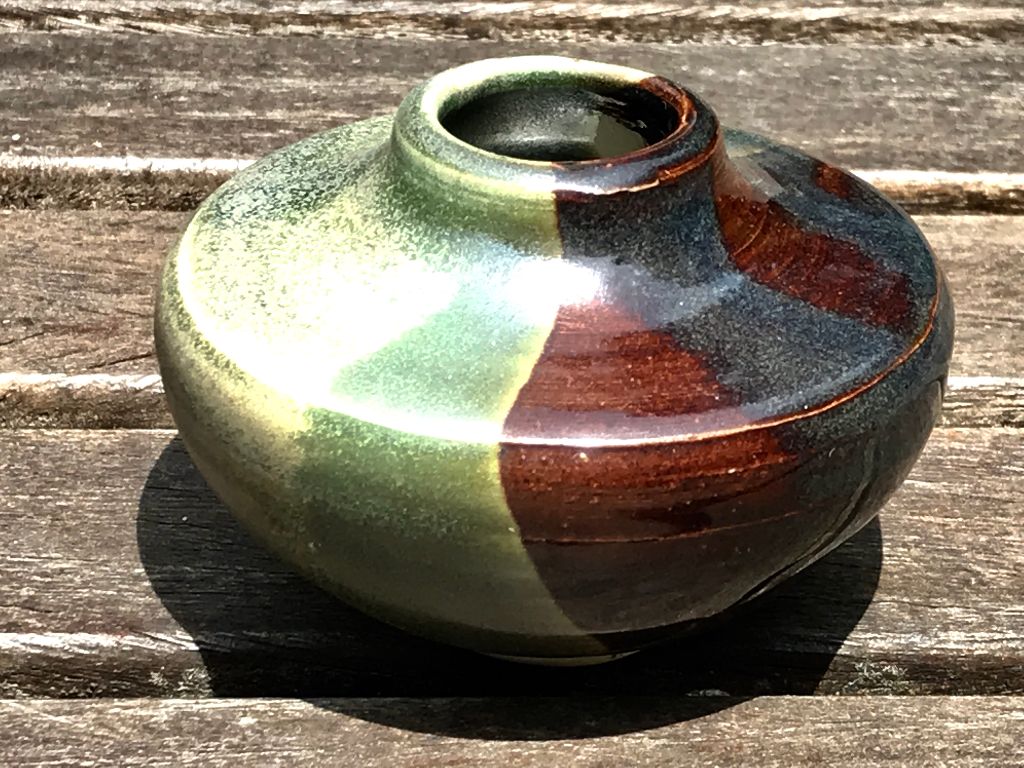
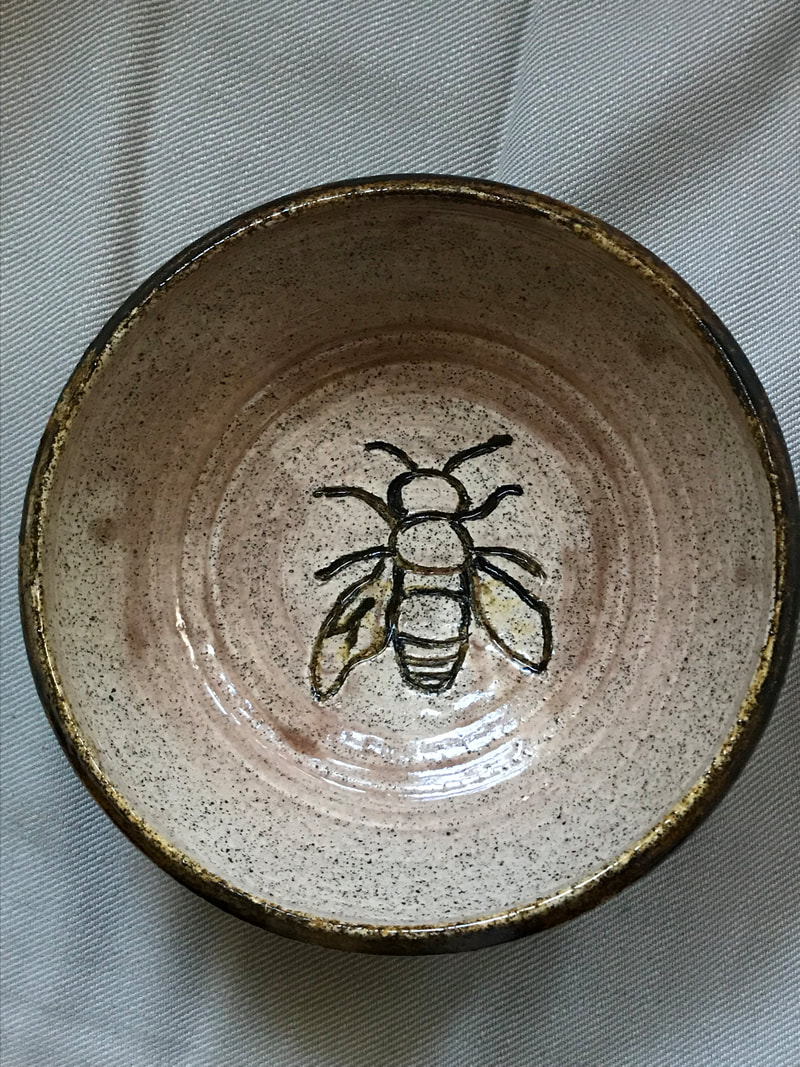
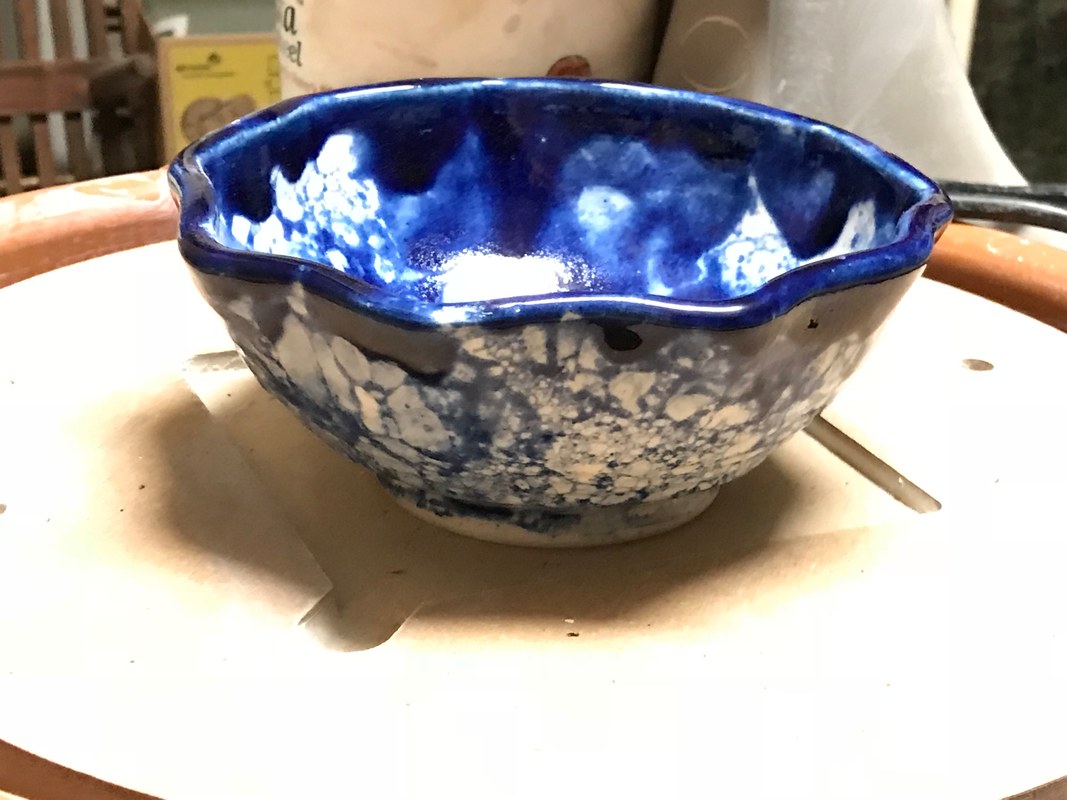
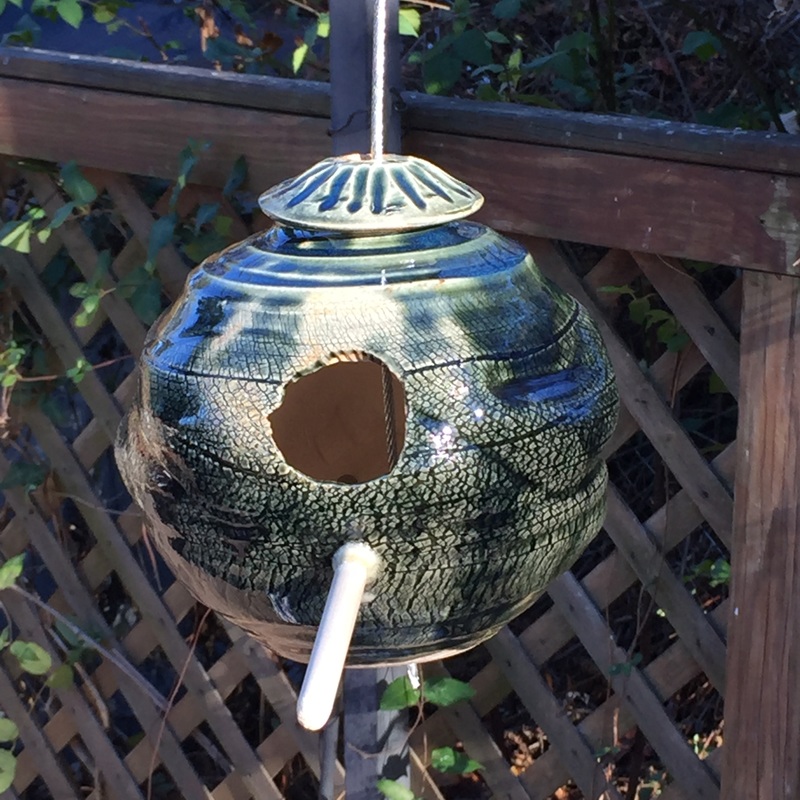
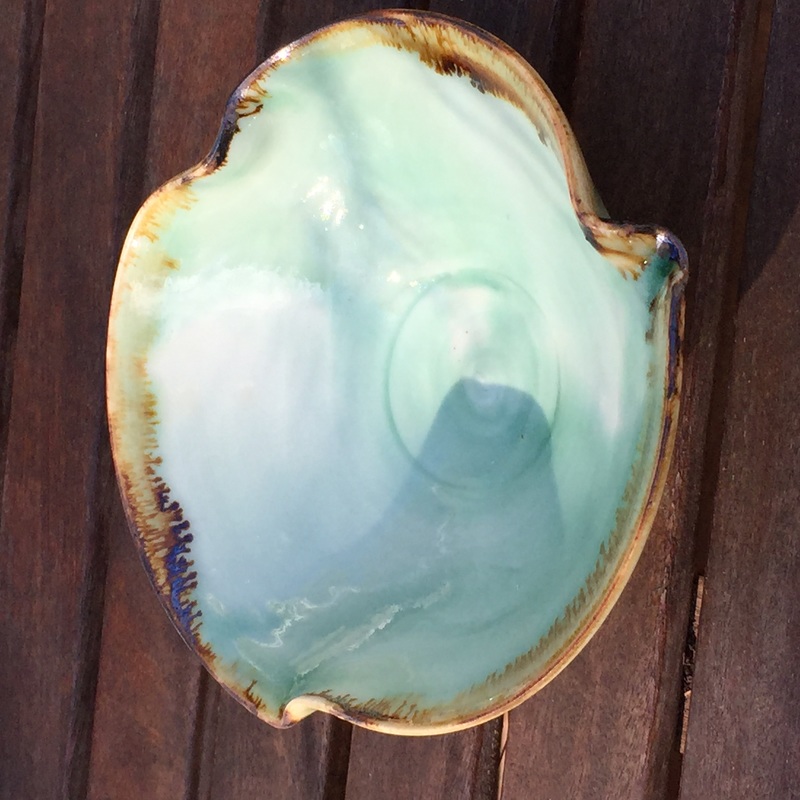
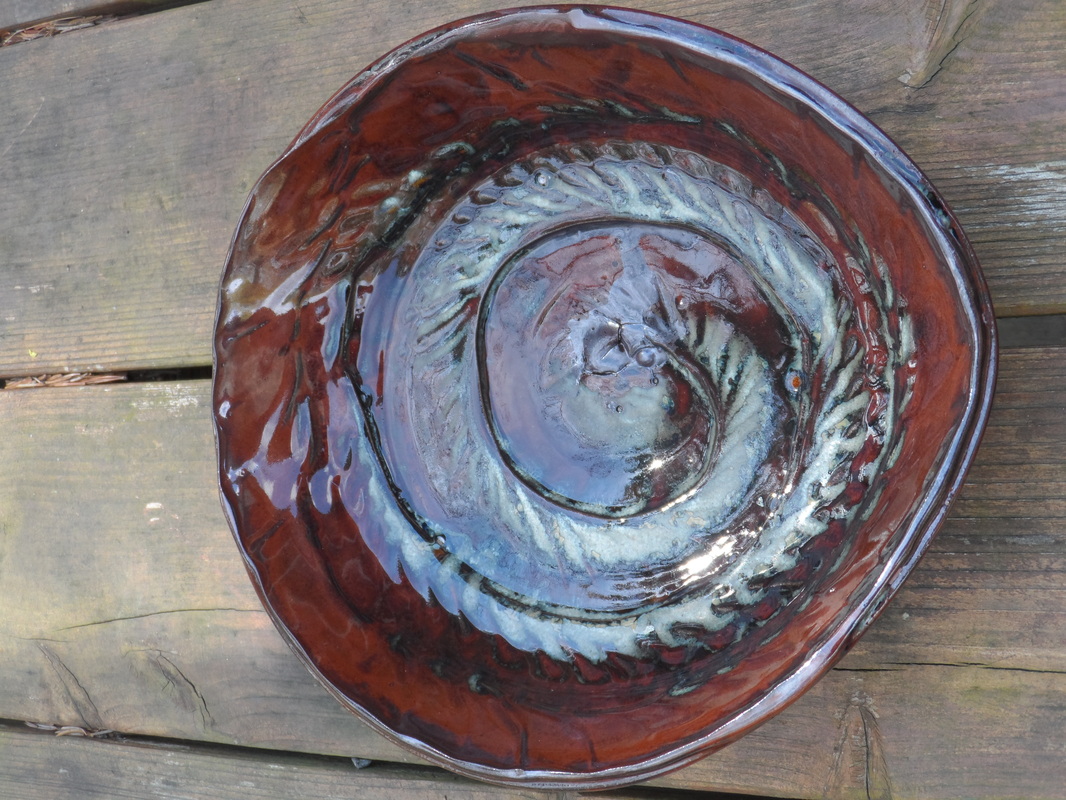
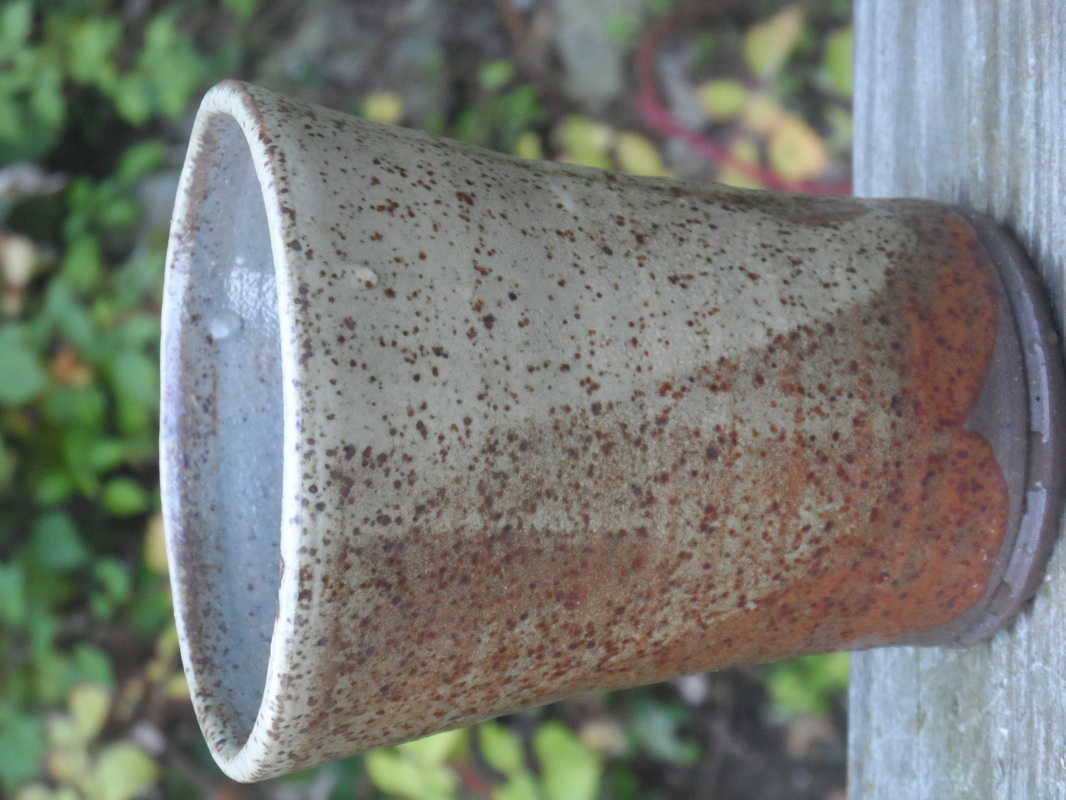
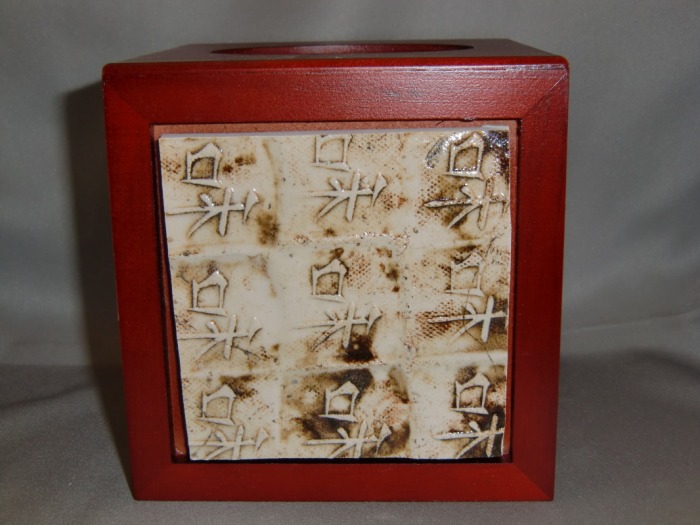
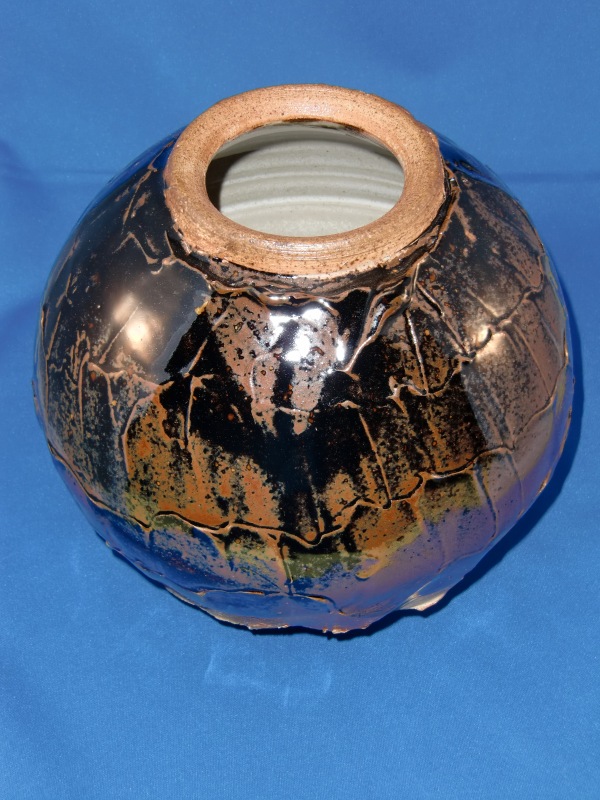
These pieces are bisque fired and then refired to 1800 degrees F after being sprayed with FeCl and sprinkled with copper and bits of glass. Each pot is wrapped in aluminum foil which disintegrates during the firing due to the fumes from the FeCl,, but the foil acts to restrict oxygen allowing the copper and iron to reduce and be absorbed by the clay surface. They are then sealed with clear acrylic. It is a fun way to get raku results using an electric kiln indoors.

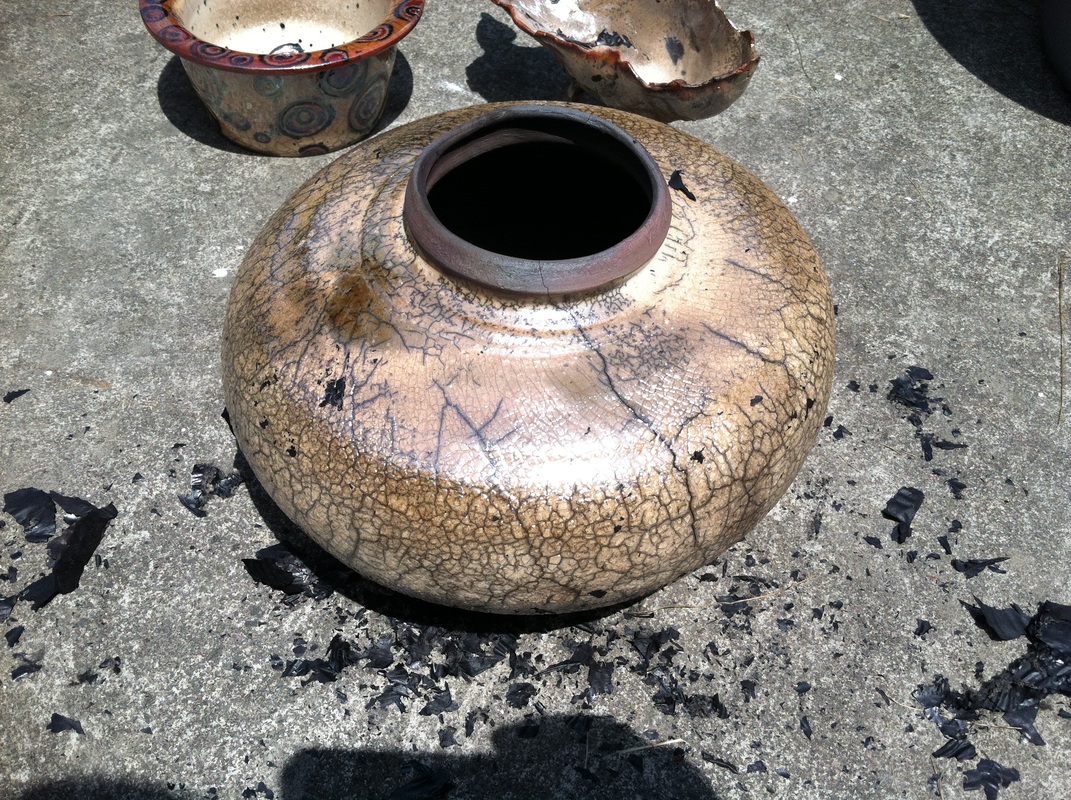
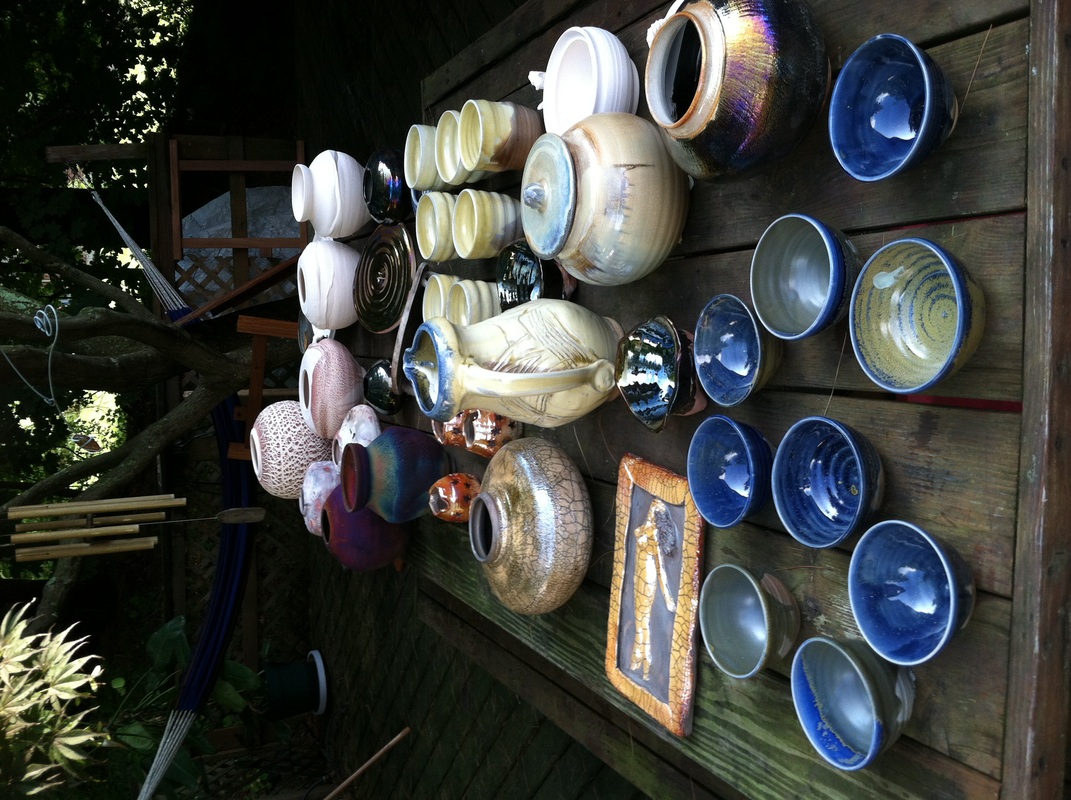
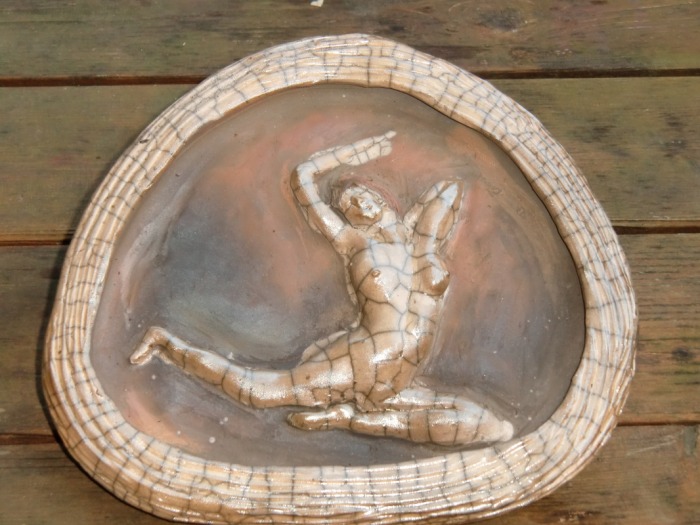
Sugar Maples Workshop with Randy Brodnax and Don Ellis July 2013
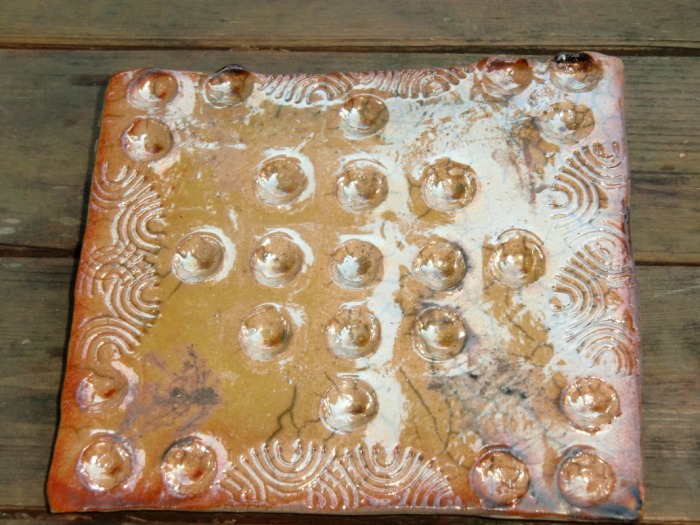
I got to explore a range of firing and throwing techniques in this year's "Flashing & Fuming" workshop. Both Randy & Don are amazing instructors and lots of fun too! I recommend taking their class if you have the chance. We did foil saggar firings, FeCl raku, Stannous fuming, copper matte-alcohol reduction, high-fire in salt kiln -- so much was happening each day its hard to describe it all. See photos below for my work, and go to the "influences" page for photos of Randy & Don & their work.
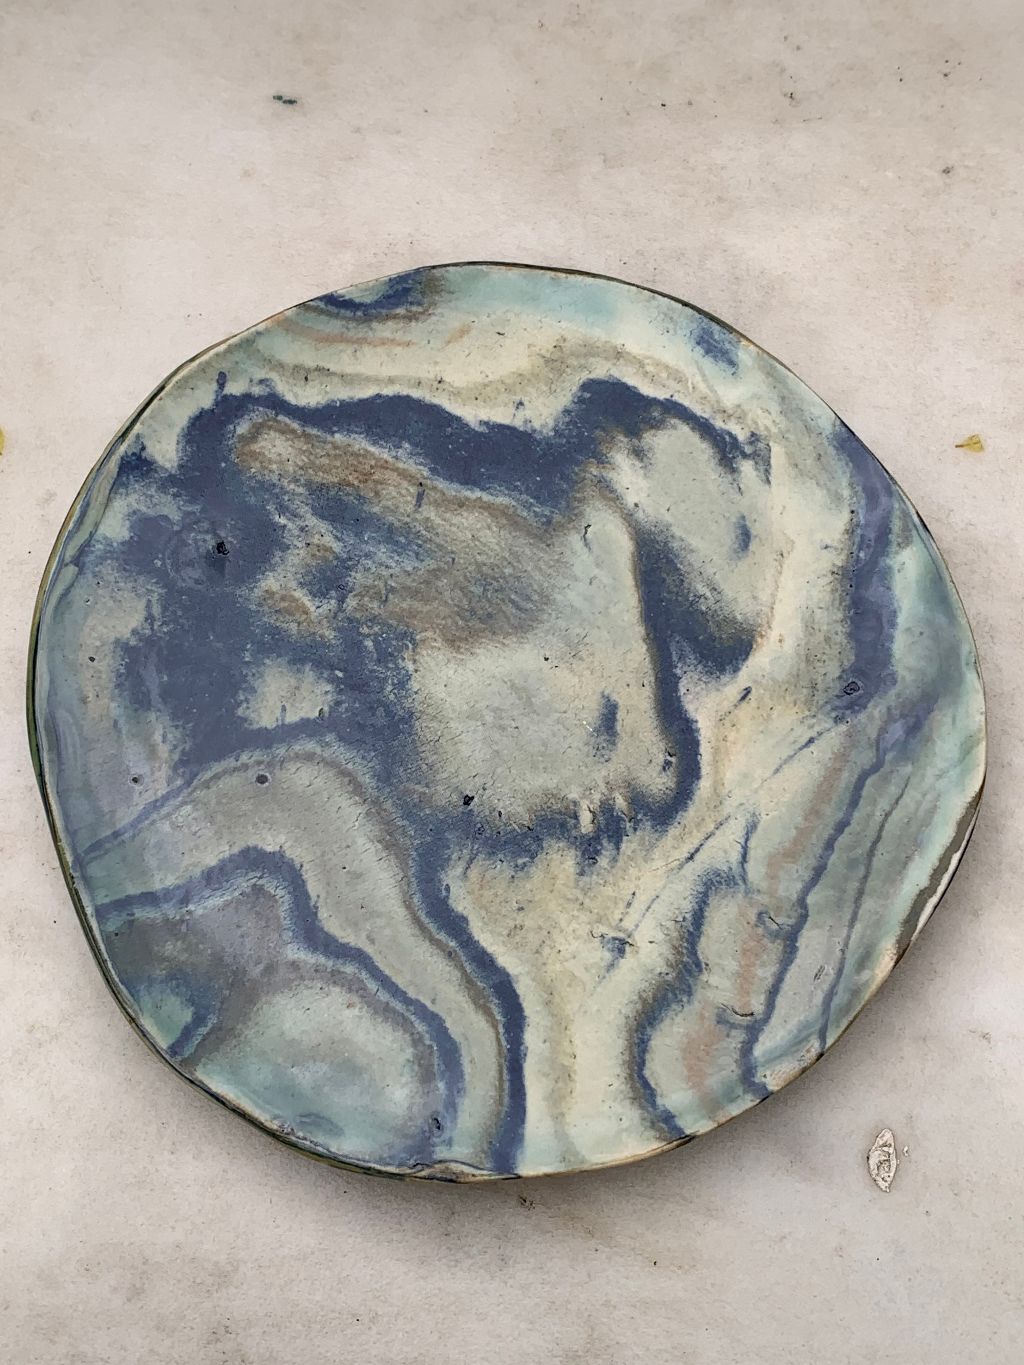
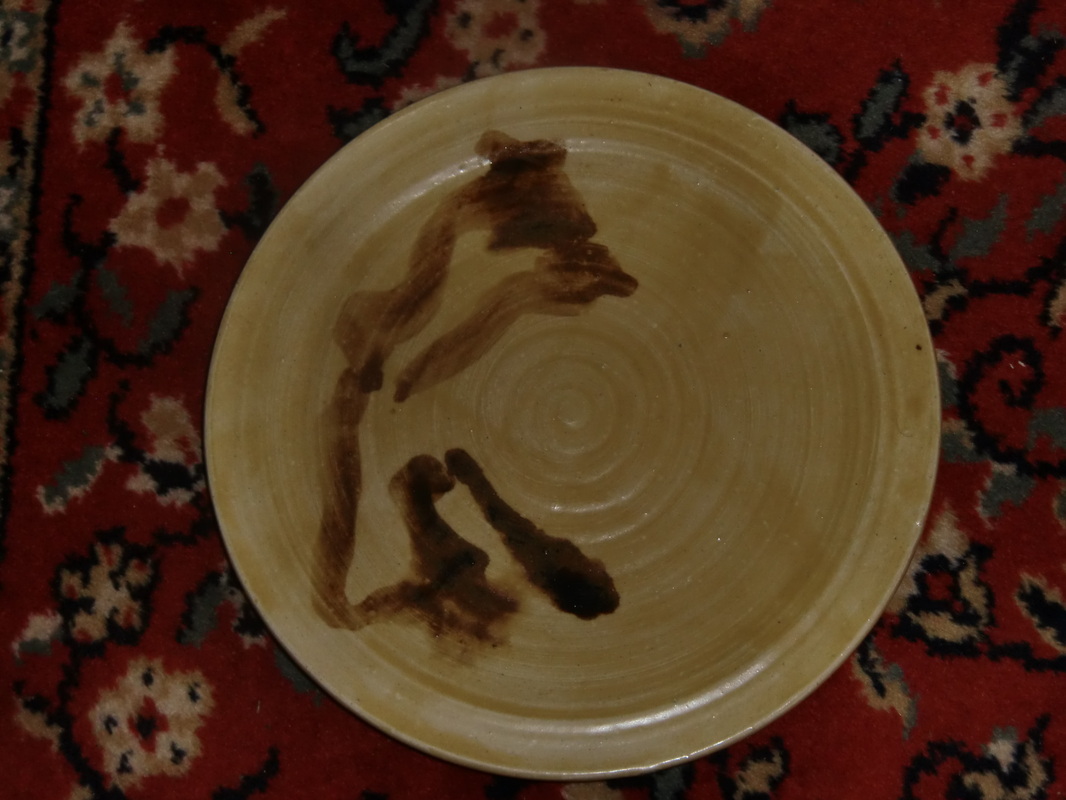
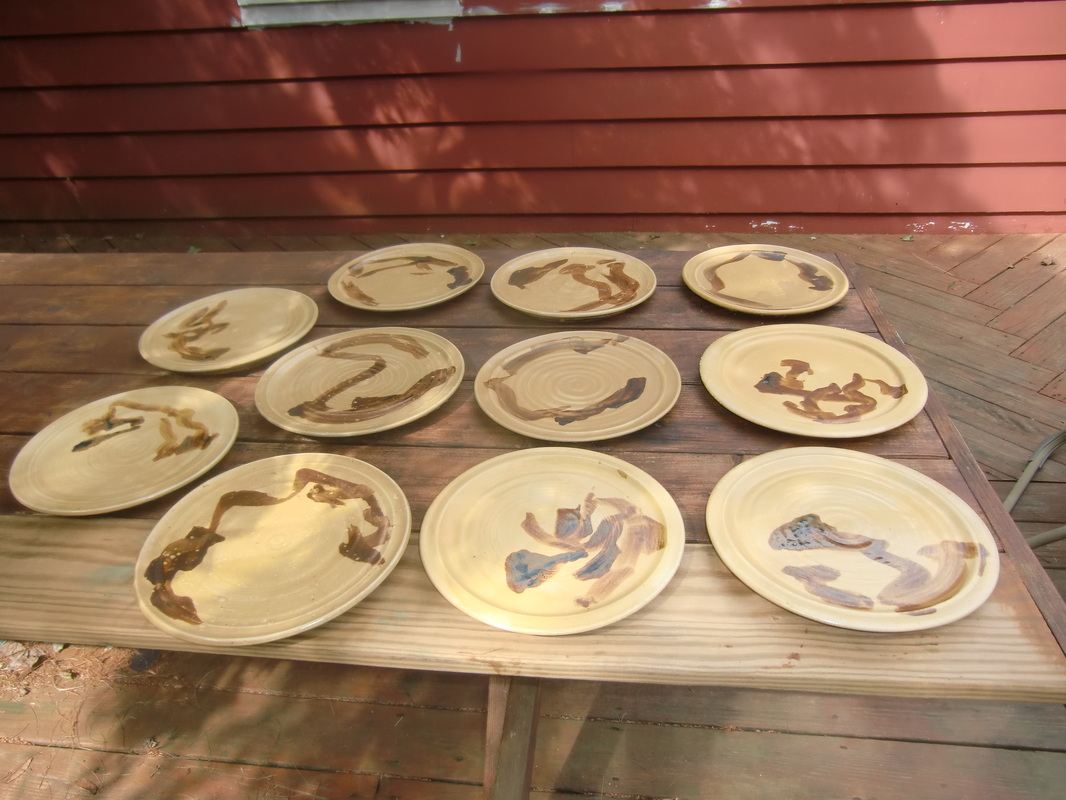
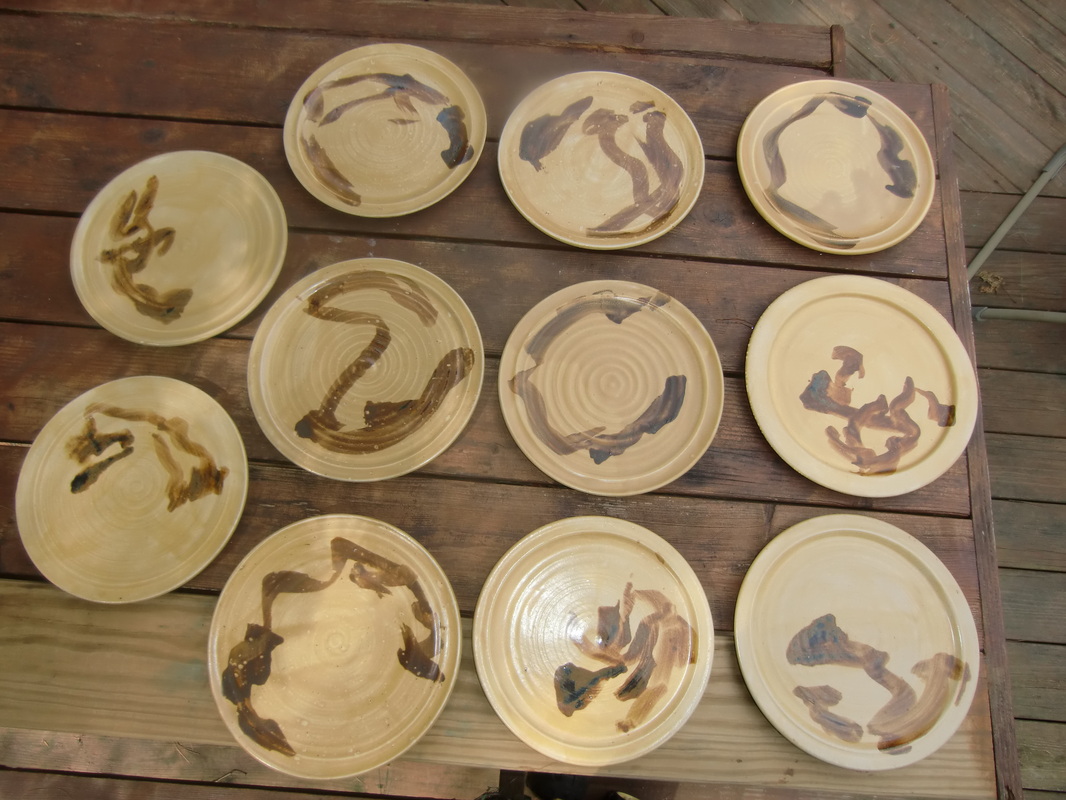
Raku piece with FeCl


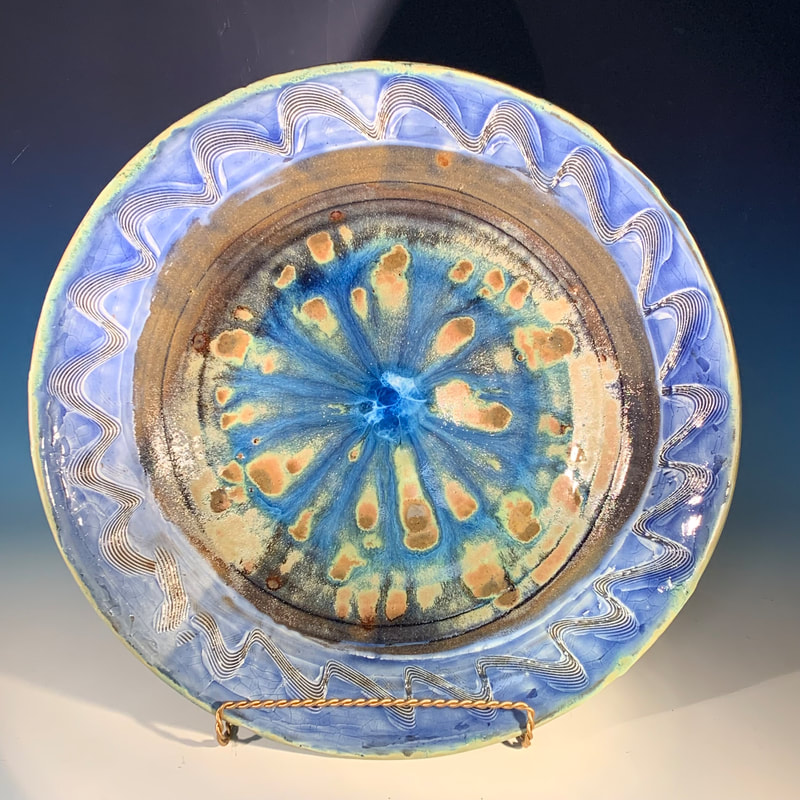
Dinner plate set
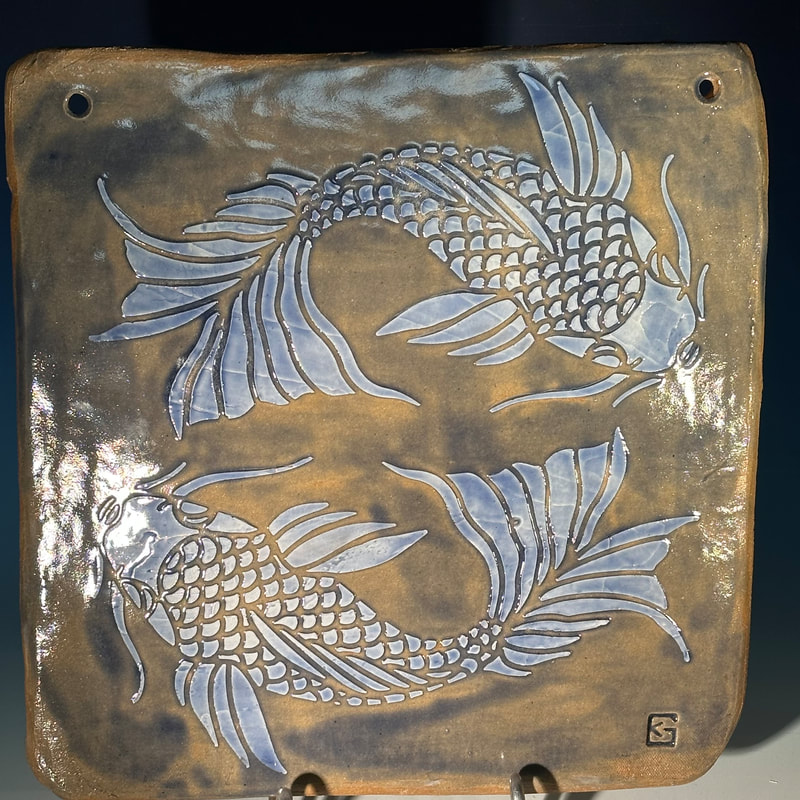
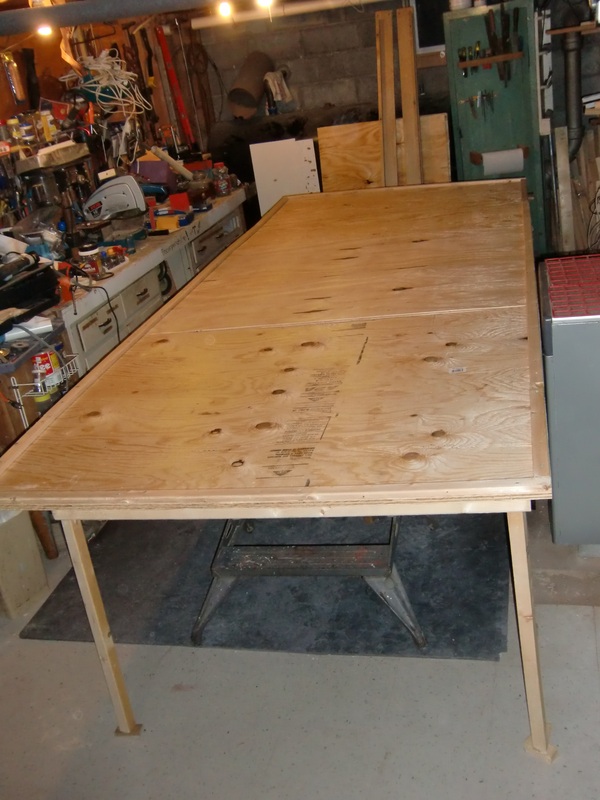
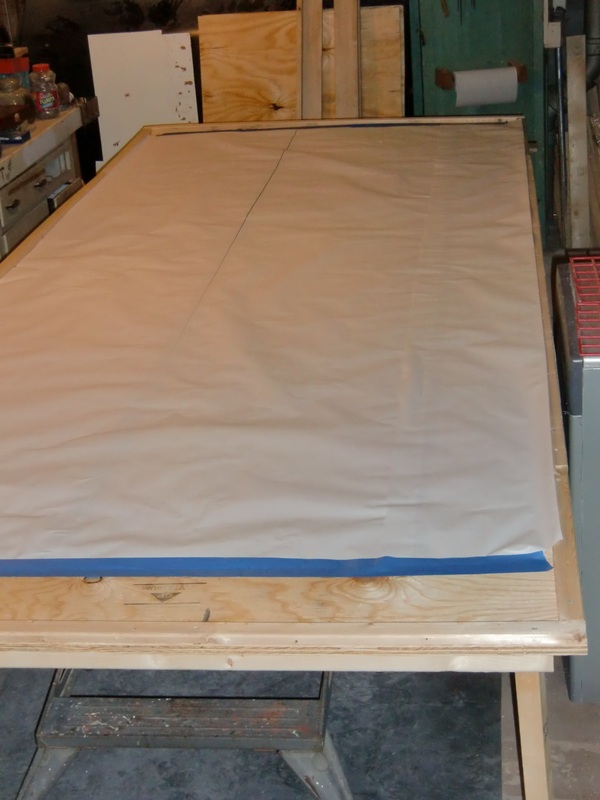
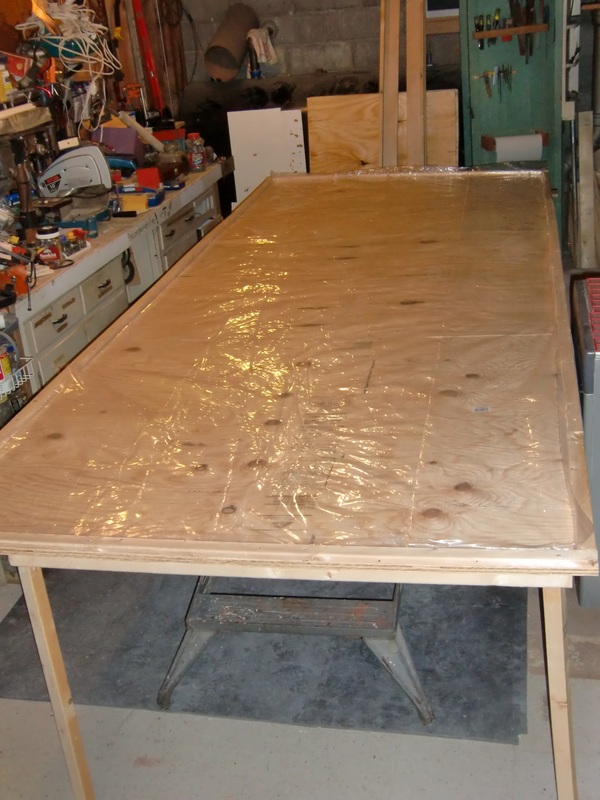
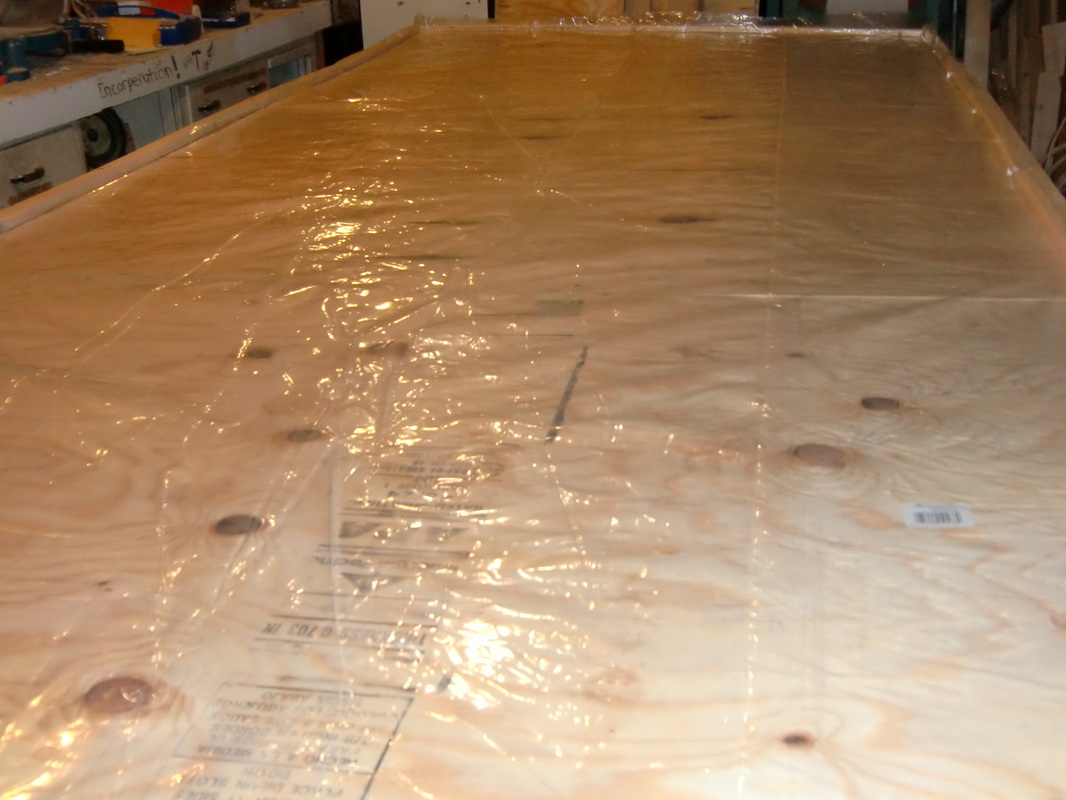
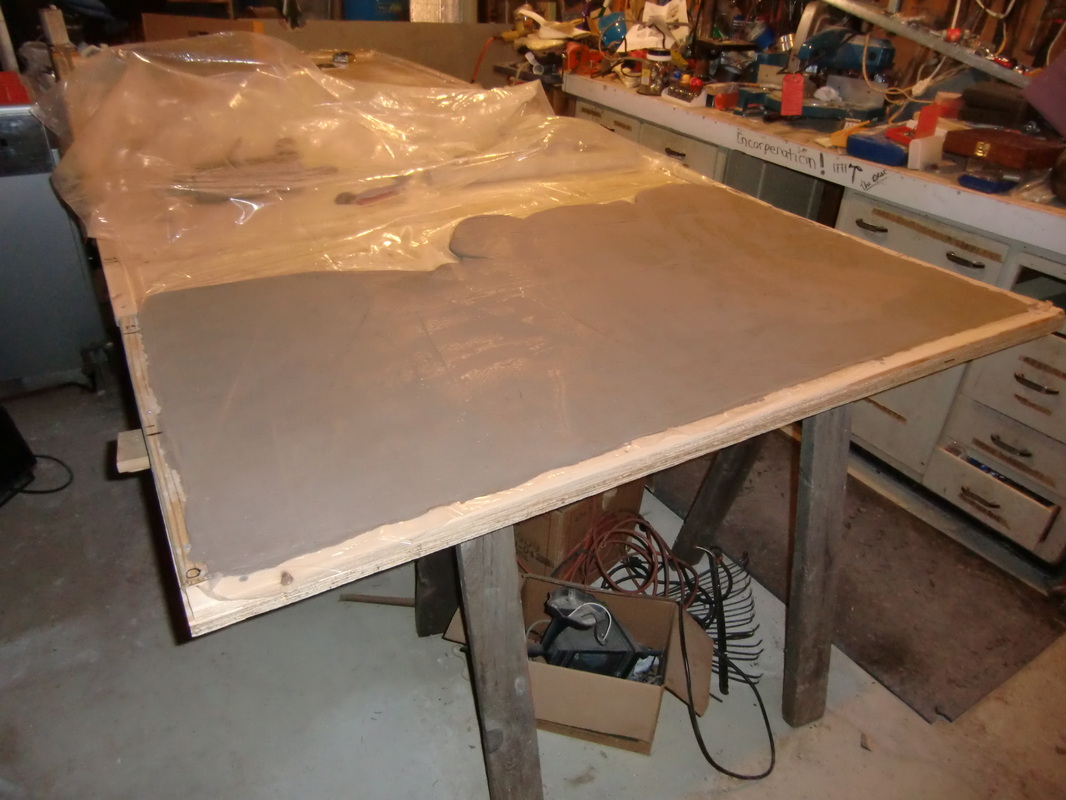
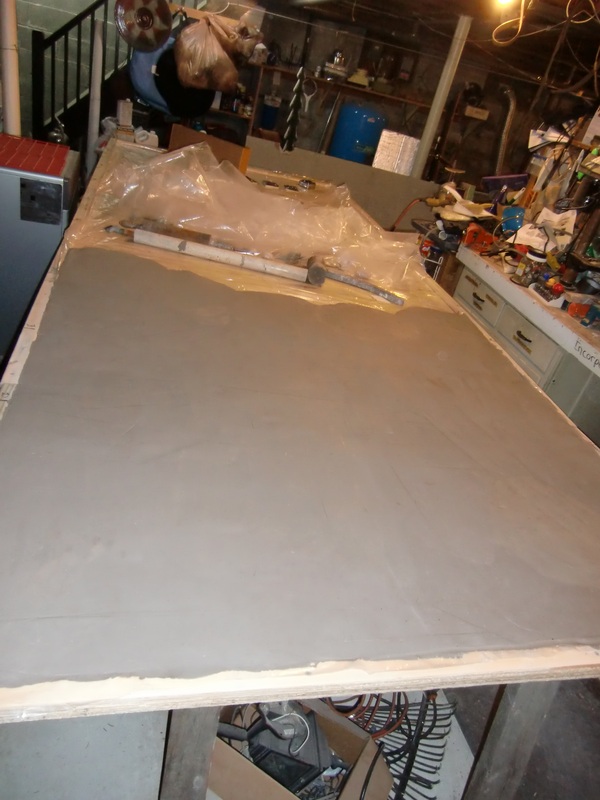
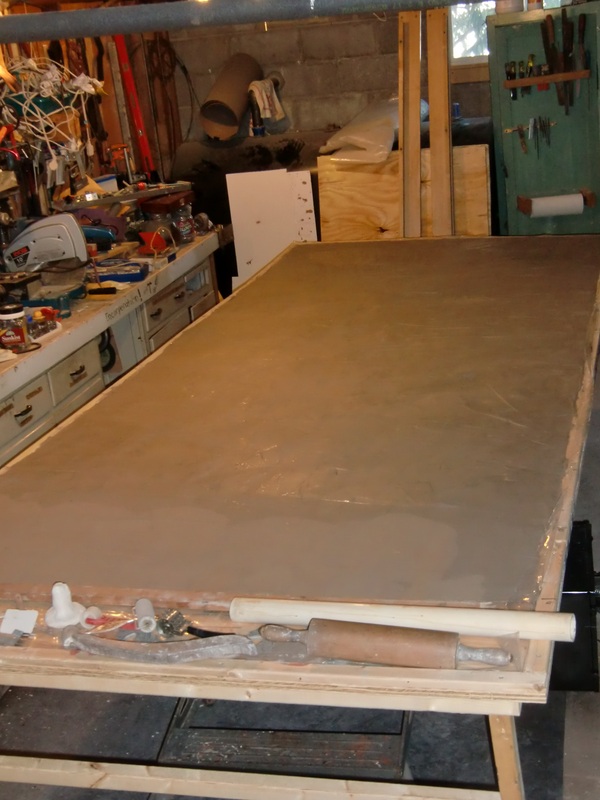
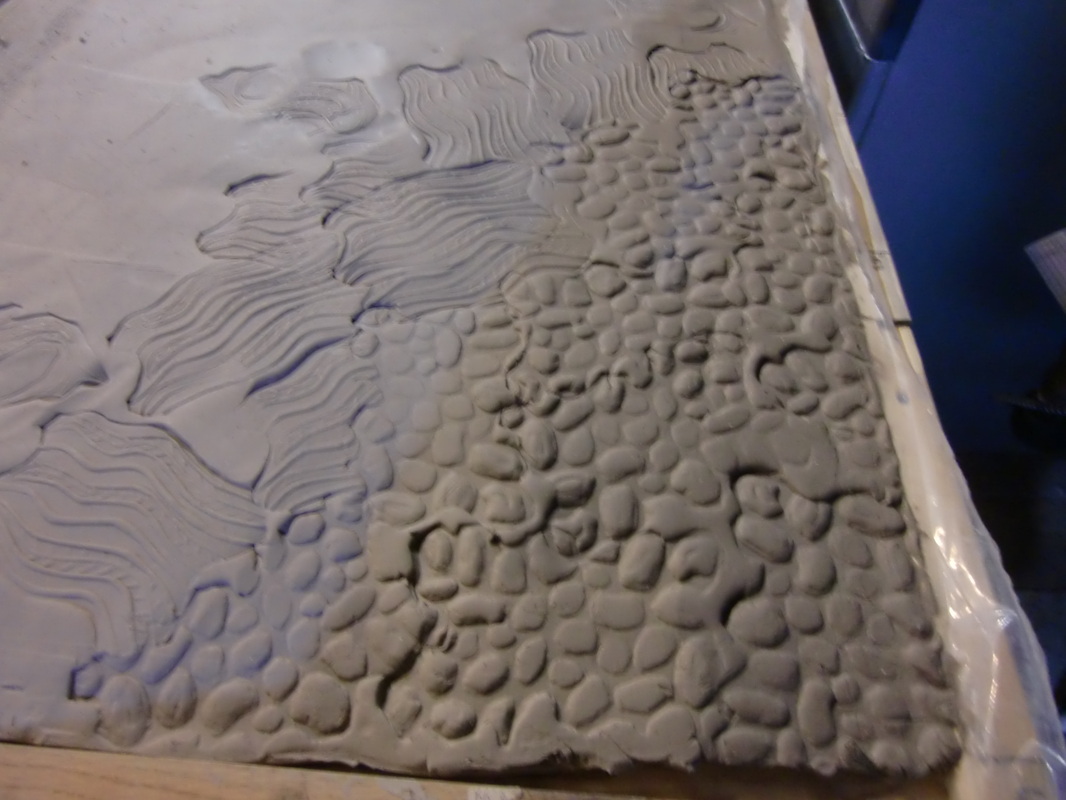
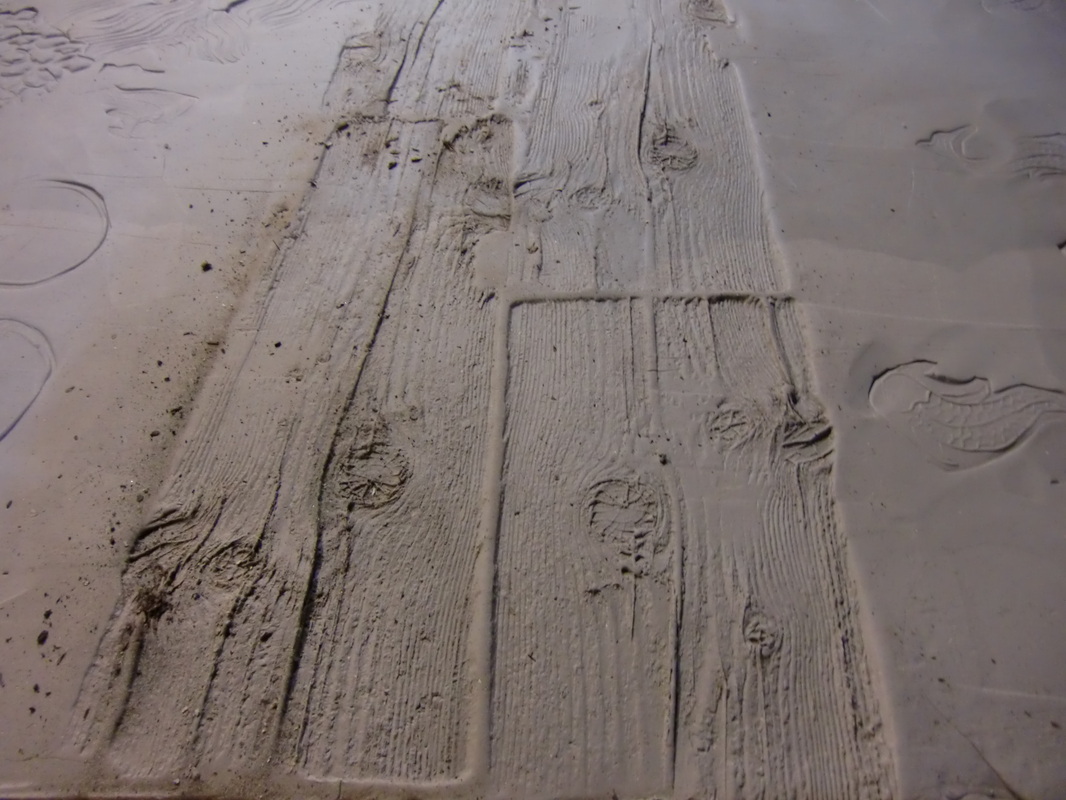
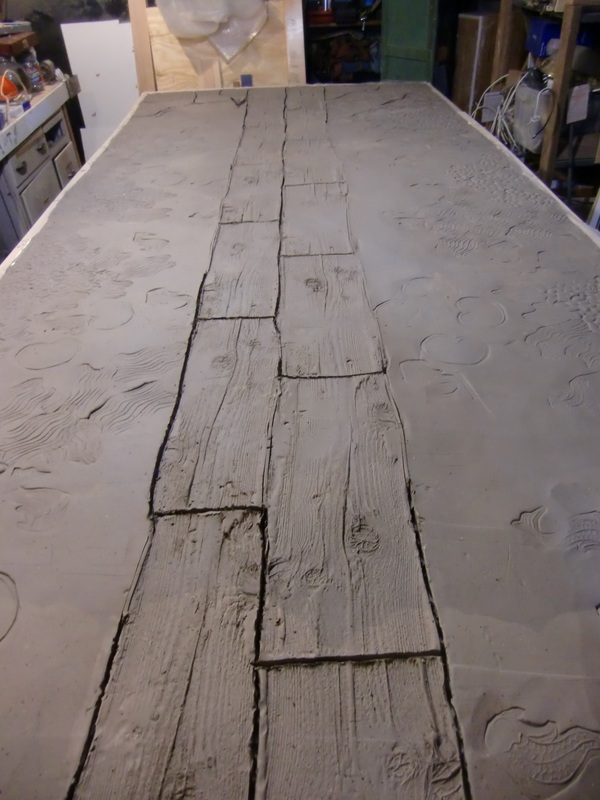
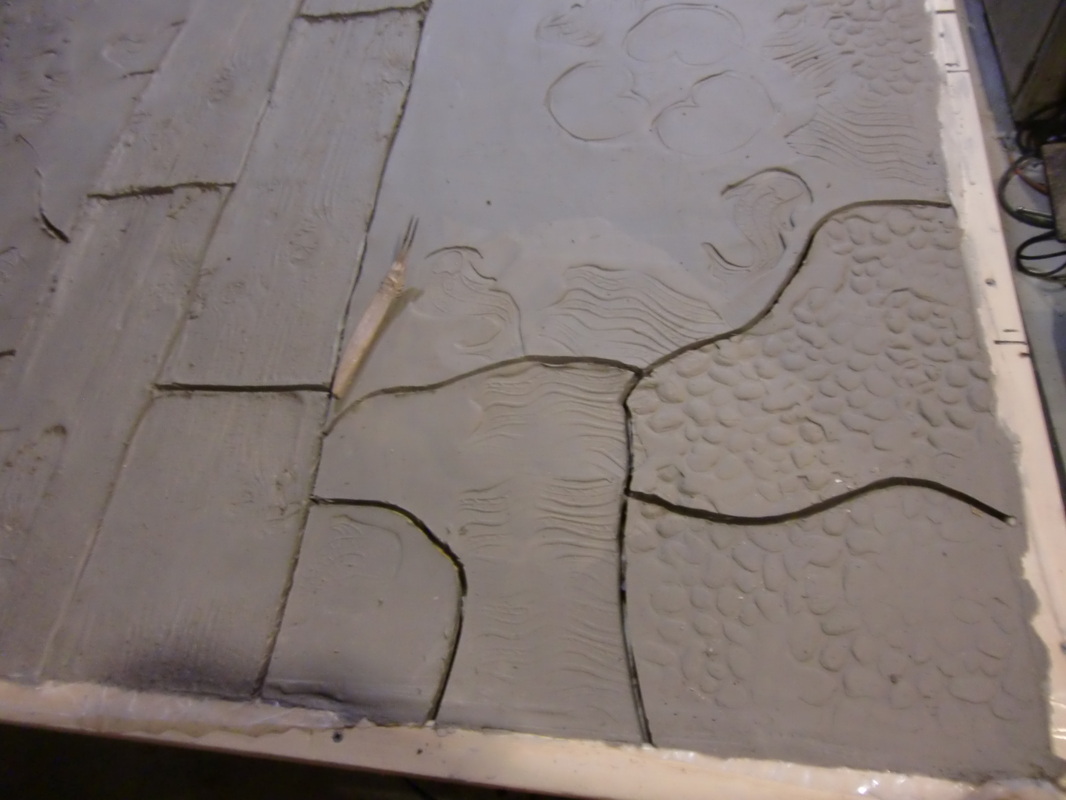
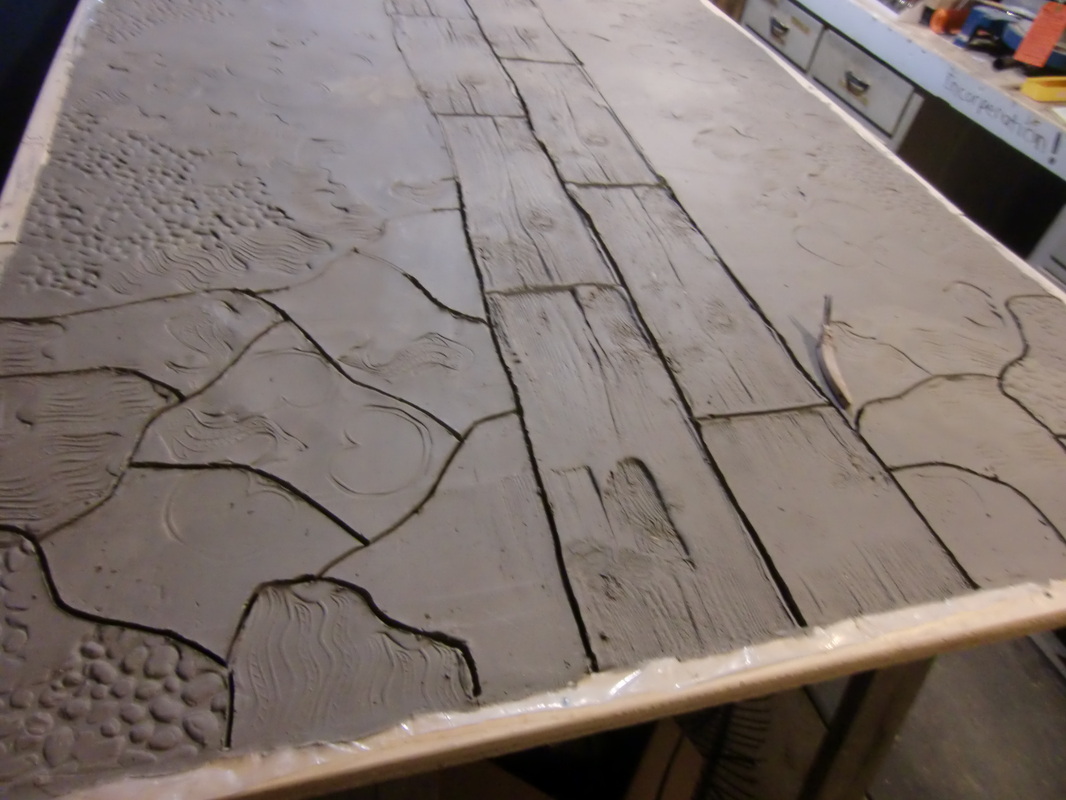
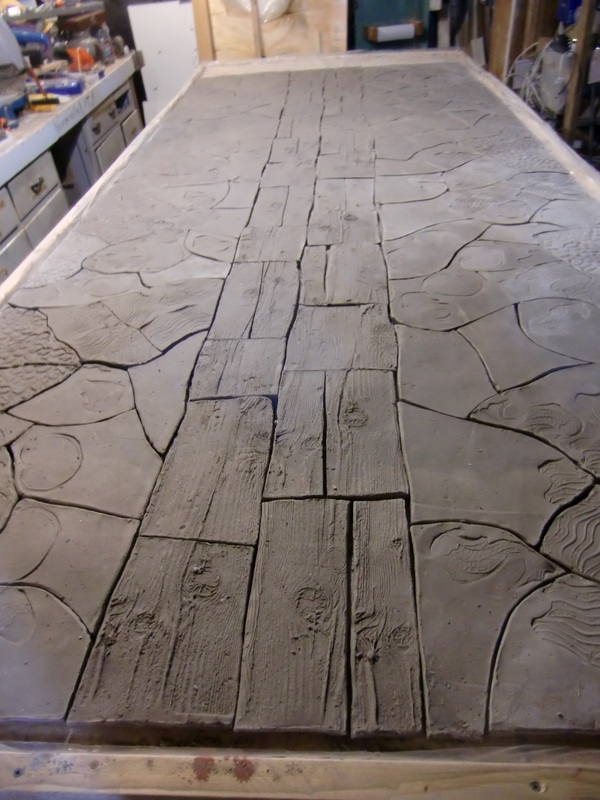
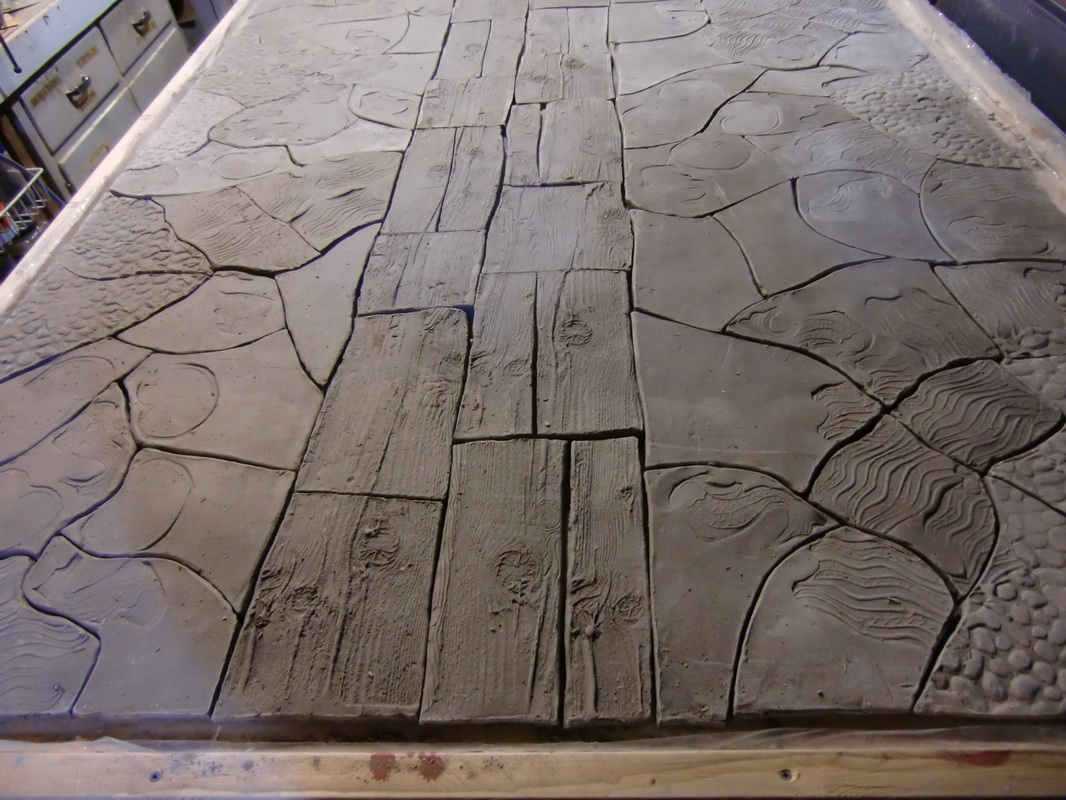
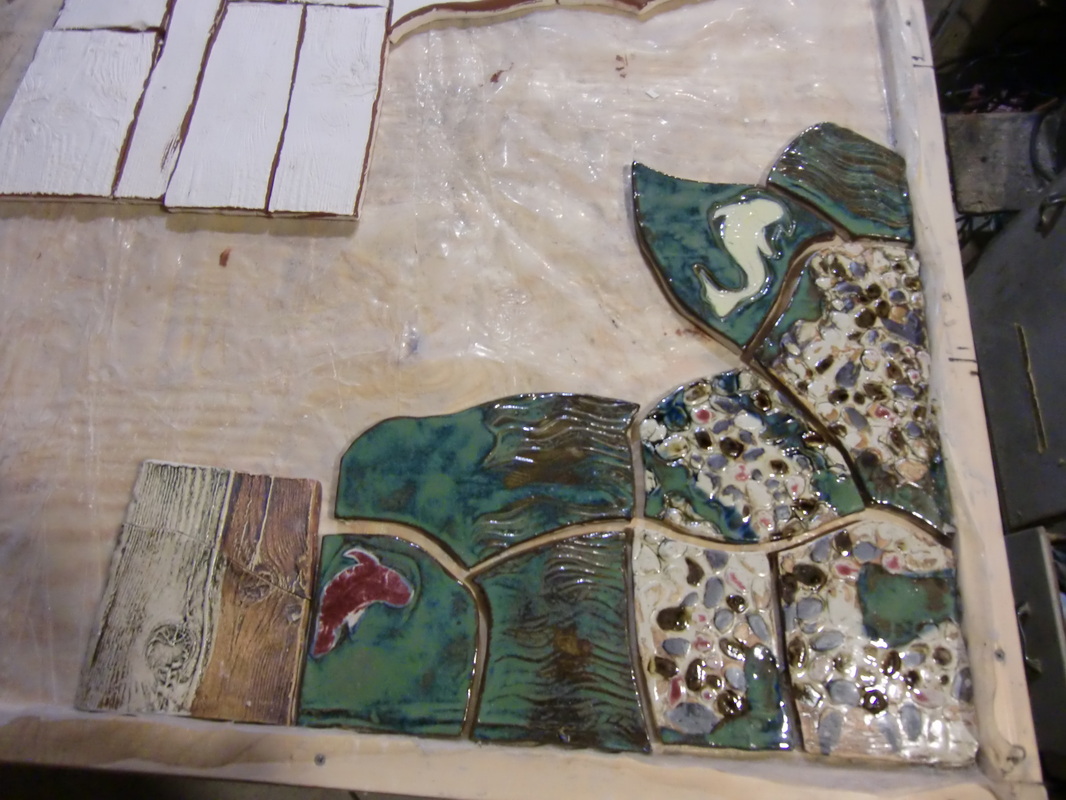
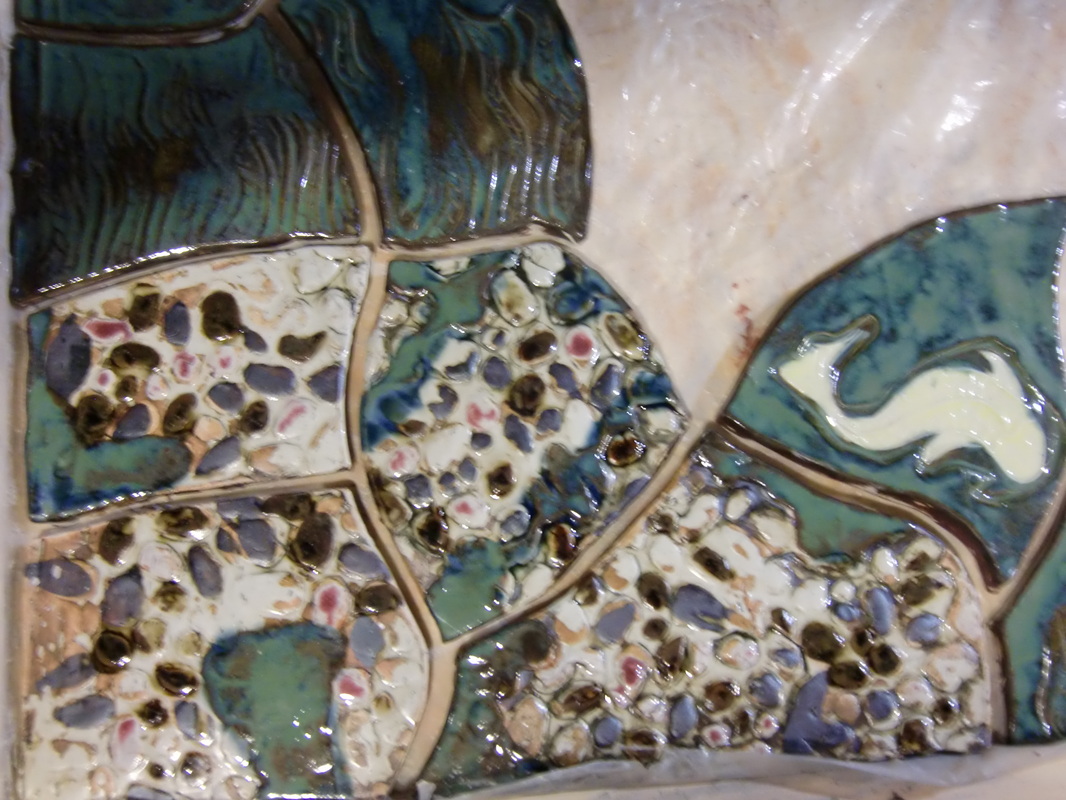
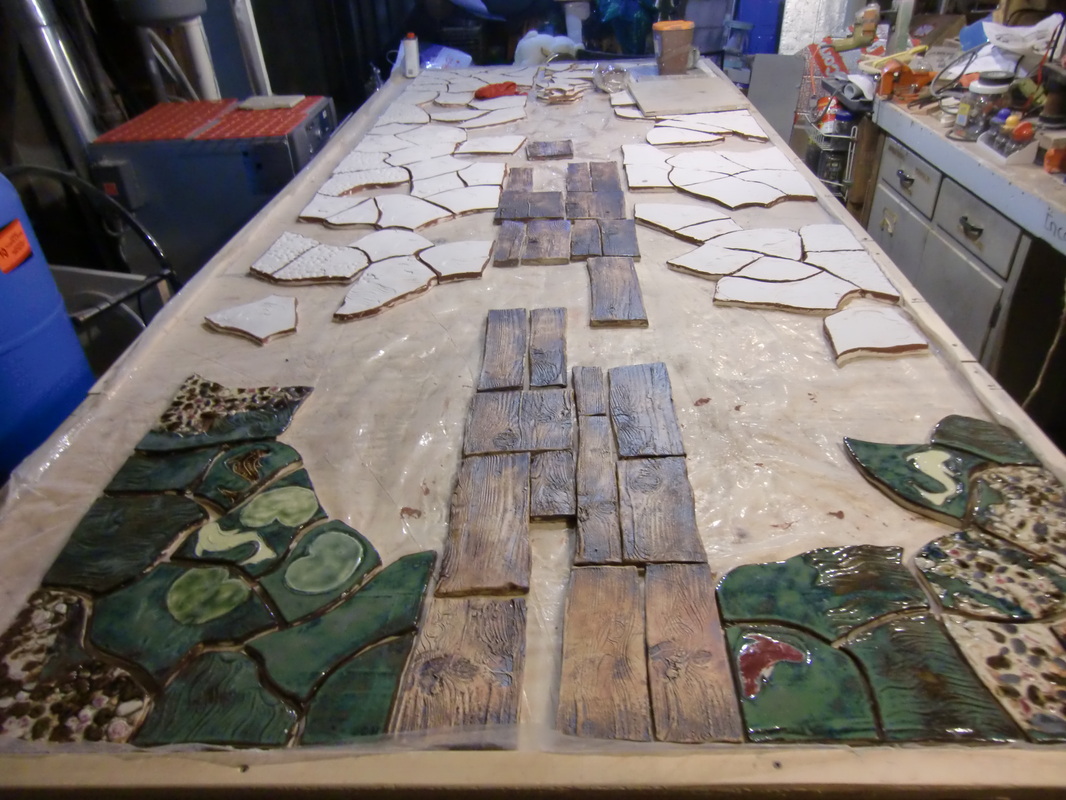
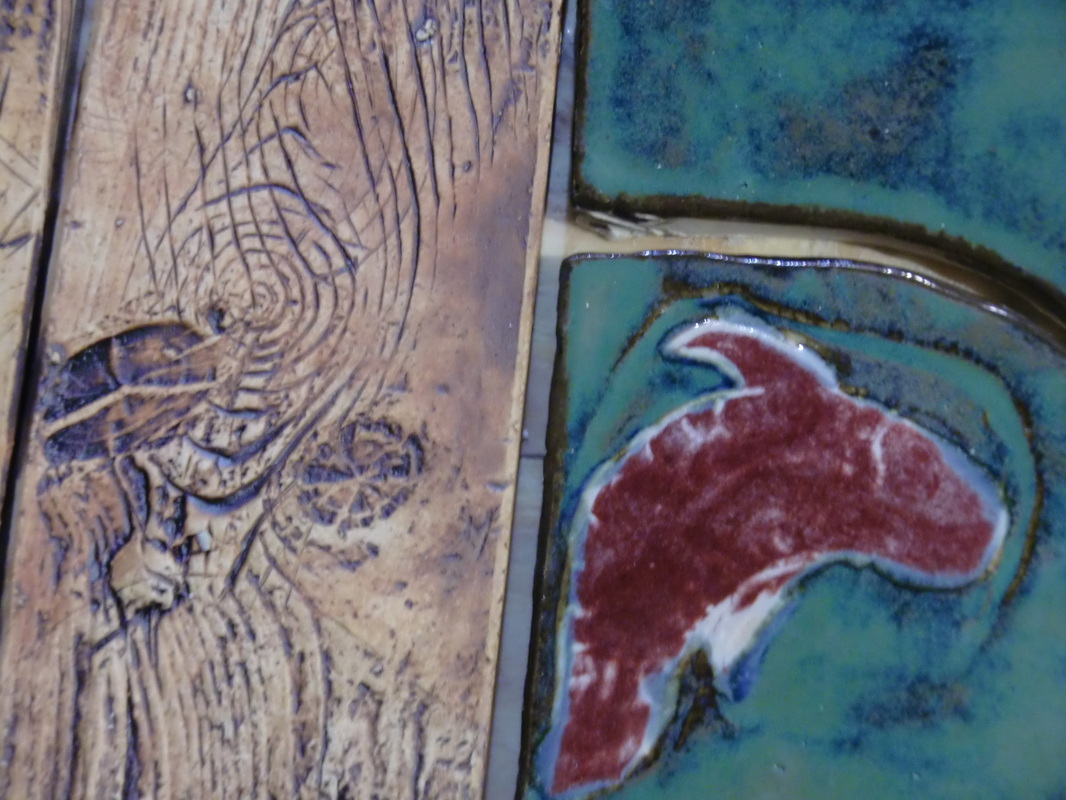
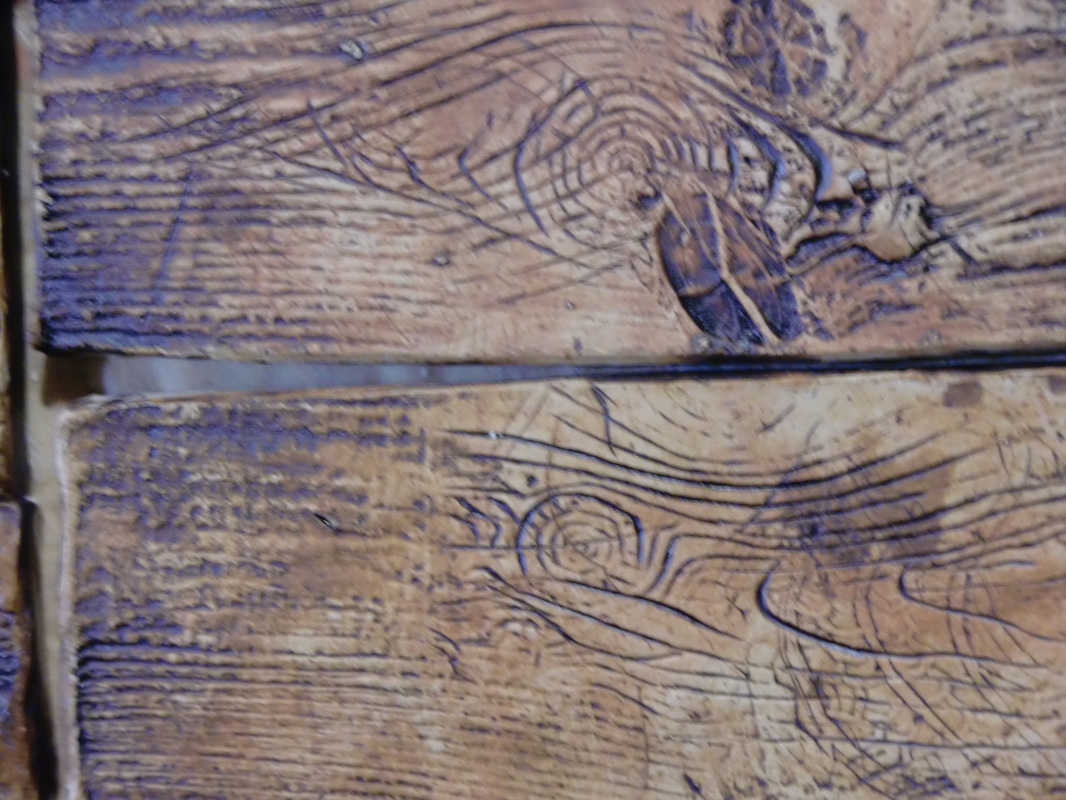
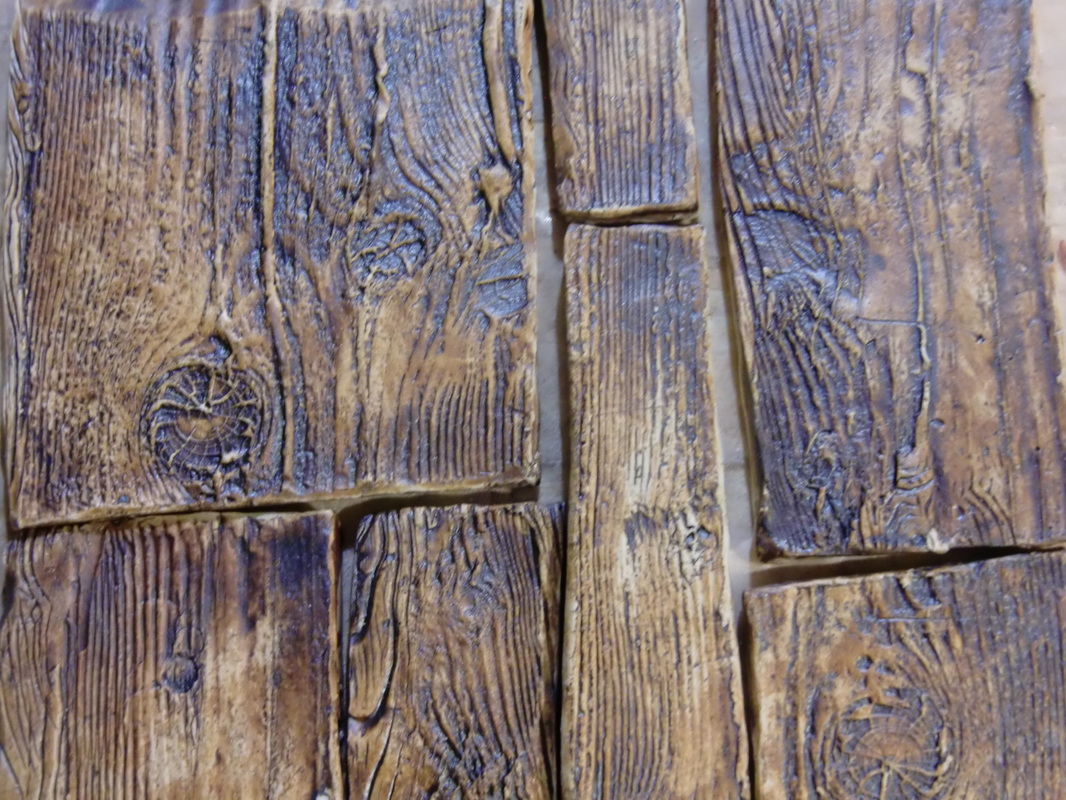
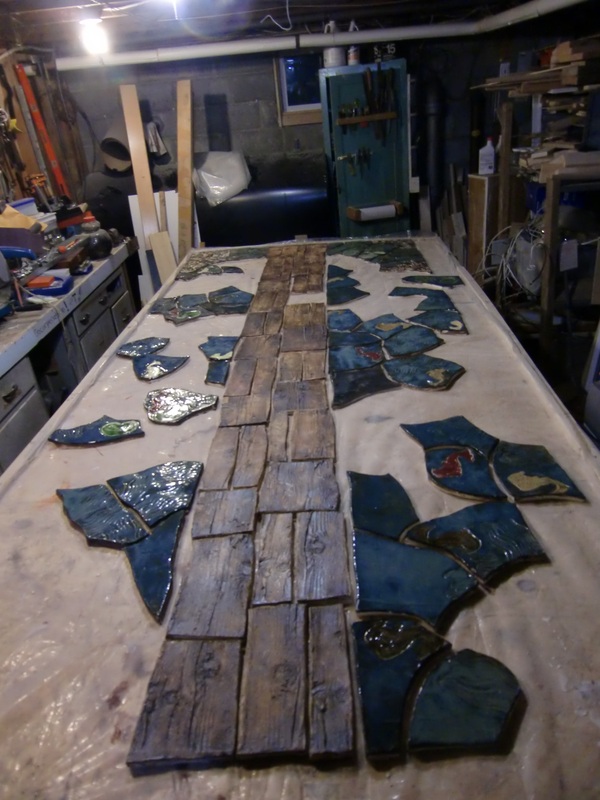
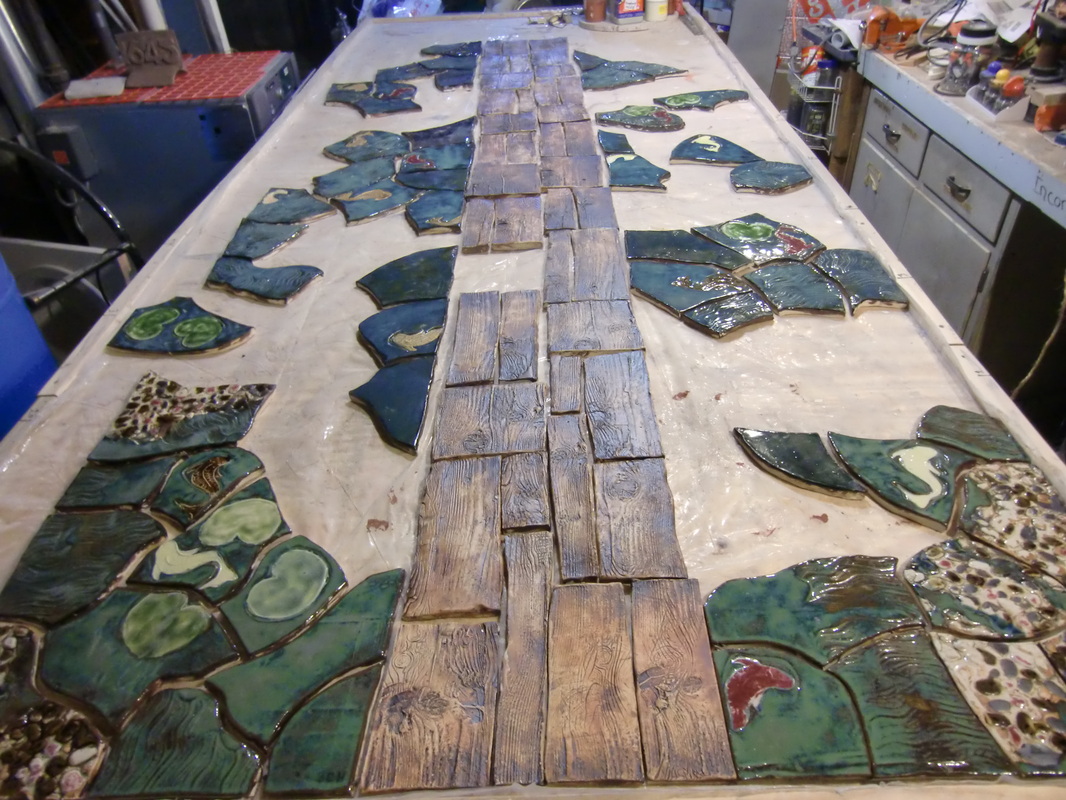
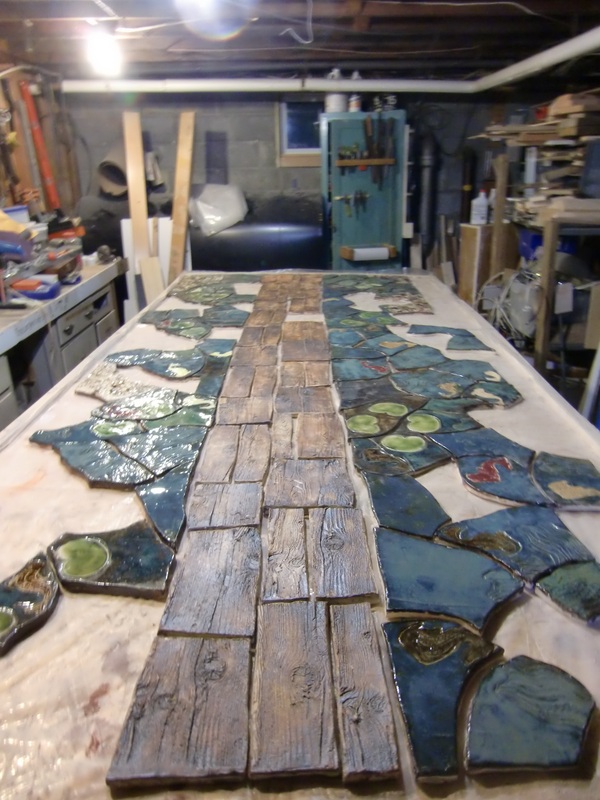
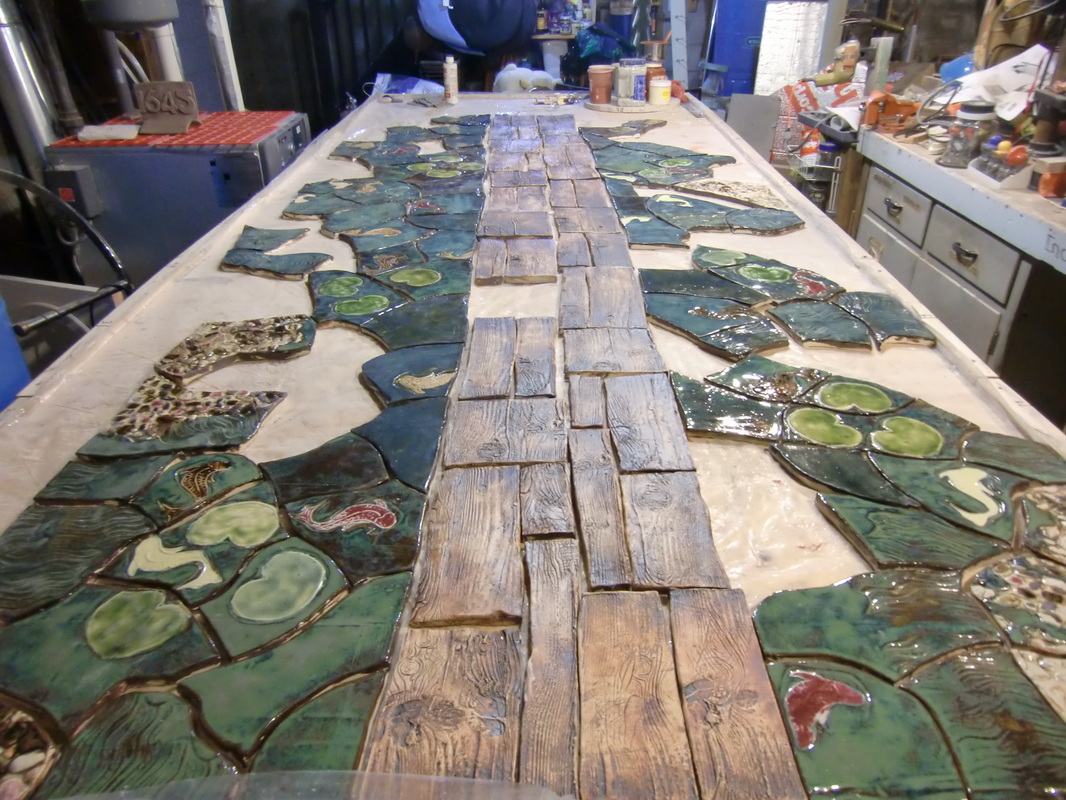
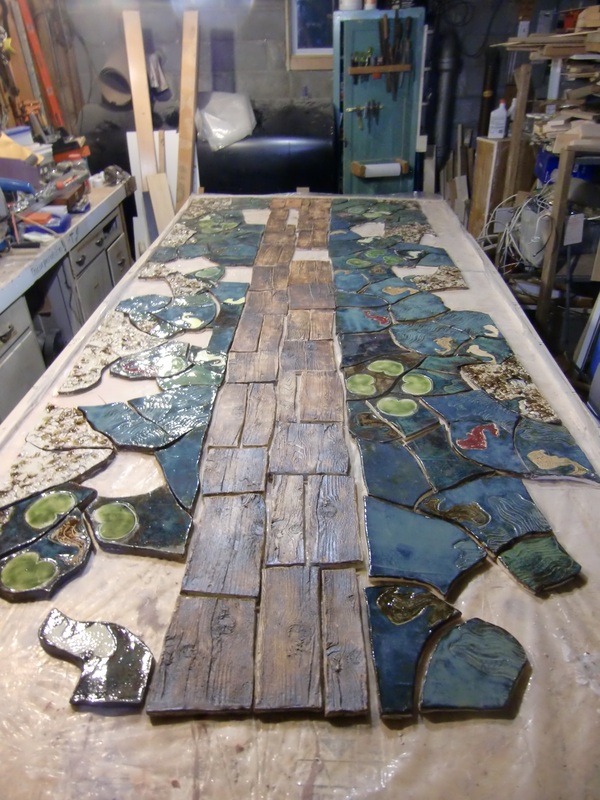
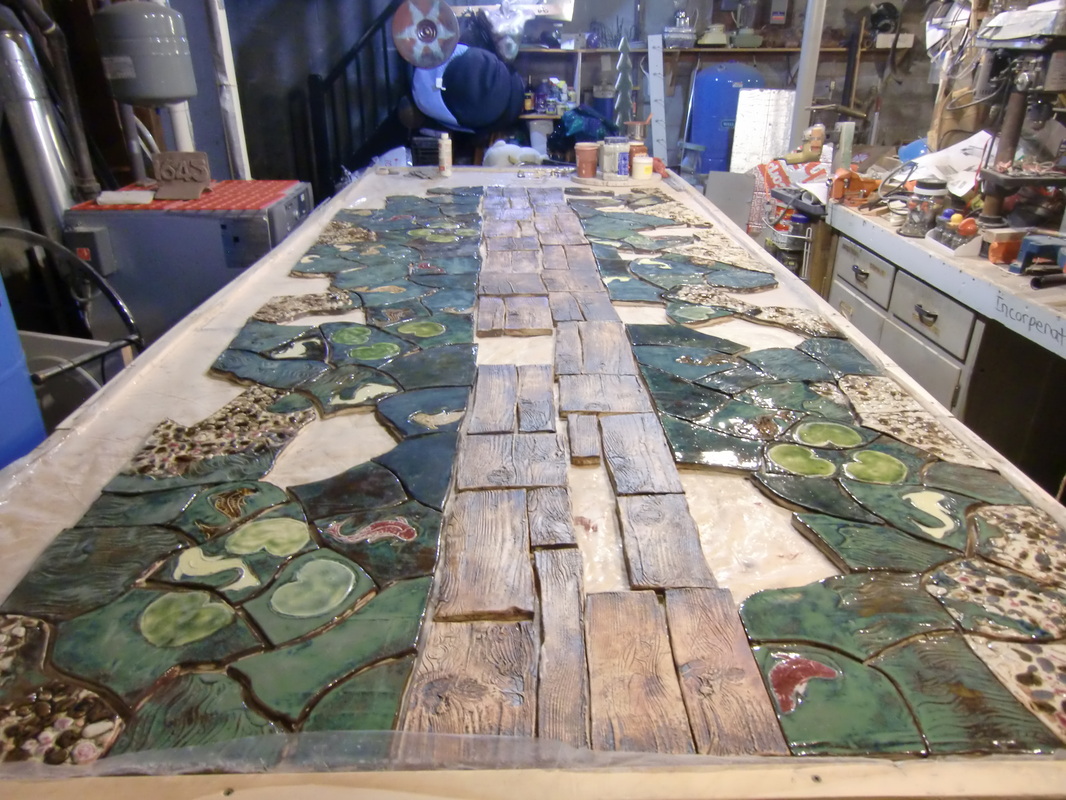
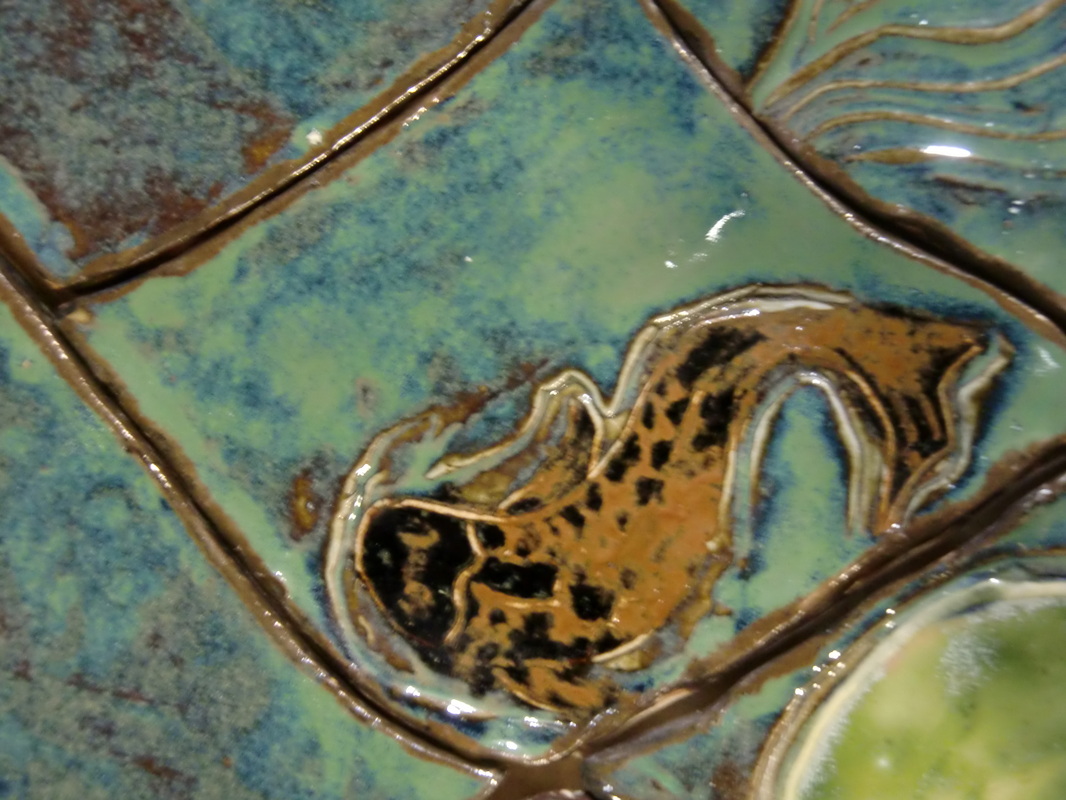
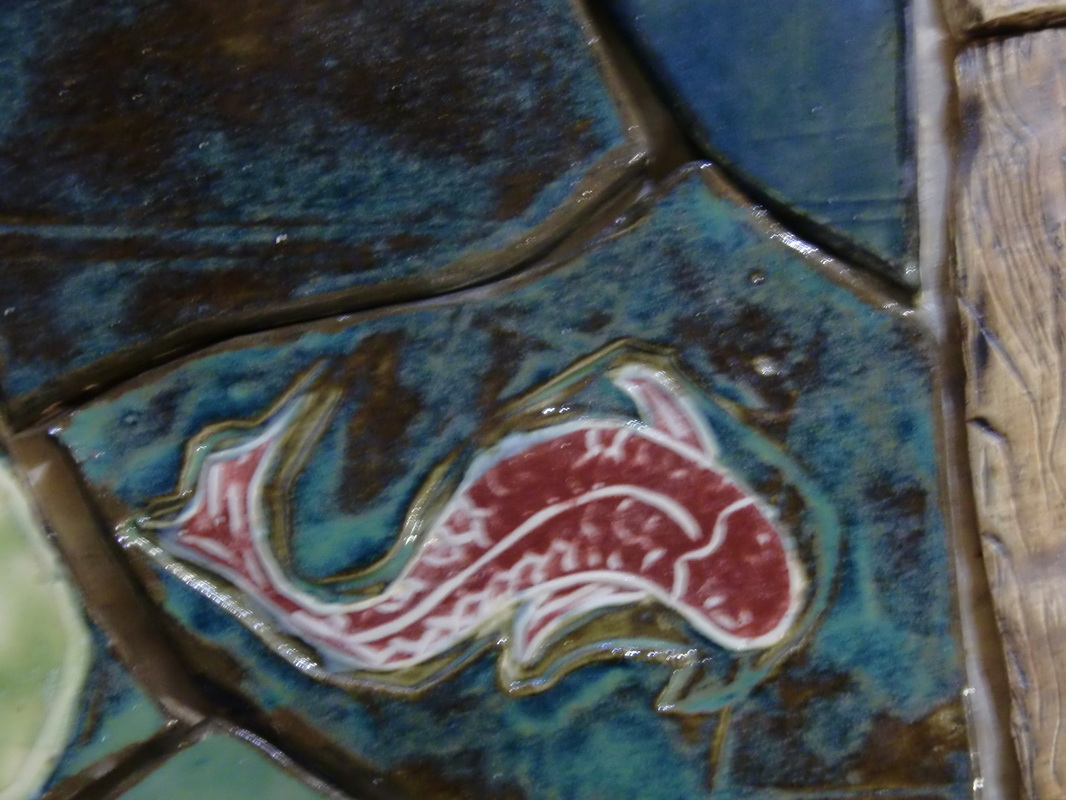
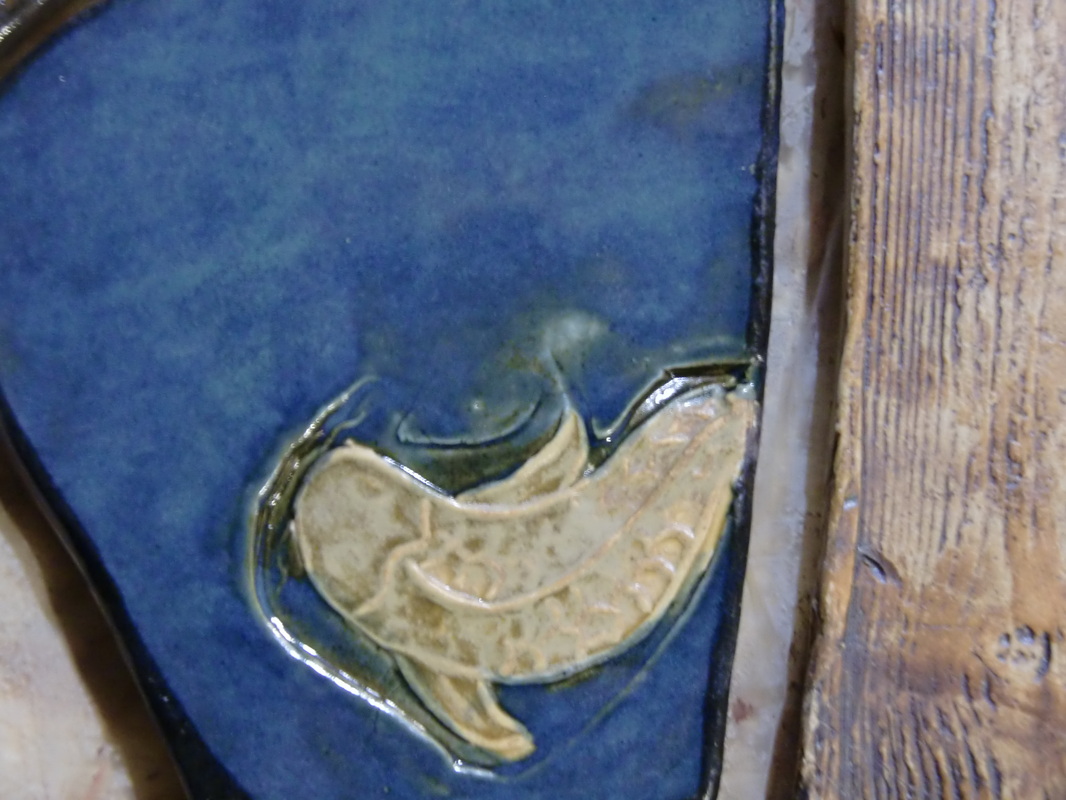
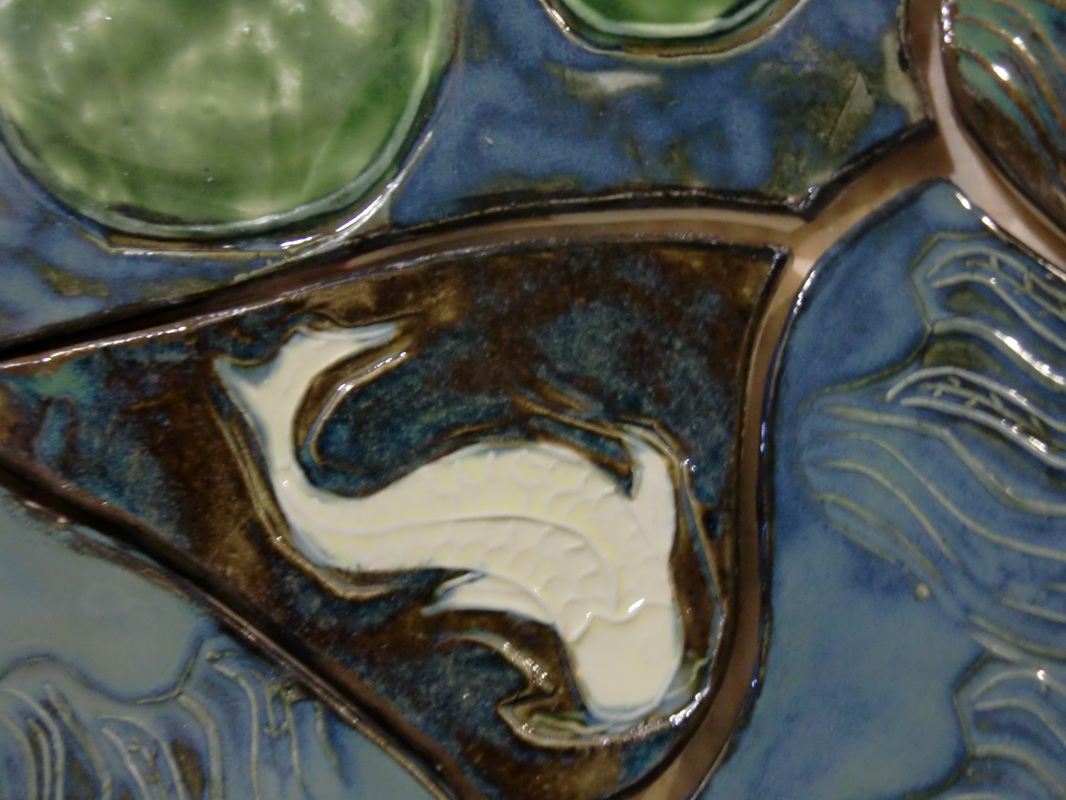
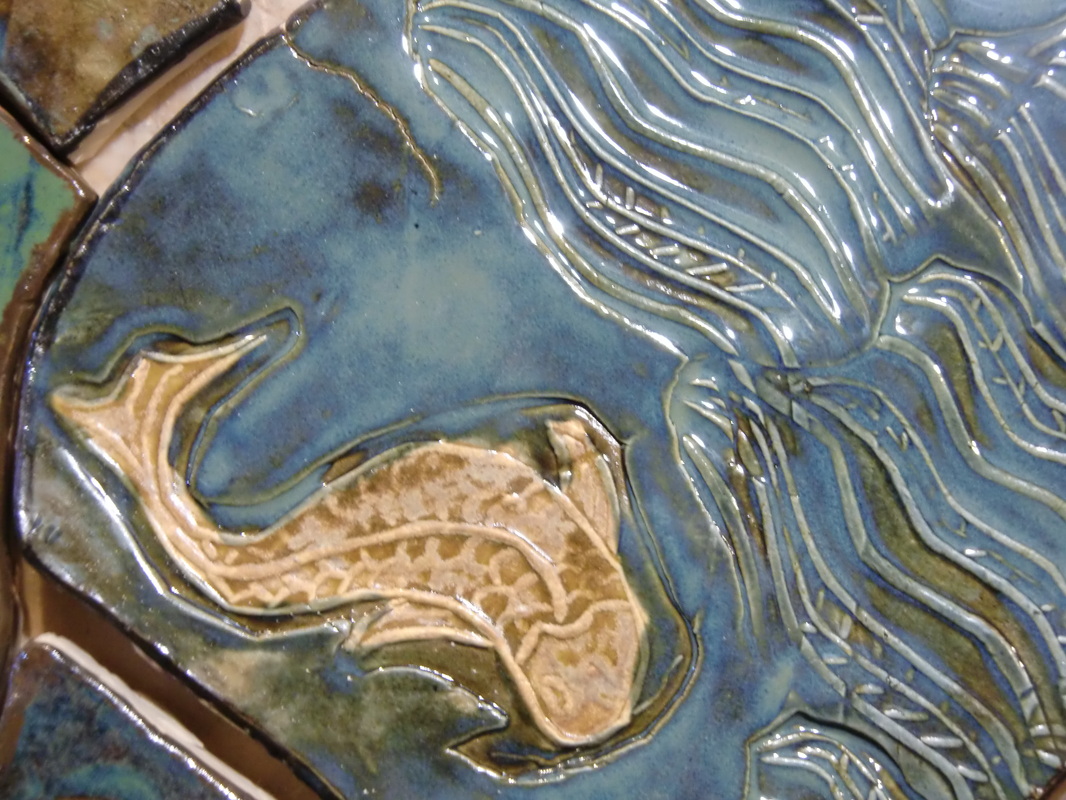
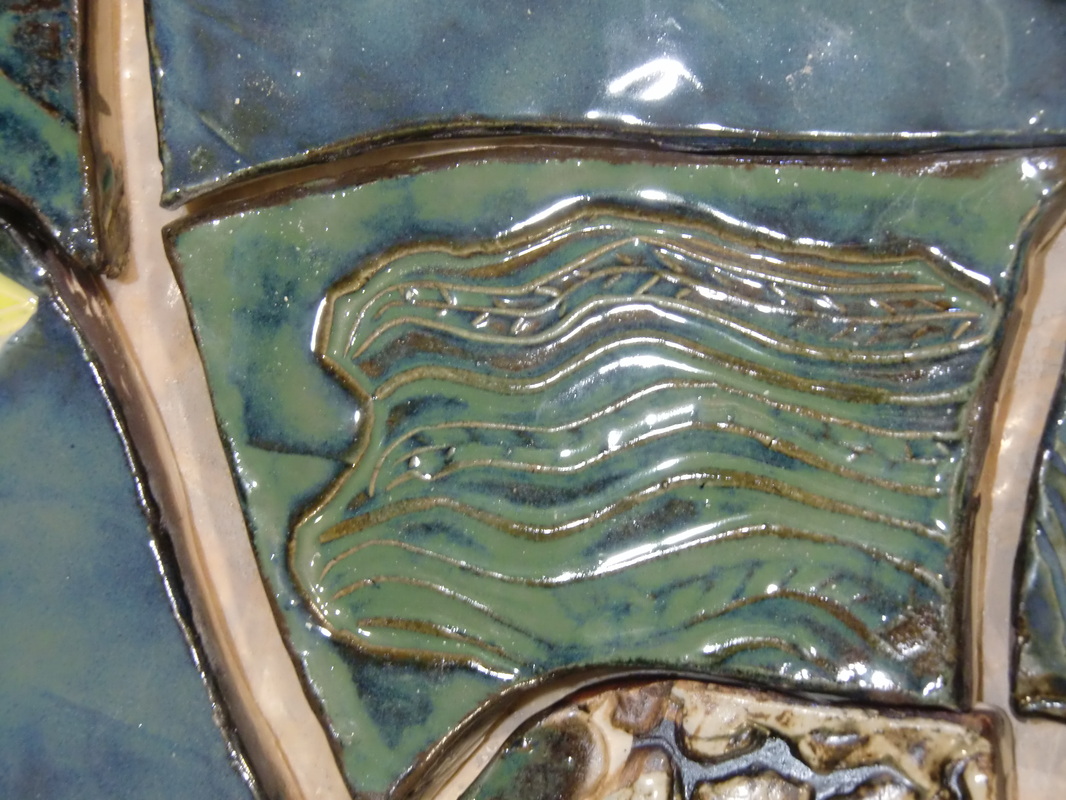
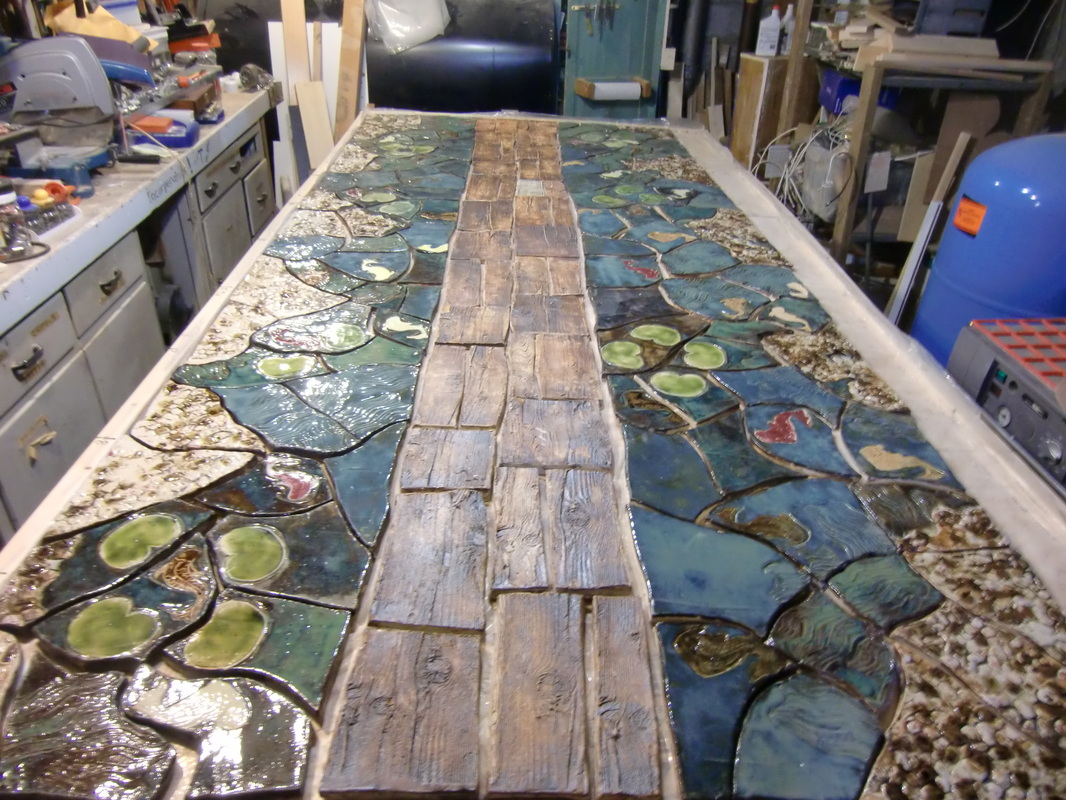
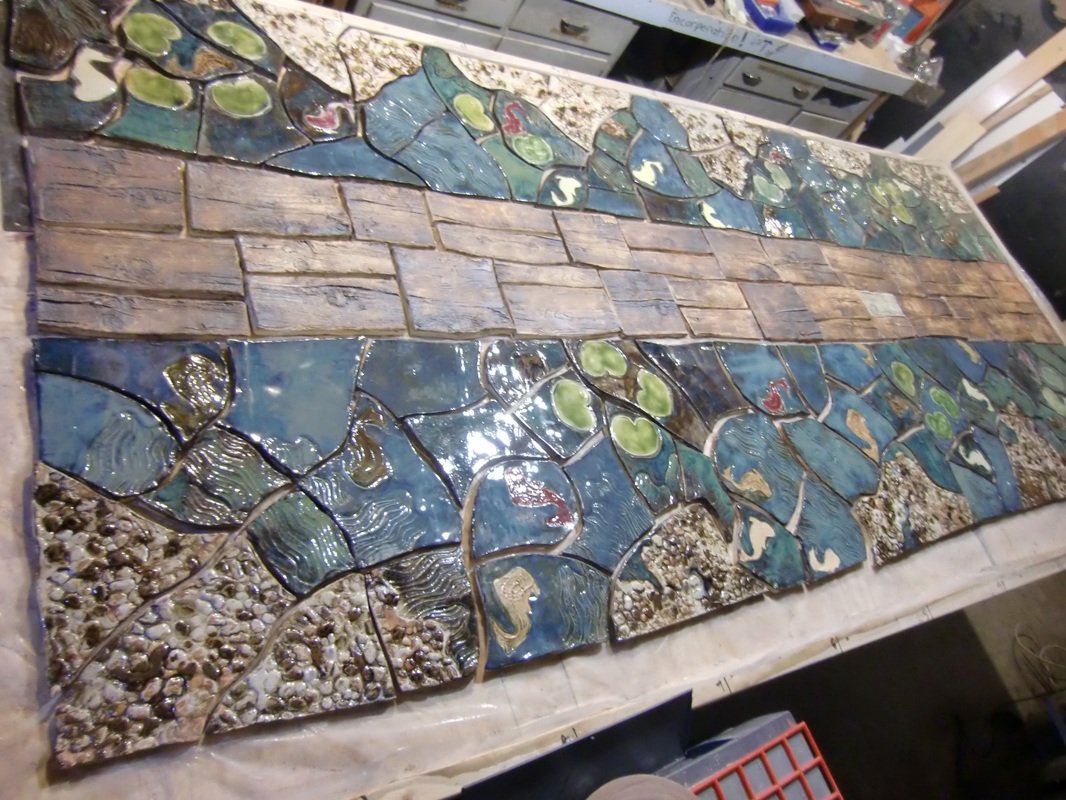
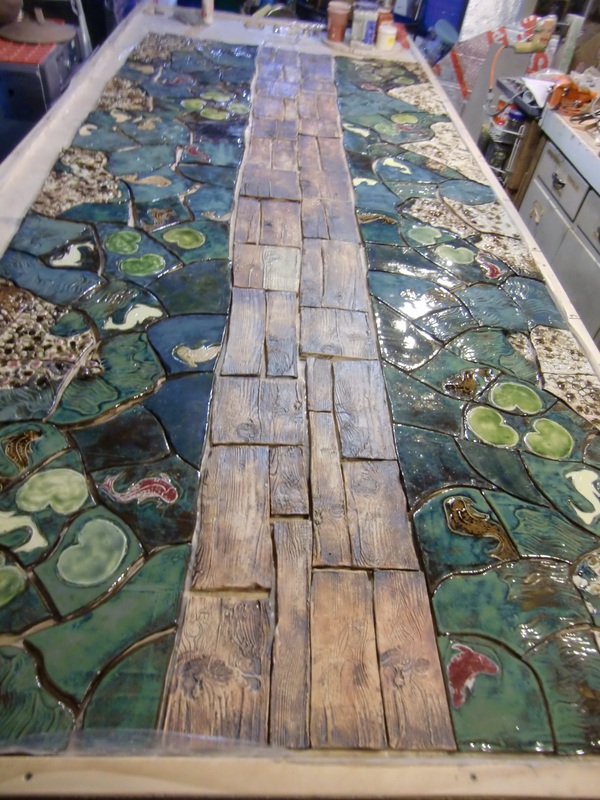
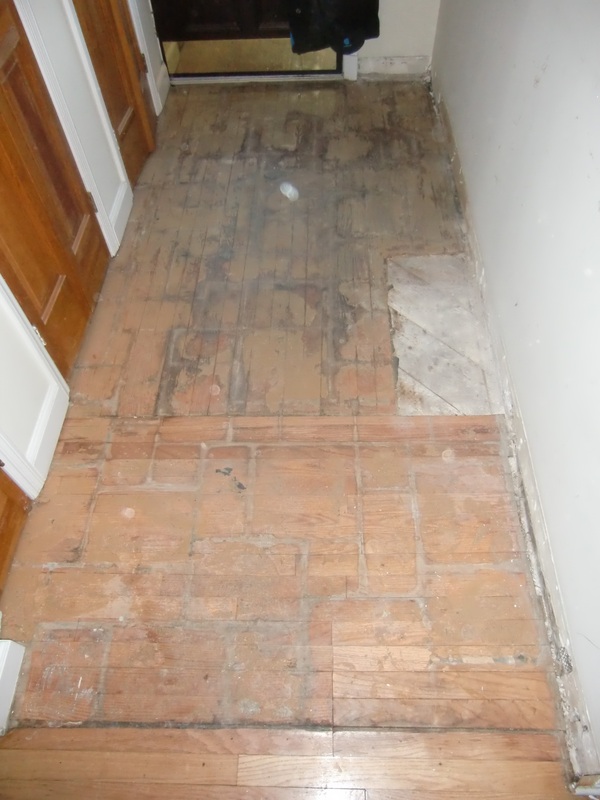
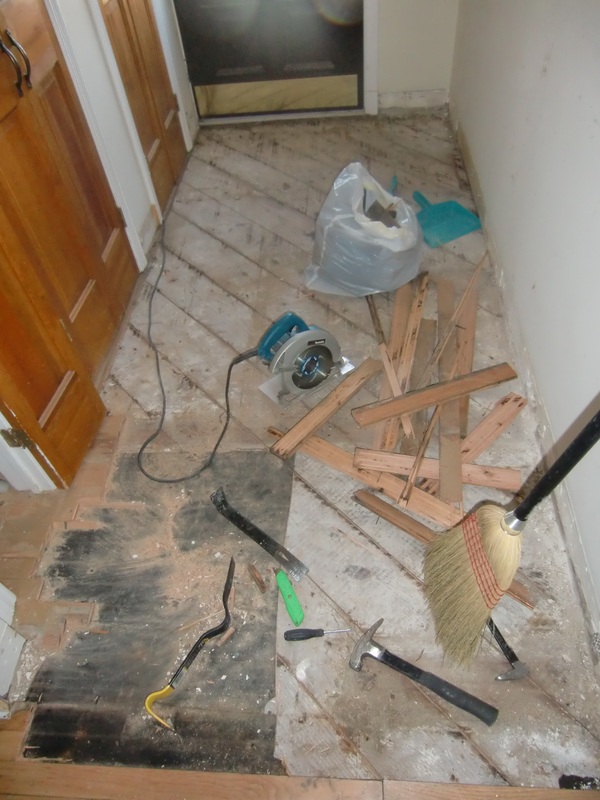
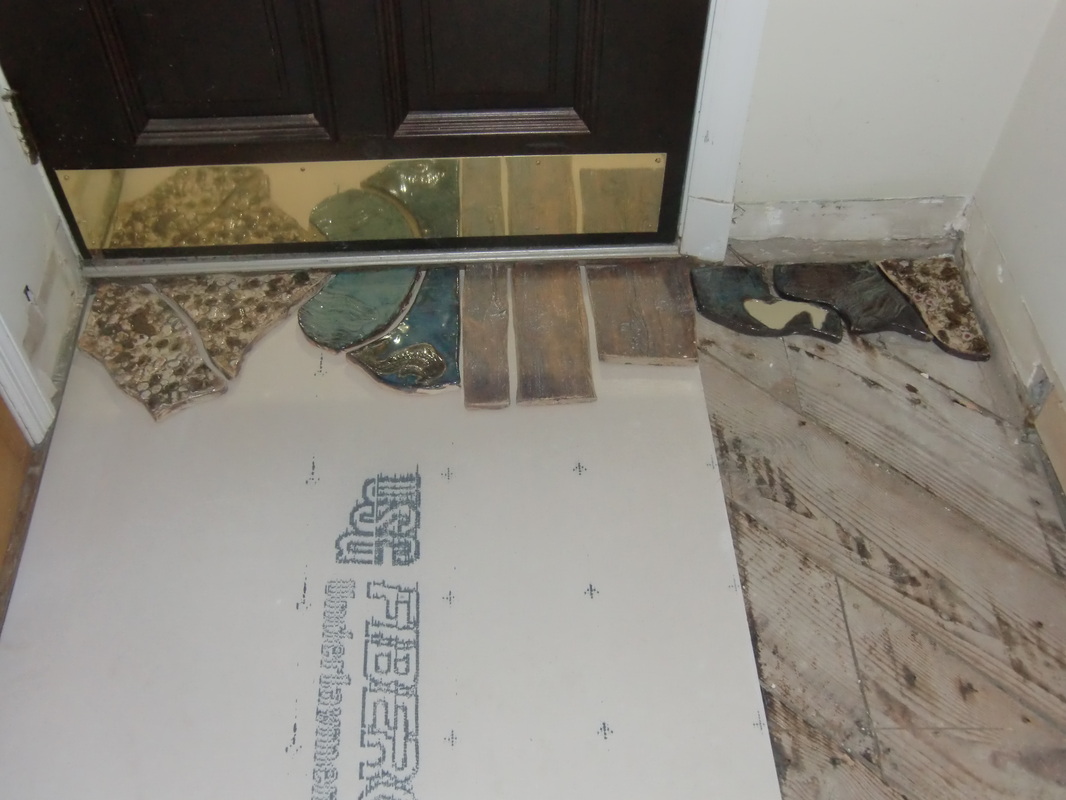
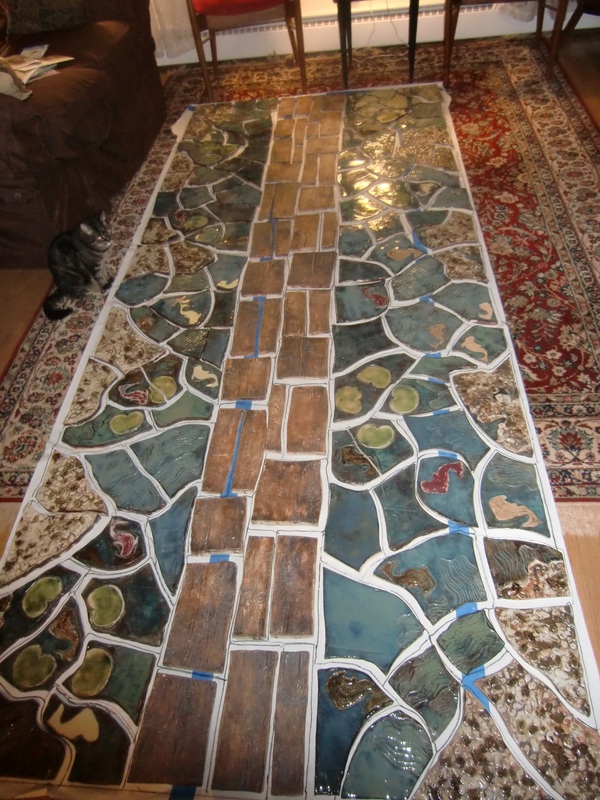
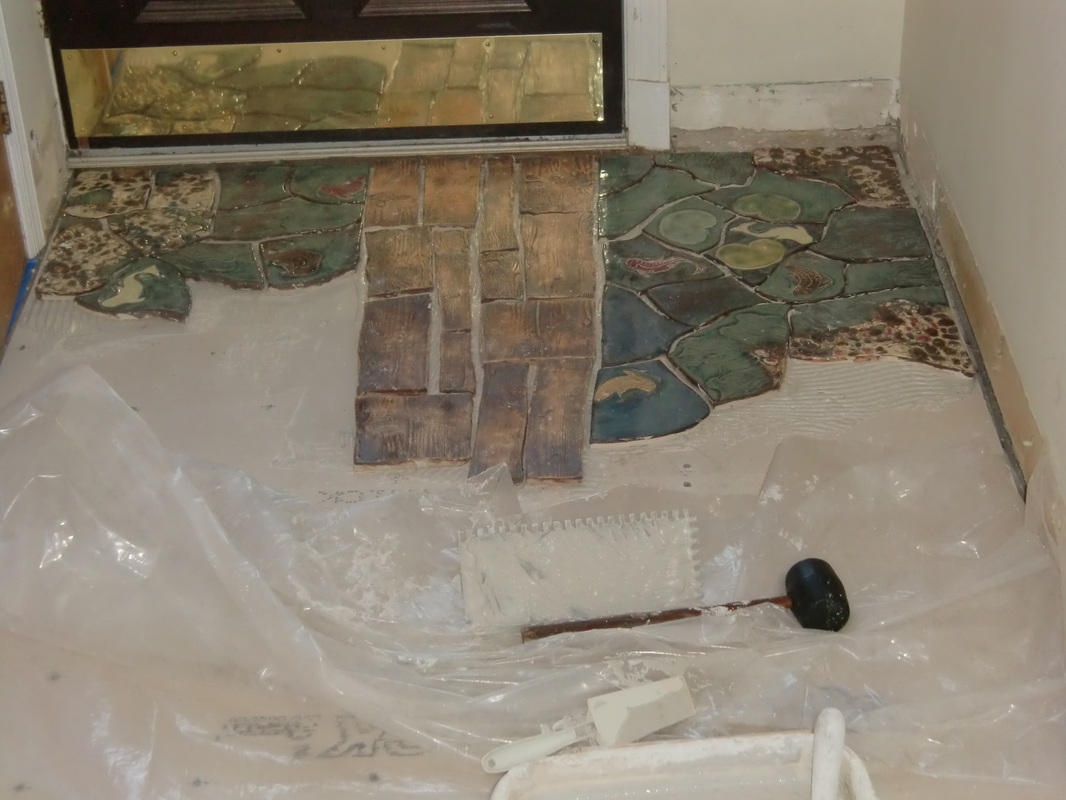
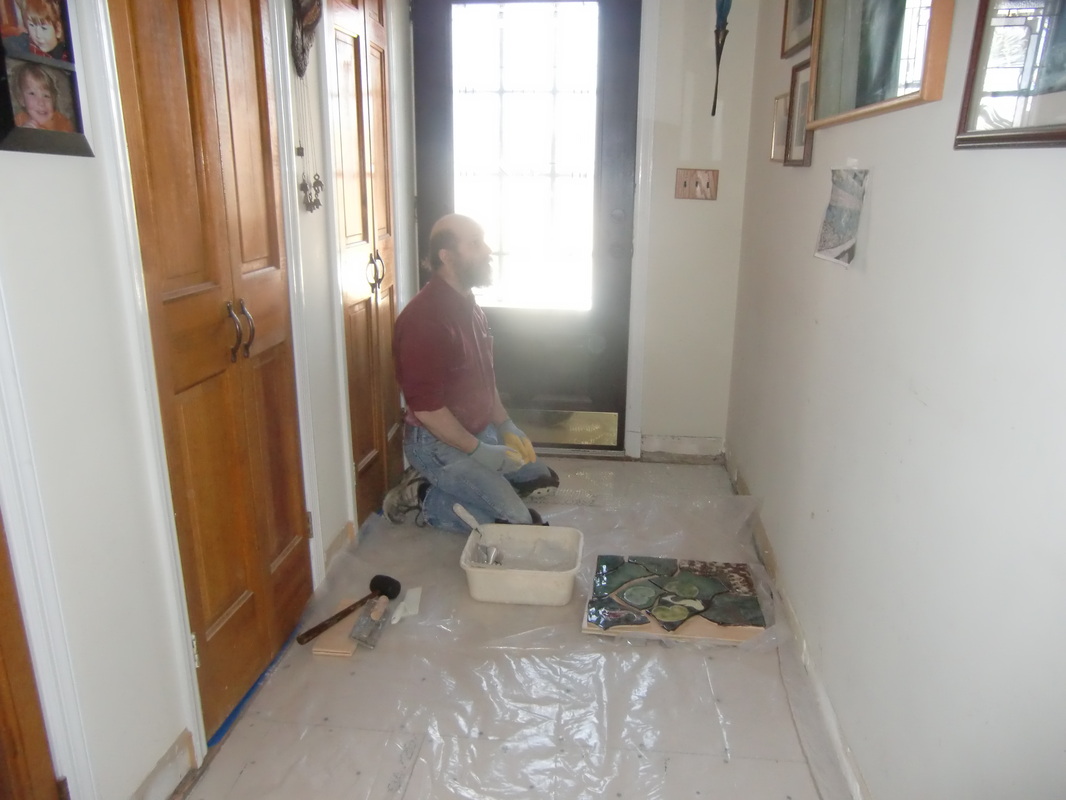
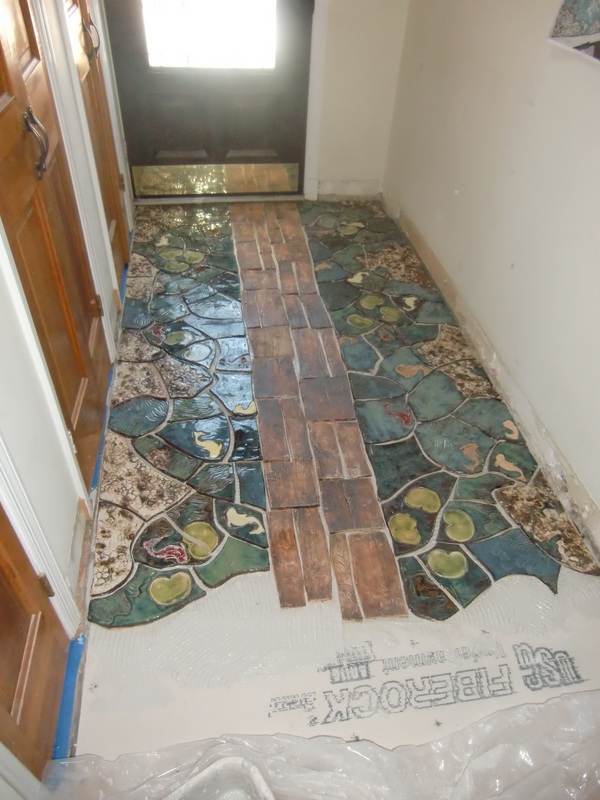
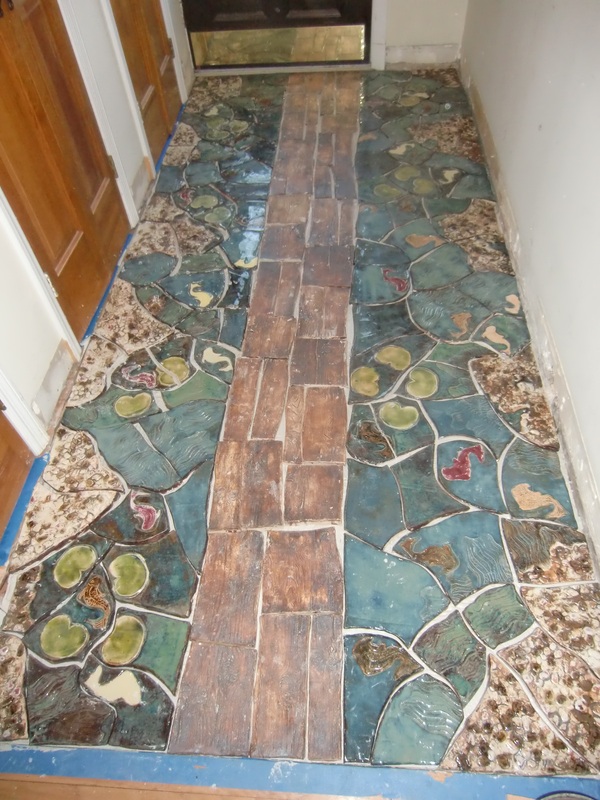
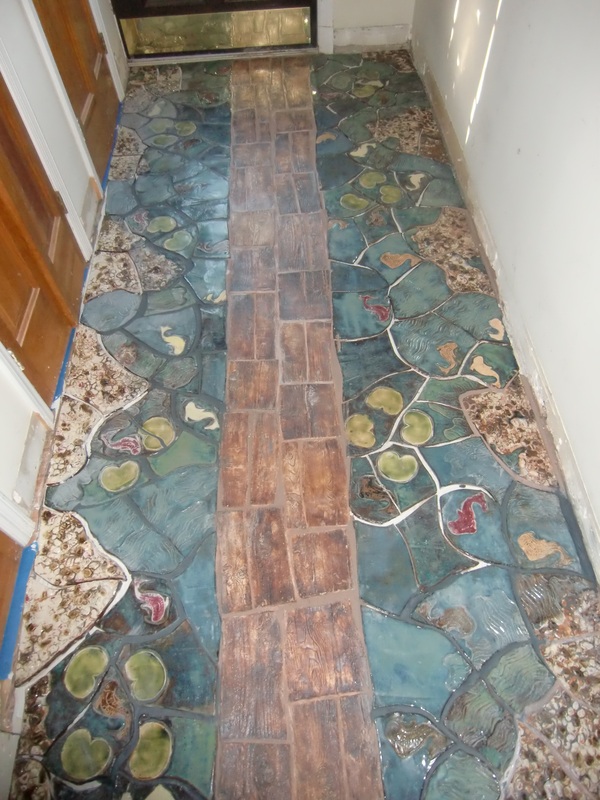
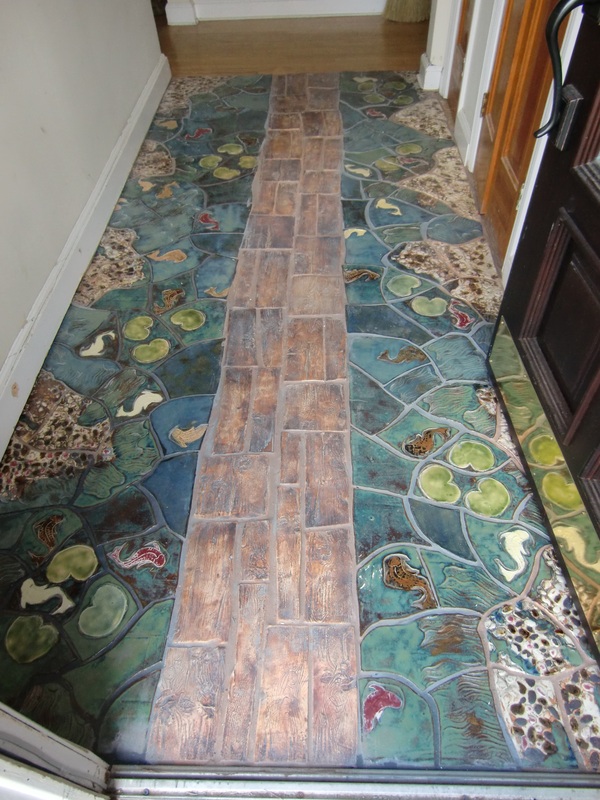
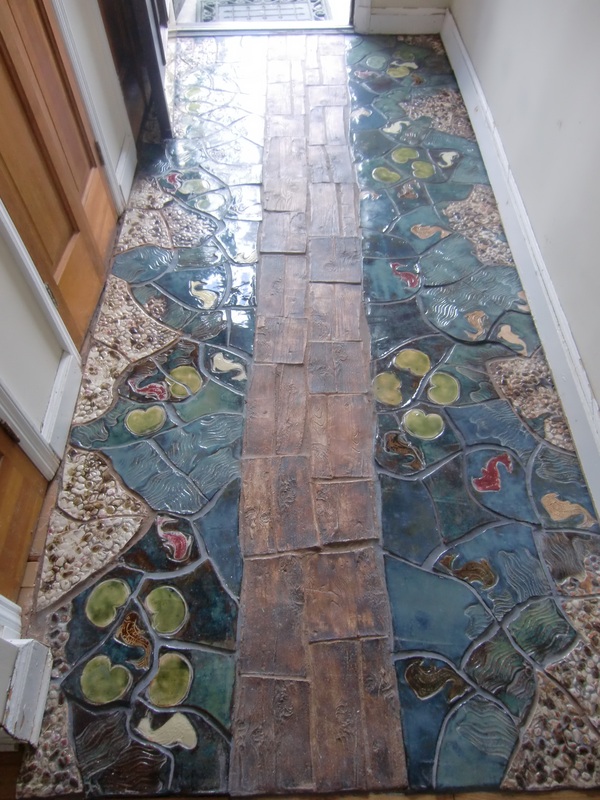
Winter 2011 Project: Tile floor for foyer
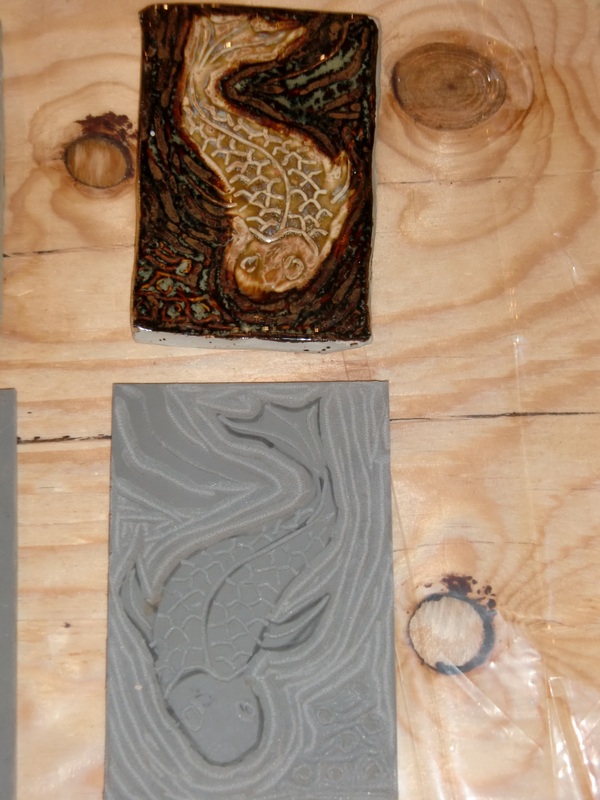
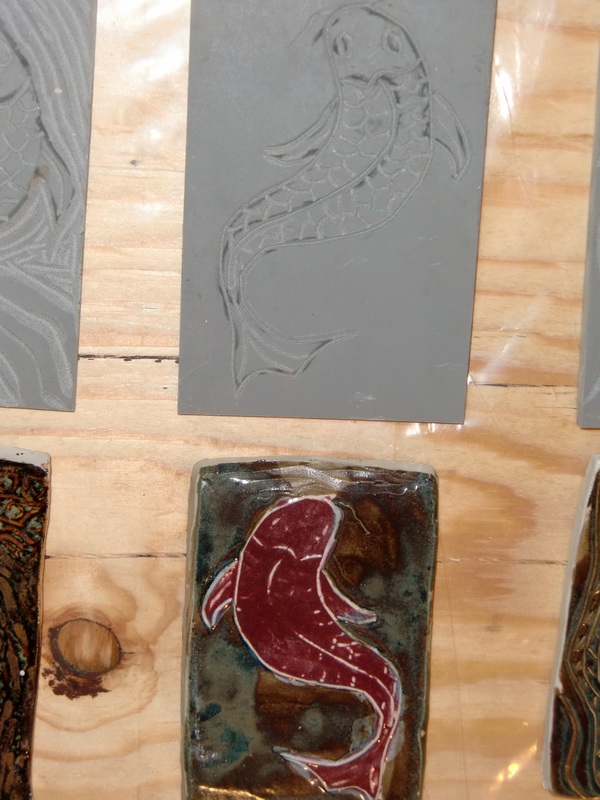
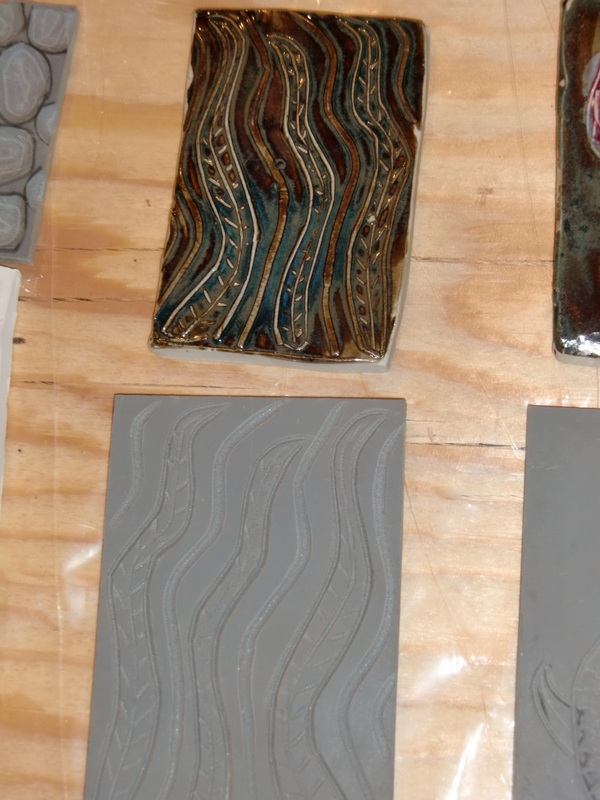
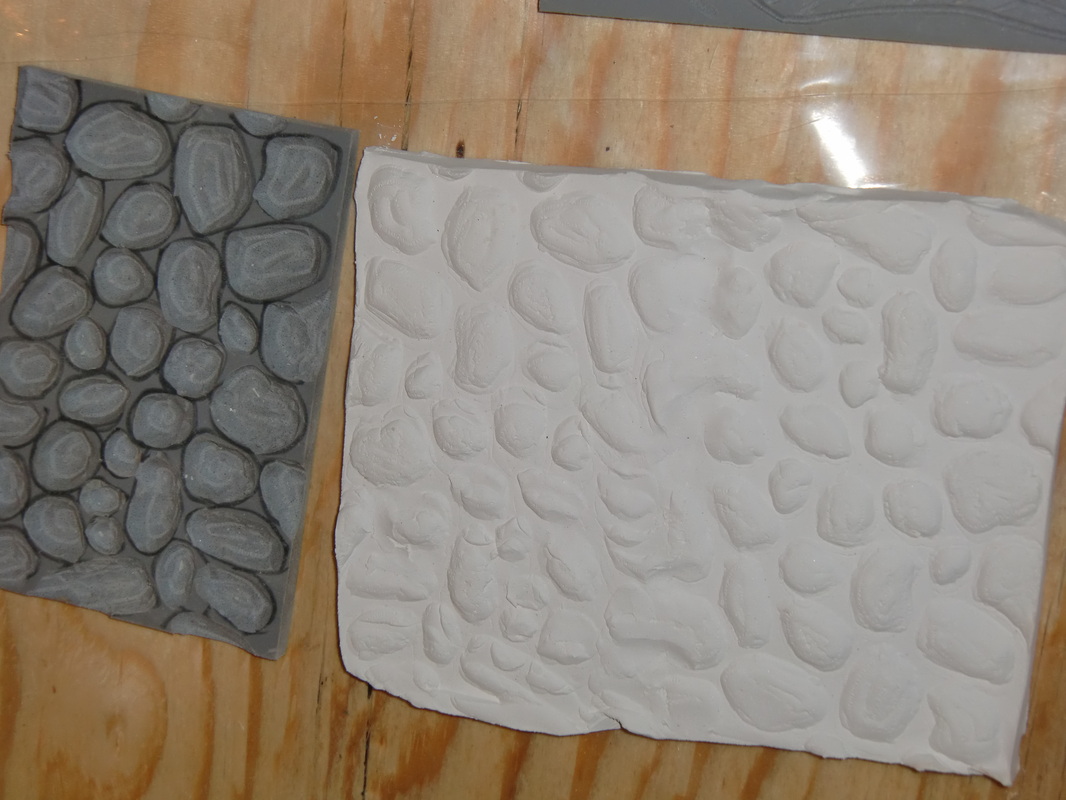
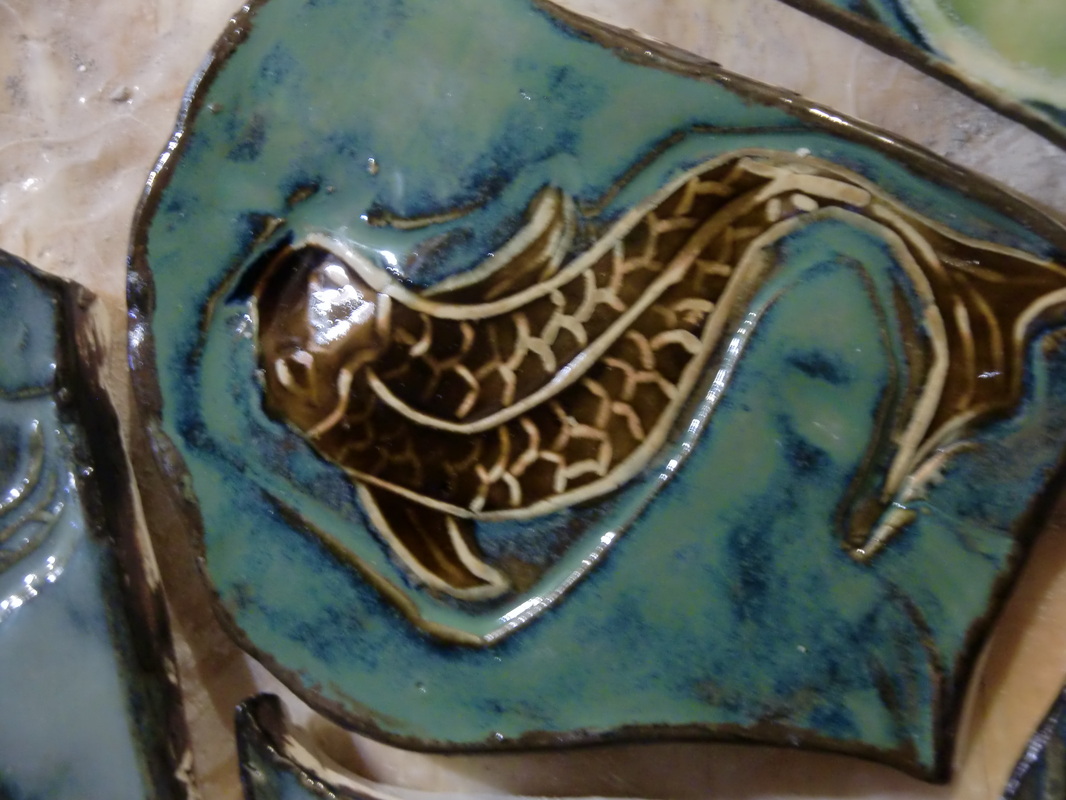
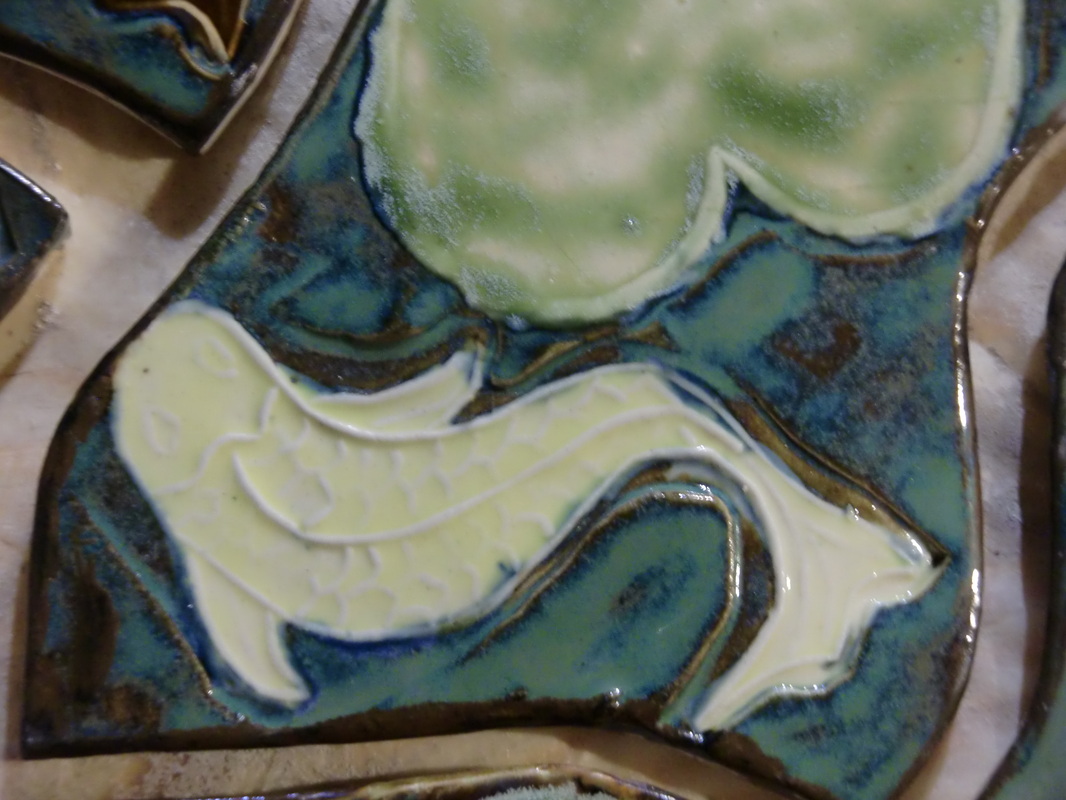
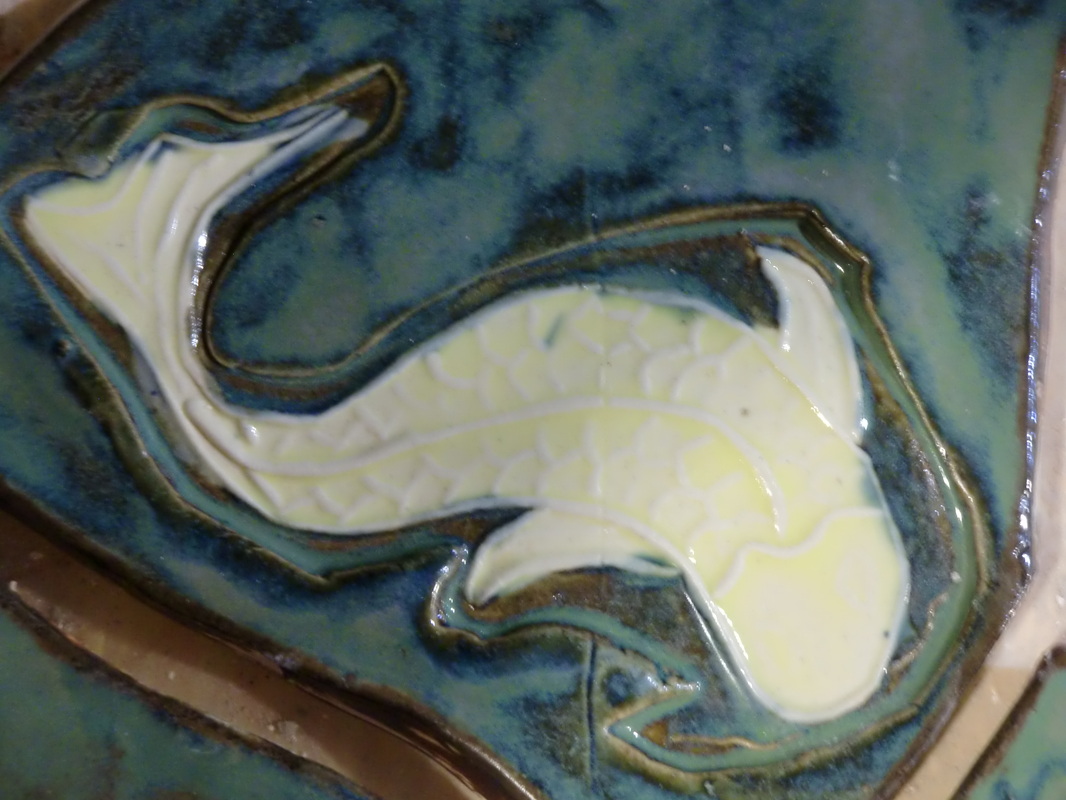
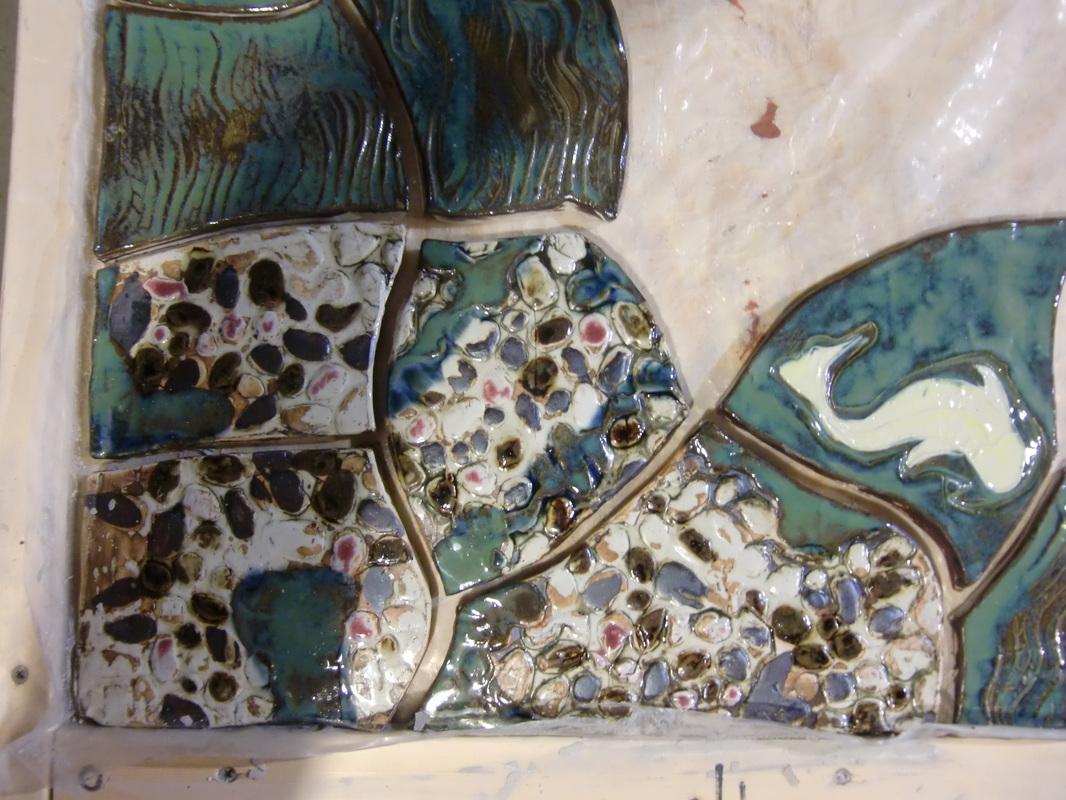
I built a new floor for our foyer, using a tile-making process taught by my mentor, Olin Russum (see page describing my major influences). I've posted photos at each stage as the project progressed. Beginning on New Years weekend I built a 12x5 worktable out of 3/4-inch plywood mounted on saw horses. I then screwed 3/4-inch high furring strips around the edges to contain the clay and enable me to screed the surface for an even slab. Next I stapled a sheet of 8-ml plastic on the surface to keep the tile from drying too quickly. I covered the work surface with a roll of paper trimmed to fit on which I then drew my design. I barely had room for the table in my basement workshop, as I had to make the slab 12% larger than the final floor to allow for shrinkage. I used a technique demonstrated at Hudson River Potters by Robin Ascher to do some of the design. I bought soft linoleum and with gouges, carved out designs for fish, lily pads, water plants, and pebbles. These are then pressed into the soft clay slab surface so where the linoleum was removed, the clay is raised. I decided to make the floor look like a pond, with Koi, water lilies, etc. and have a "plank boardwalk" down the center where the main foot traffic is. It took me 3 weeks to wedge all the clay with grog, pound it out on the table with a wooden mallet and roll it flat and even with a length of PVC pipe and a rolling pin. After spreading out nearly 500 pounds of clay (ran out just before the end and had to get another load from Bailey Ceramics), I placed a driftwood plank on the soft clay and whacked it with a mallet to get the wood grain impressions. Only smashed one fingertip in the process. Once the whole floor was stamped, I used a double-bladed knife (a gift from my teacher Olin Russum to my late Mother she used to tile her bathroom) to cut up the slab into separate tiles, with the narrow clay removed between the knives to be the future grout lines. Then each tile is lifted carefully from the plastic, so I can clean the edges, score the underside (to grip the adhesive better) and whacked underneath with a wooden spoon to compress the clay and give it a slight arch. This is intended to discourage the corners from curling up when fired (still got some tiles that warped a bit). It took 3 hours to do 45 tiles, and that's only 1/3 of the floor. I also numbered each tile on the back and placed it at leather hard stage on a large sheet of paper the size of the floor to trace the shape. Each tile outline on the paper got the same number as the tile so I have a guide when it is time to assemble the jigsaw puzzle floor in the foyer. If any of the tiles break, warp, or the glaze is unsatisfactory, I can make a replacement by tracing the shape from the paper template. When Russum used this technique to make HUGE building murals, up to 60 feet in size, he drew his designs on tracing paper sheets first, then with a dull pencil went over the tile edge lines to mark a guide on the soft clay slab. He then cut each tile with the double-bladed knife and reshaped them with relief and texture while doing the other steps just described. After six weeks of work, the first glazed tiles are out of the kiln, and I am satisfied with the results. Now I have about 14 more firings before the tiles will be complete, and the floor carpentry & tile setting can begin. The second glaze firing was entirely boardwalk tiles, and only half of them fit into the kiln. These are simply red iron oxide brushed onto the bisque and then sponge-wiped off to highlight the grain. On Feb. 28, 2011, and after 2 months and hundreds of hours of labor (fifteen kiln loads). I tore up the old oak floor and then screwed down tile backer board. On March 26, I set the tiles. By April I had set the grout and replaced the baseboard molding on the surrounding walls. I set brown grout between the brown "wood plank" tiles and cerulean blue grout between the water tiles. The grout is finally finished, and so is the floor - April 3, 2011. Yeah!


My newest work:


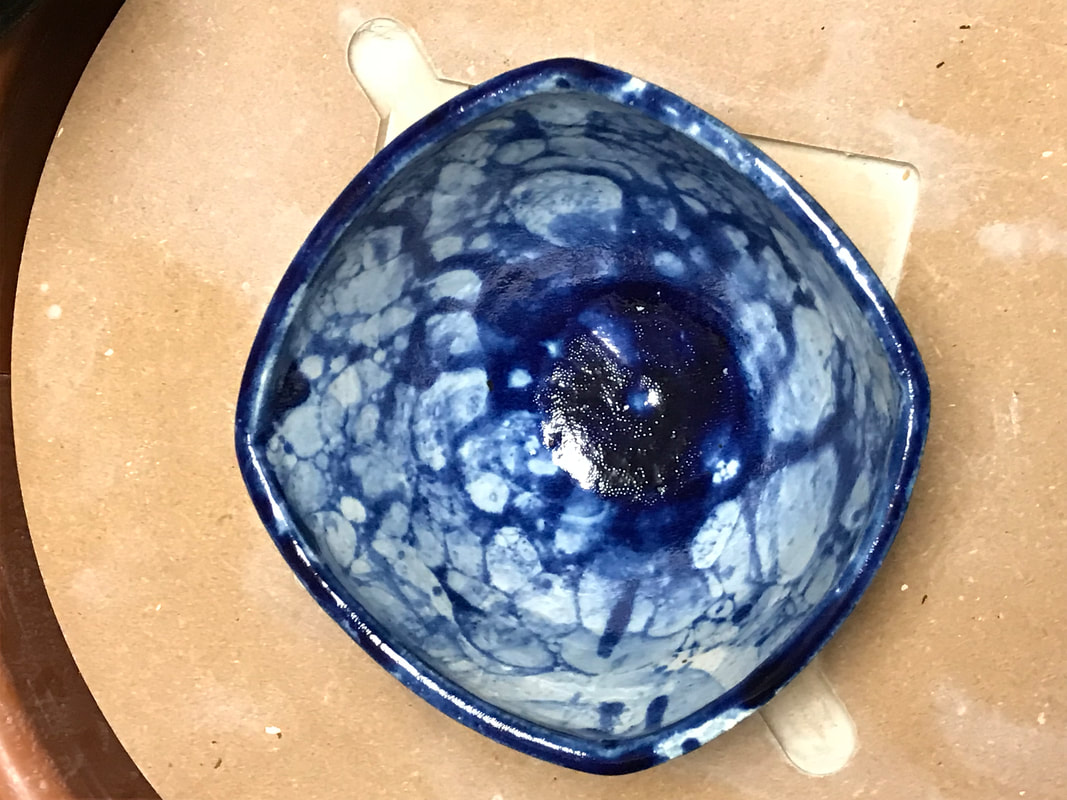
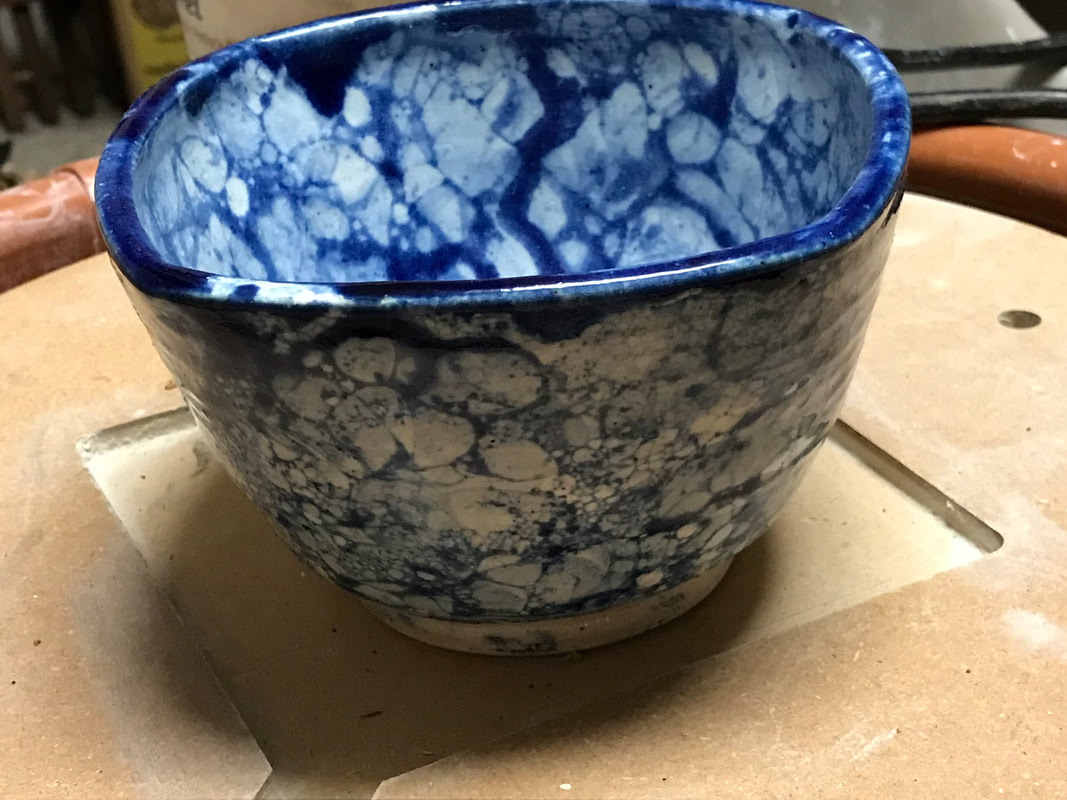
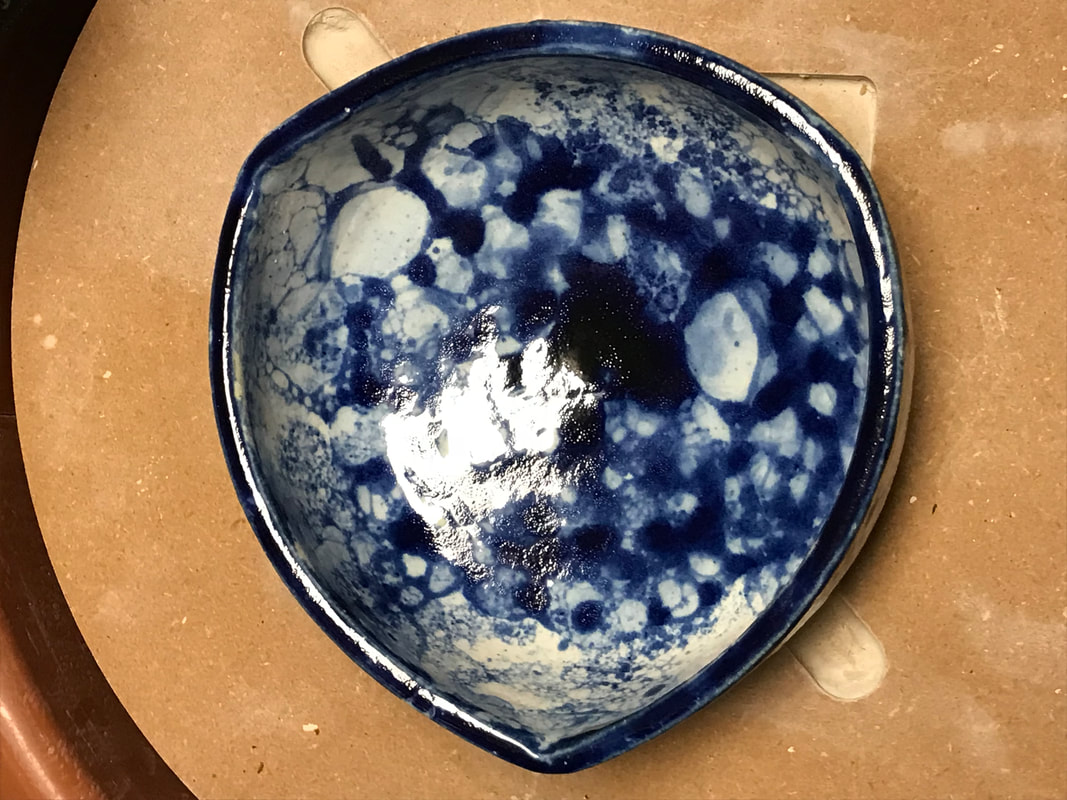
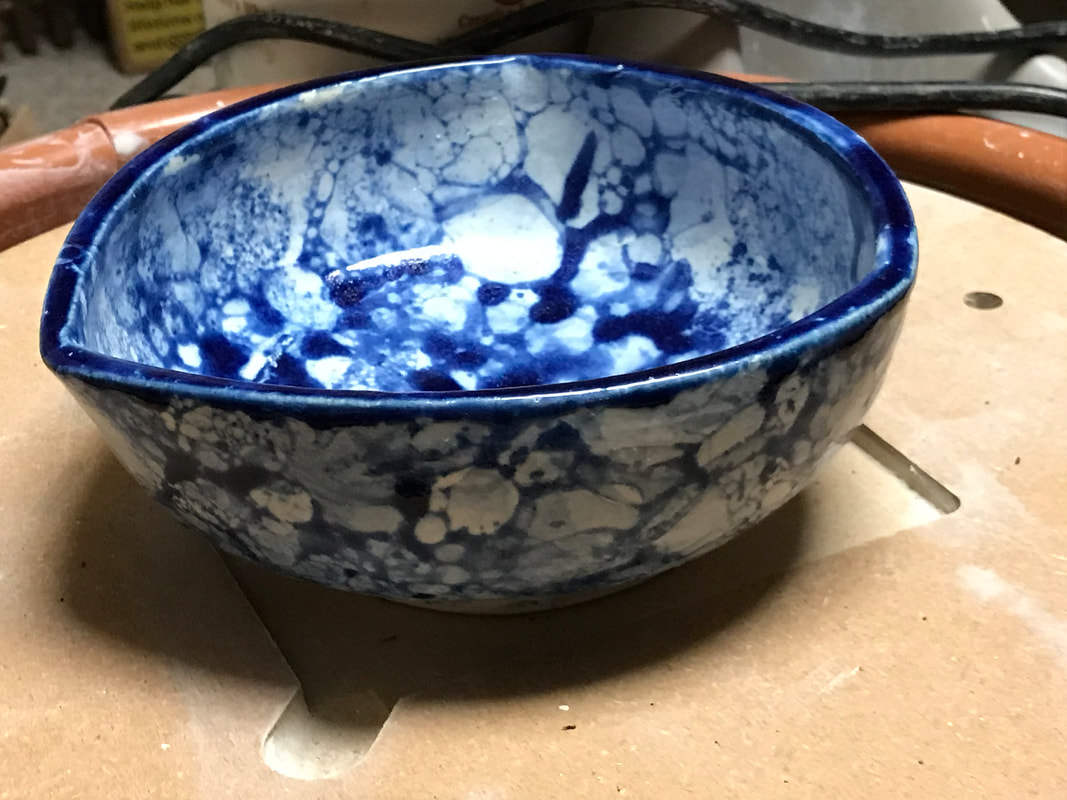
August 2010 Workshop with Randy Brodnax @ Sugar Maples
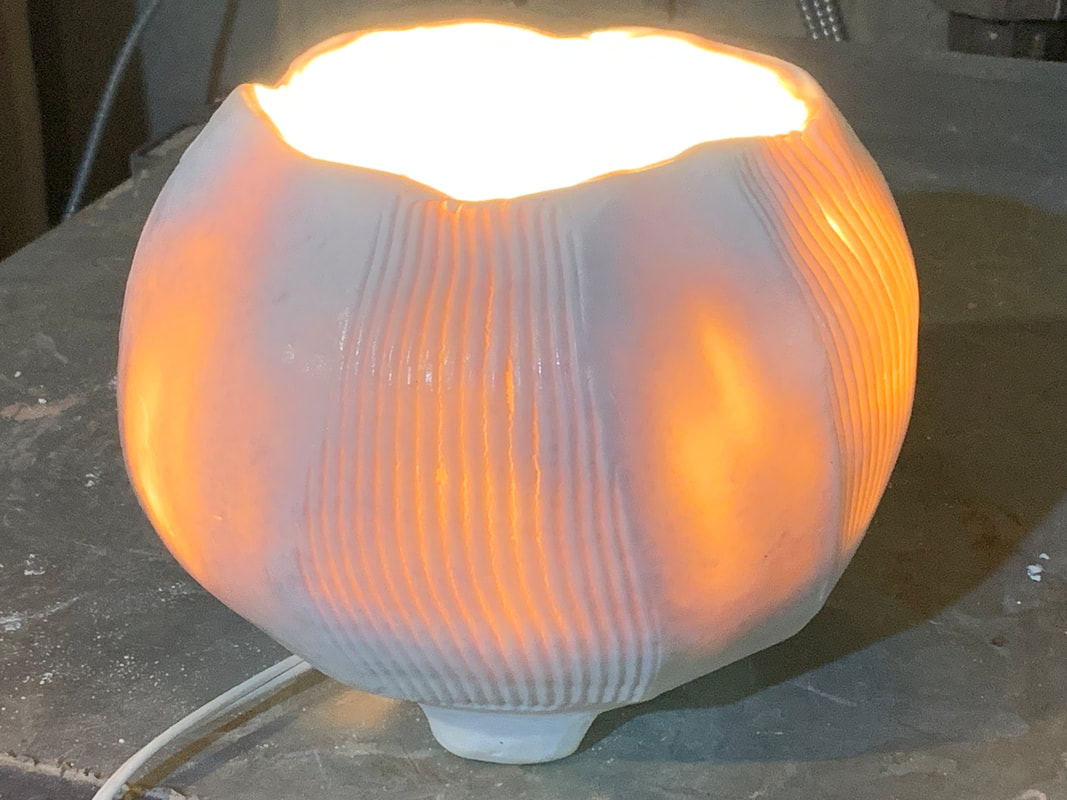
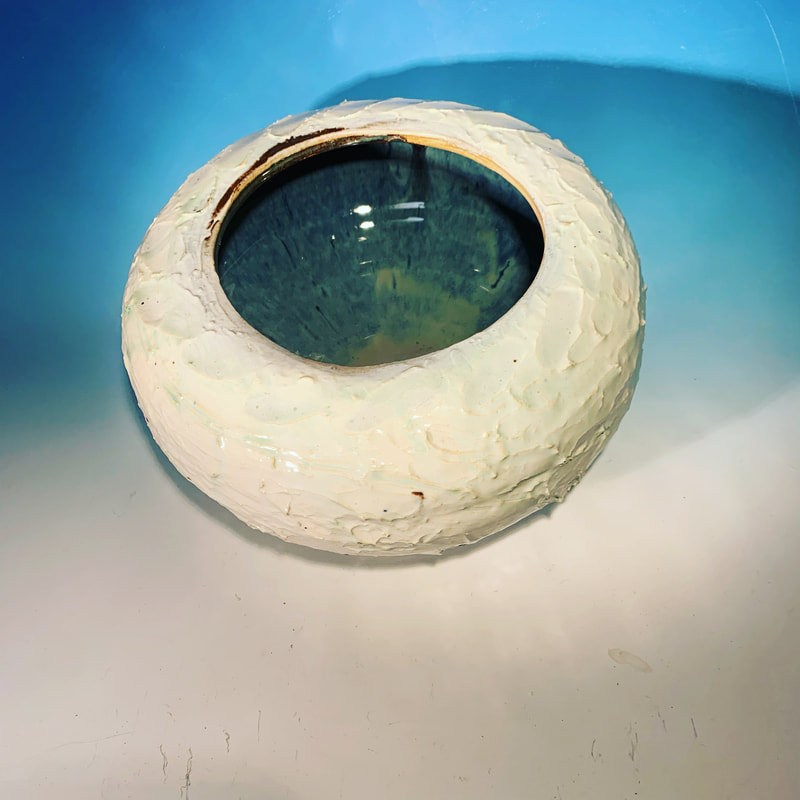
I had a wonderful time learning new techniques from Randy, including using a heat gun to expand pots to super-thin walls (I call them "bubble pots"), applying sodium silicate for cool textures, using Ferric Chloride for post-Raku firing color effects, firing in foil saggars, and more! We also got to fire the high-temperature salt kiln twice. Sugar Maples is a lovely spot for art camp, and the other students were great fun.


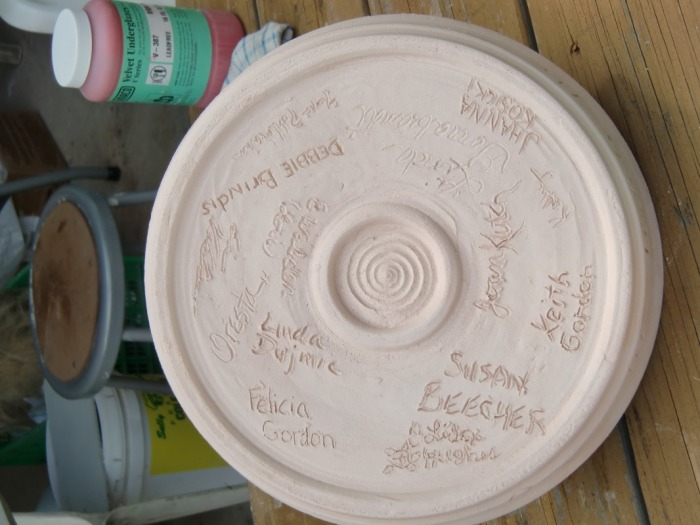

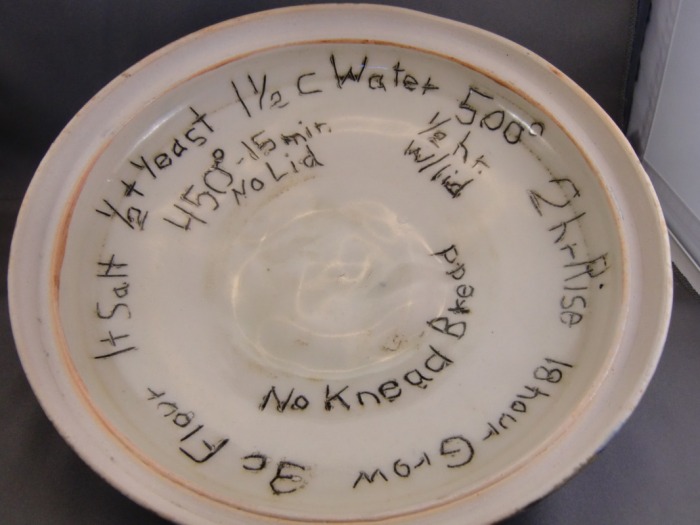
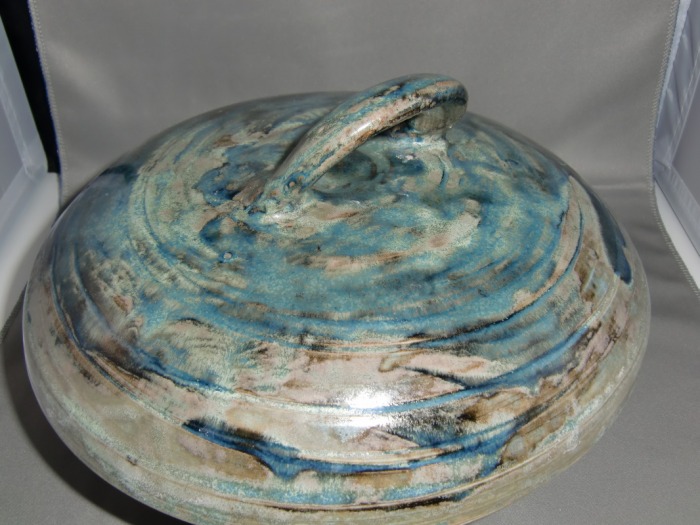
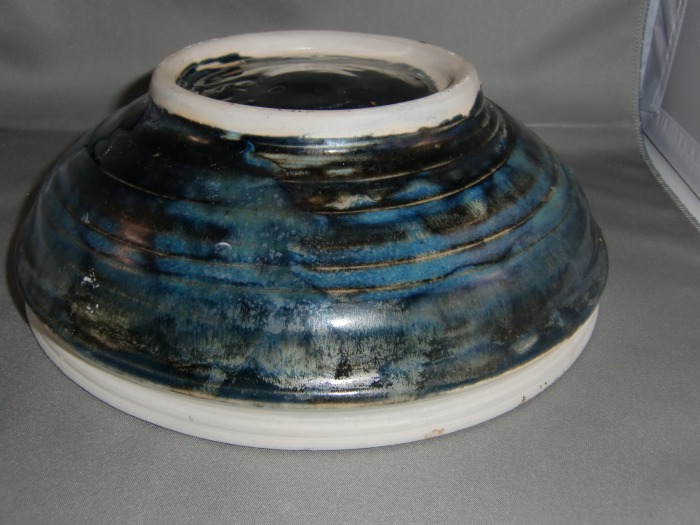
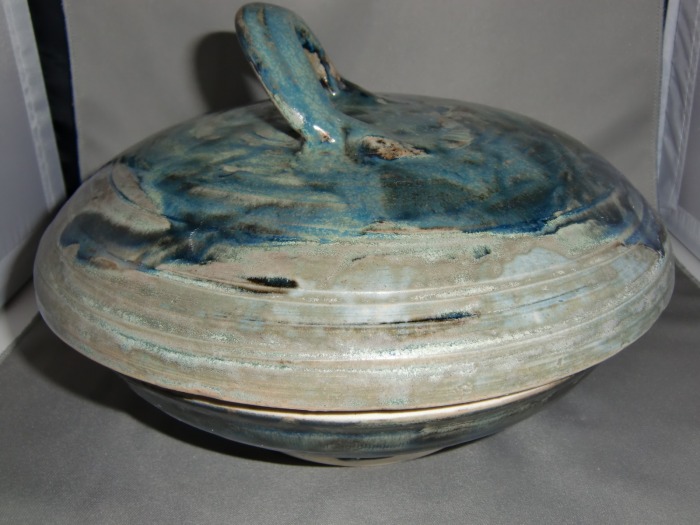
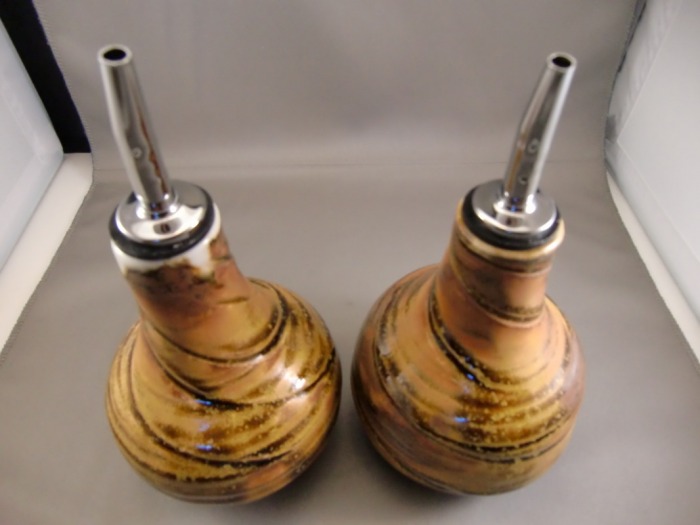

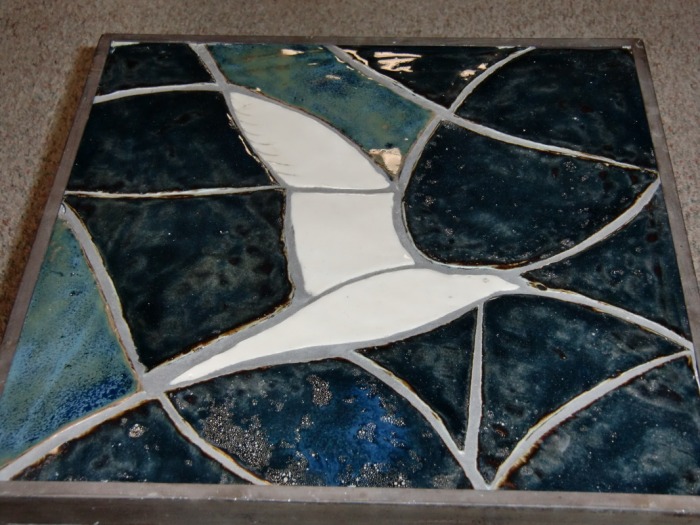
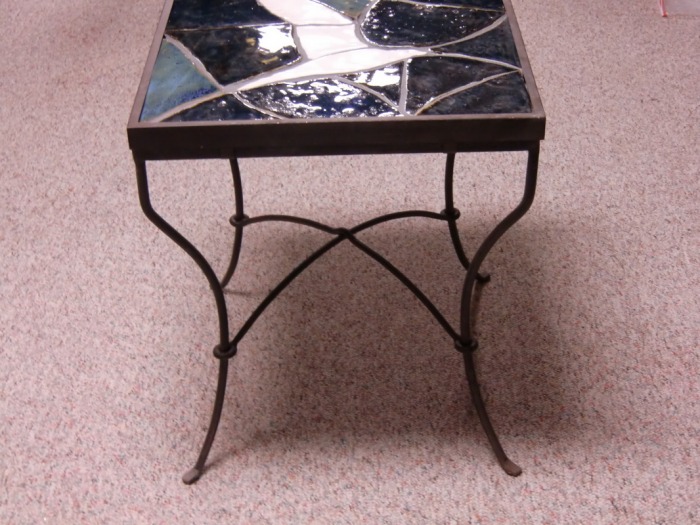
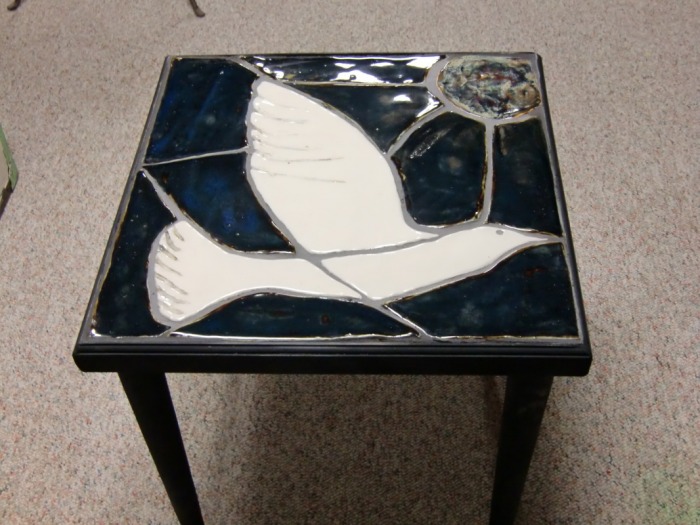
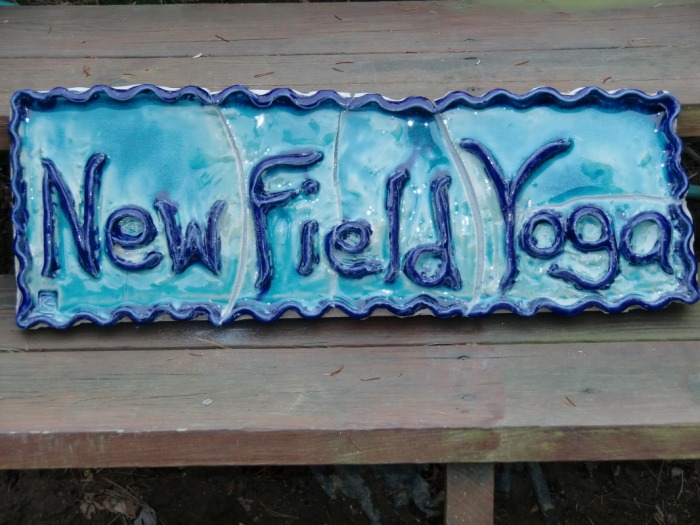
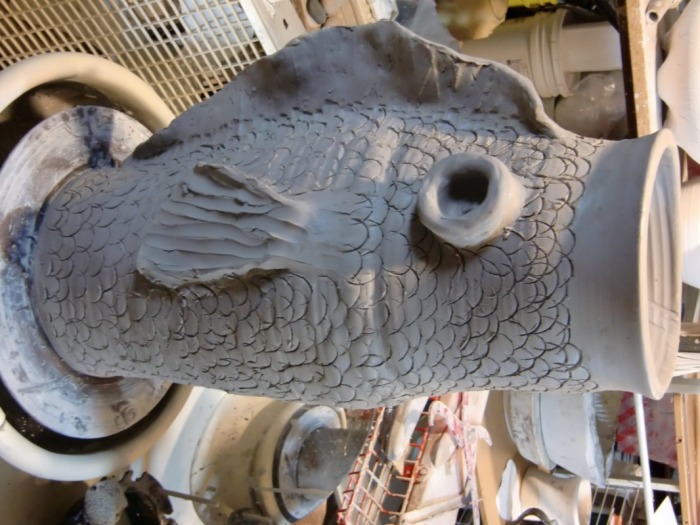
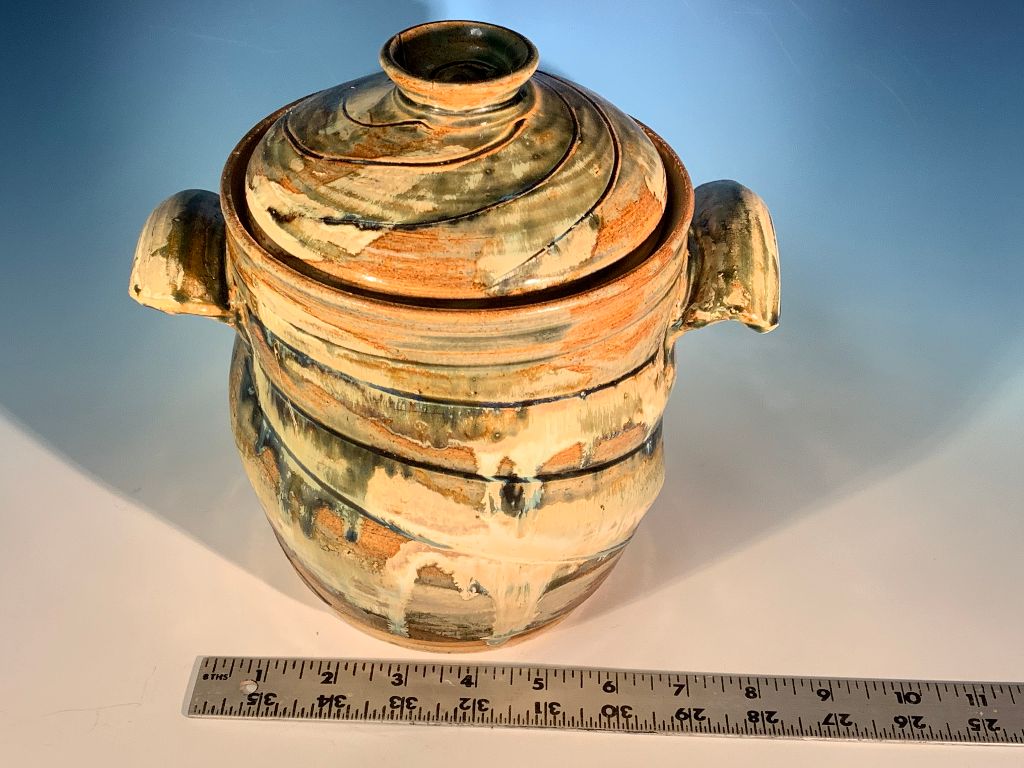
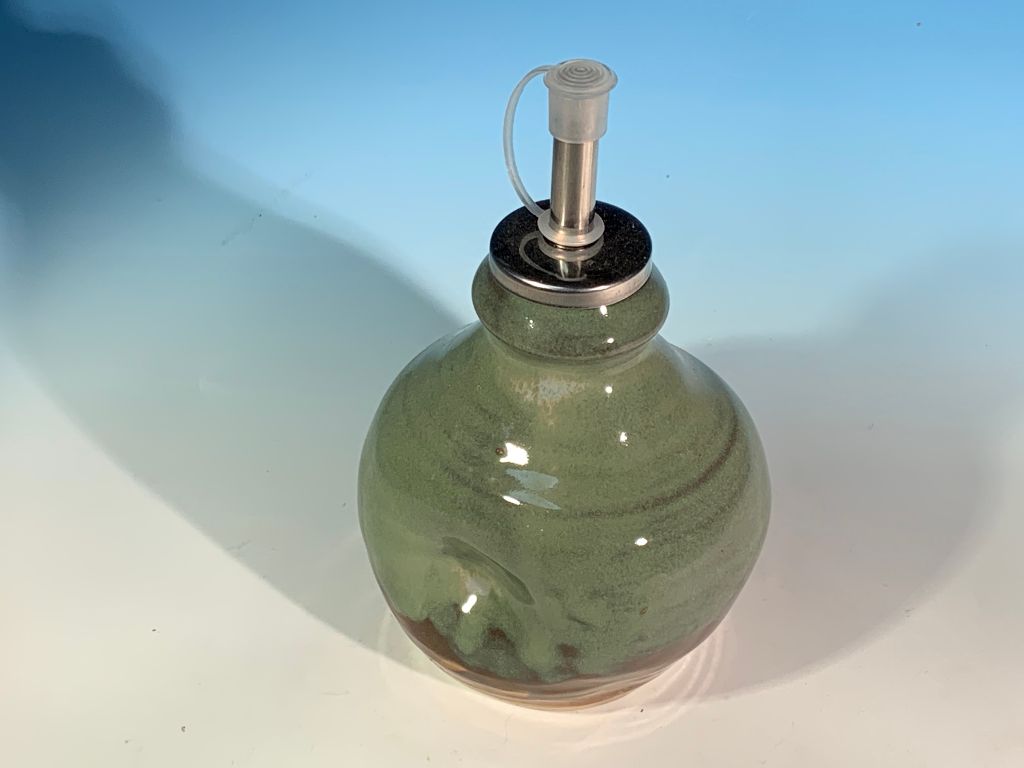
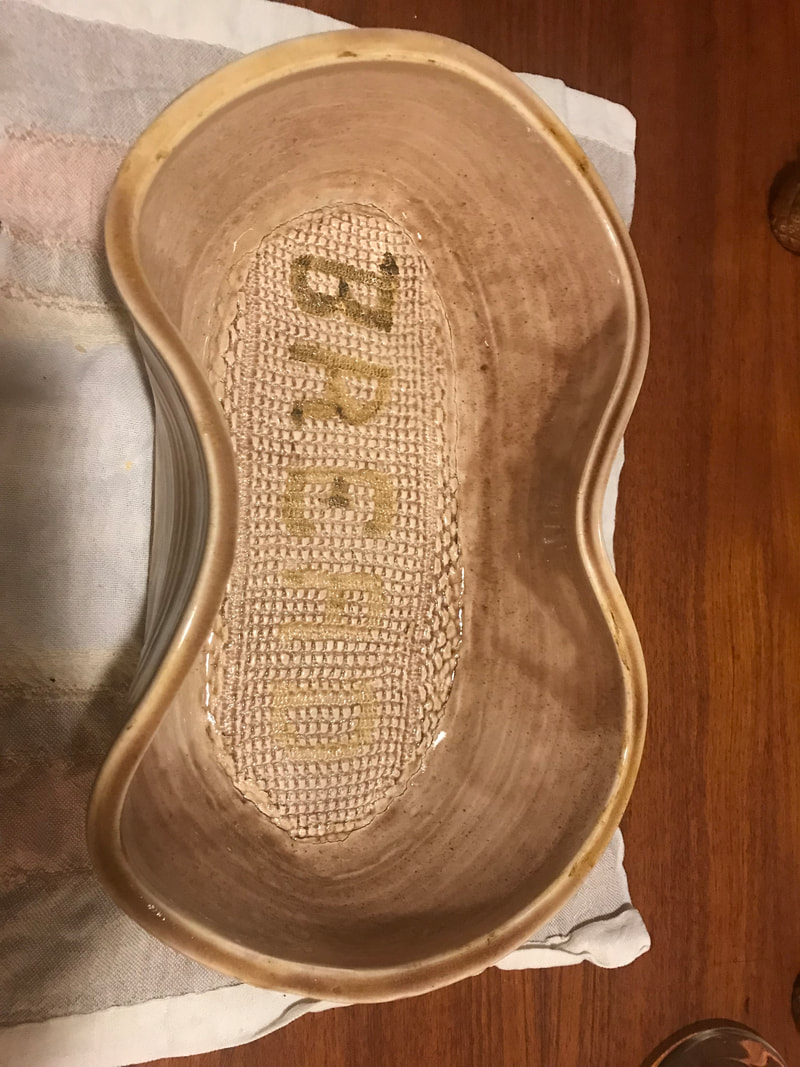
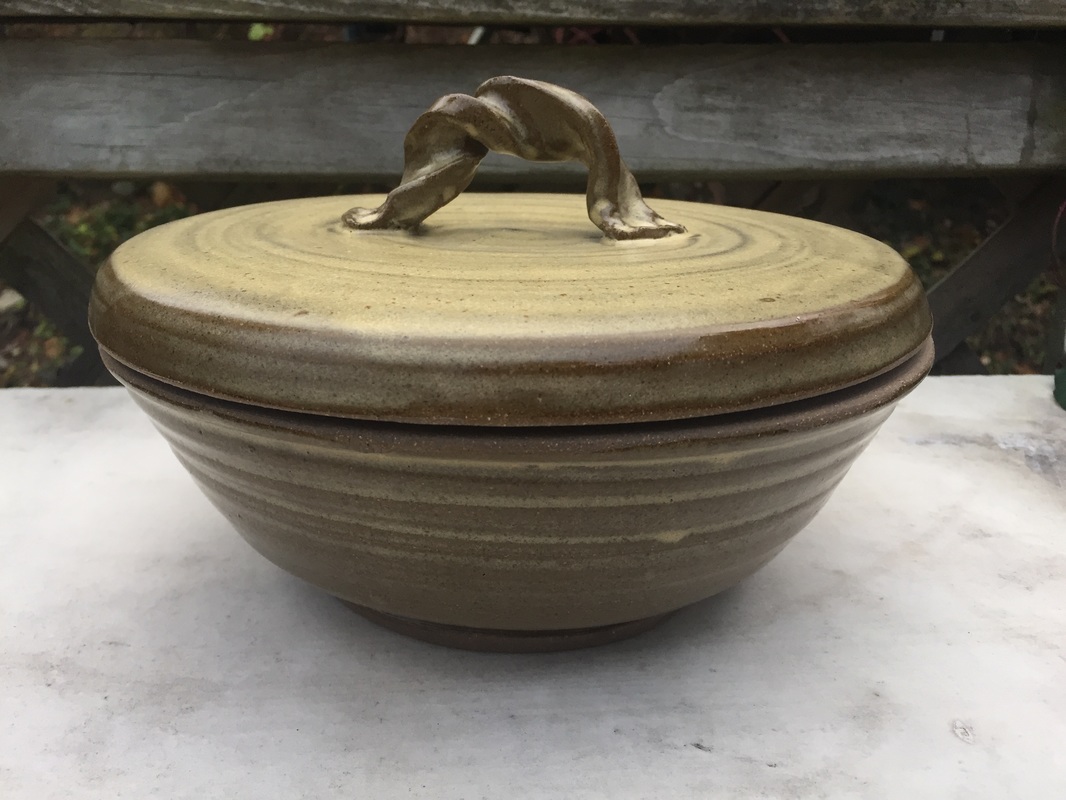
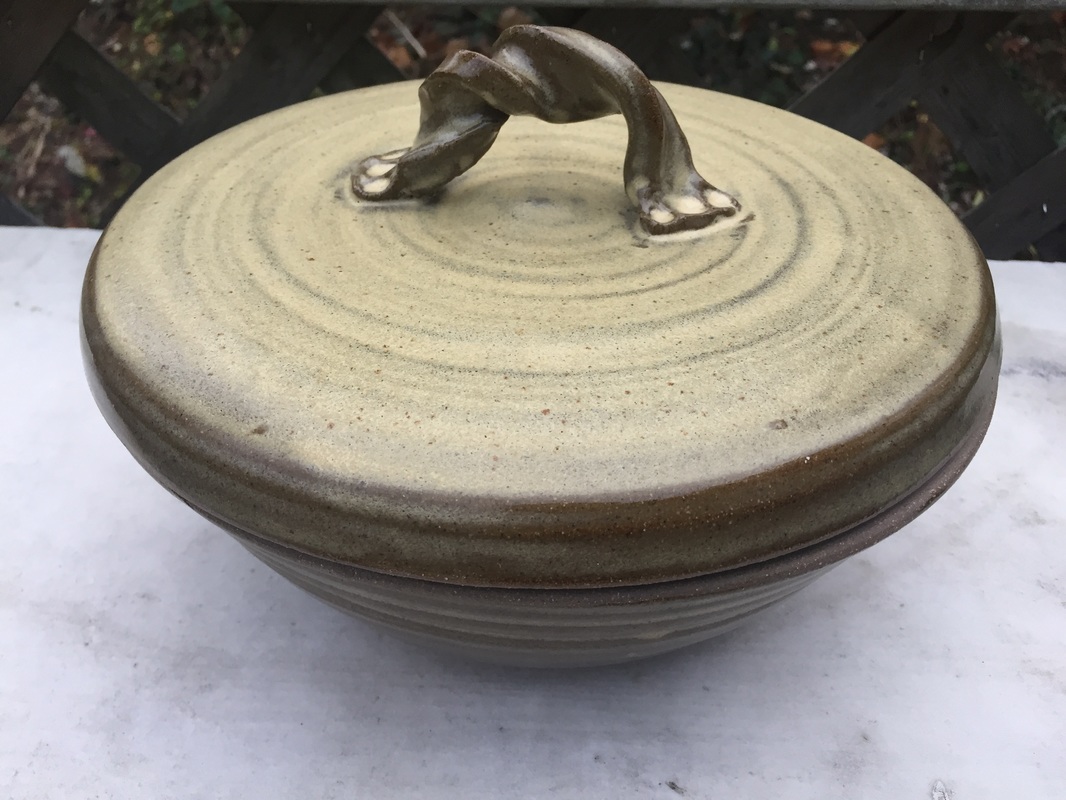
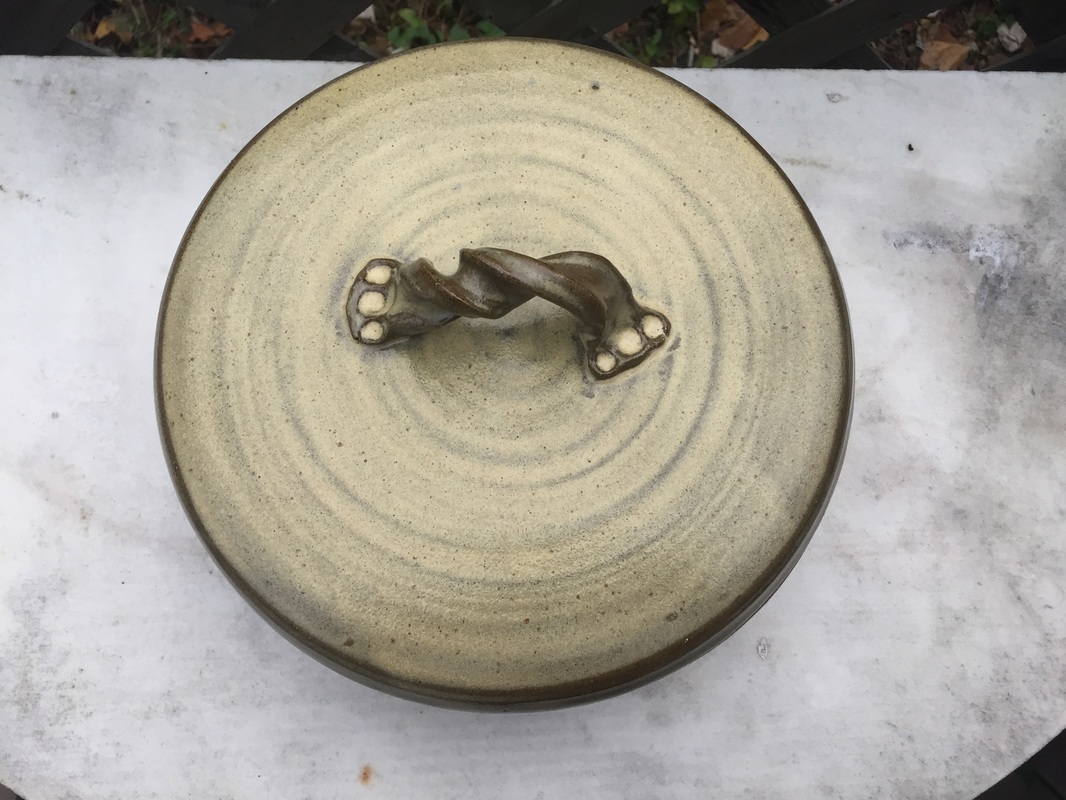
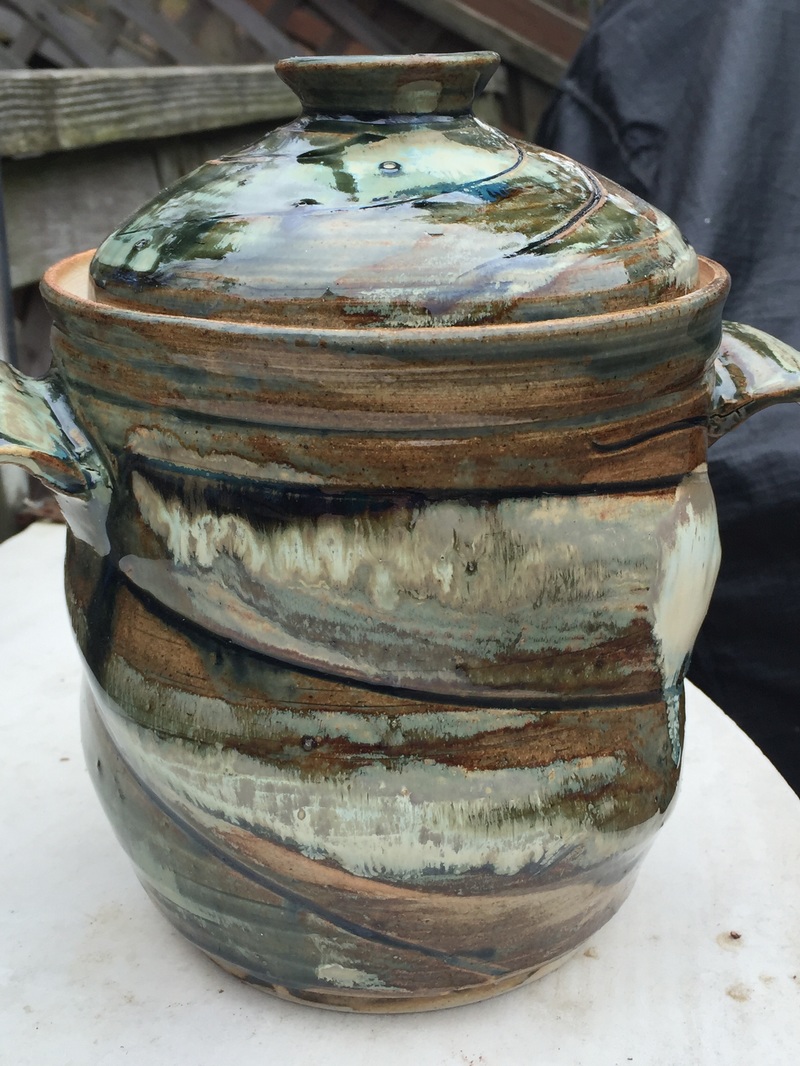
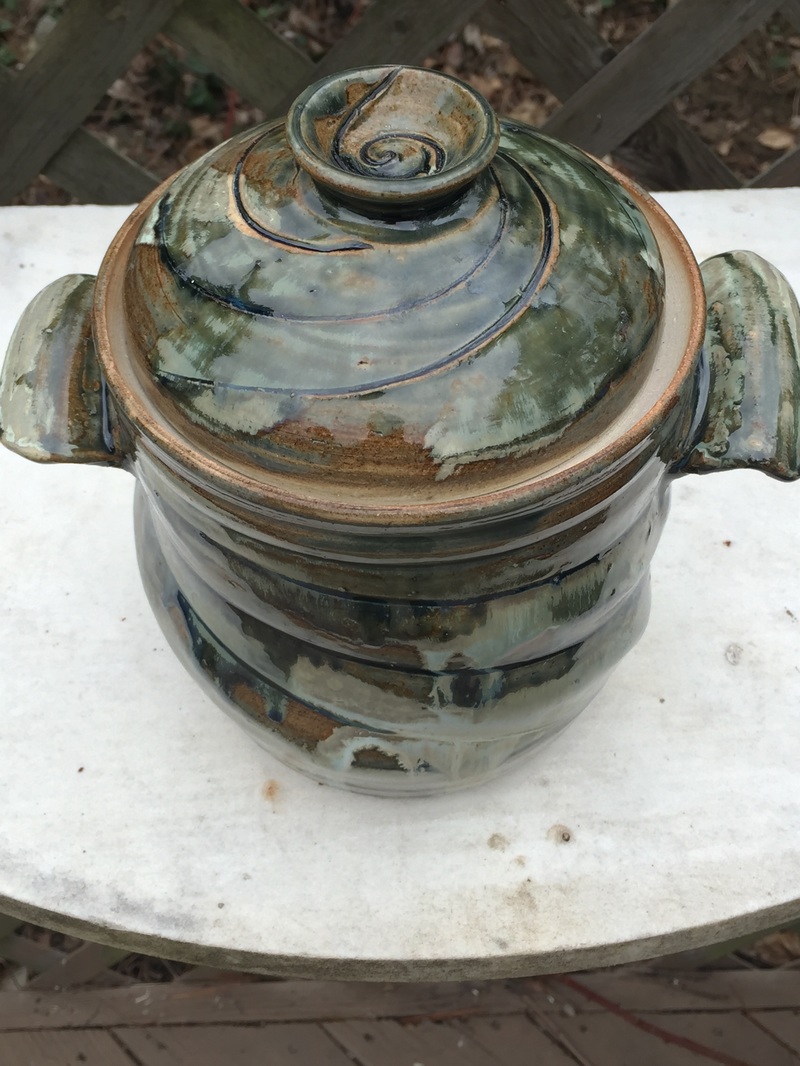
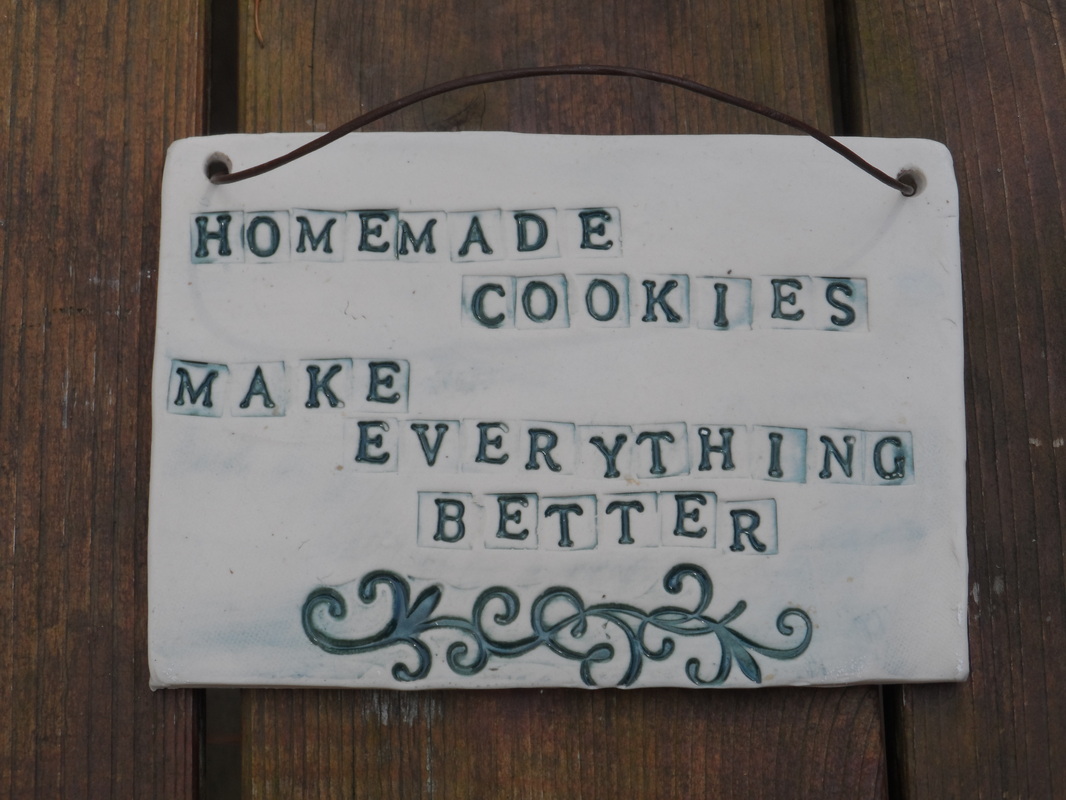
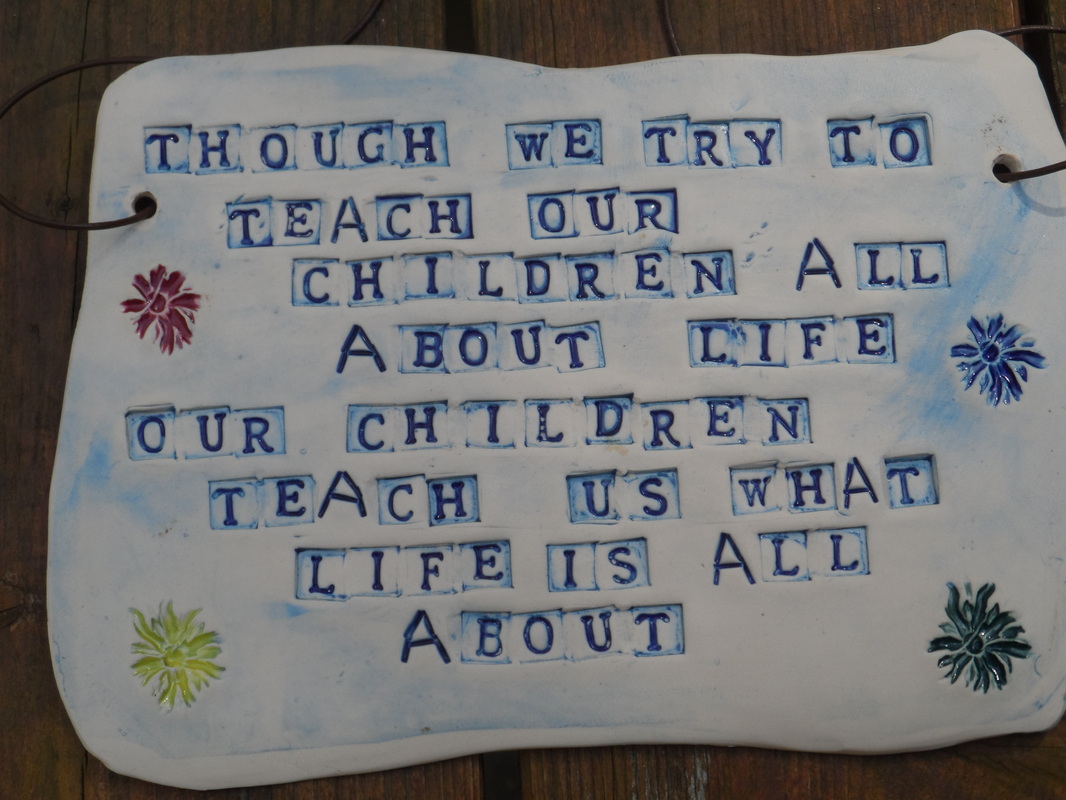
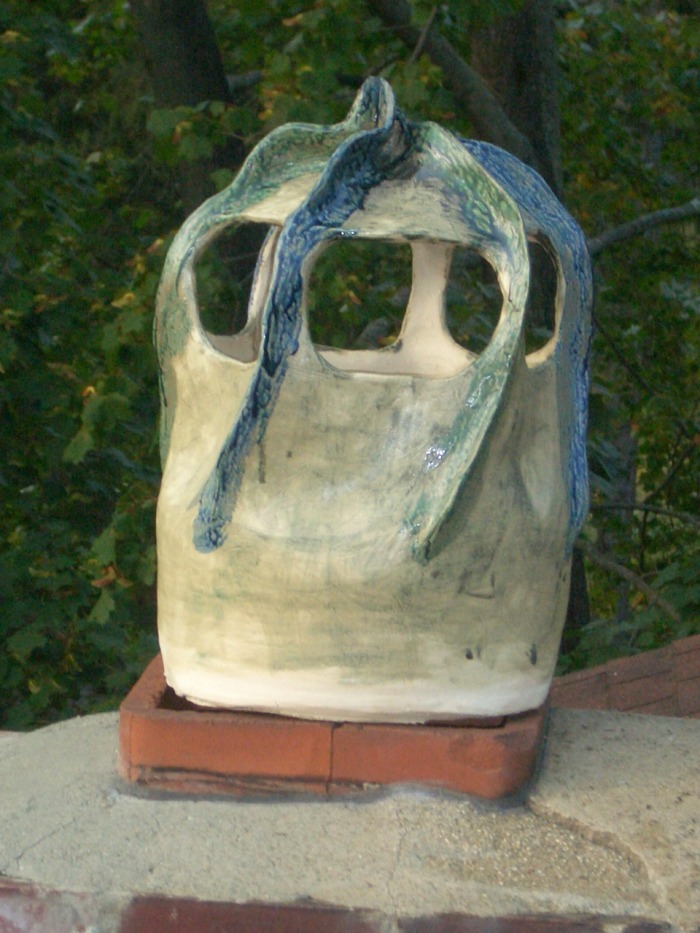
The above pieces are from my first firings of 2010. There are two versions of 18-inch square end table tile tops, a bread baker with the no-knead recipe drawn inside the lid, a new veggie steamer and a pair of salad dressing bottles. The tile sign is hanging on a wall at the yoga studio. I'm now making a clay mailbox, and this is how it looks at the end of the first day. I threw three cylinders and joined them to form a tube (25 inches tall by 9-10 inches wide), then began reshaping. I have a plan for the door & outgoing mail flag which I hope will work better & last longer than the whale-shaped mailbox I made for my prior home that had a hinged door which got broken. I will post additional images as the piece progresses. Wish me luck!
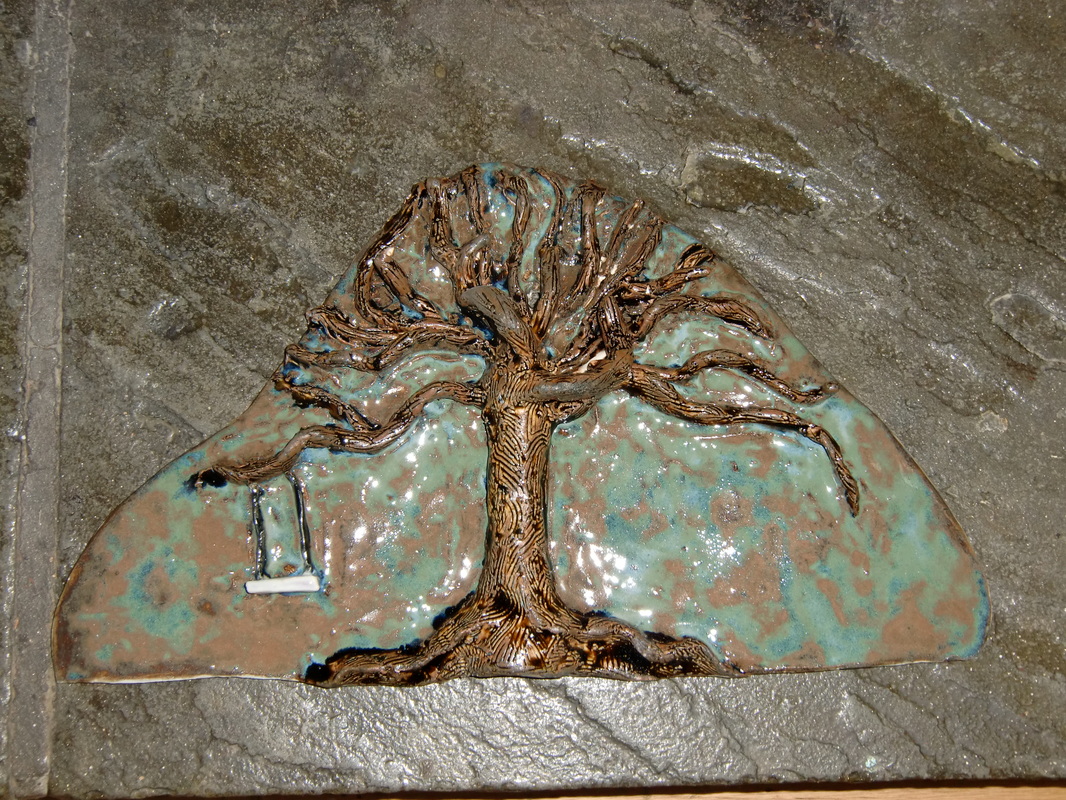
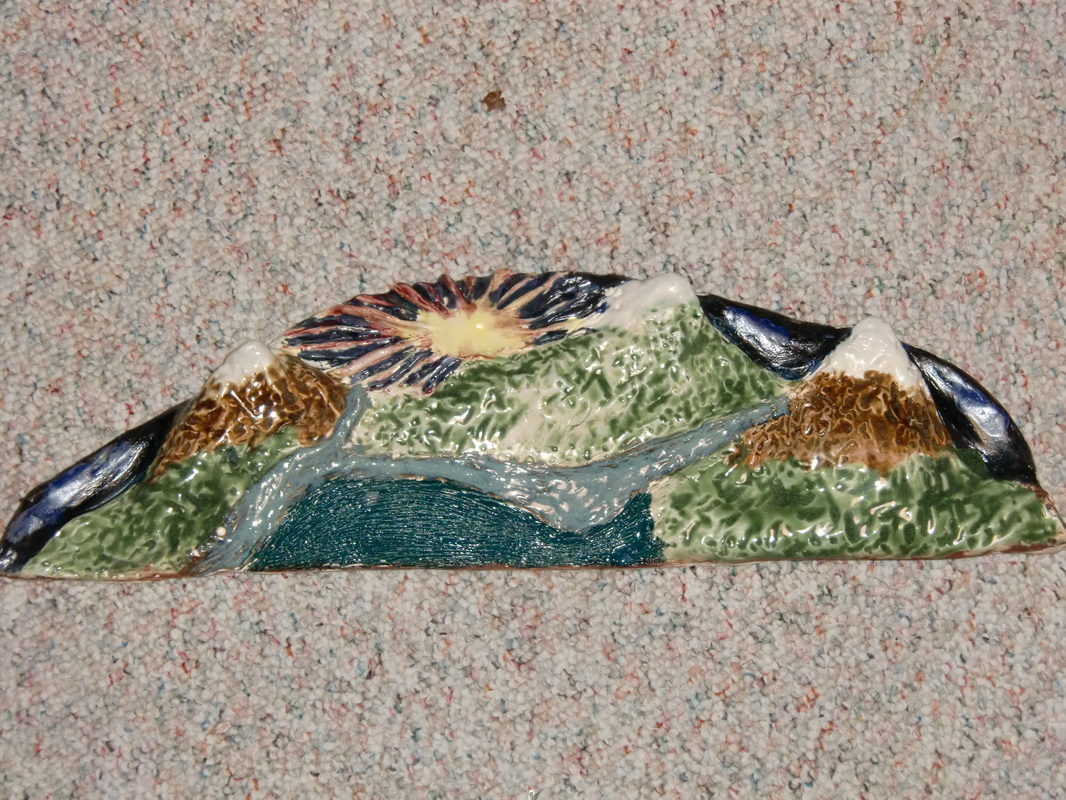
Wall Heat Vents
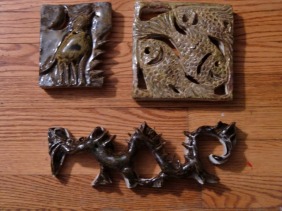
Our foyer has a coat closet with a baseboard heating unit inside the closet. To allow some of the heat to better circulate, rather than merely warm our coats, I've made releif tiles in animal shapes (dragon, wolf and goldfish) that have openings. They are mounted on MDF board that have been cut out behind the tile openings. My plan is to cut openings in the wall and mount these tiles to both decorate and allow the heat to circulate.
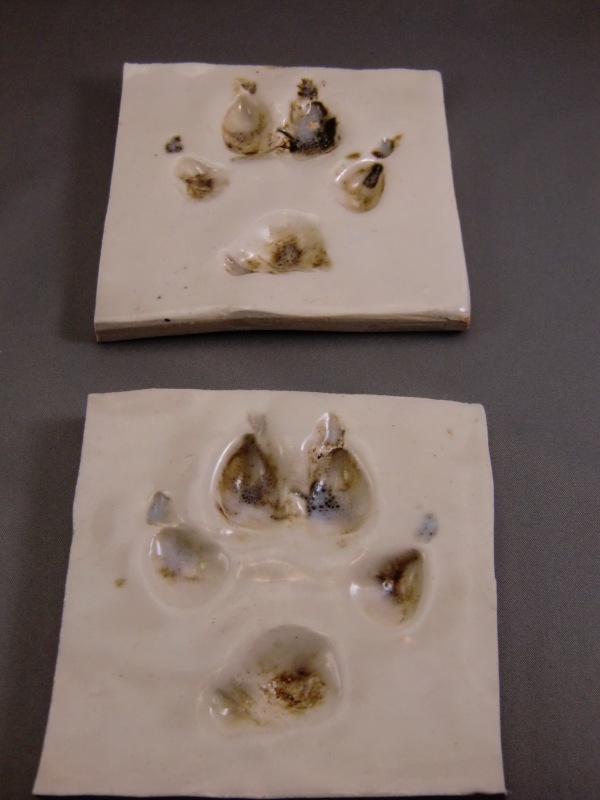


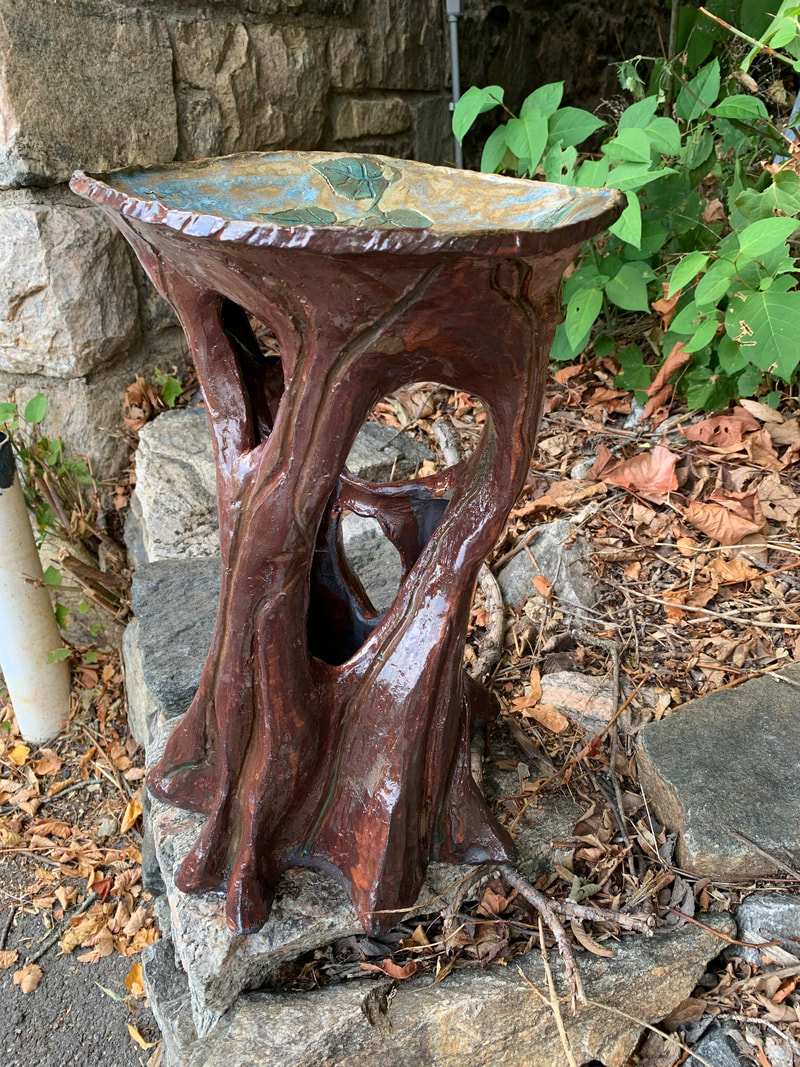
Wolf Tracks Kitchen Table
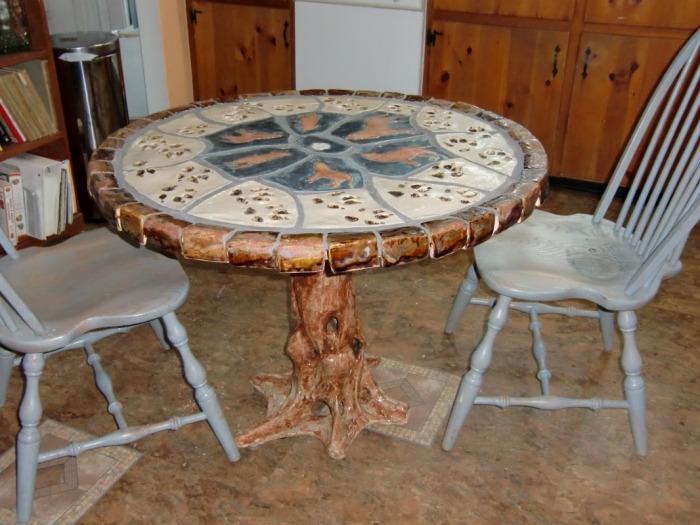


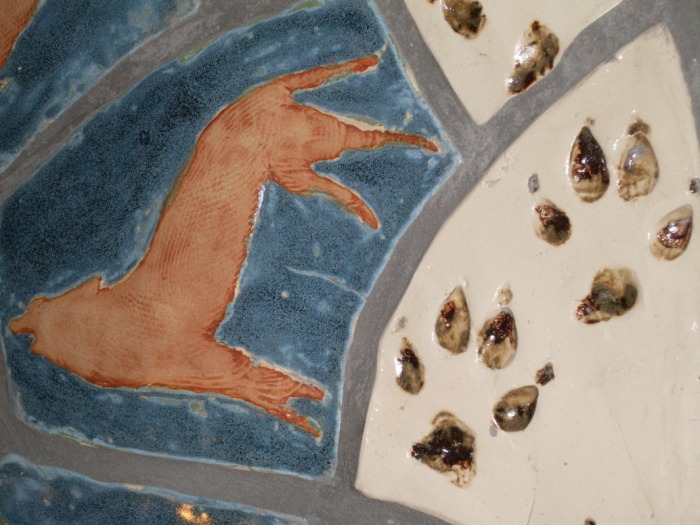
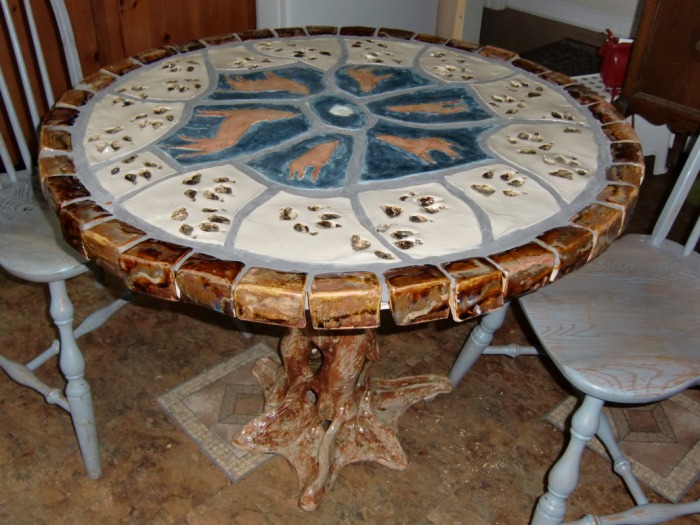
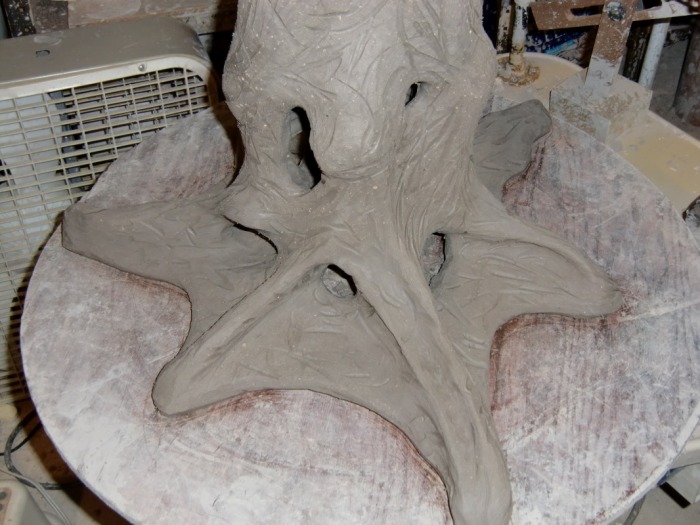
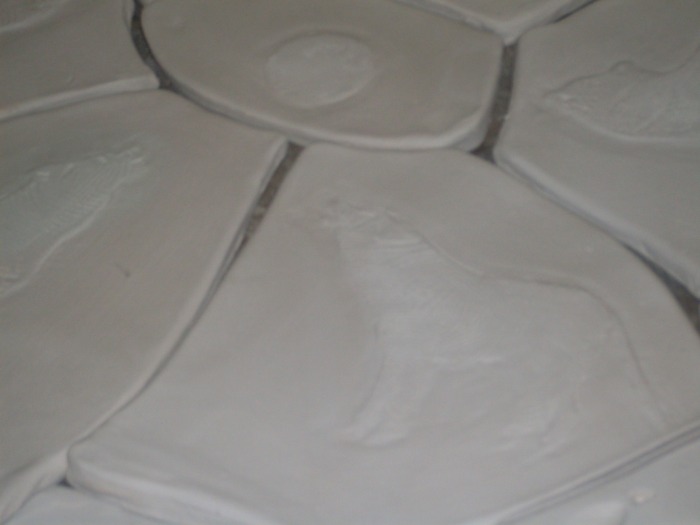
The tile table above is made by rolling out a 36" diameter slab of clay, drawing & texturing the wolf images, and pressing a plaster casting of a real wolf foot to make the footprints. Then I cut the pieces and let them dry very slowly. Once the tiles are bone dry, I painted each wolf with a layer of polyurethane resist and used a sponge and scrubby to wash away the surrounding tile surface, leaving the moon & wolves to stand out in low relief (see first image). Finally, I extruded L-shaped coping tiles to surround the flat tiles and cover the edge of the plywood they will be mounted on. I have glued the tiles down and grouted the spaces between (see 2nd & 3rd pics). I made a 25-inch tall clay pedestal base so we can use this table in our kitchen. This shows my second attempt at the base (the first try broke when it was being loaded into my kiln after 2 weeks of effort). The larger the piece, the greater the risk of disaster. Potters must be philosophical to survive these moments.
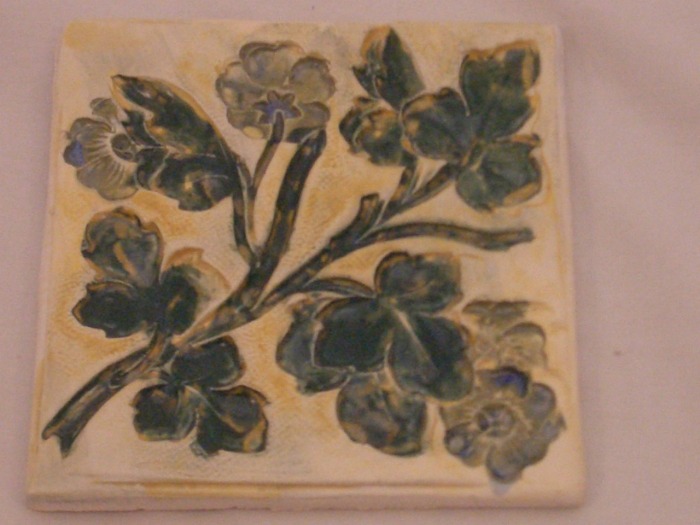
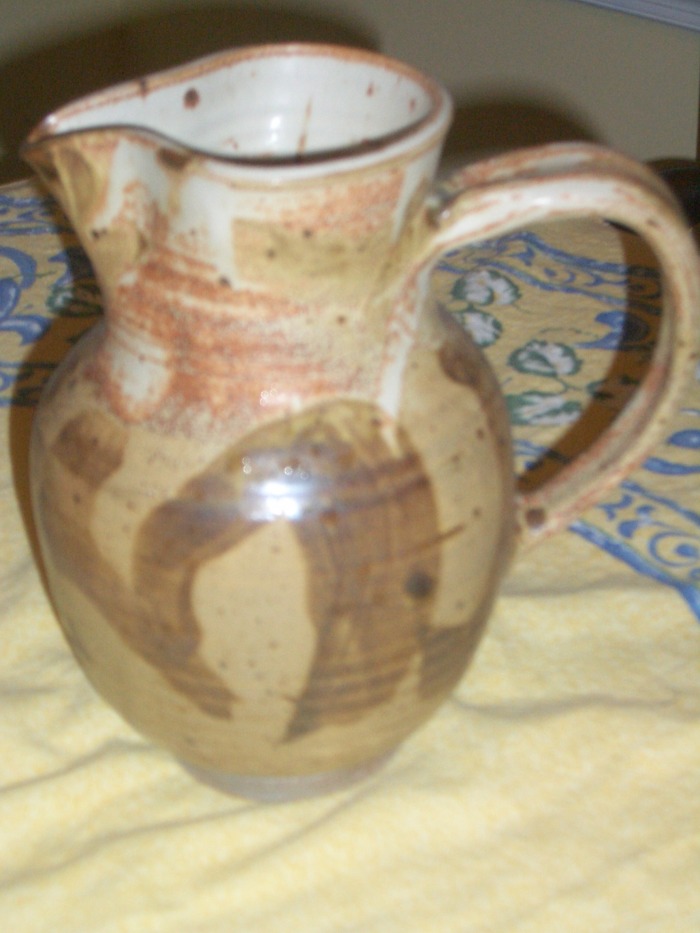
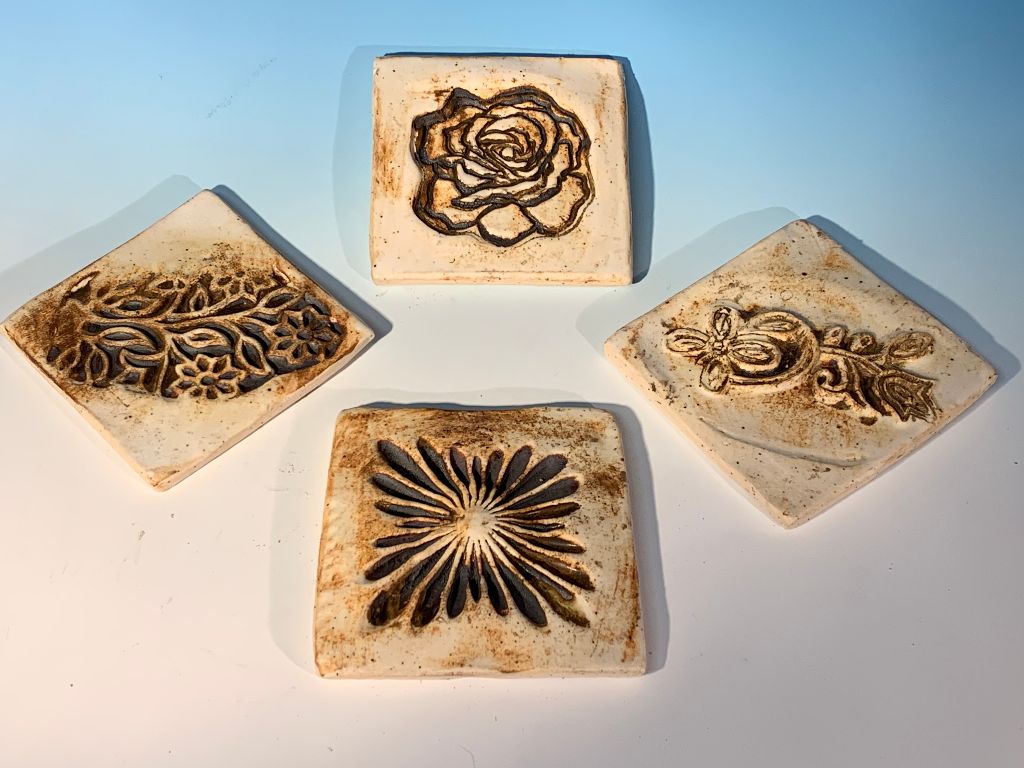
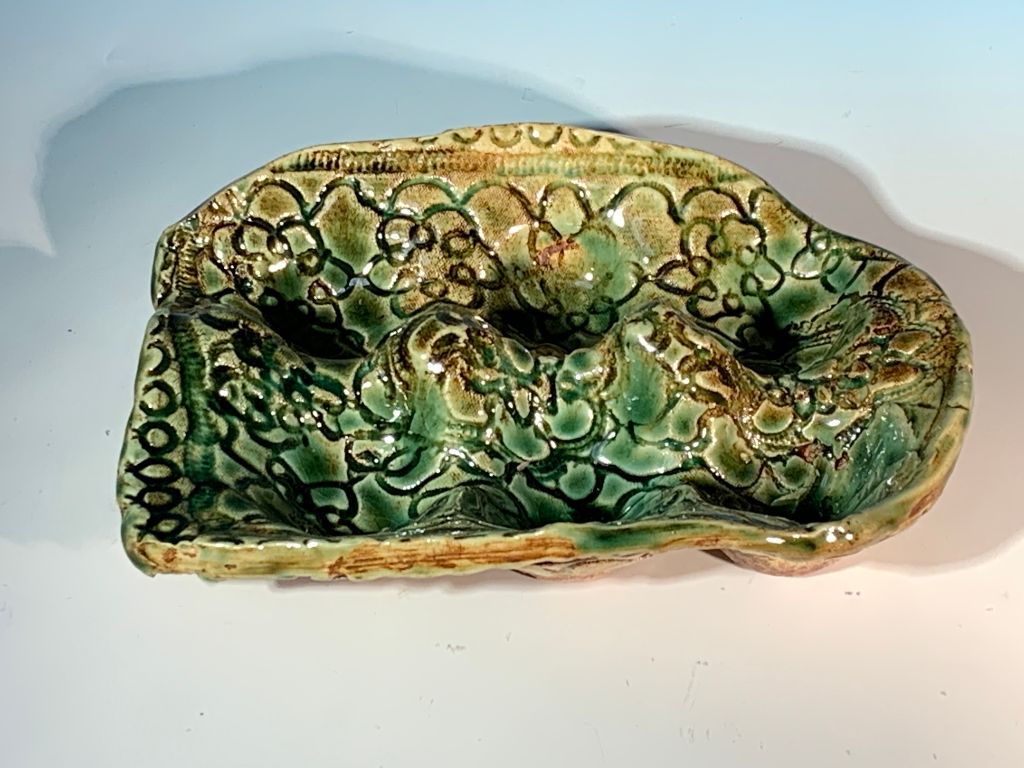
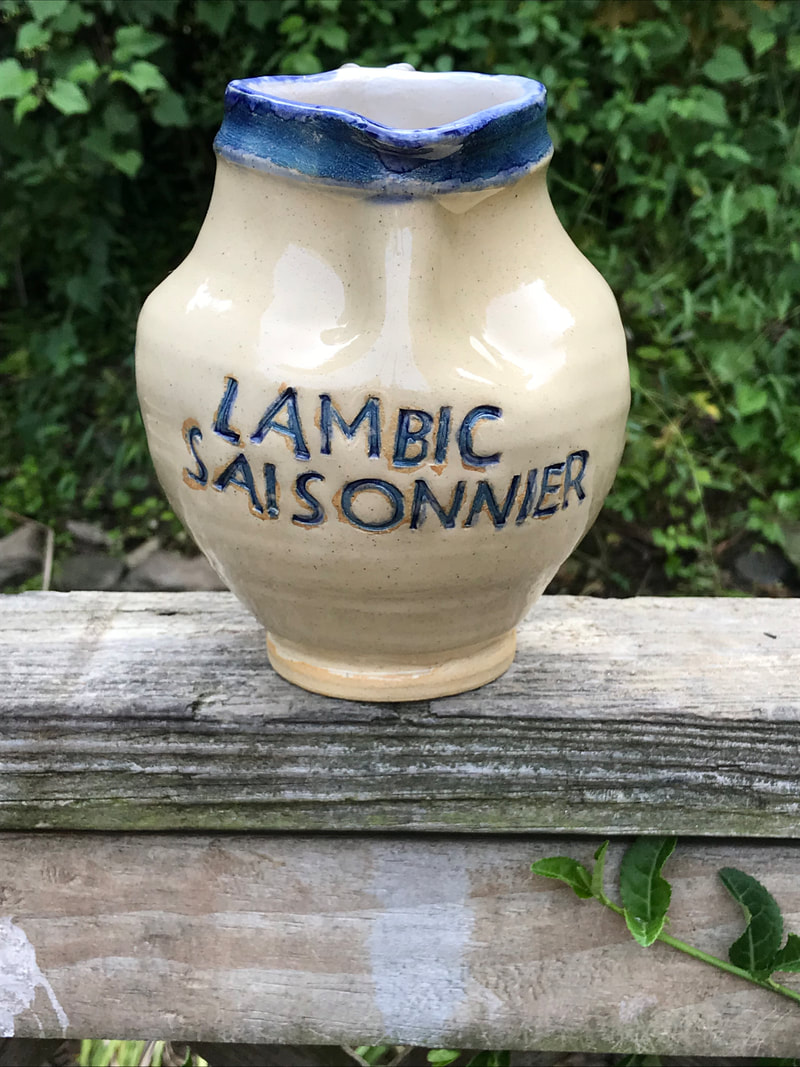
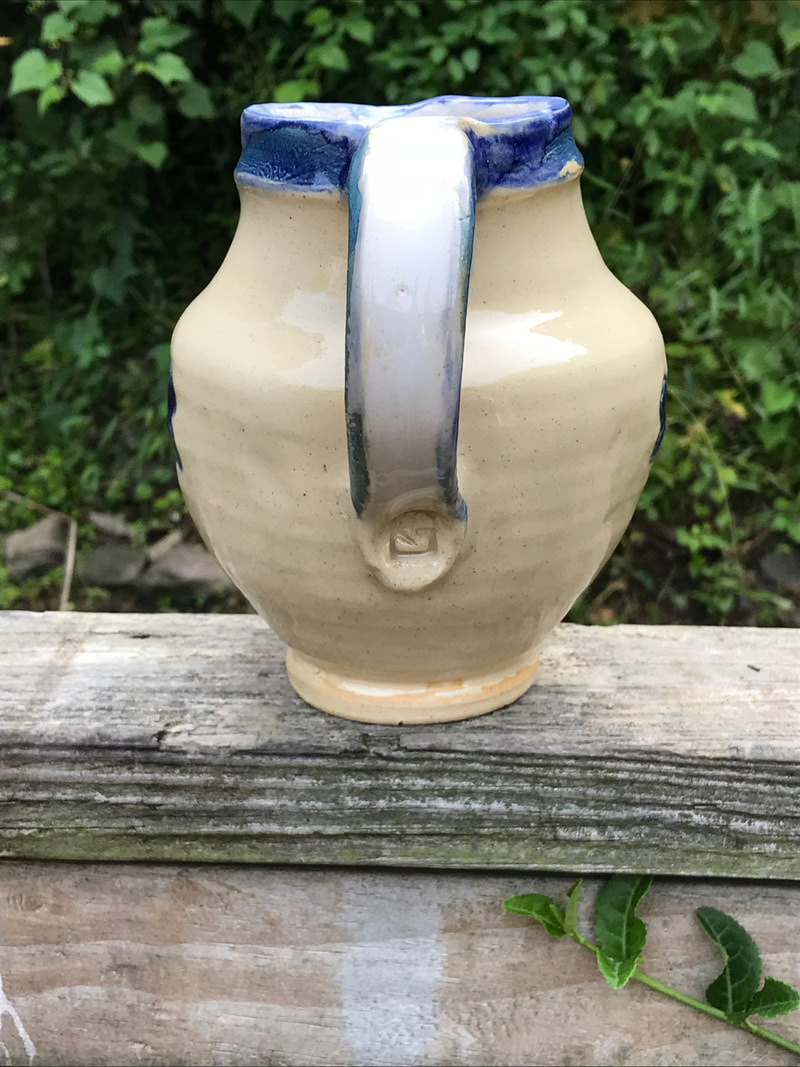
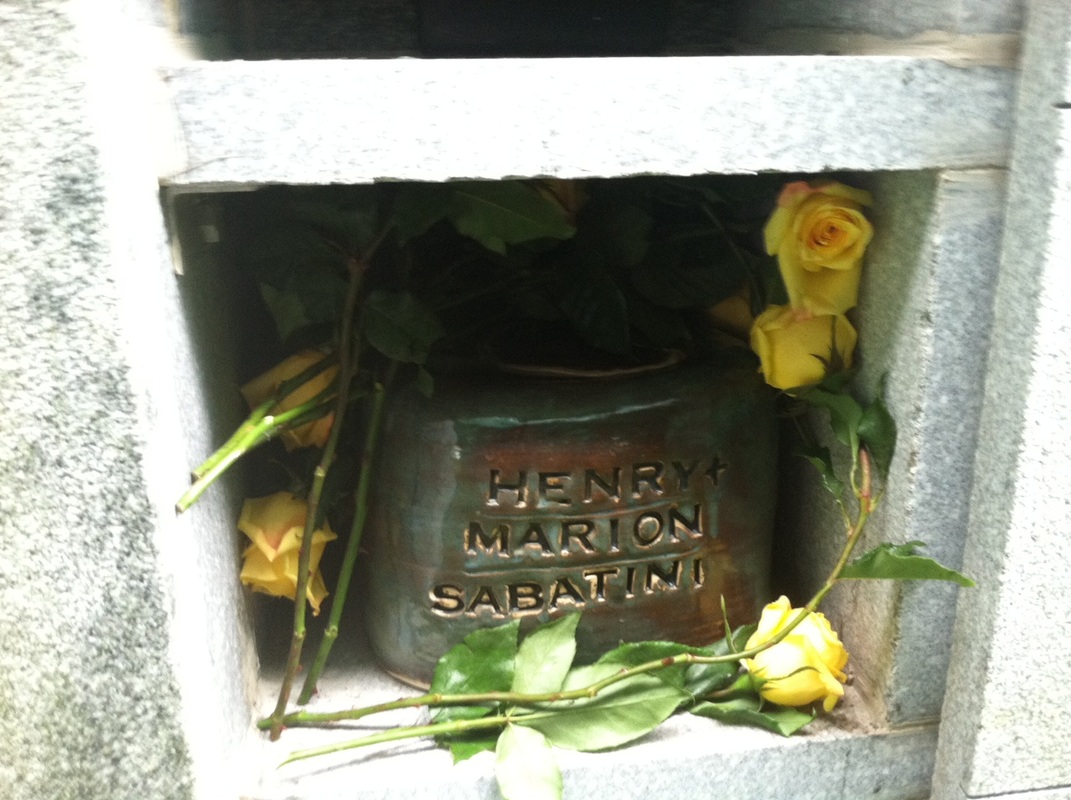
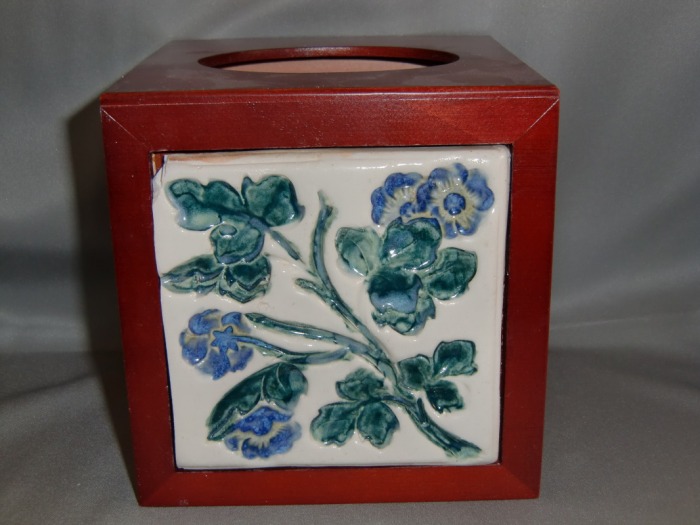
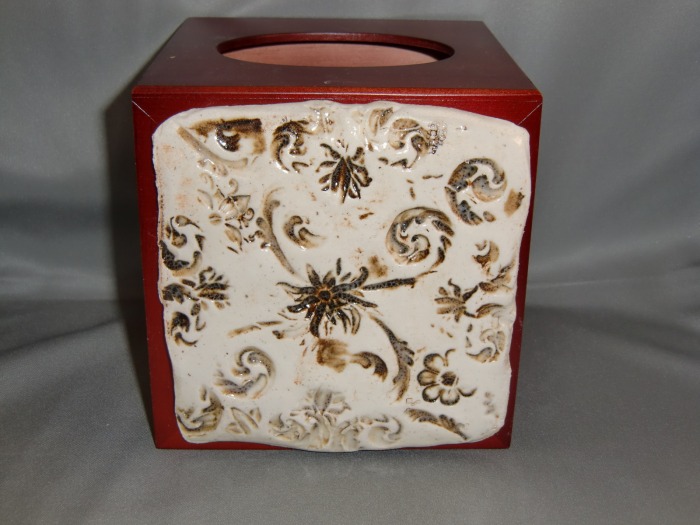
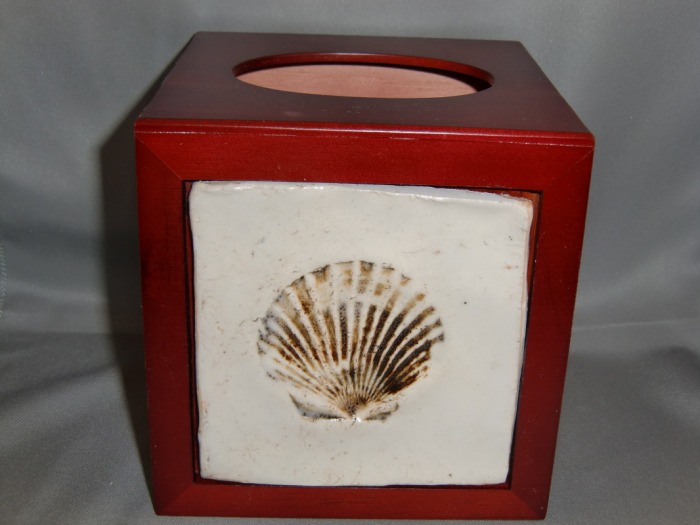
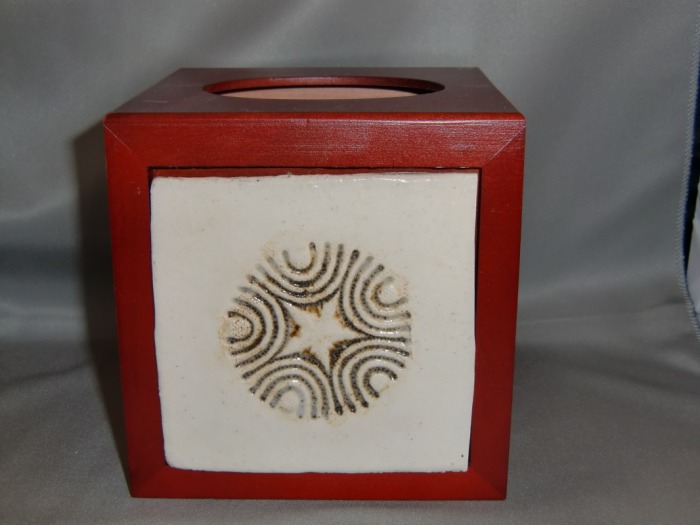
Chimney cap Recessed floral tile Stoneware Pitcher
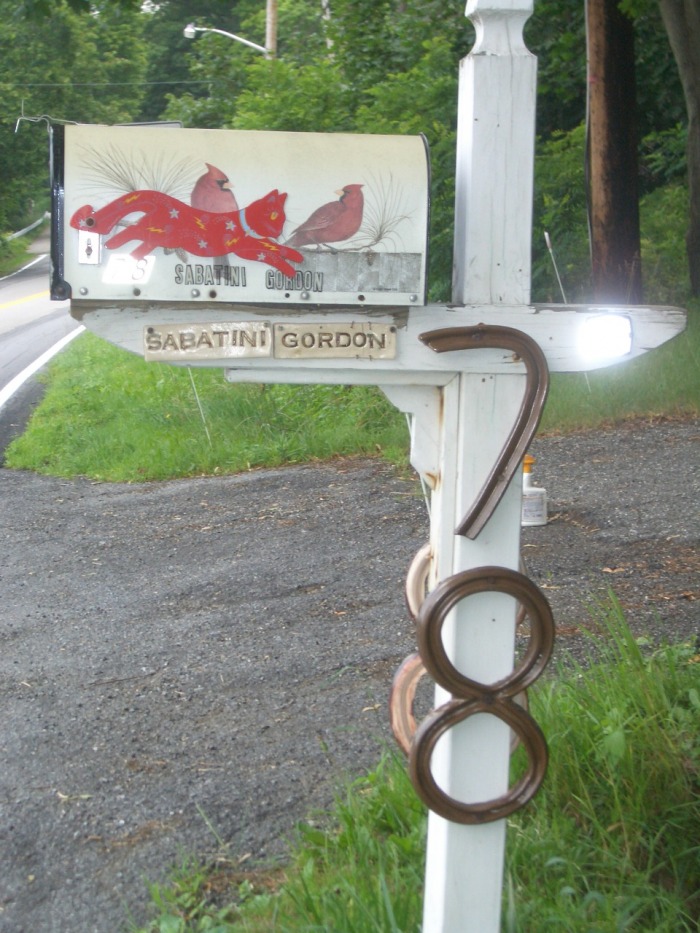
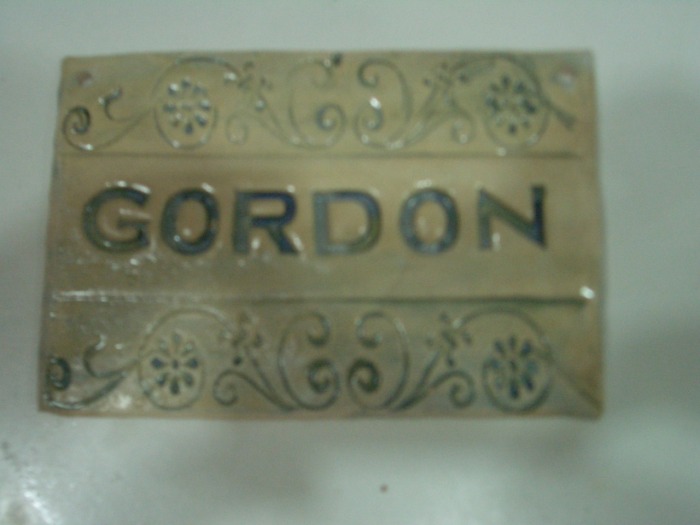

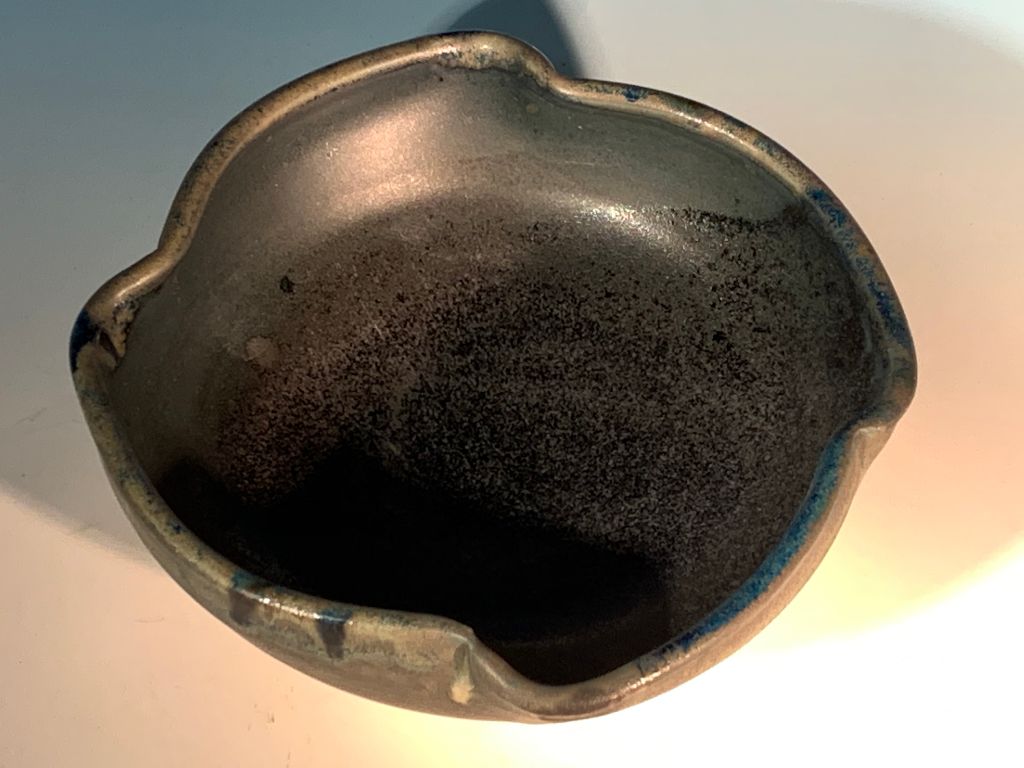
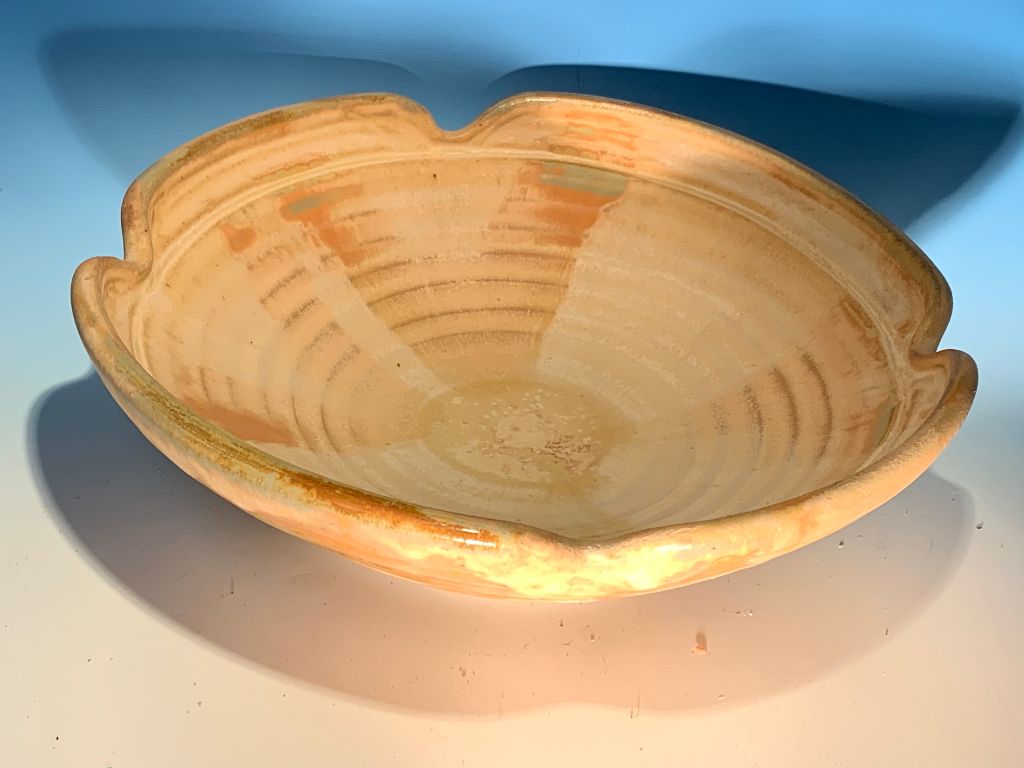
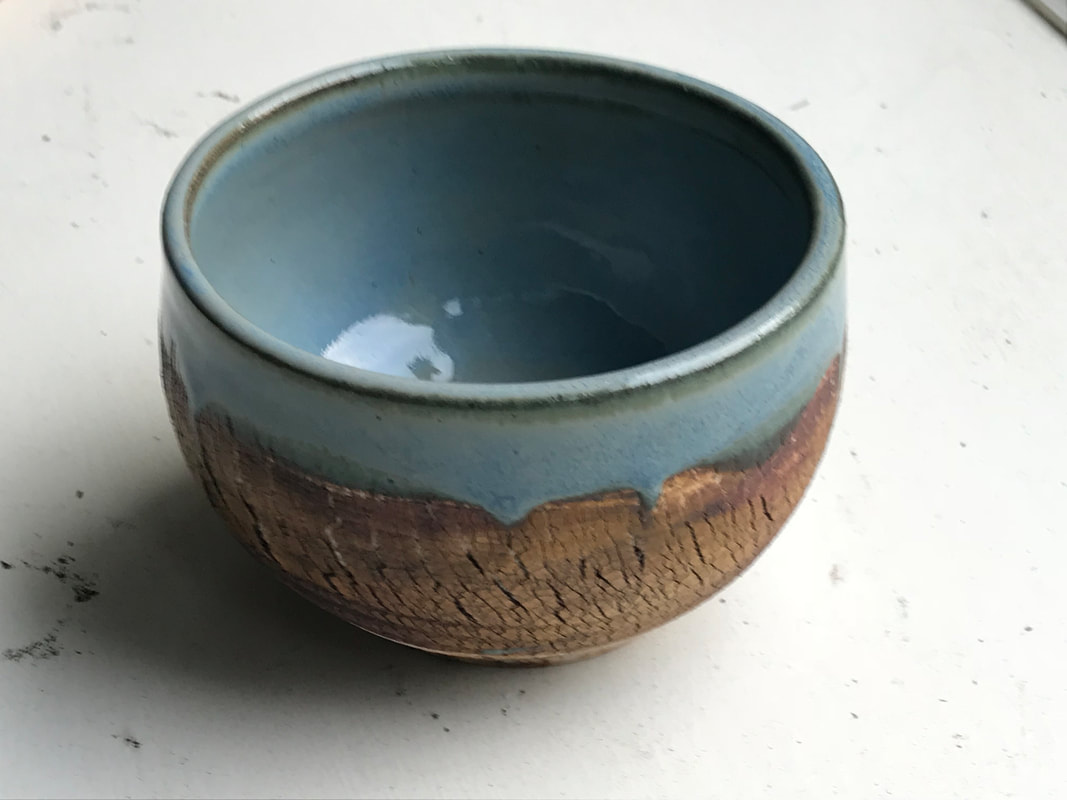
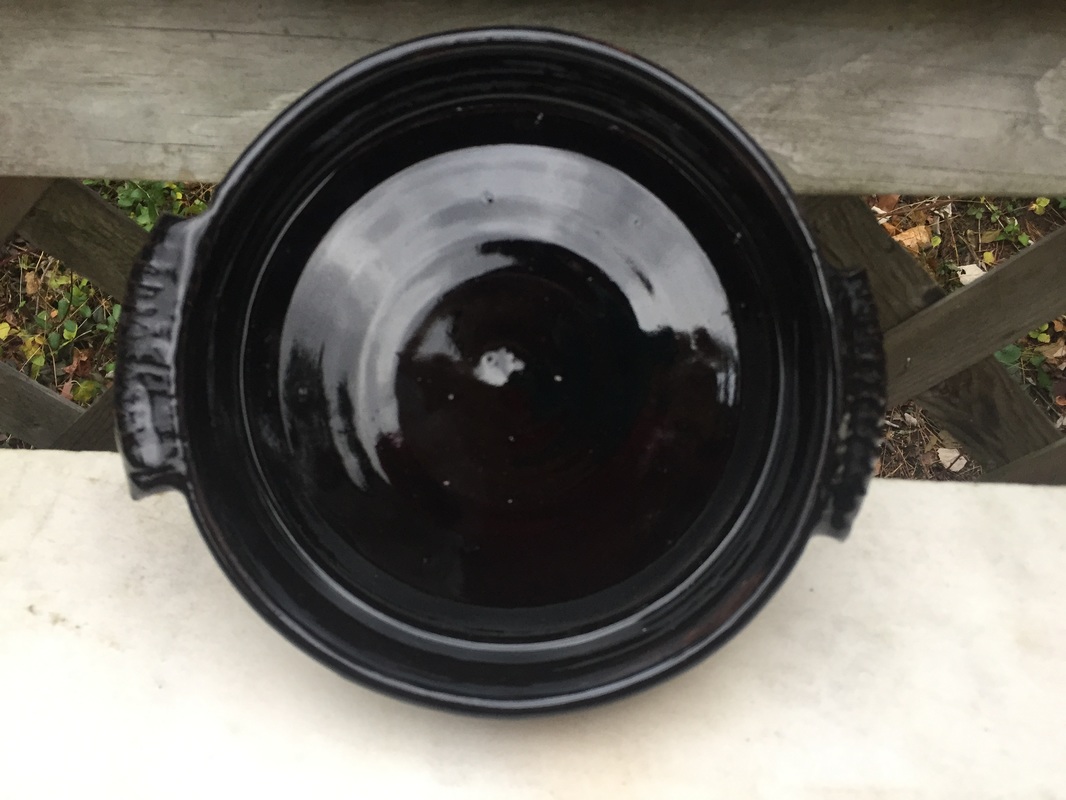
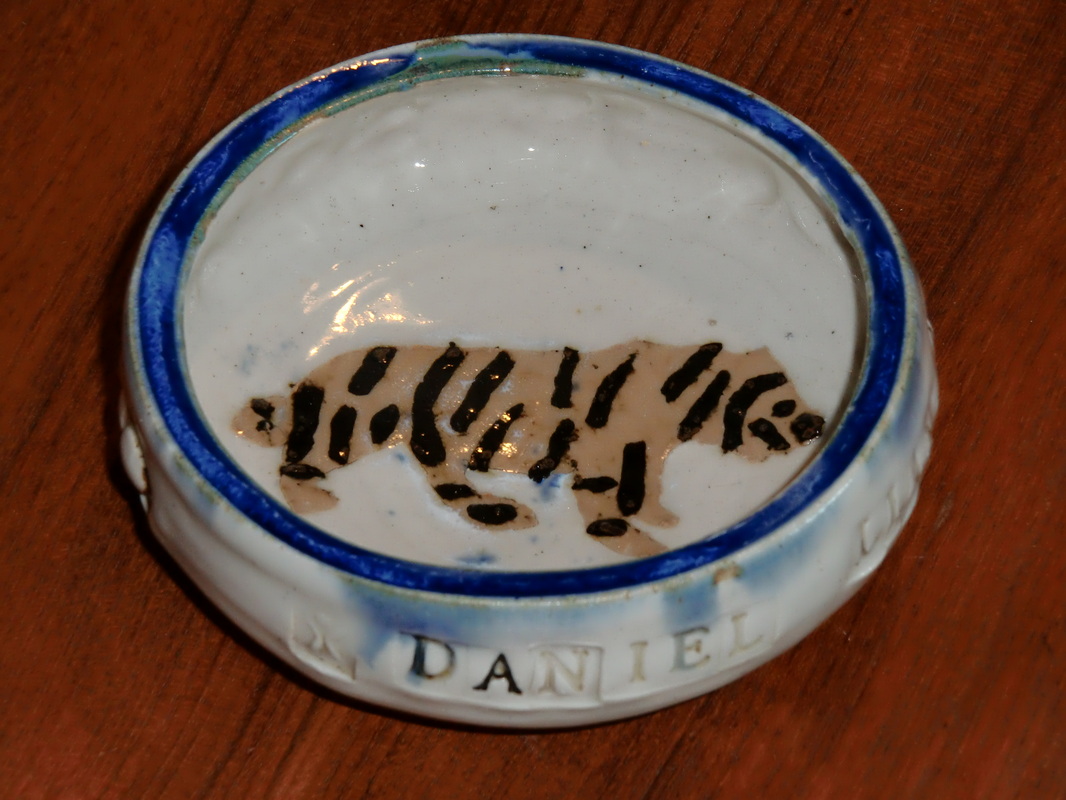
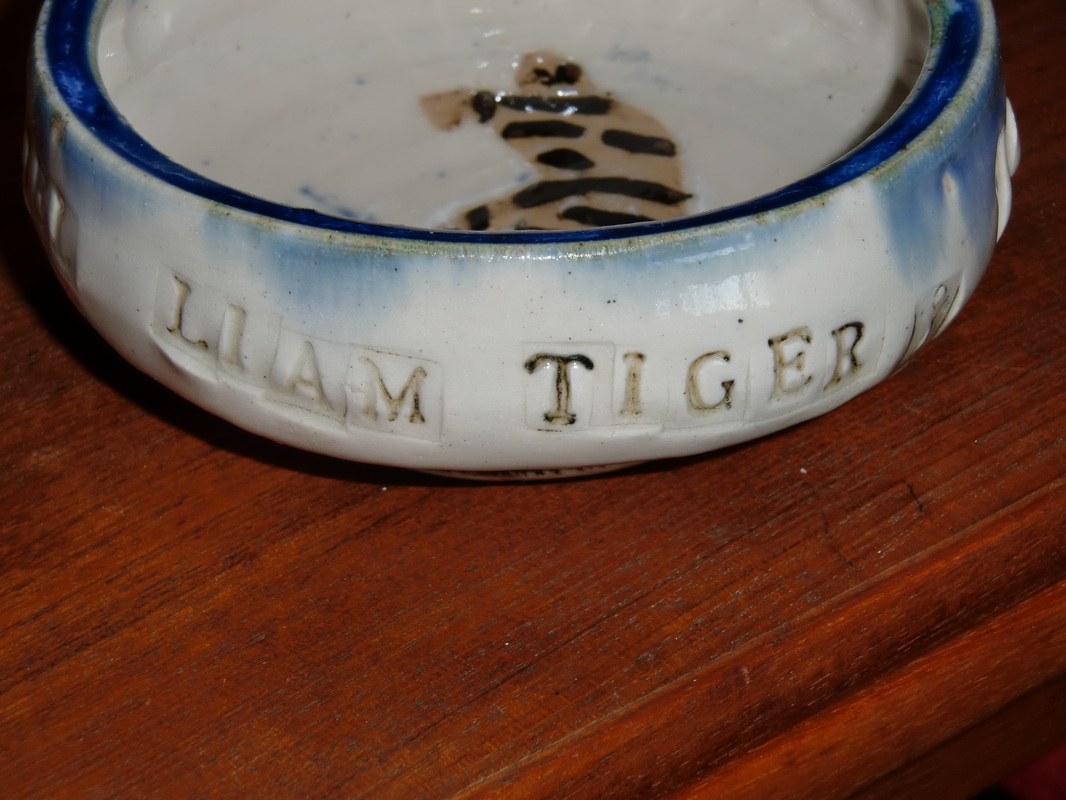
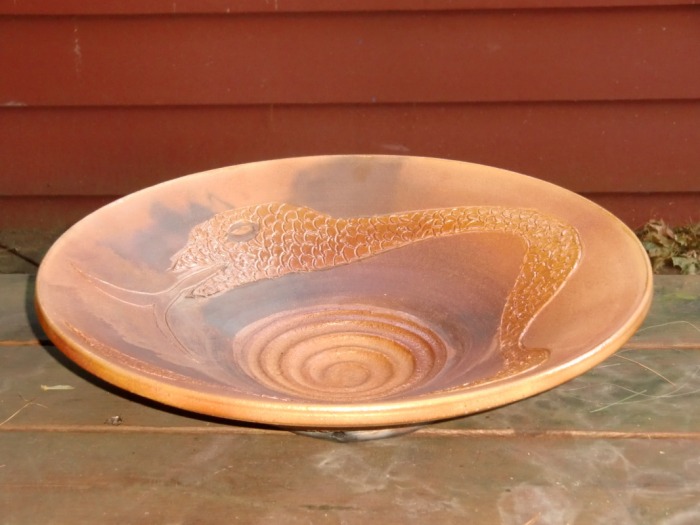
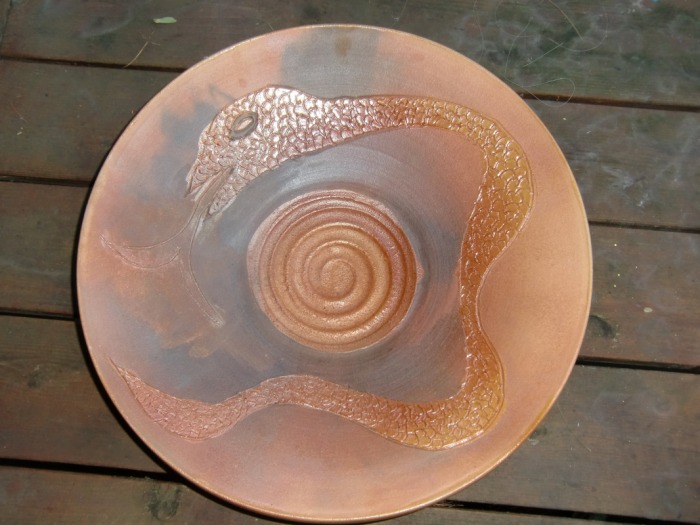
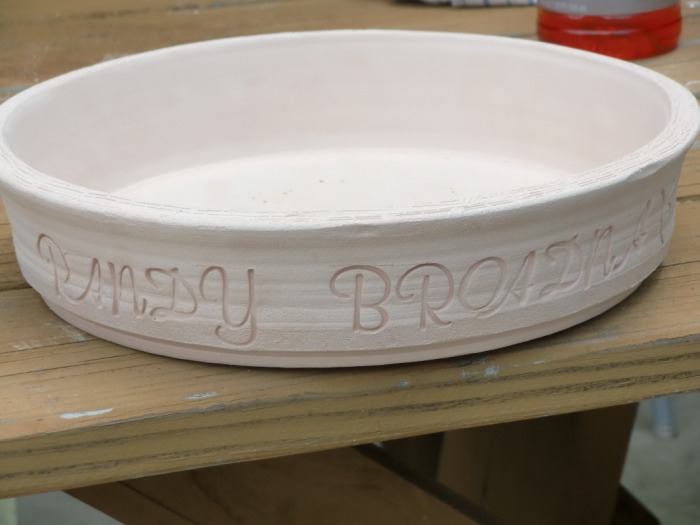
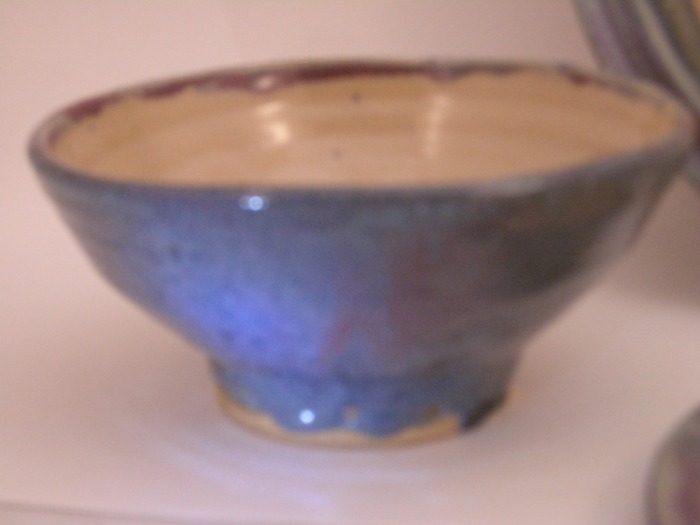
House numbers Name Door plate Reduction bowl


Dinnerware set

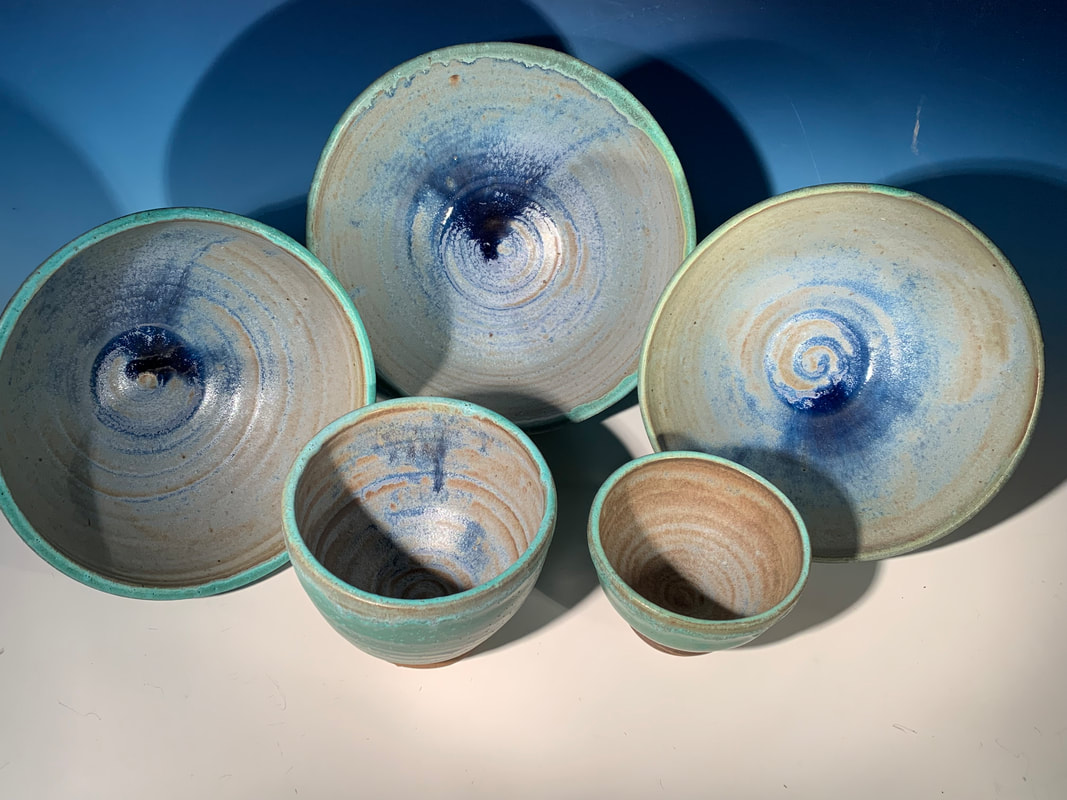
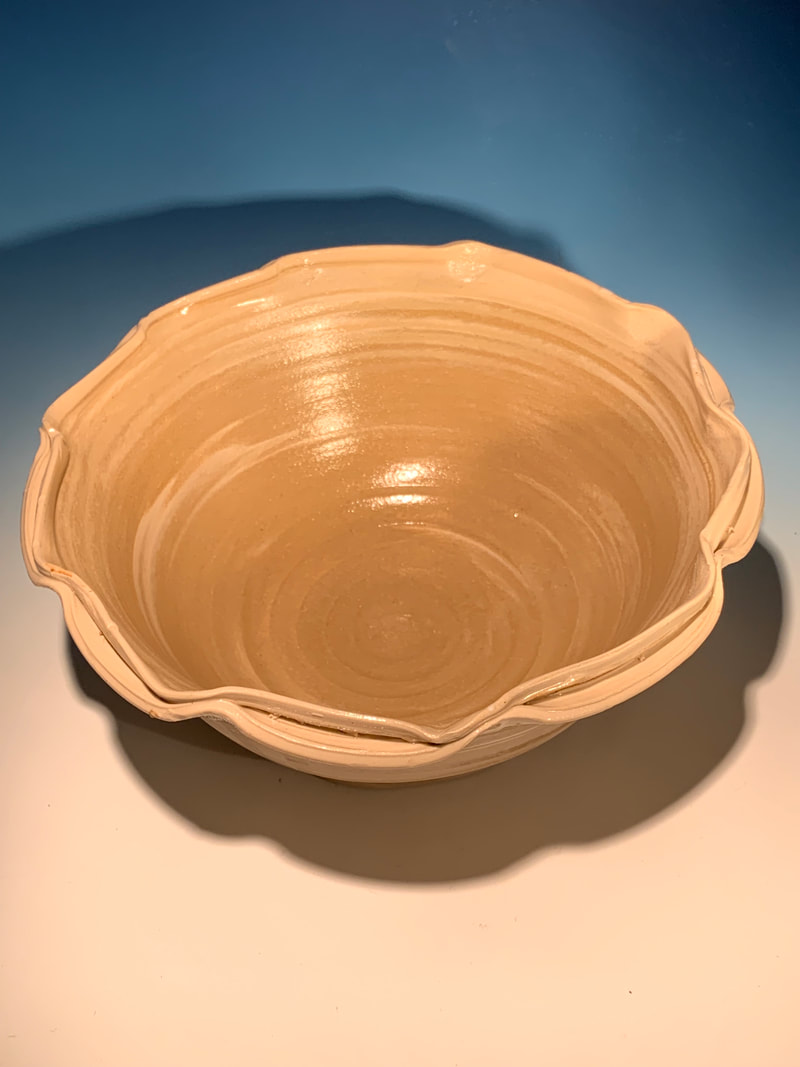
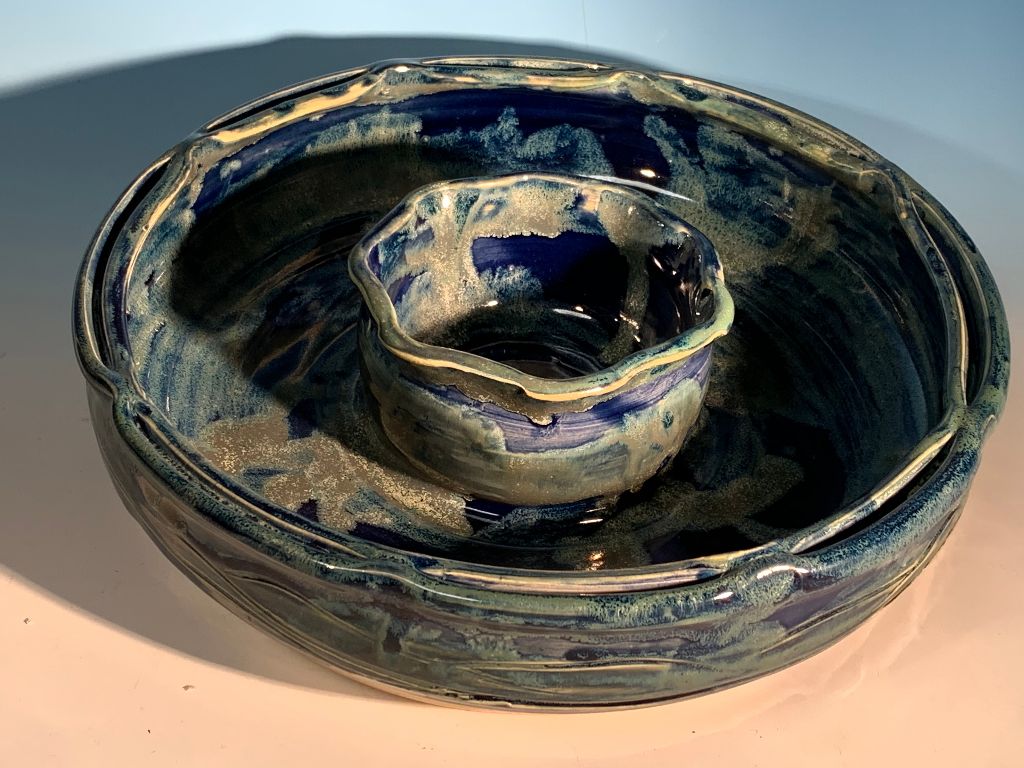
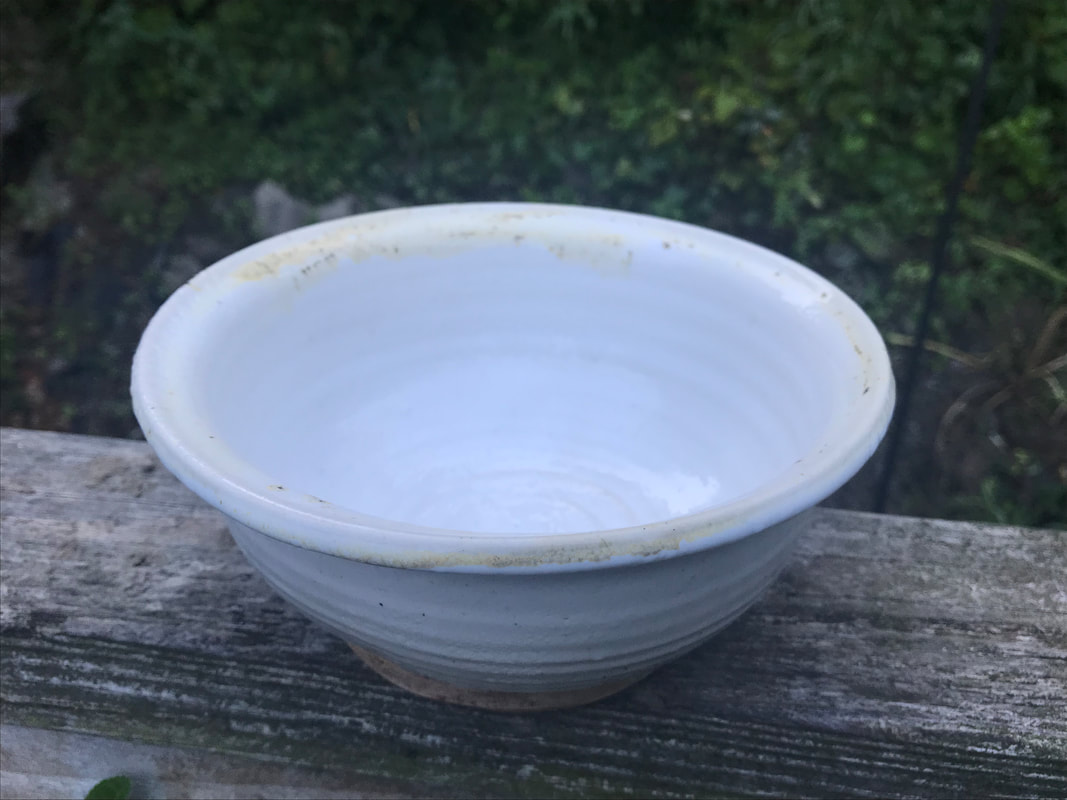
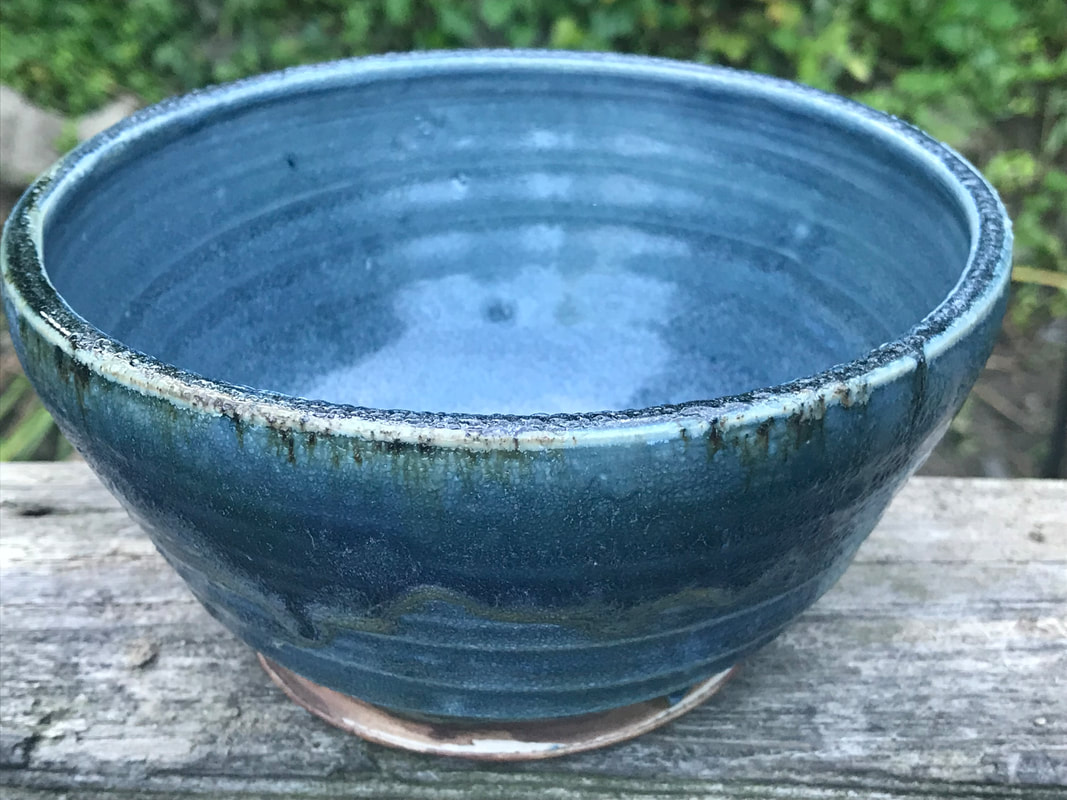
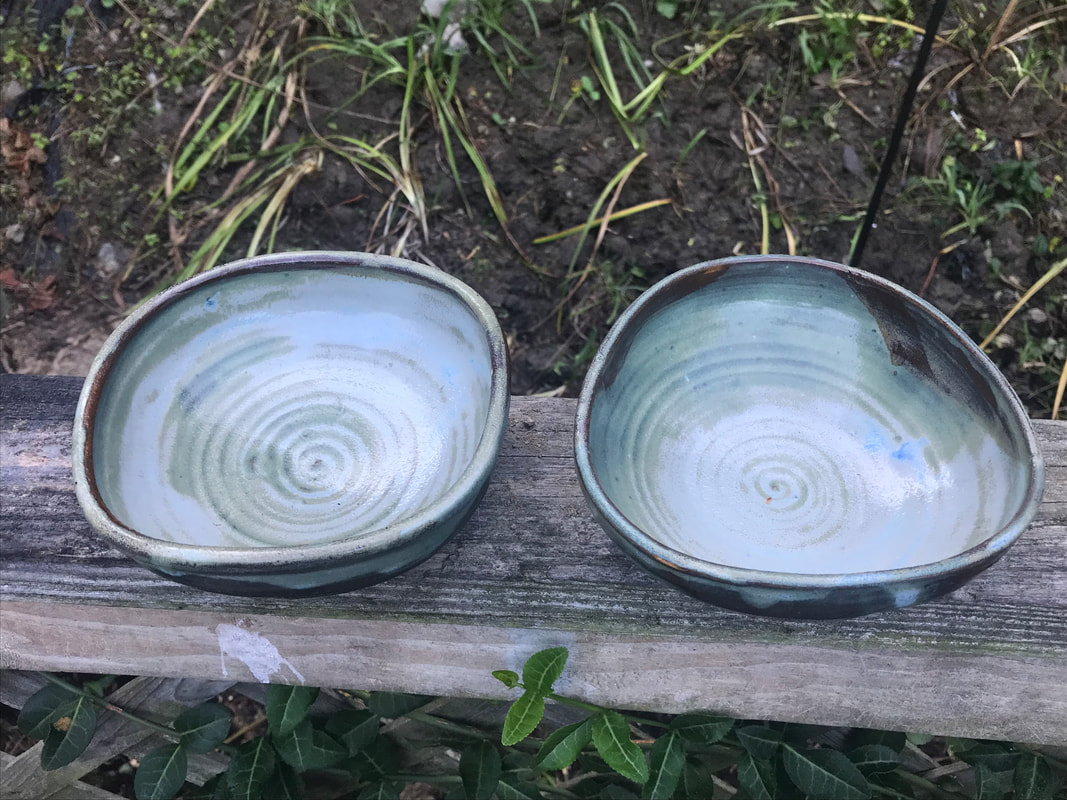
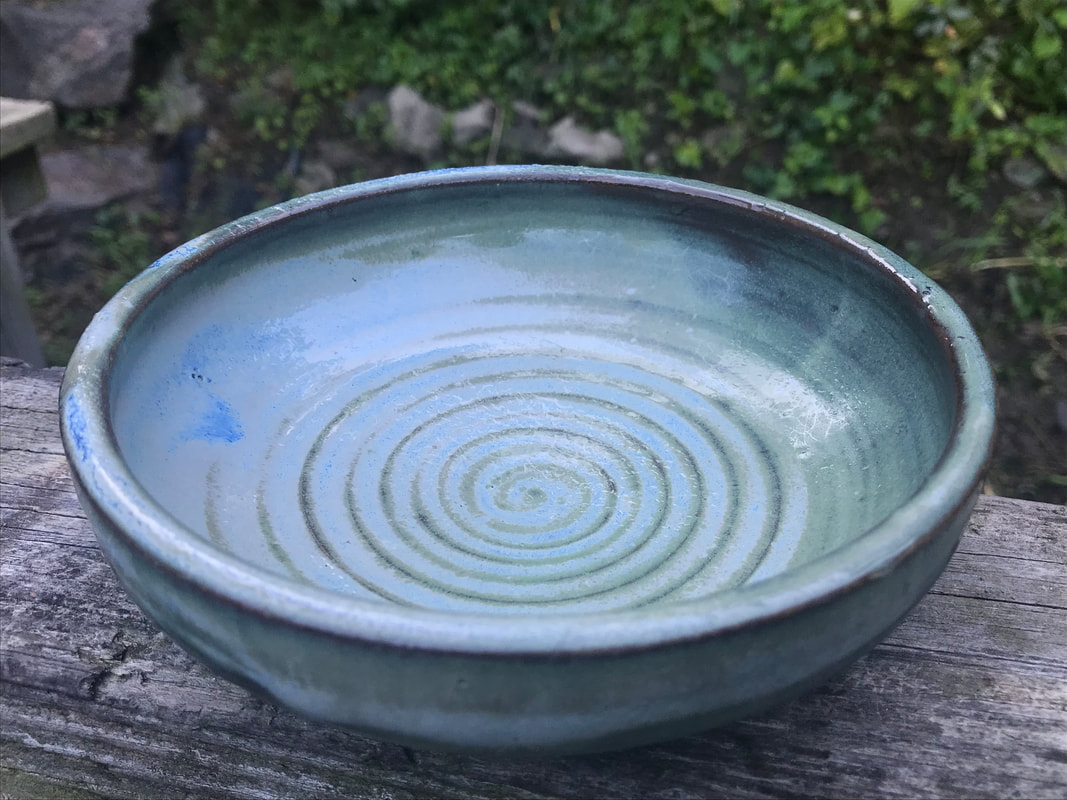
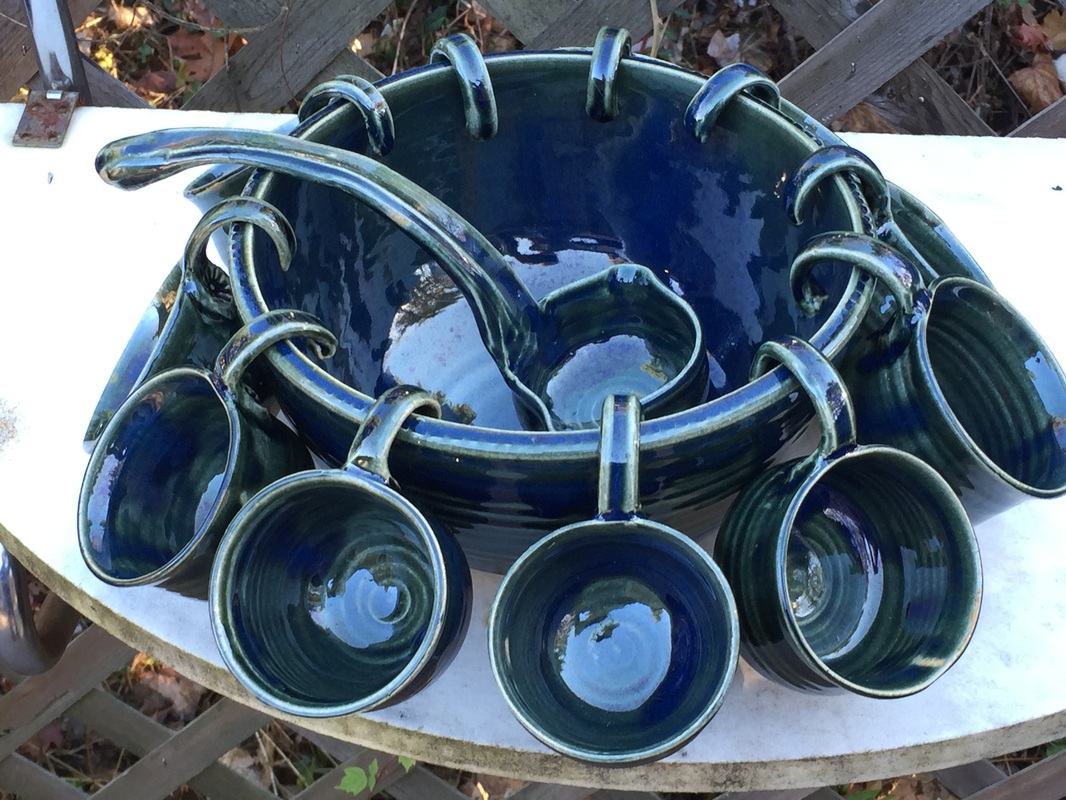
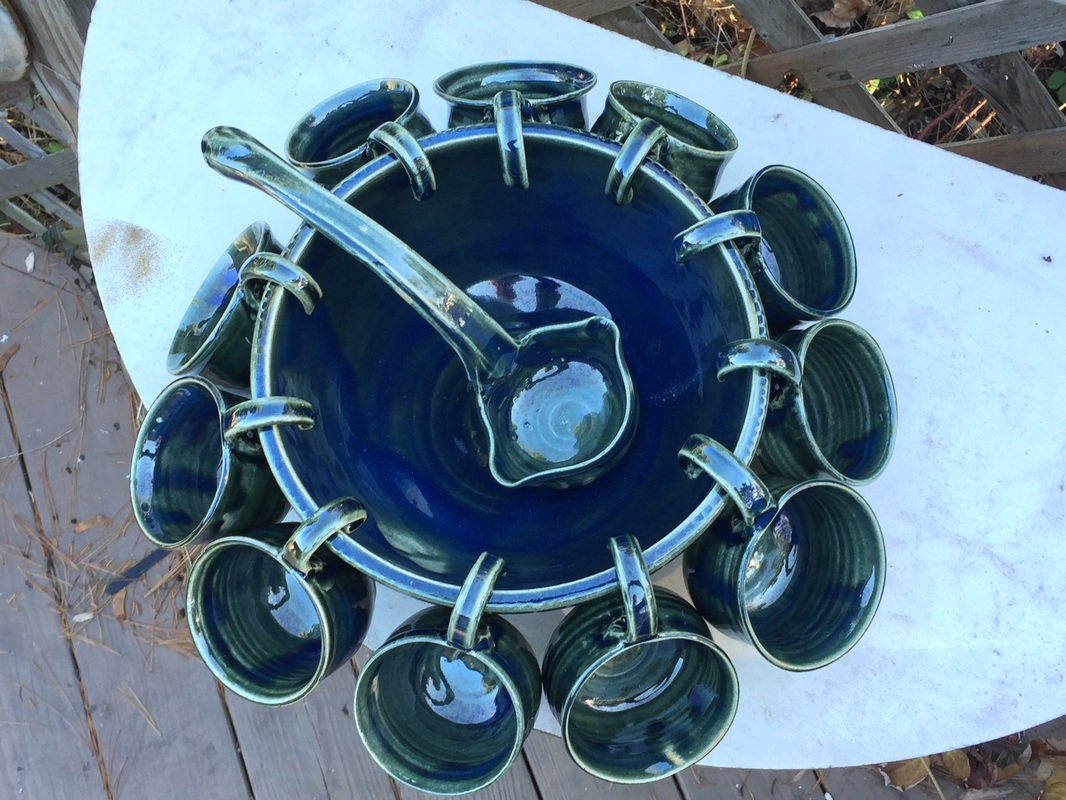
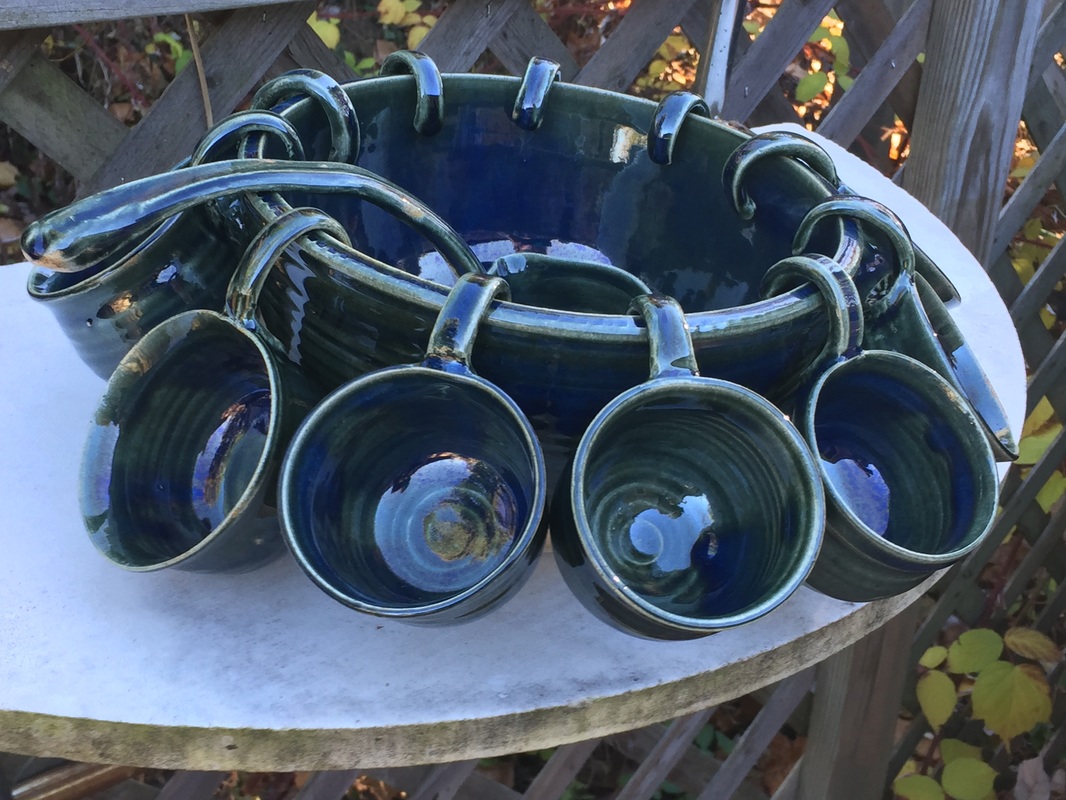
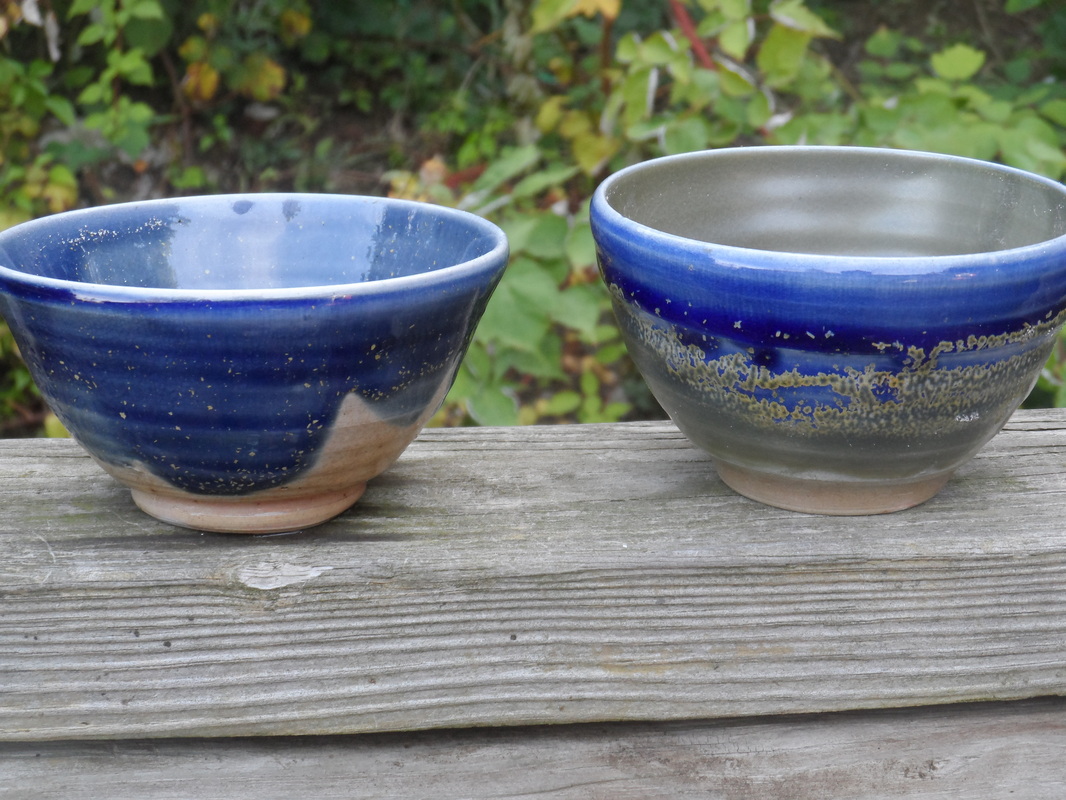
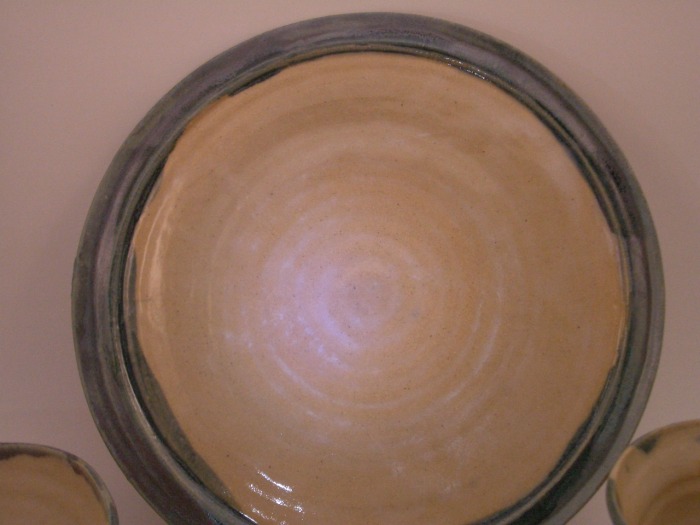
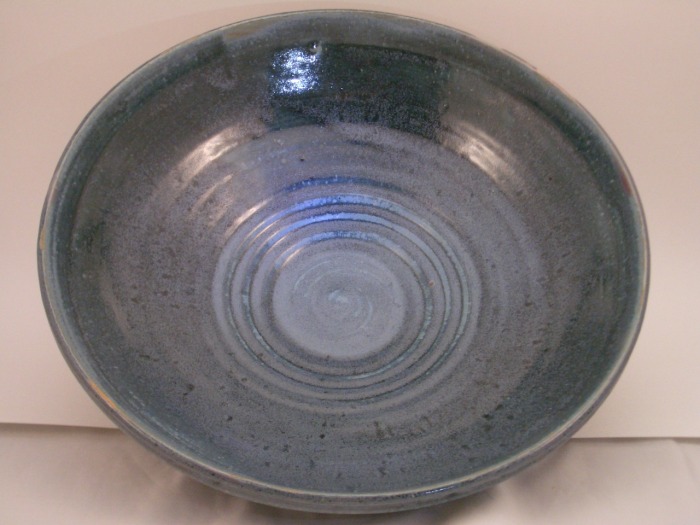
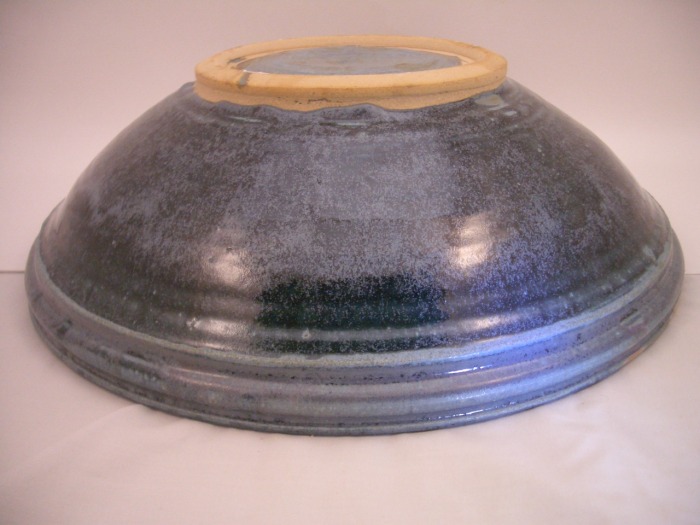
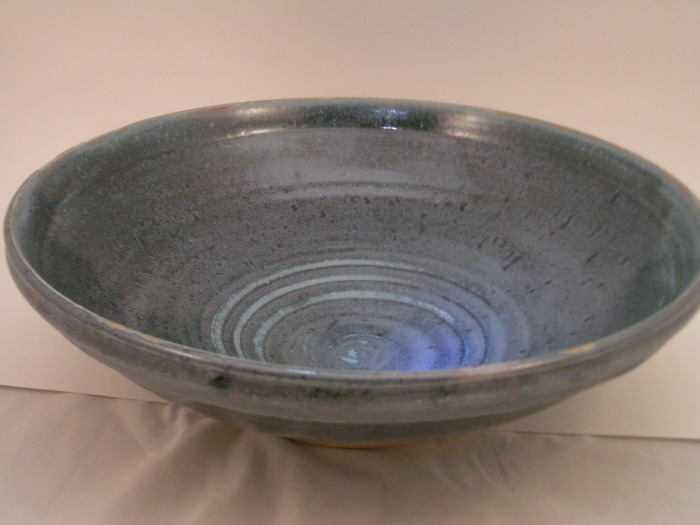
Mixing/serving bowls
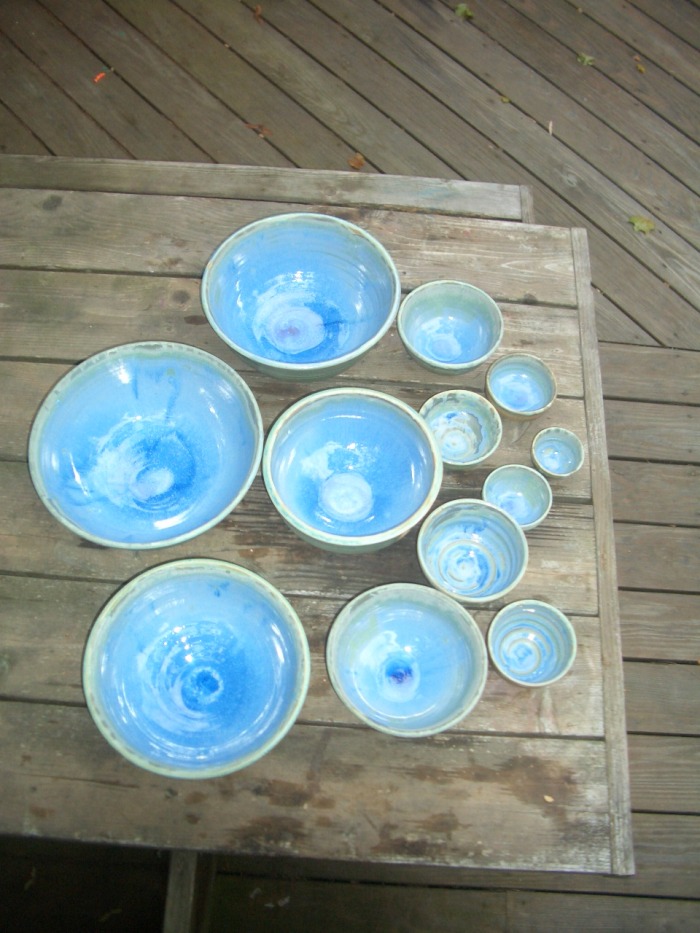
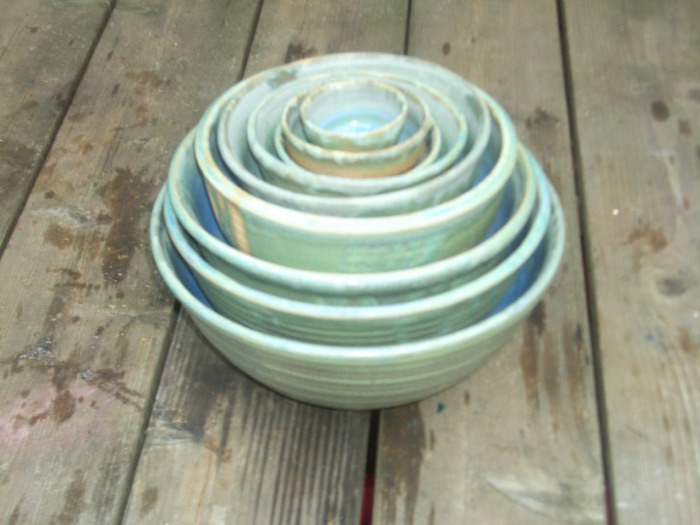

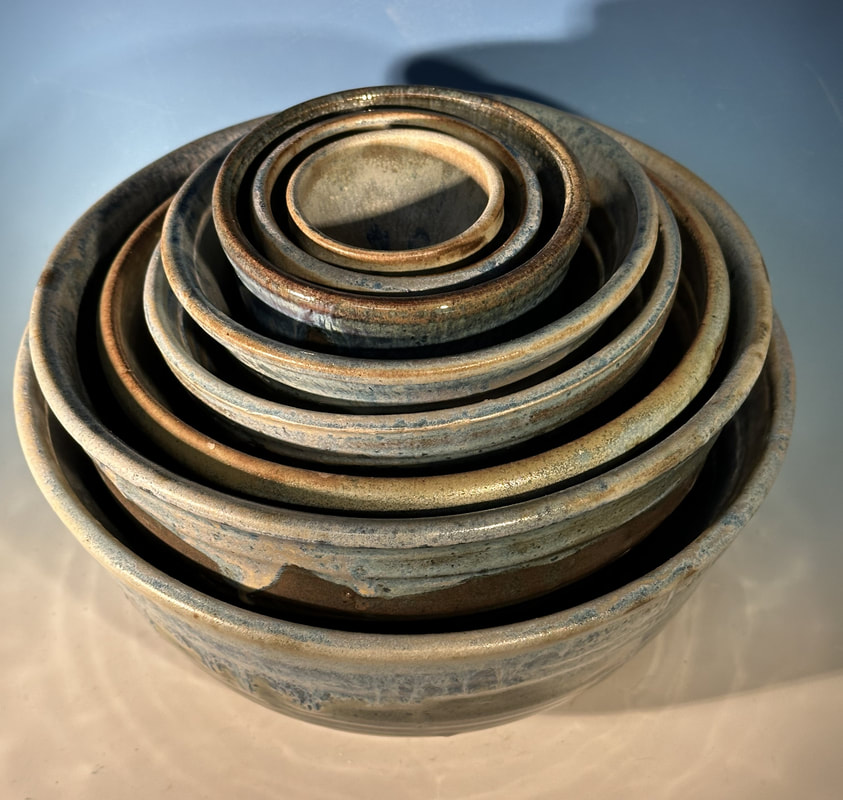
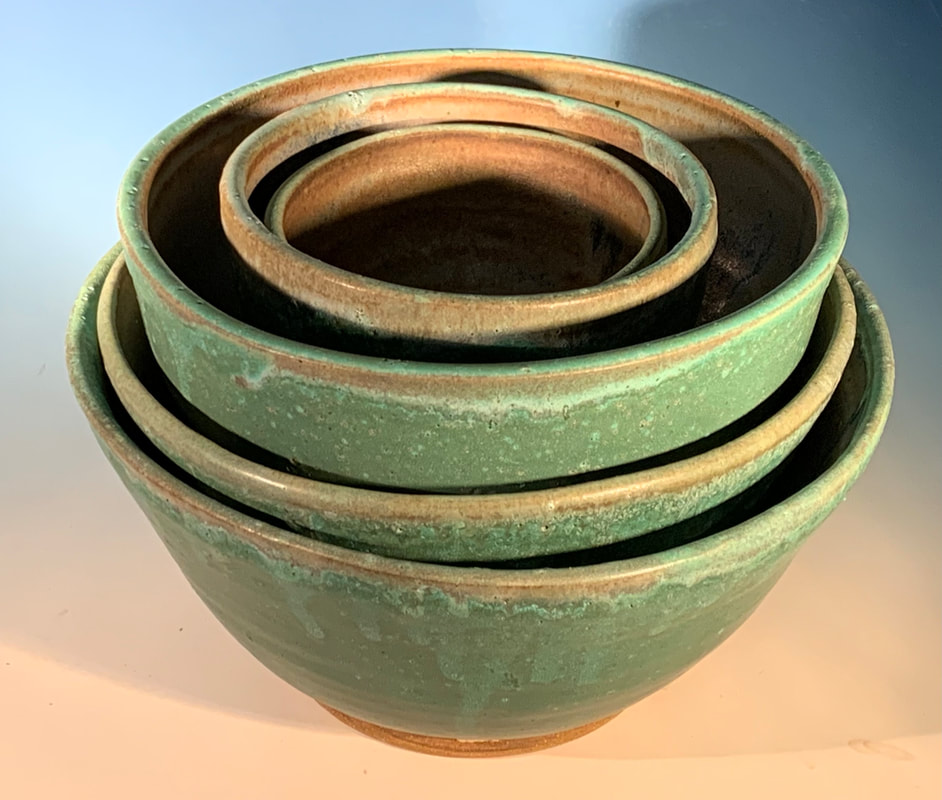
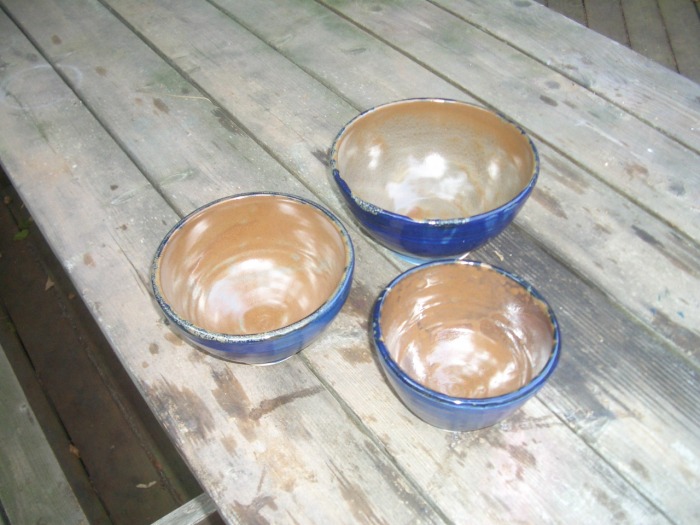
Nesting bowls
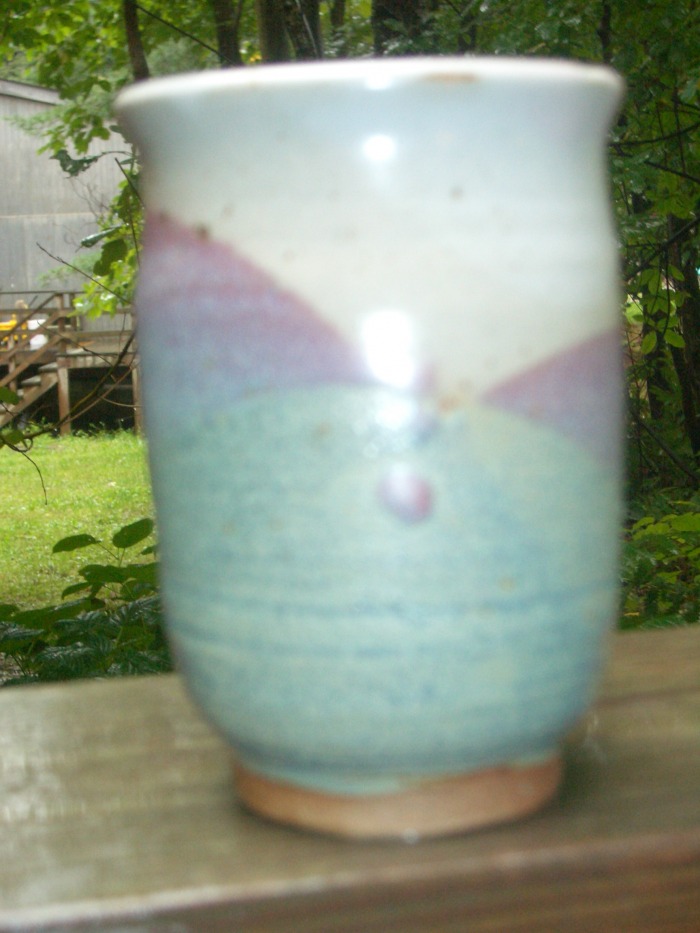
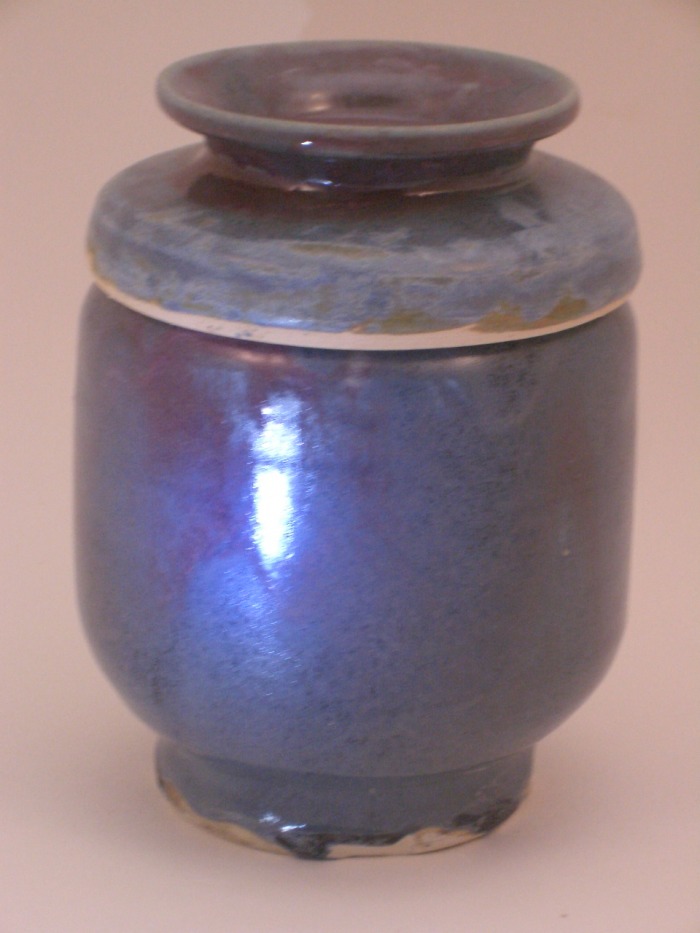
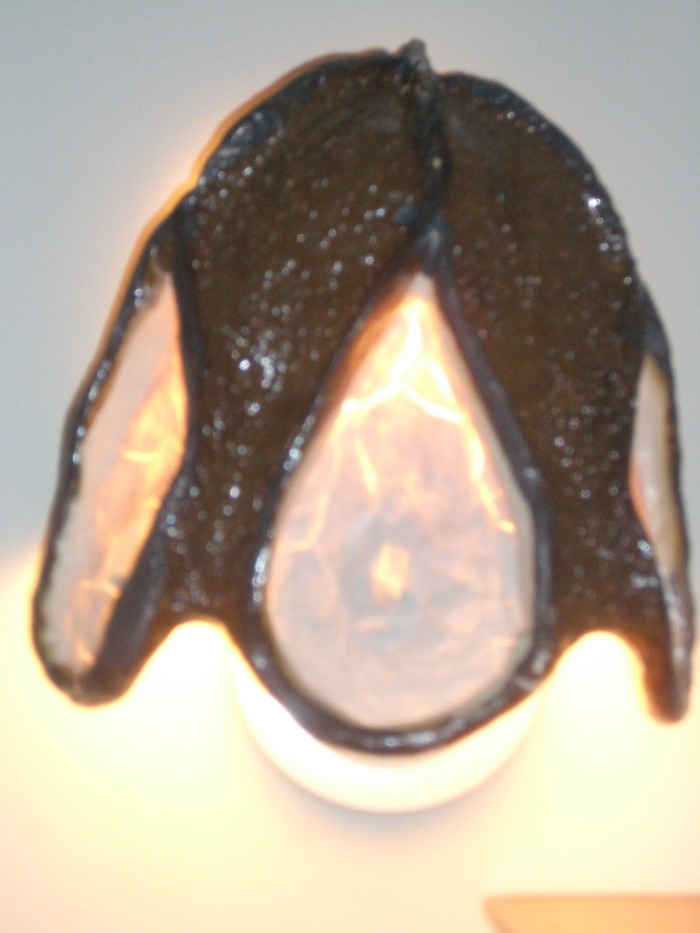
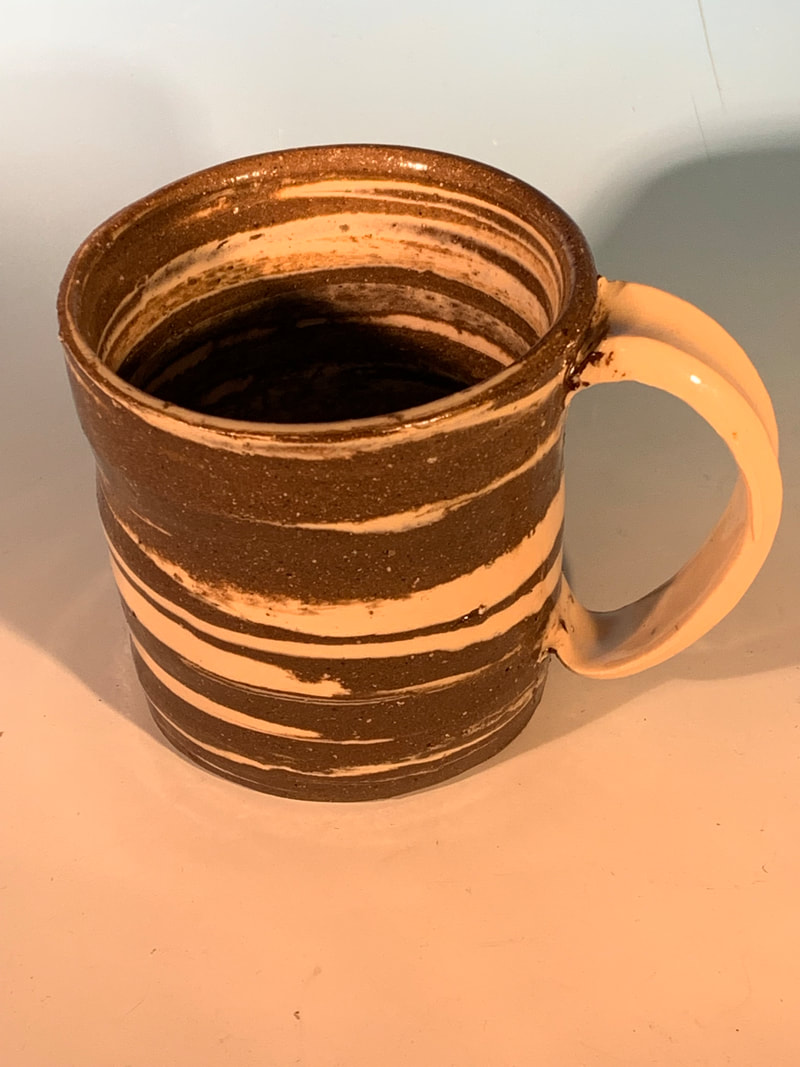
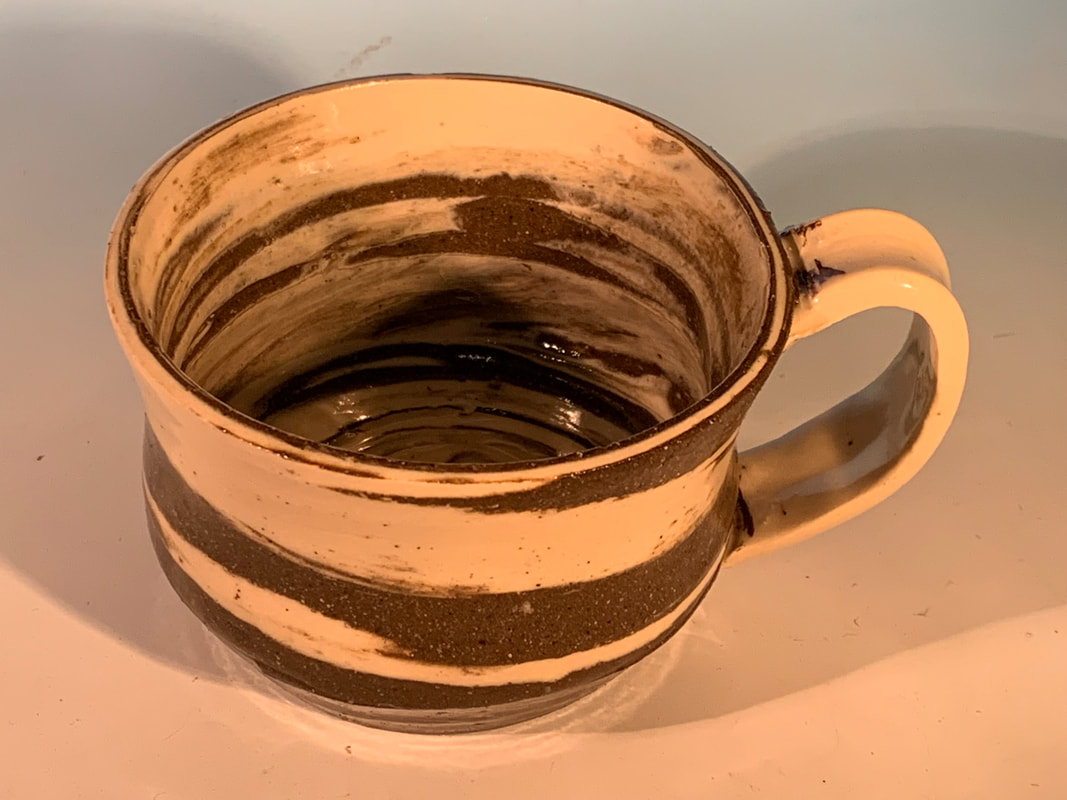
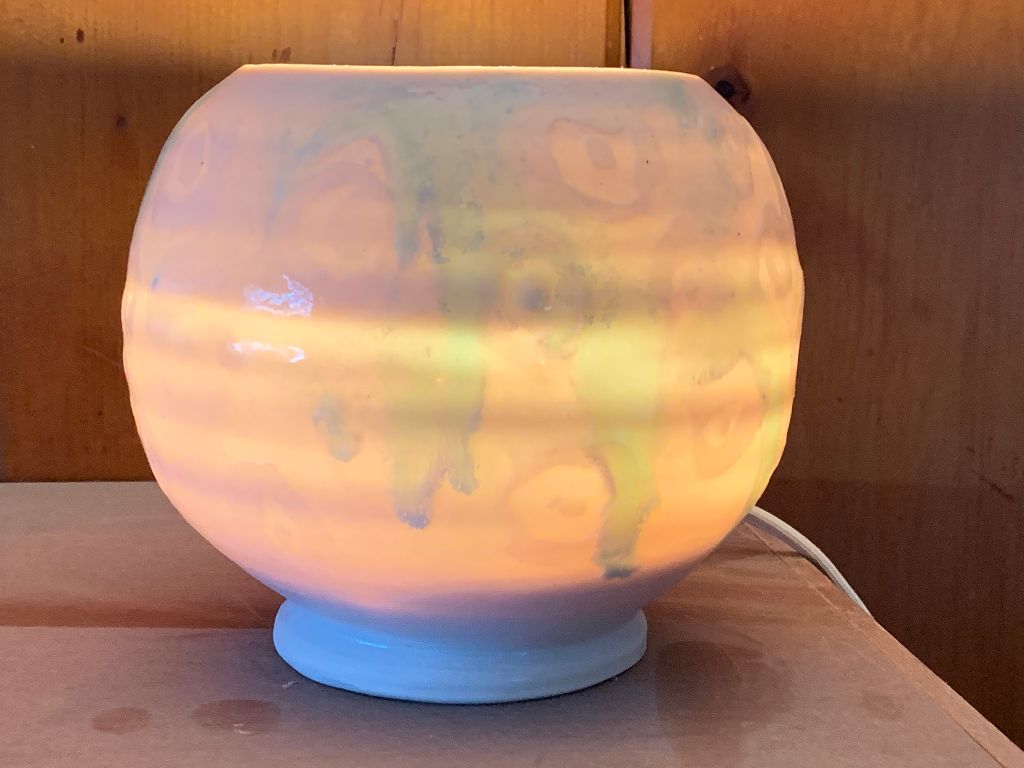
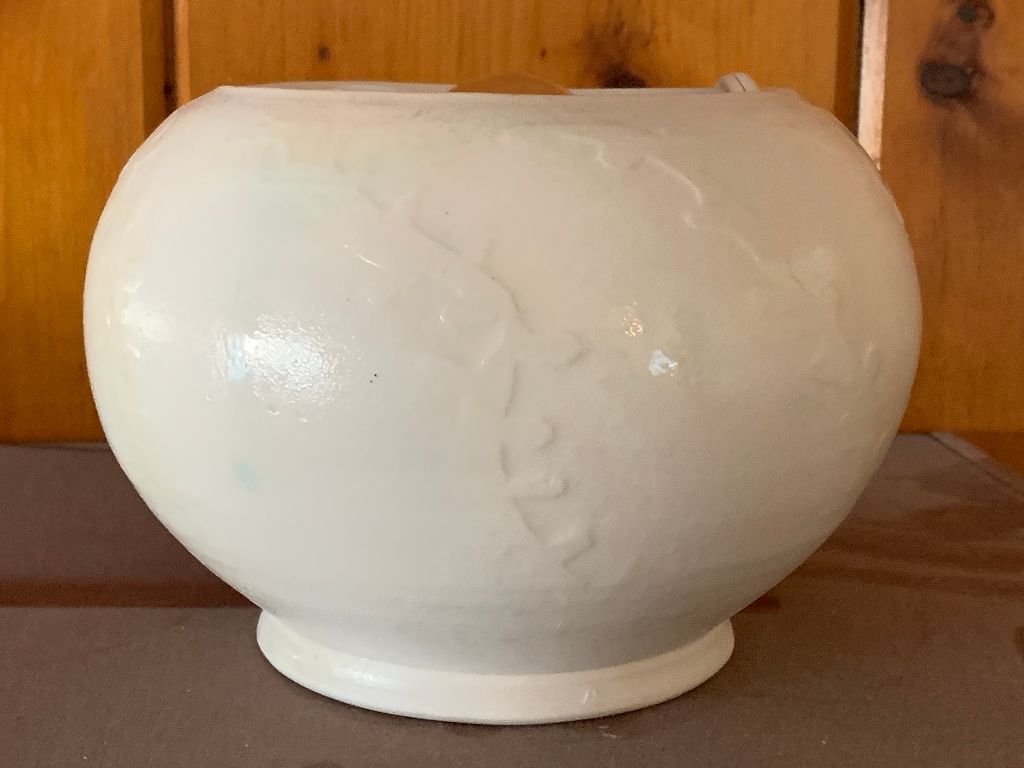
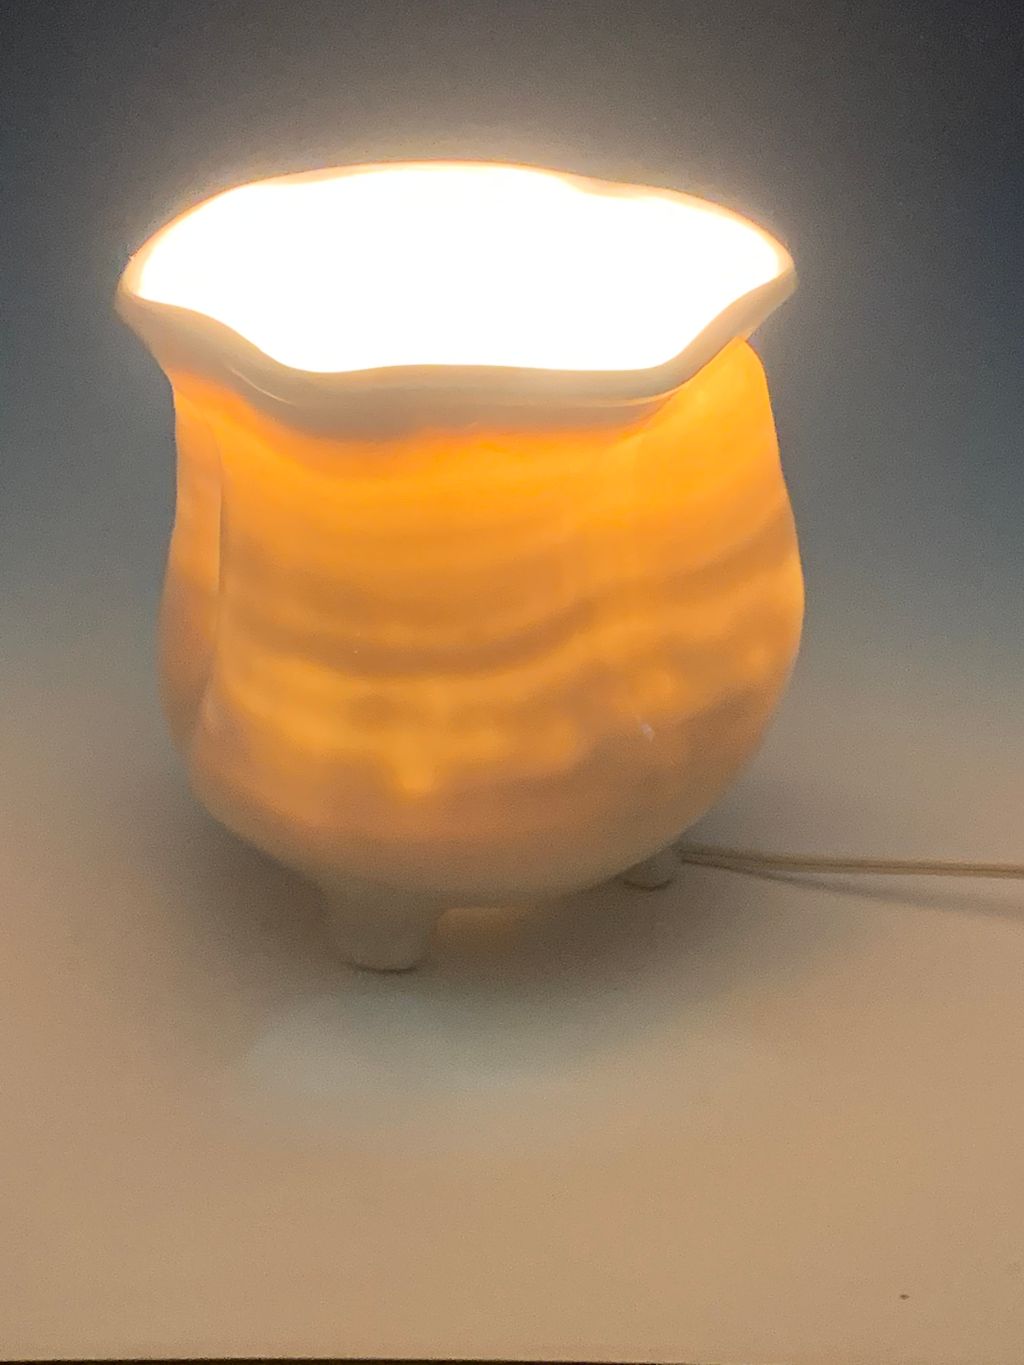
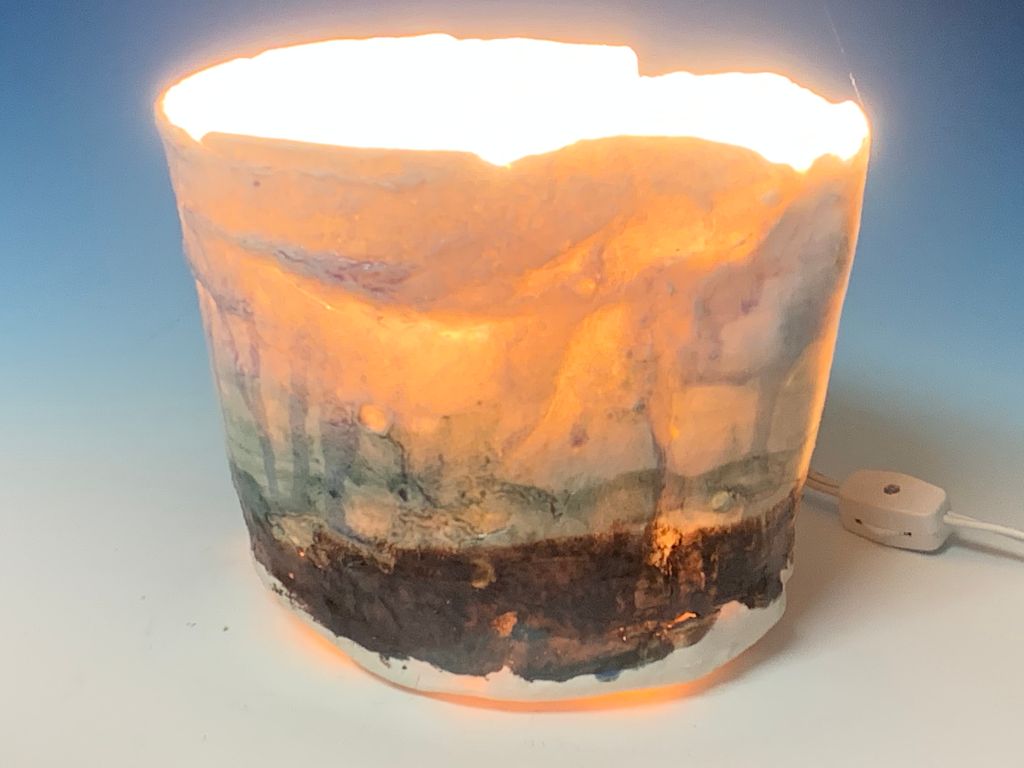
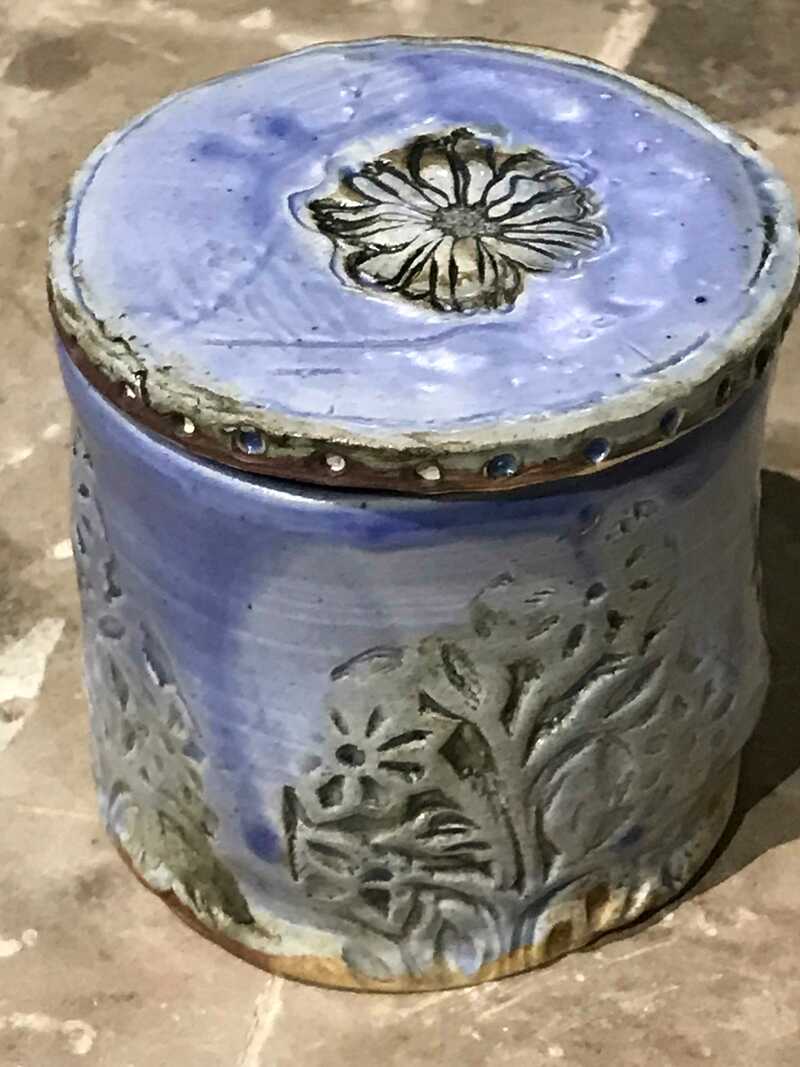
Coffee mug Cannister Light sconce
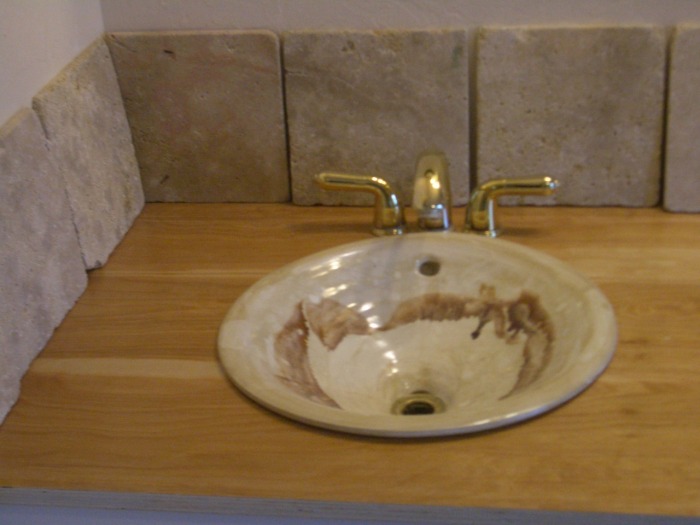
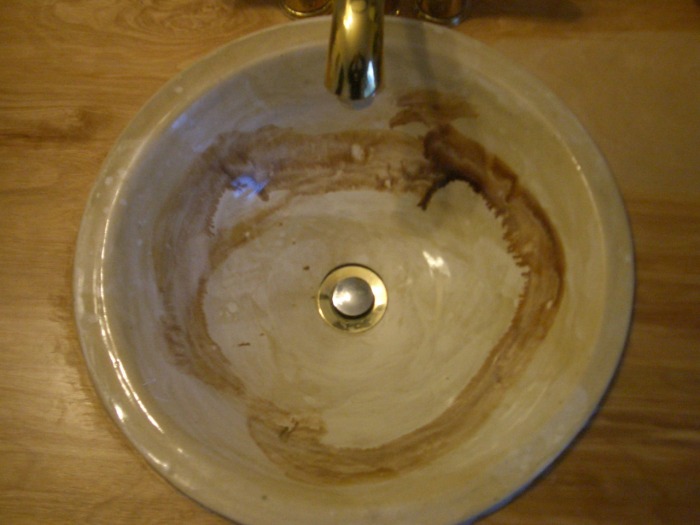
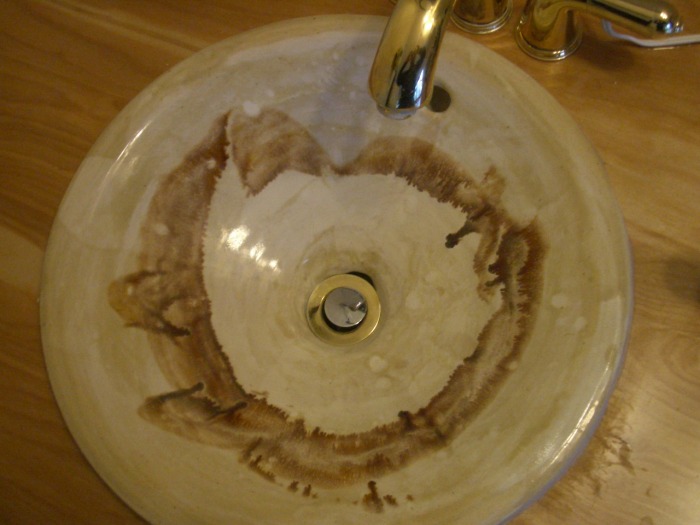
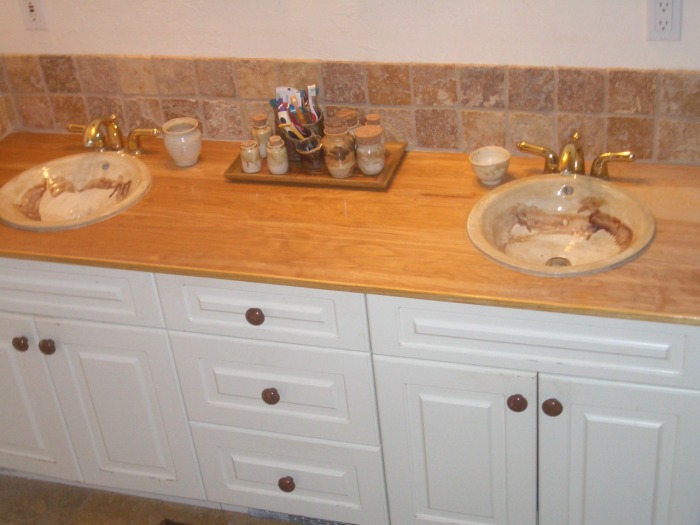
Twin bathroom sinks


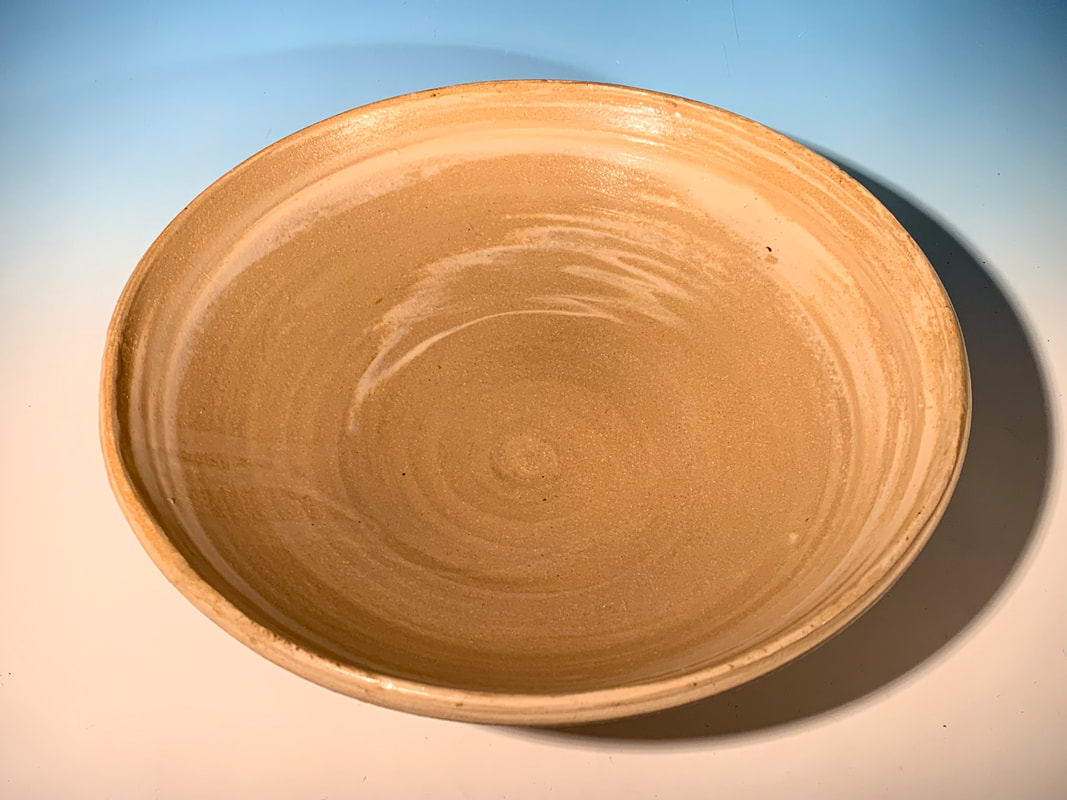
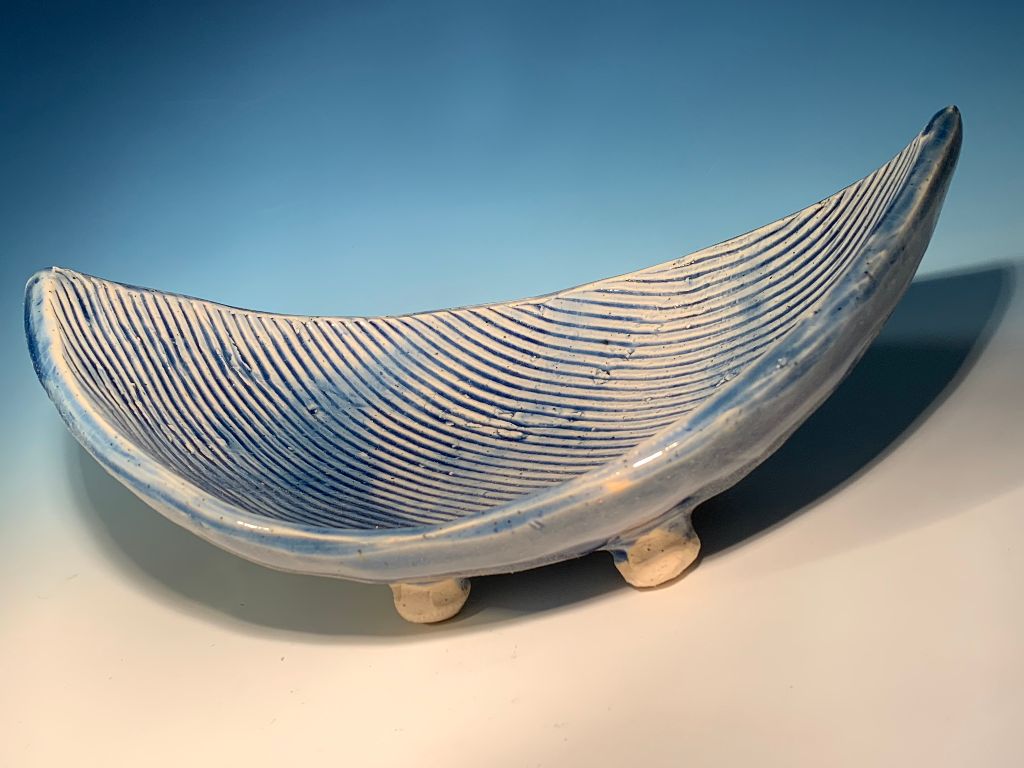
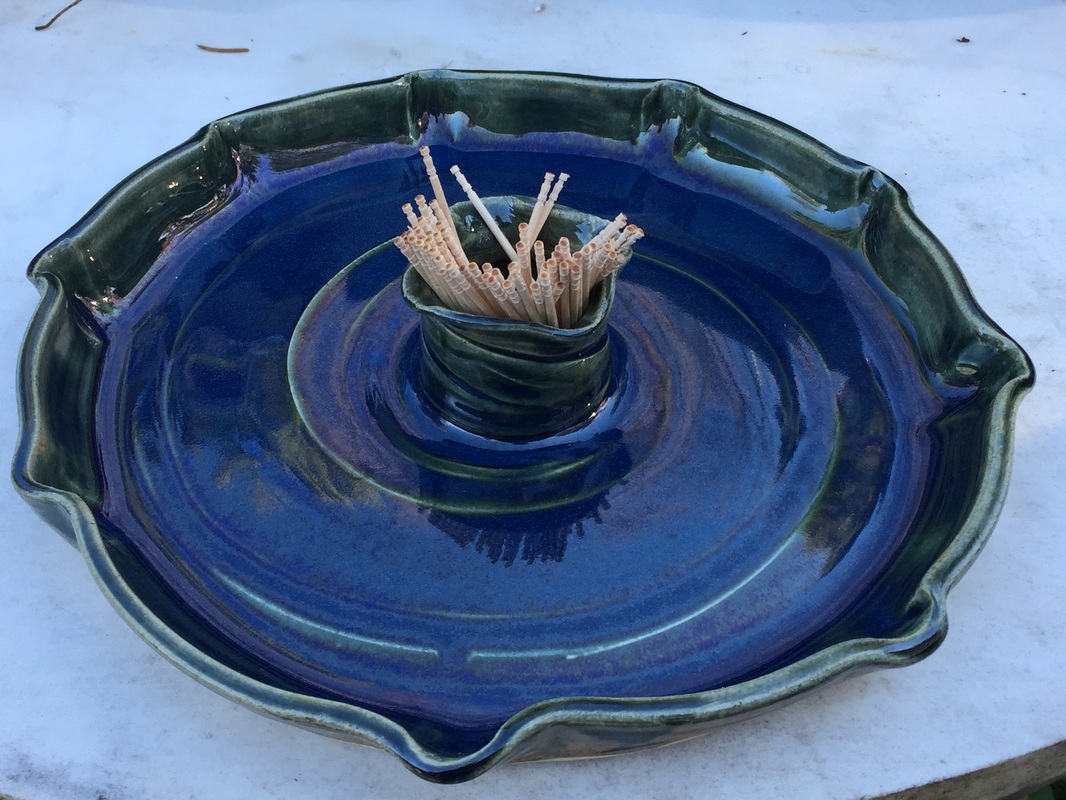
16-inch fruit bowl
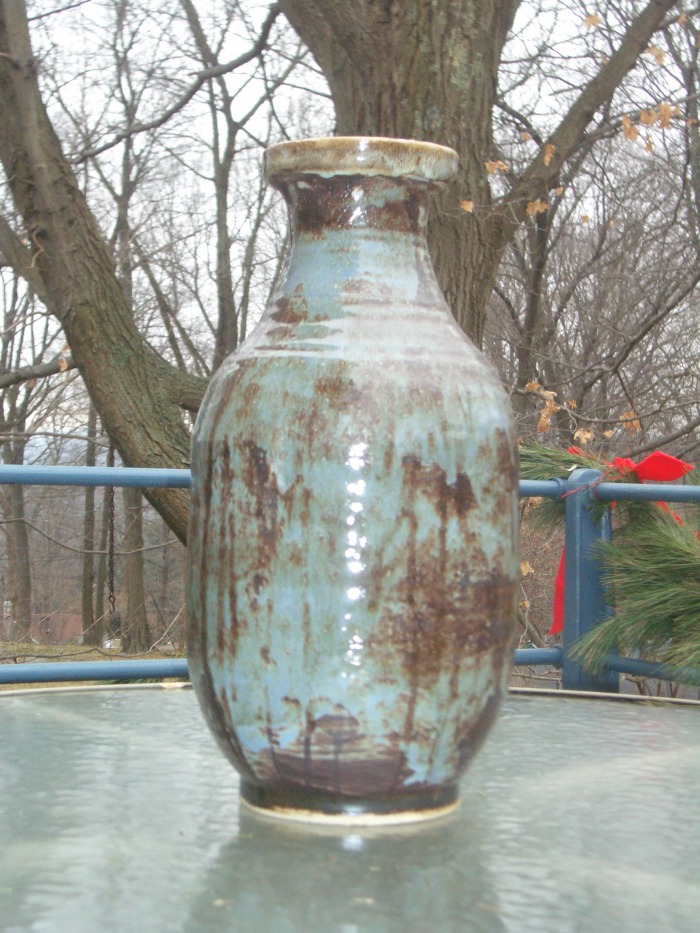
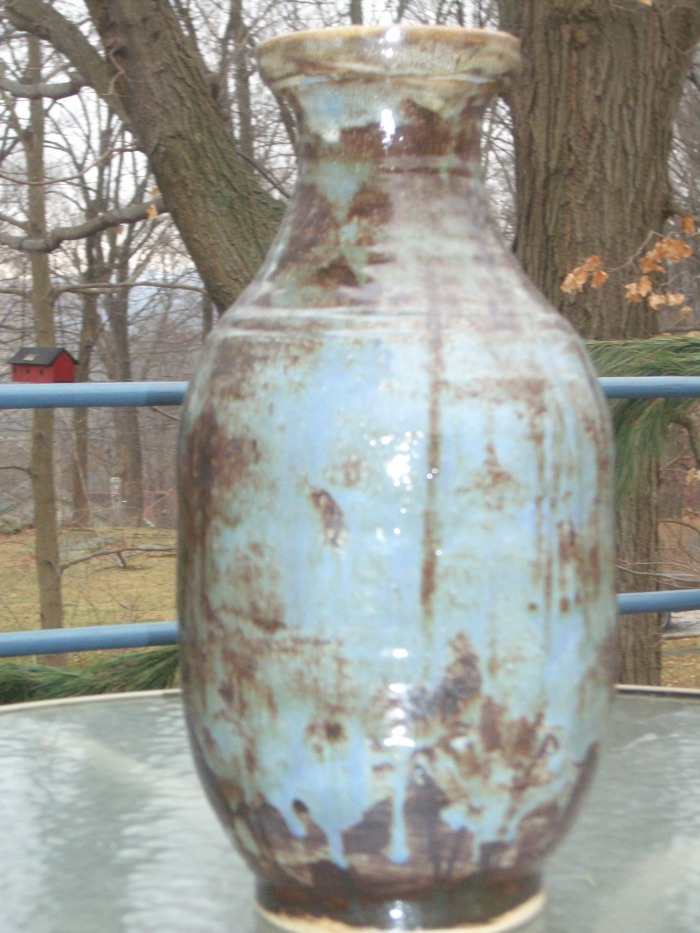
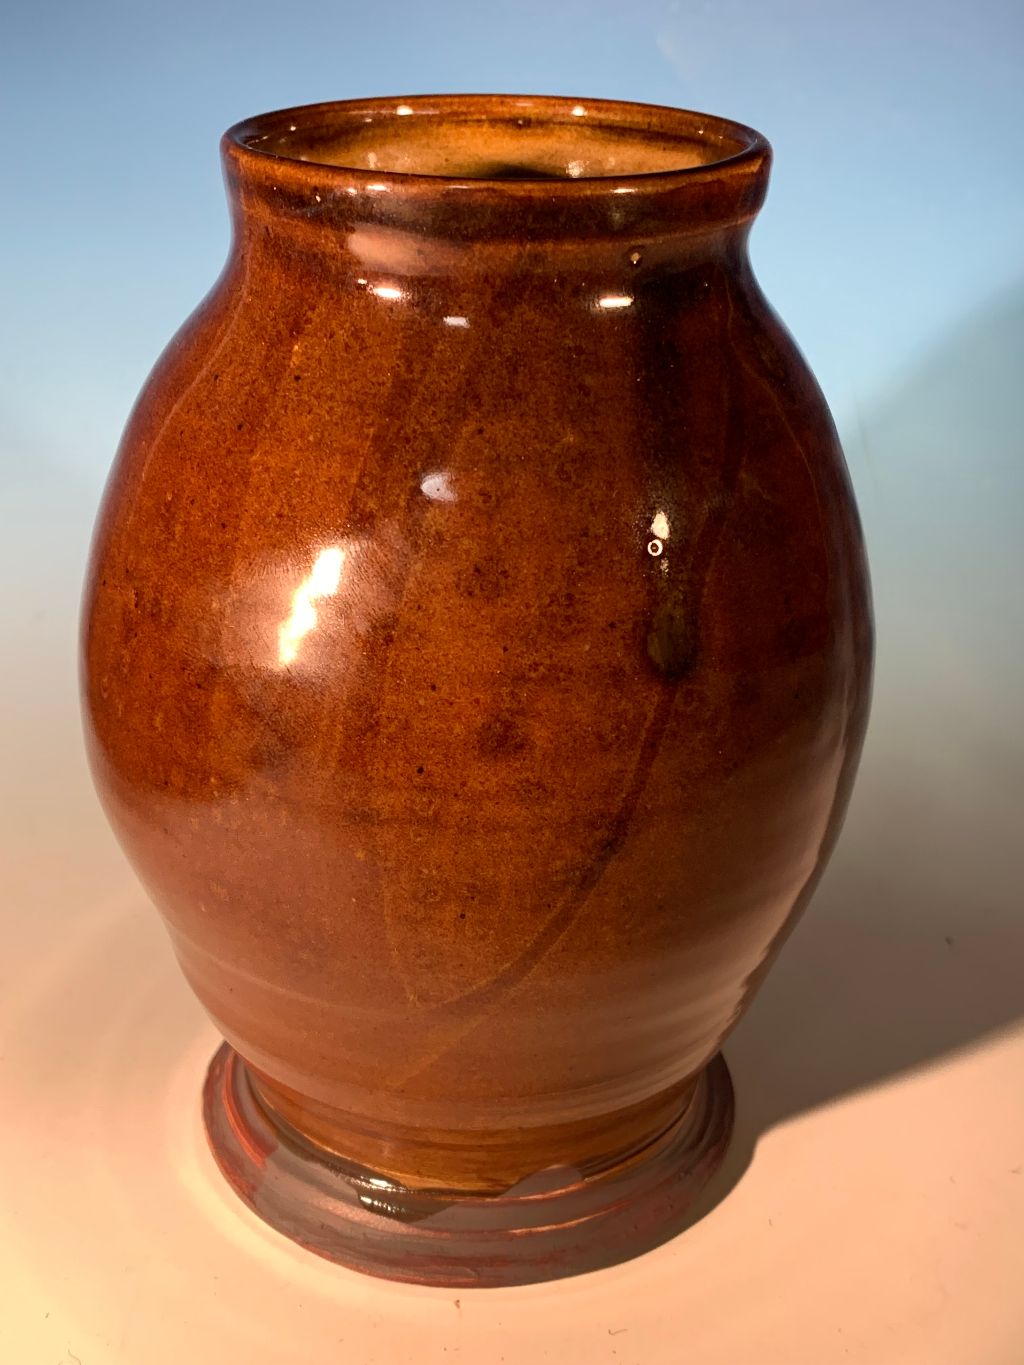
18-inch vase Stoneware vase
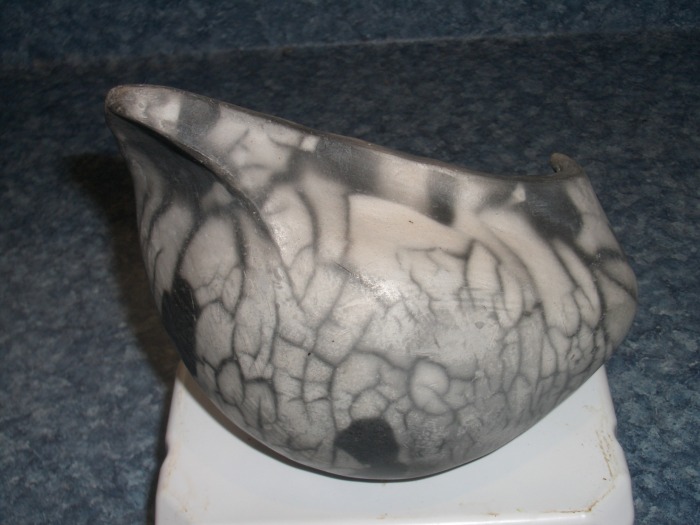
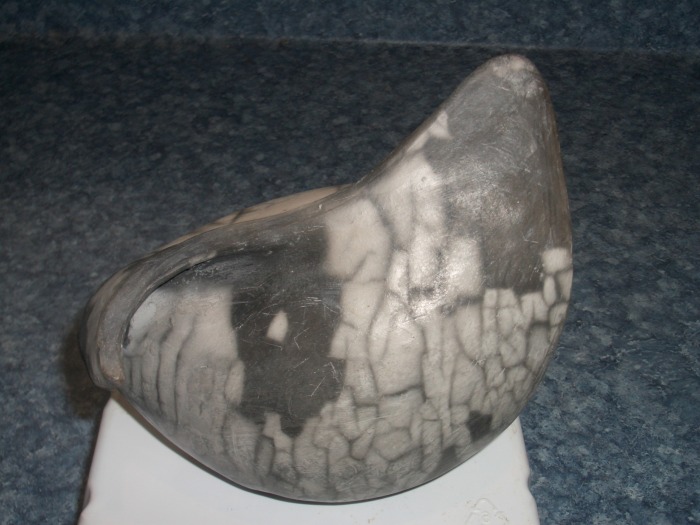
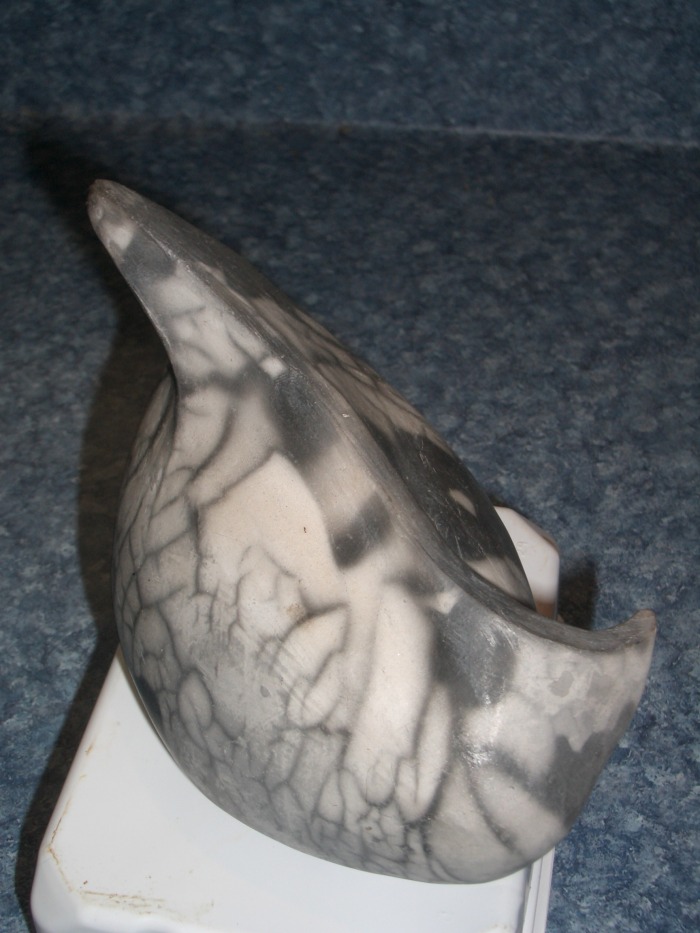
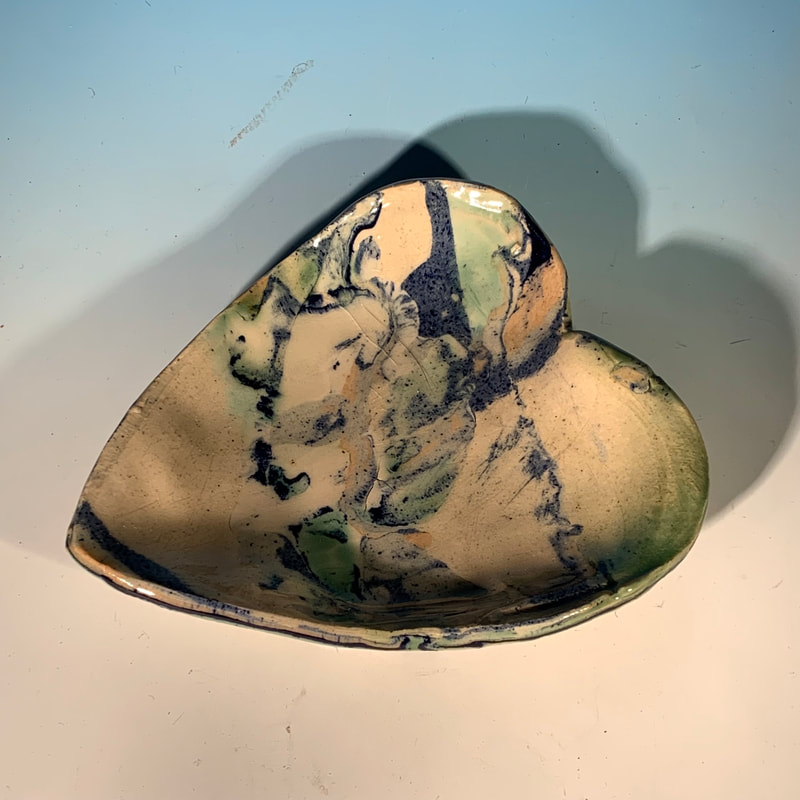
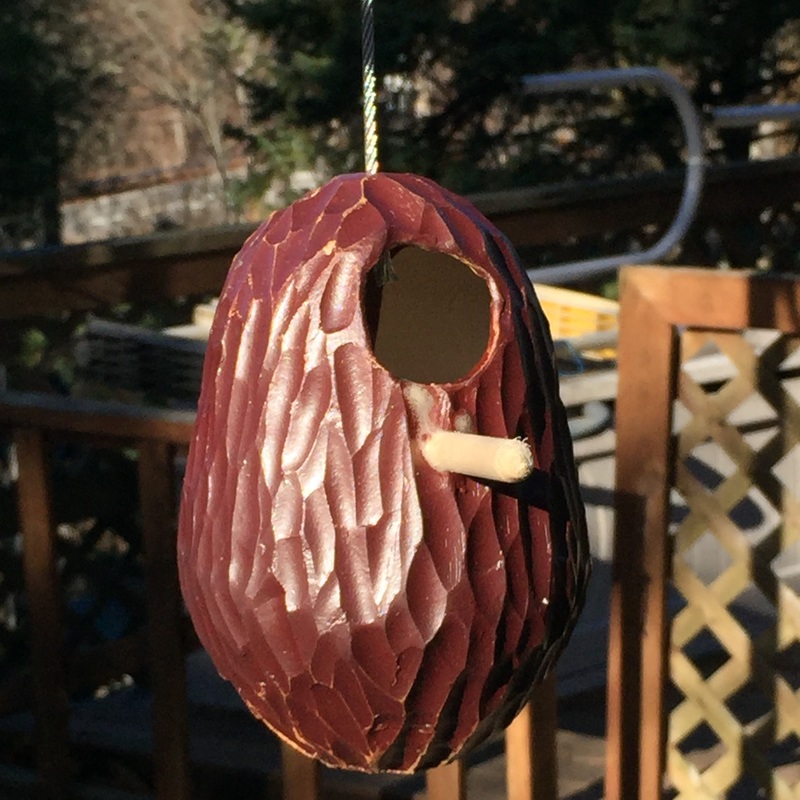
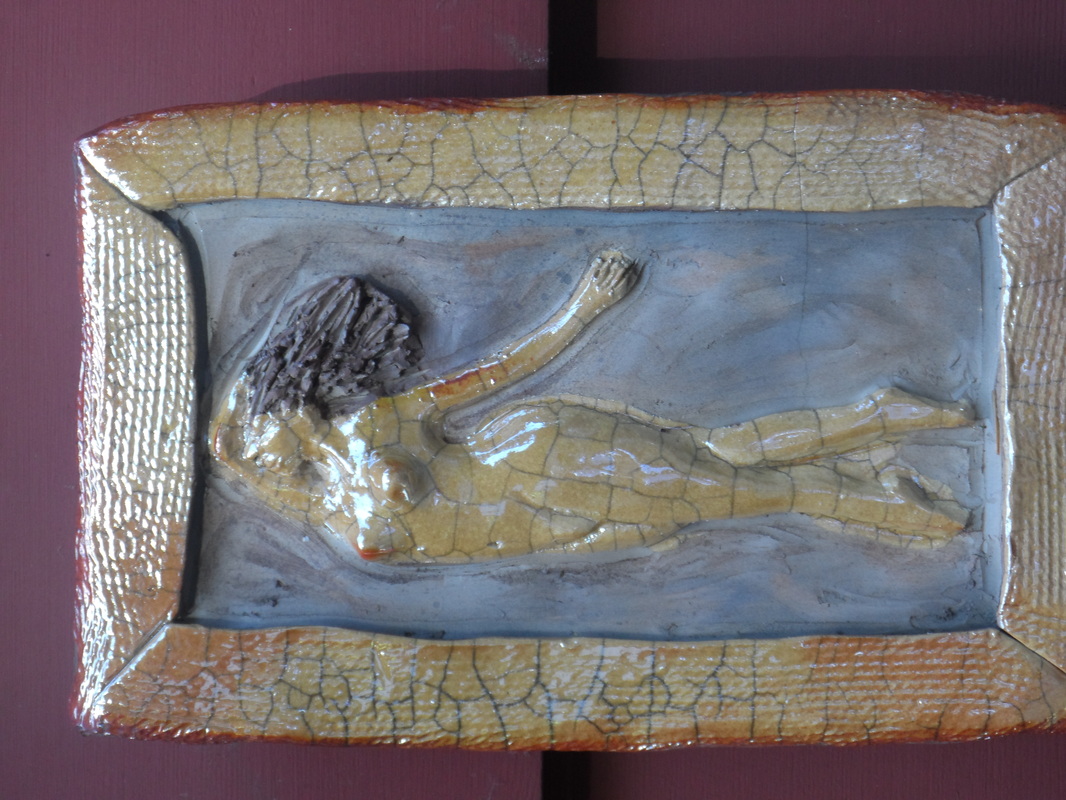
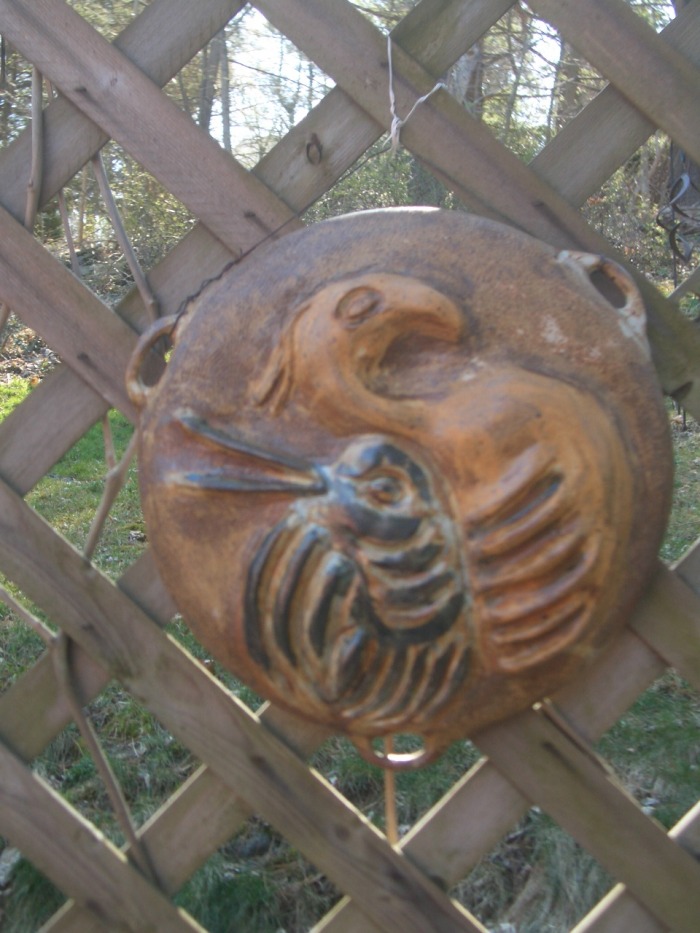
Naked Raku abstract bird made with Peruvian paddle & stone method
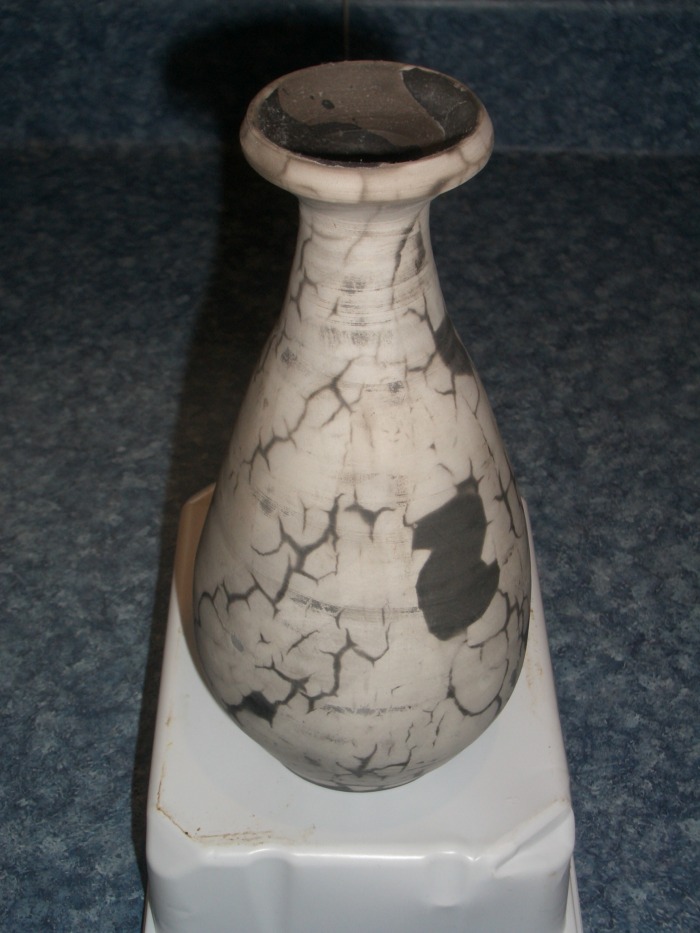
Horsehair Raku Naked Raku
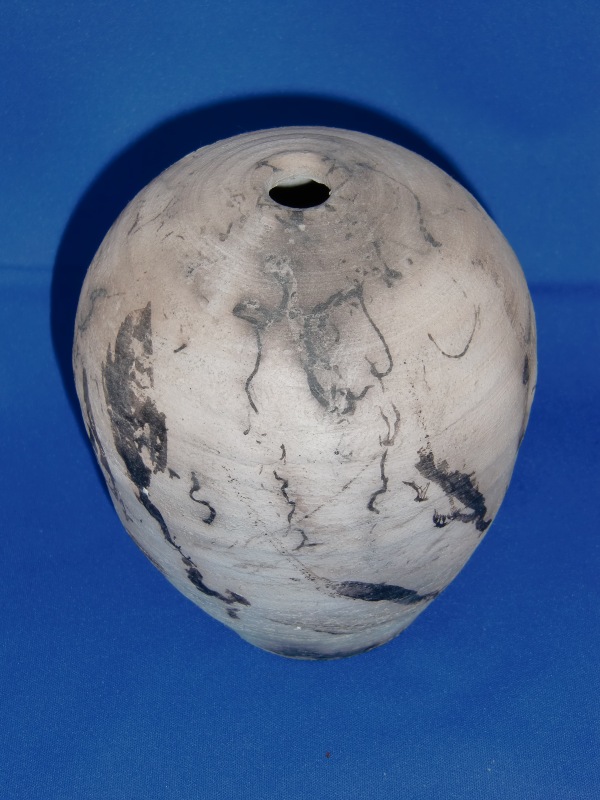
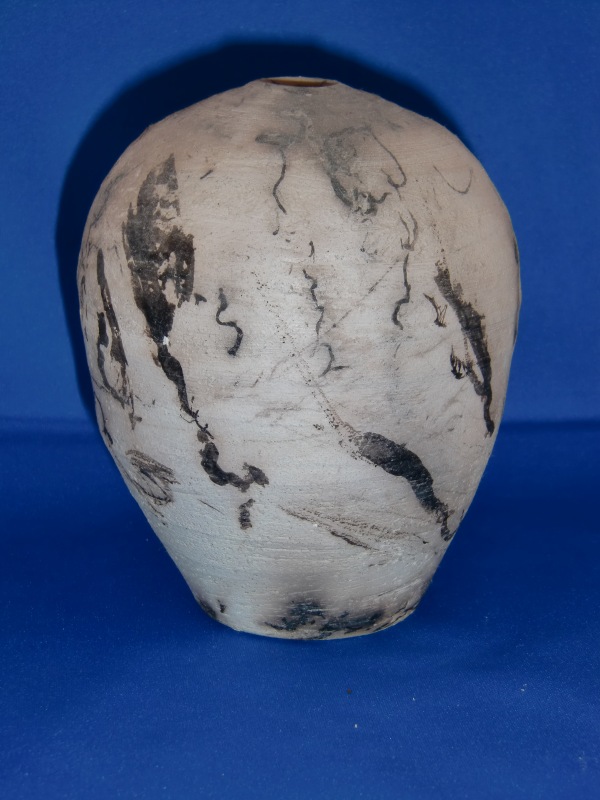
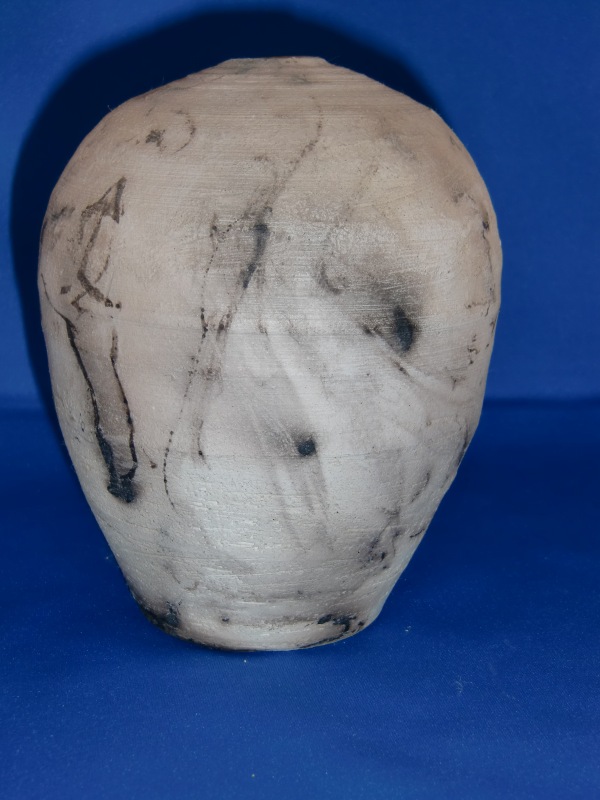
Naked Raku using feathers & horsehair
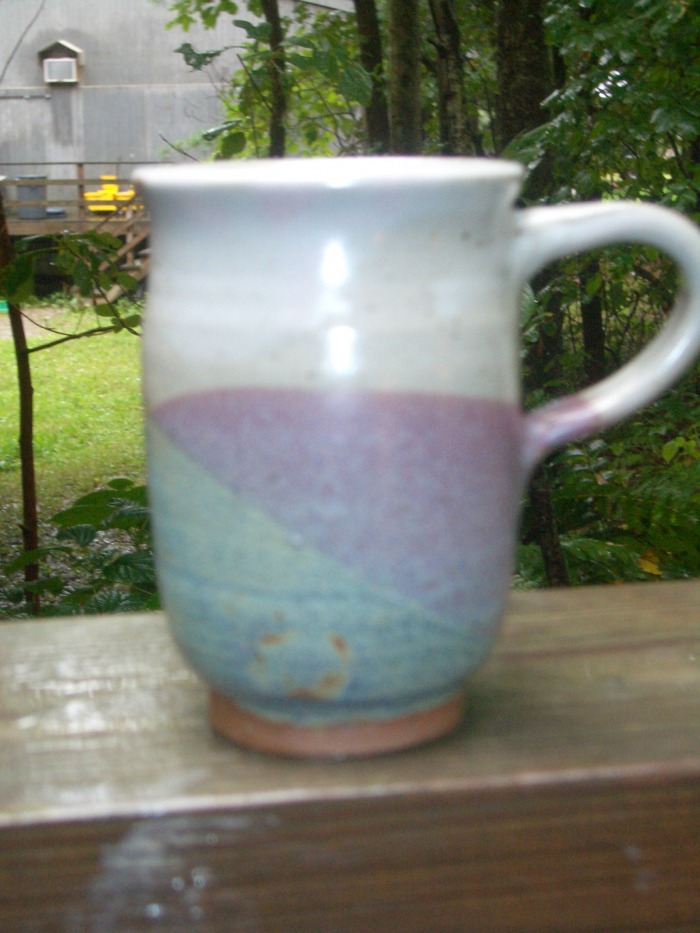
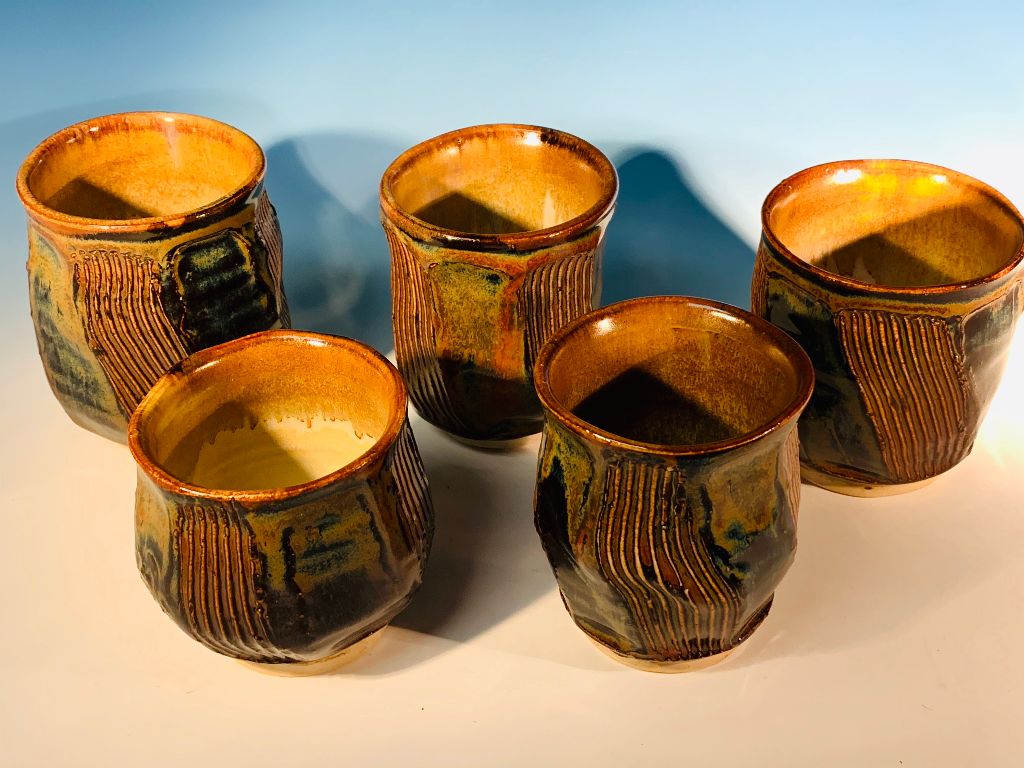
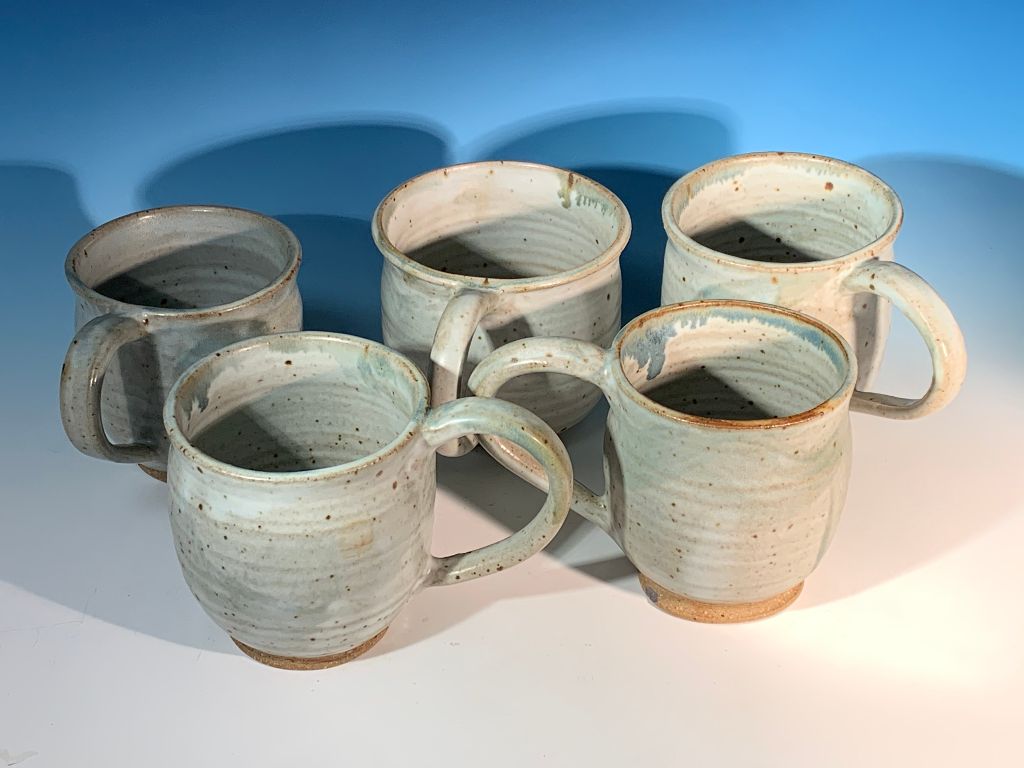
Stoneware mug Wood grain cup Stoneware cup


A week @ Touchstone Copper Raku on Earthenware Stove cover
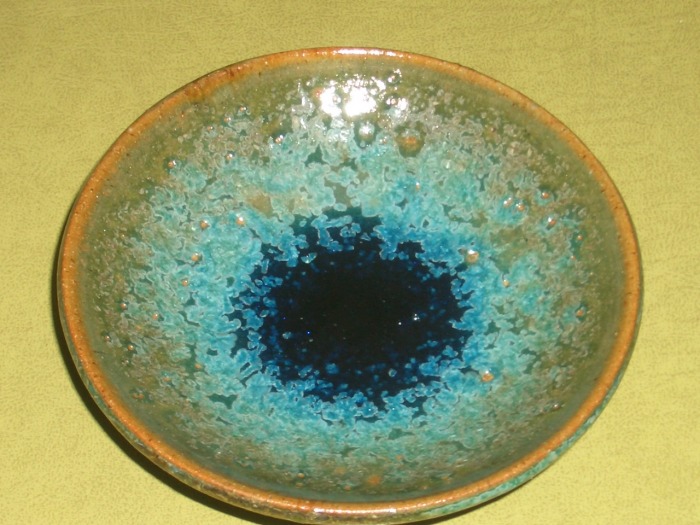
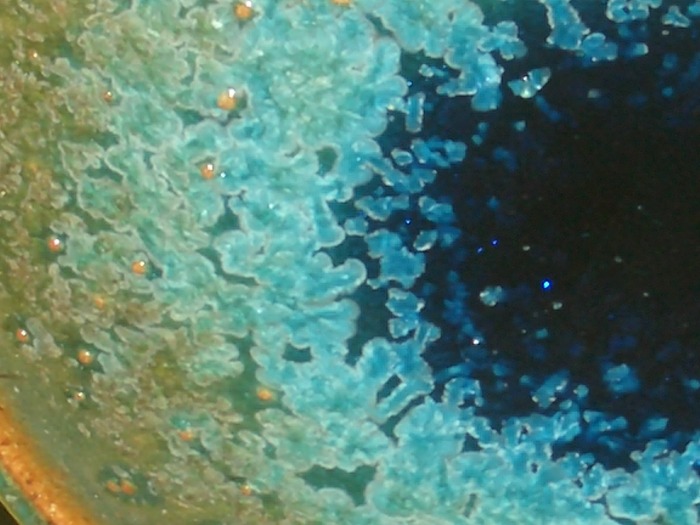

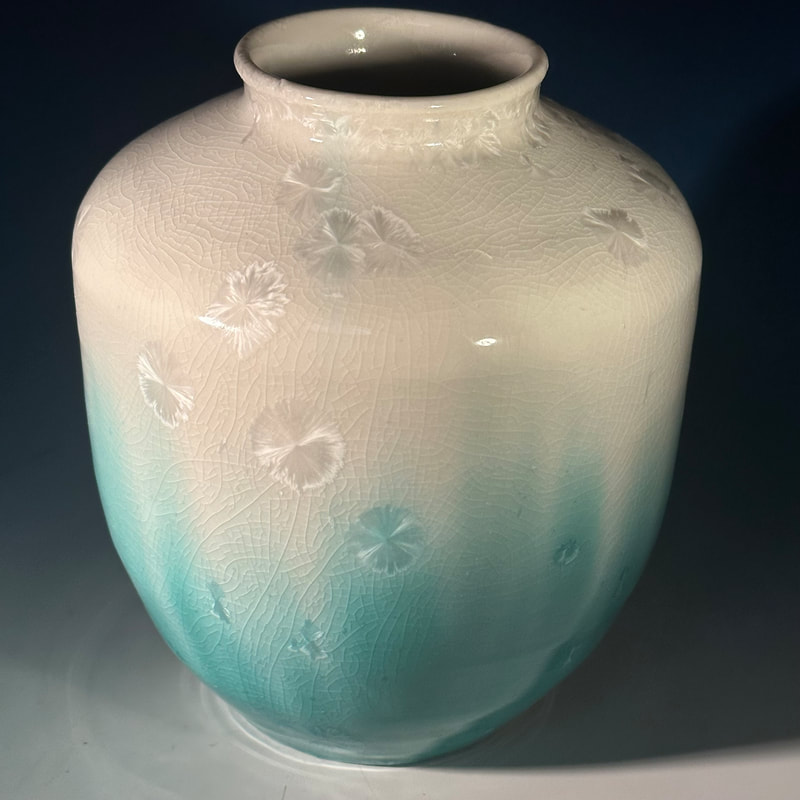
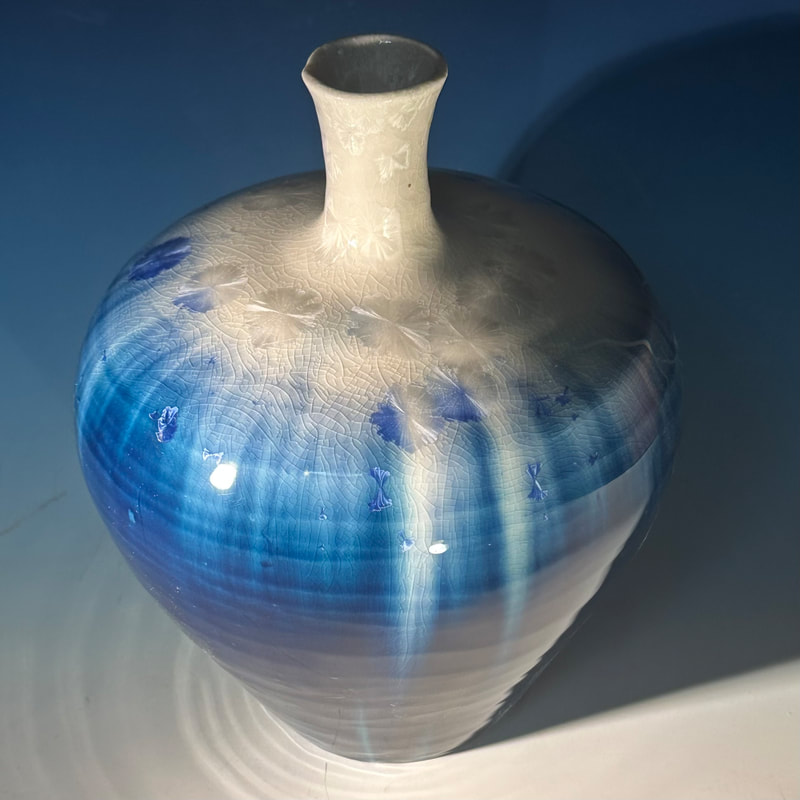
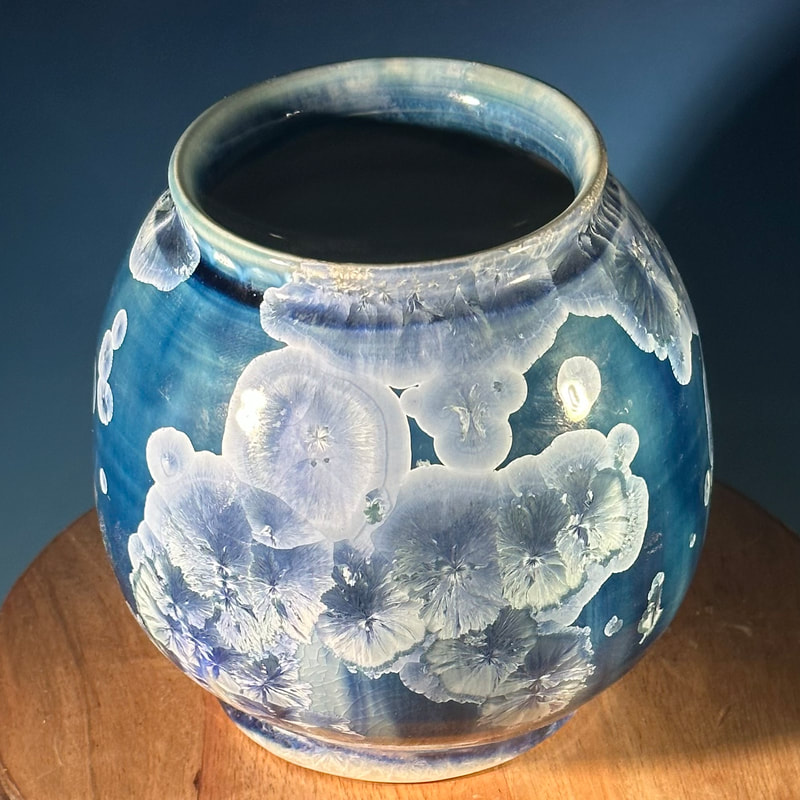
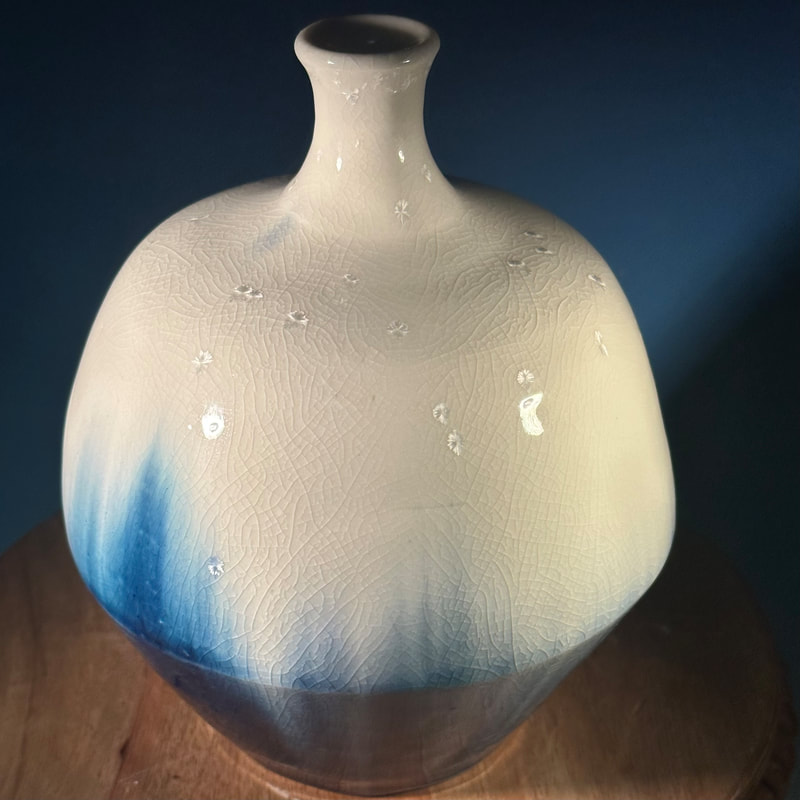
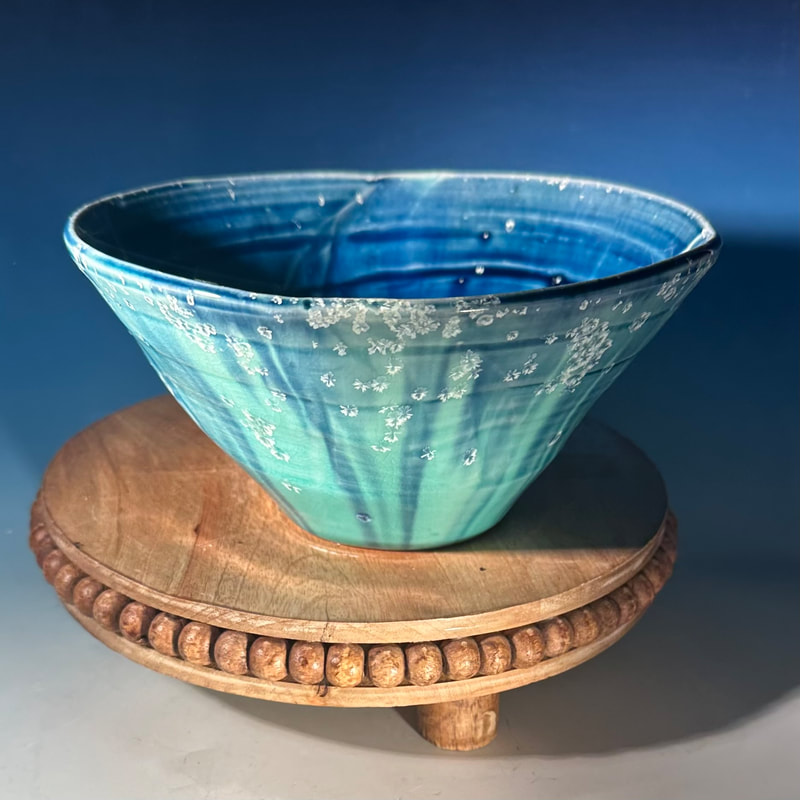
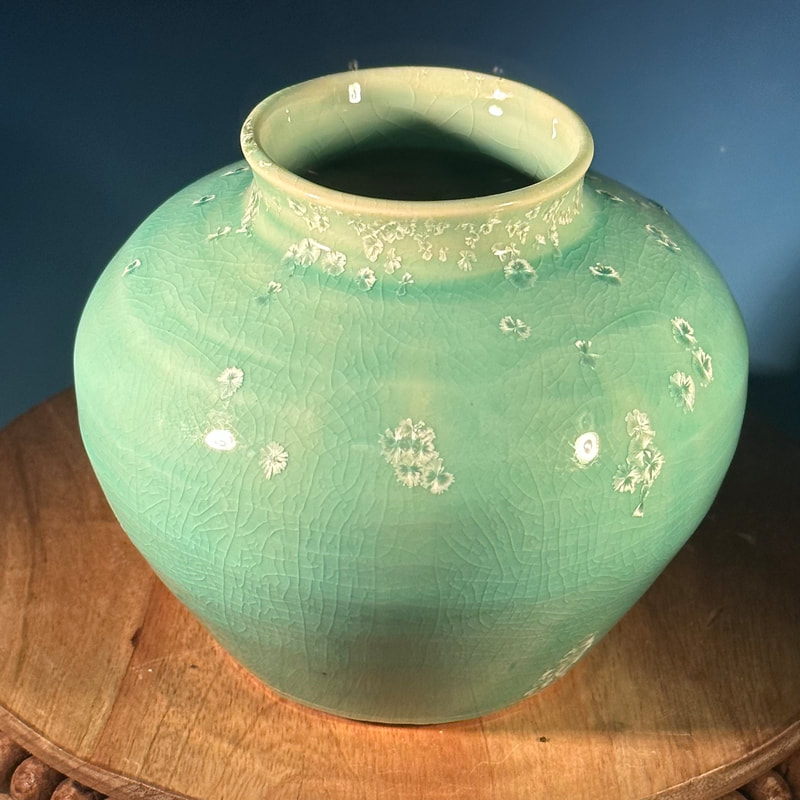
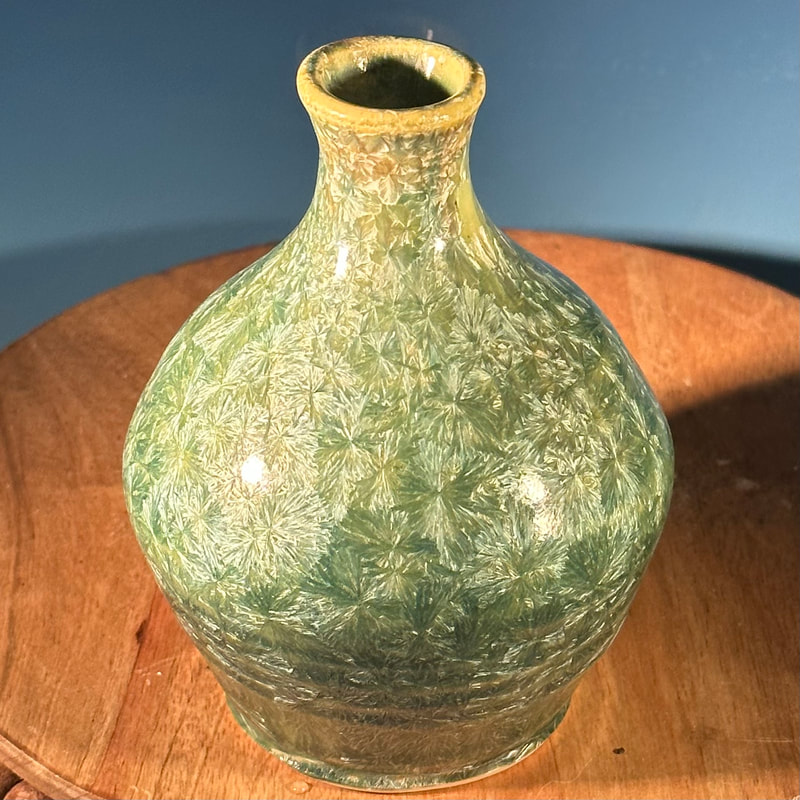
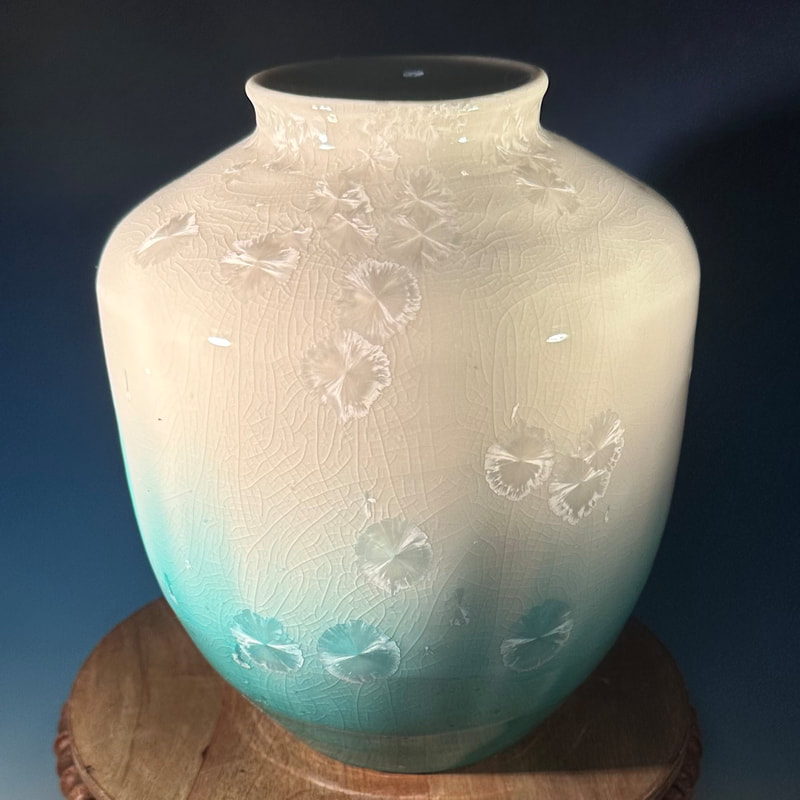
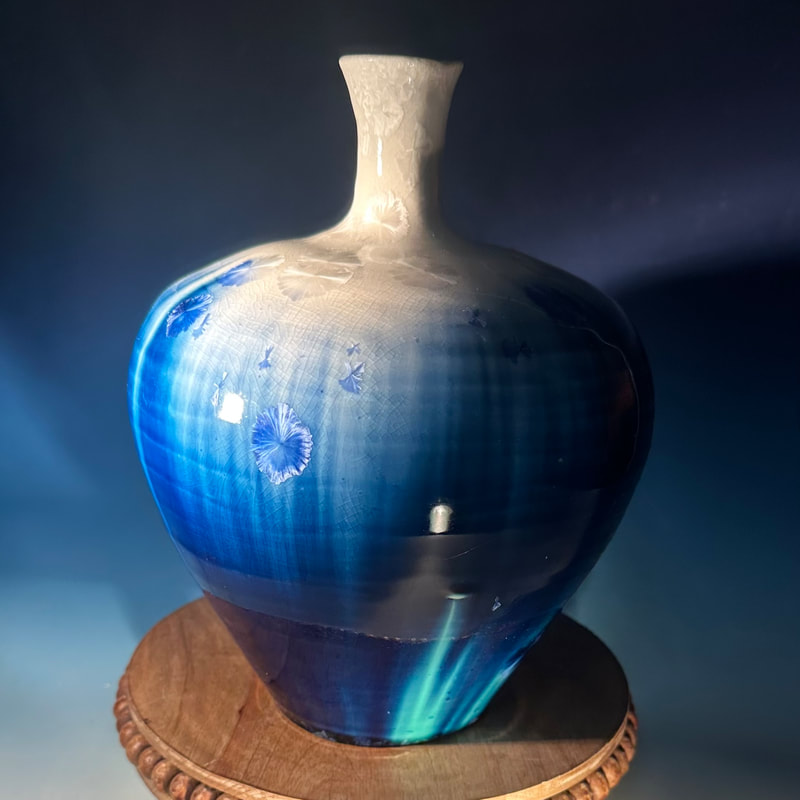
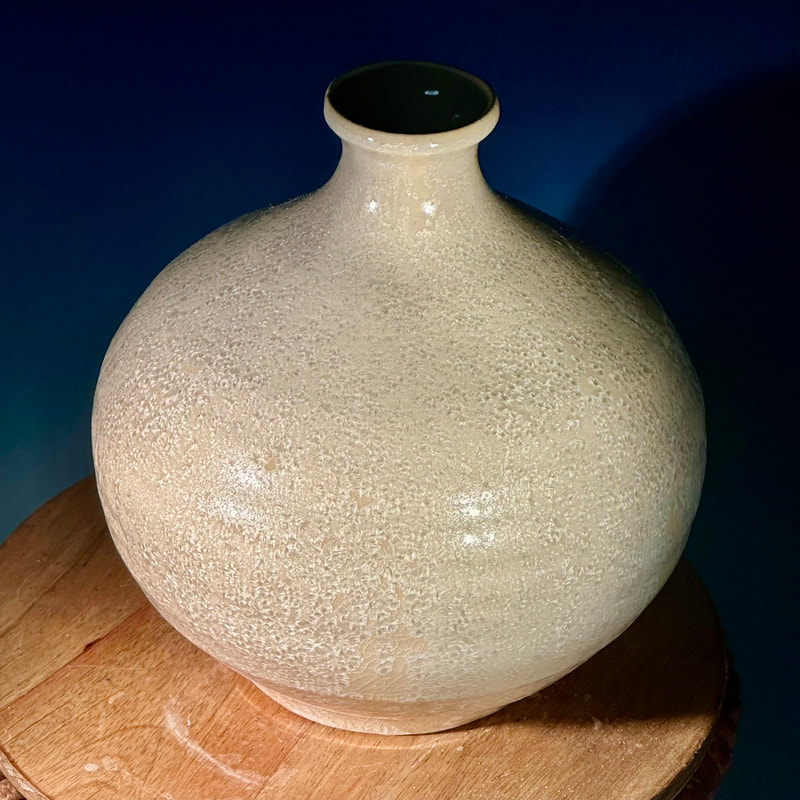
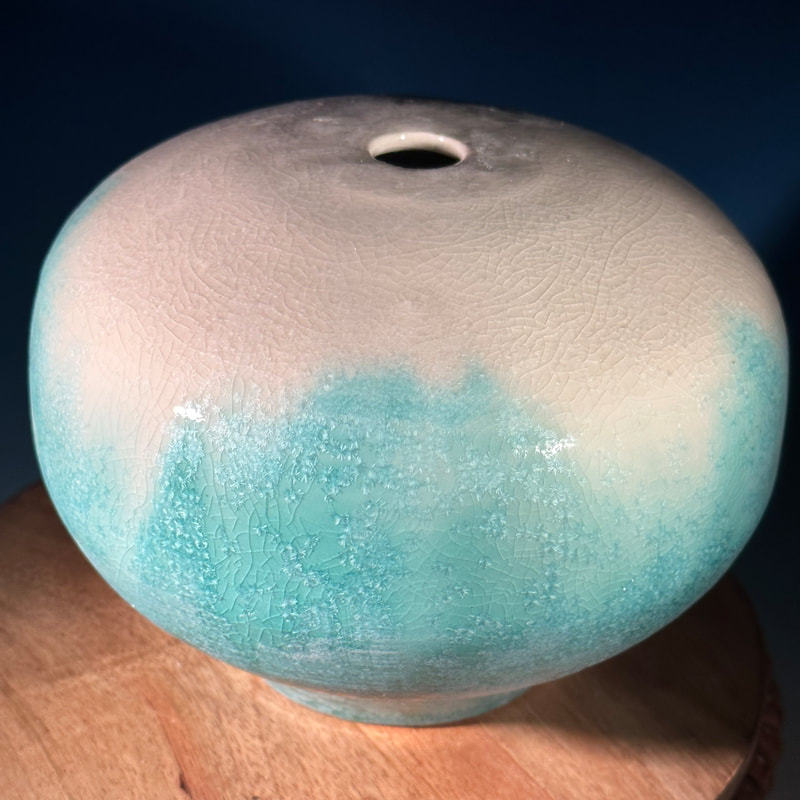
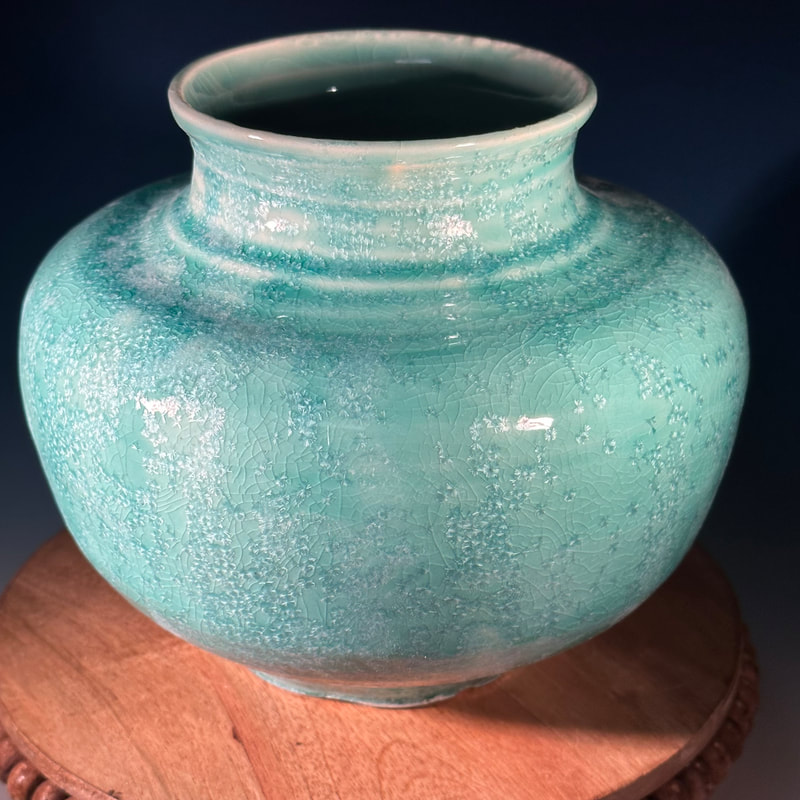
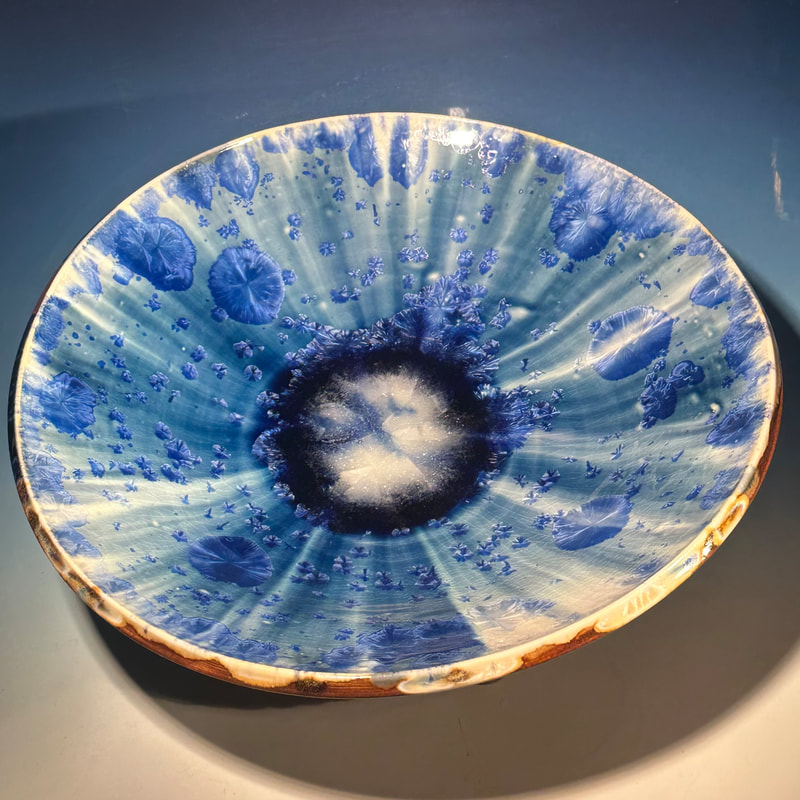
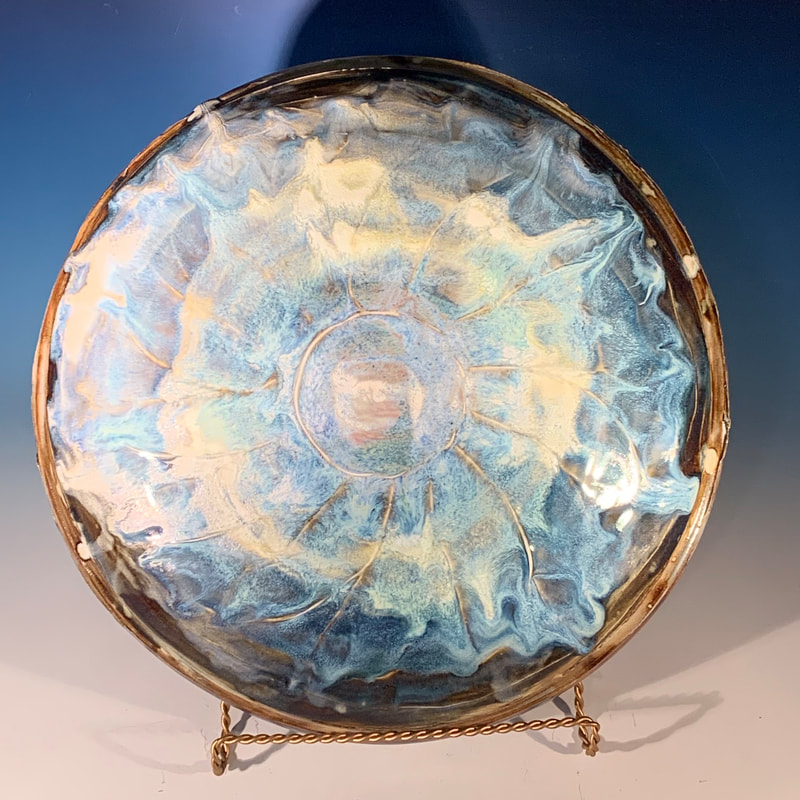
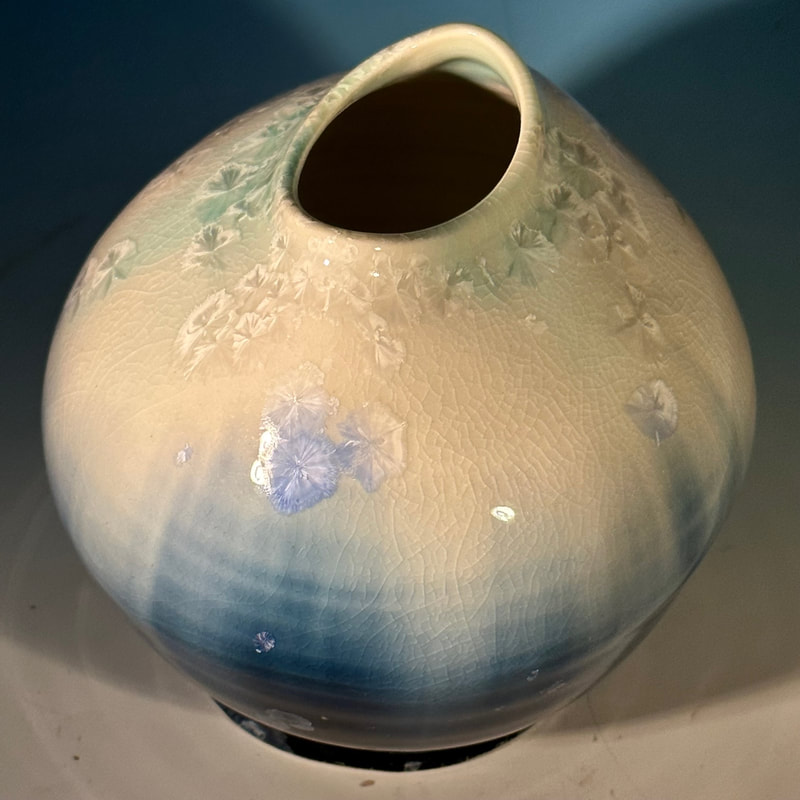
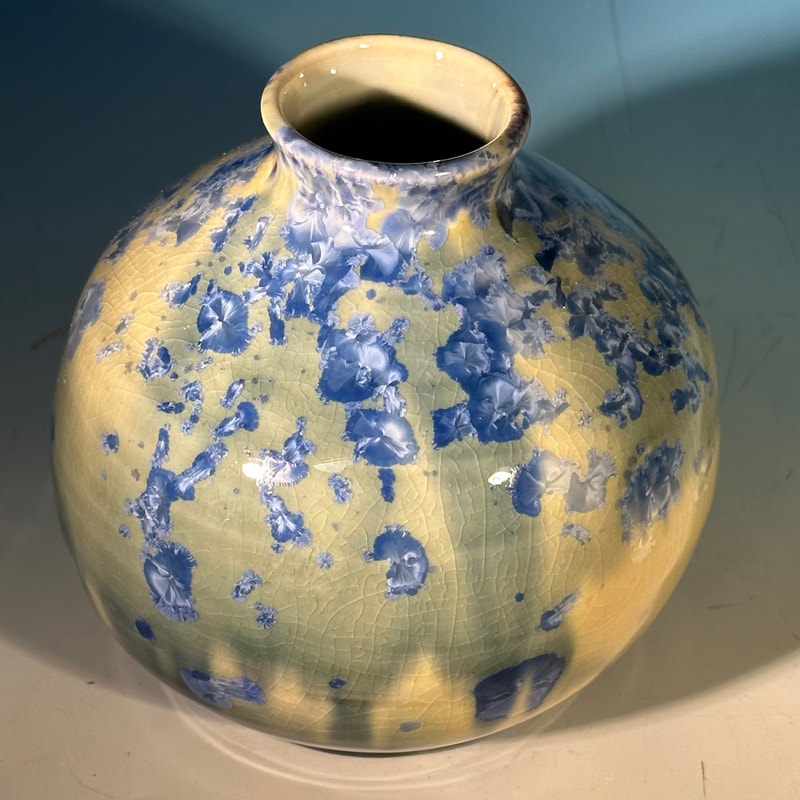
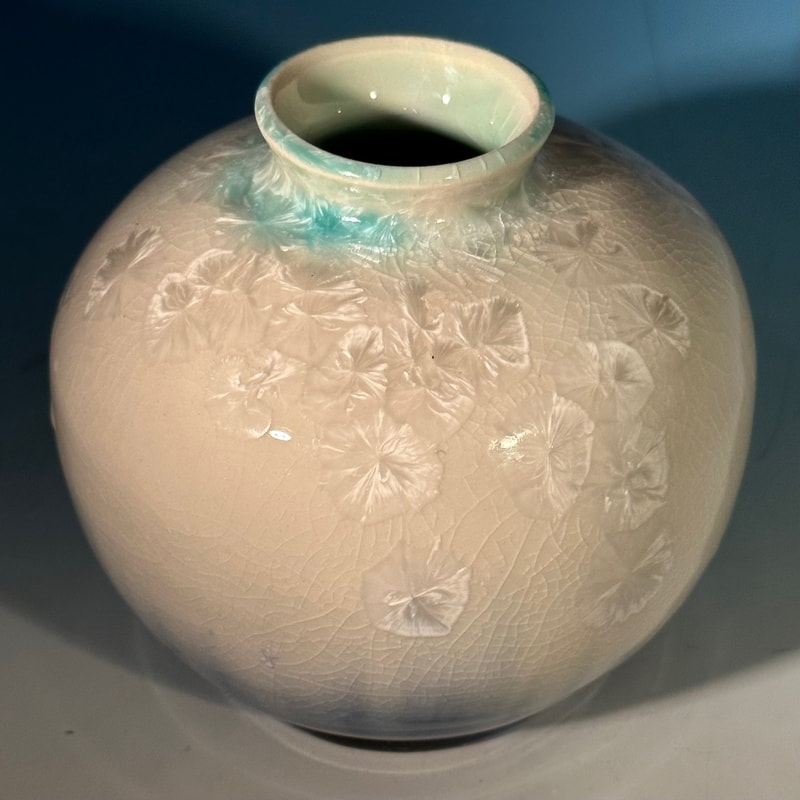
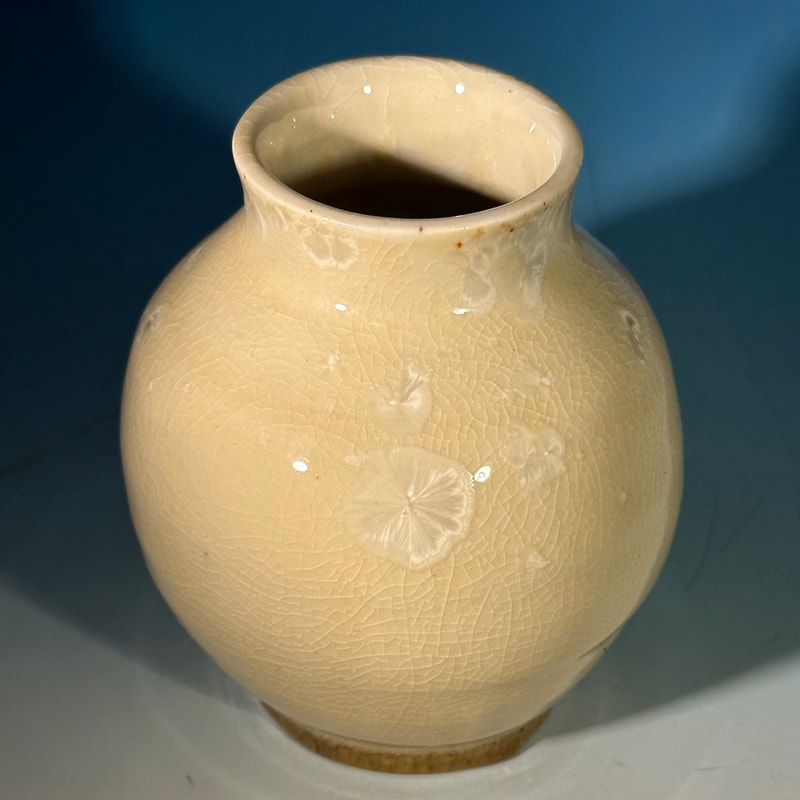
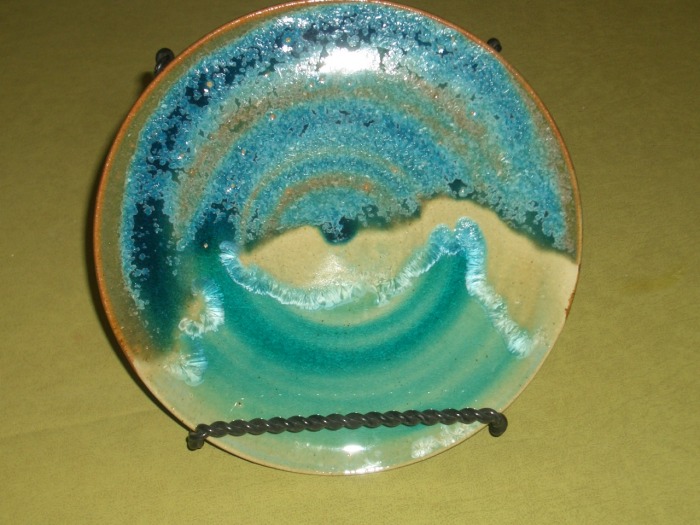
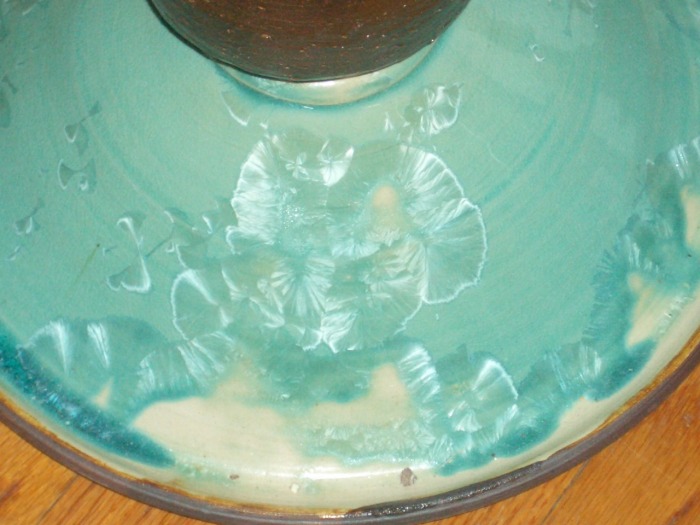
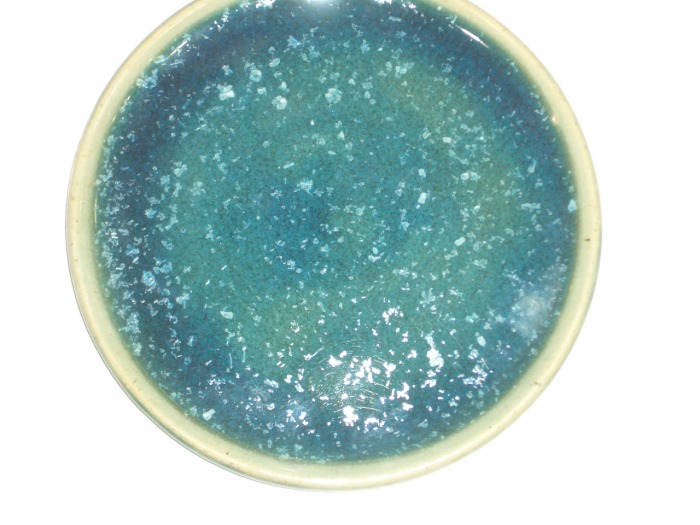
First crystalline glaze results


Slip layered onto thrown stoneware vases, MC6G glazes
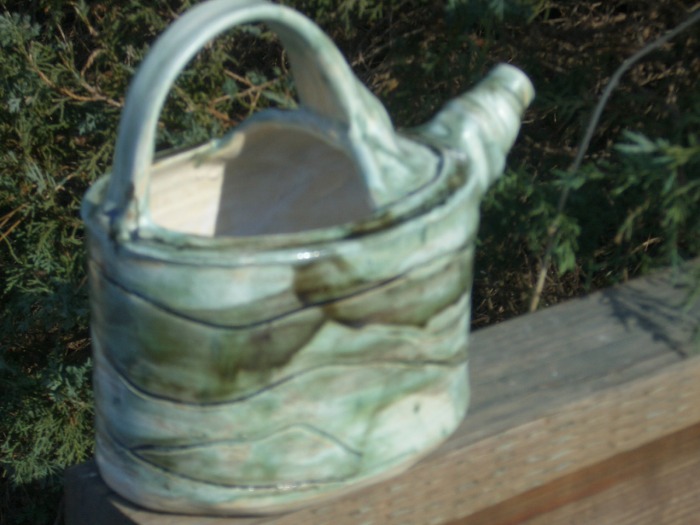
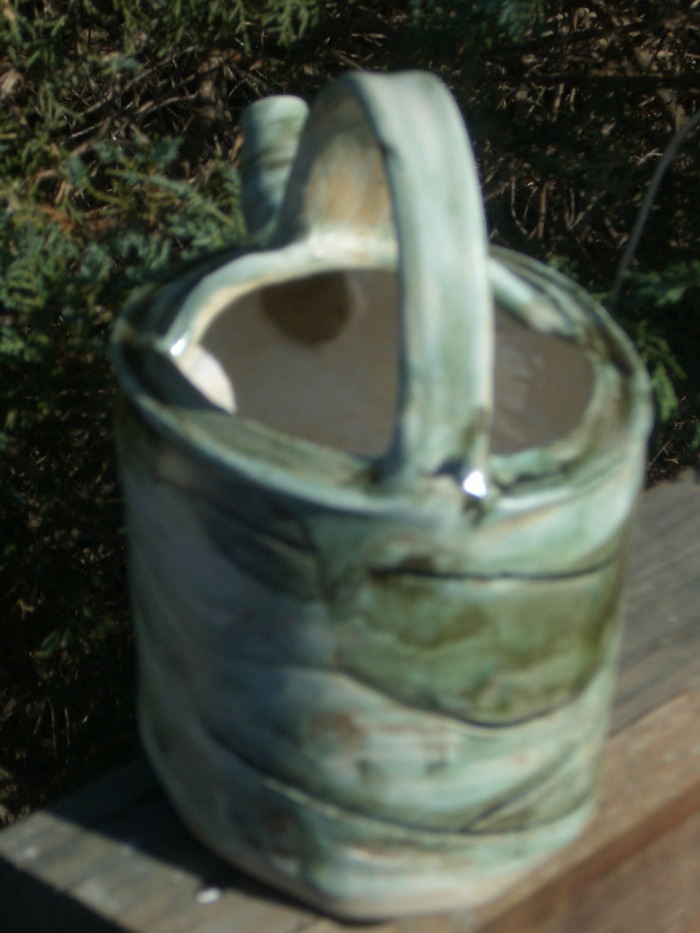
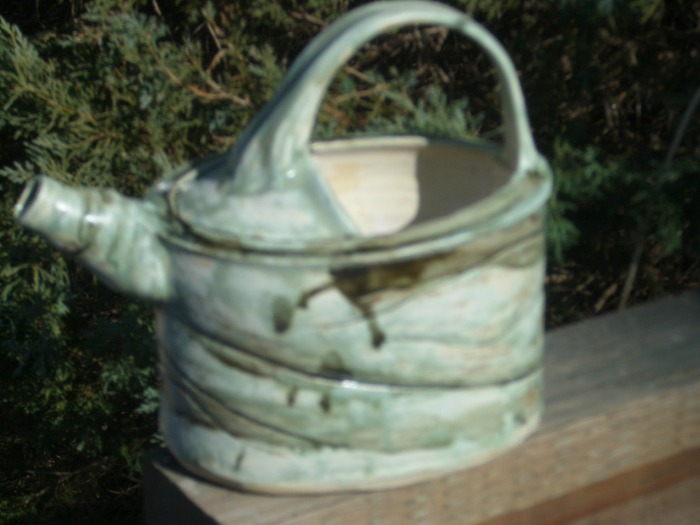
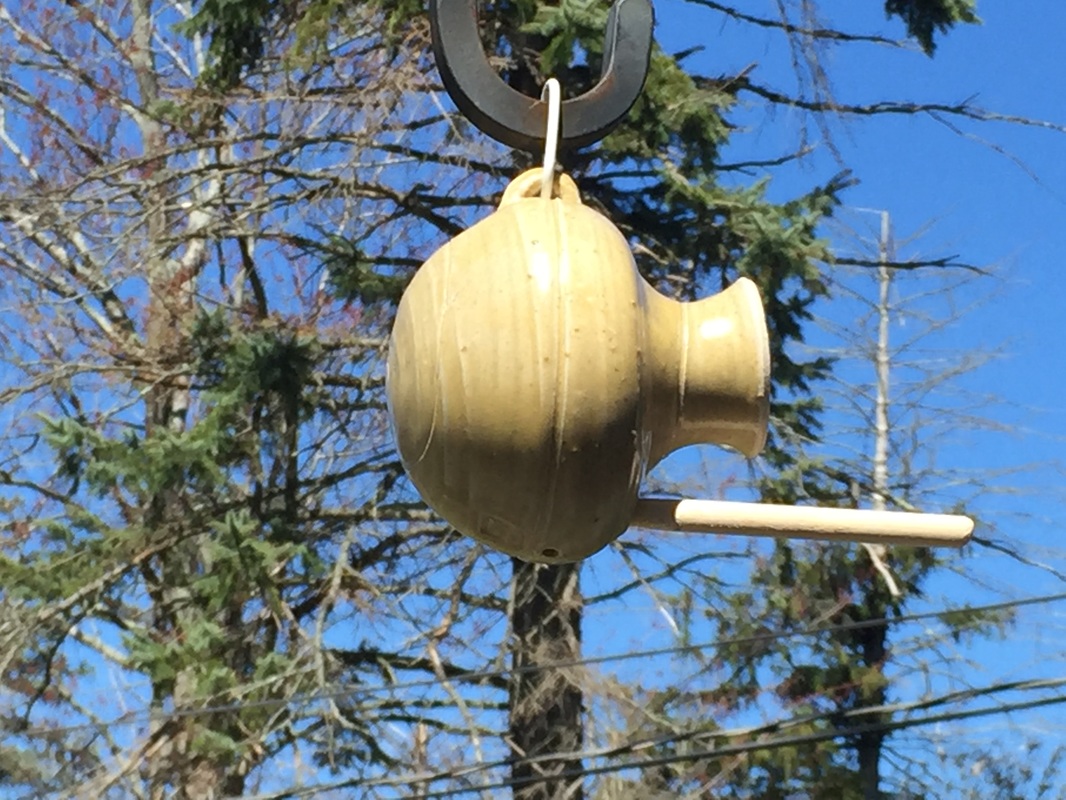
Thrown multi-part stoneware watering can
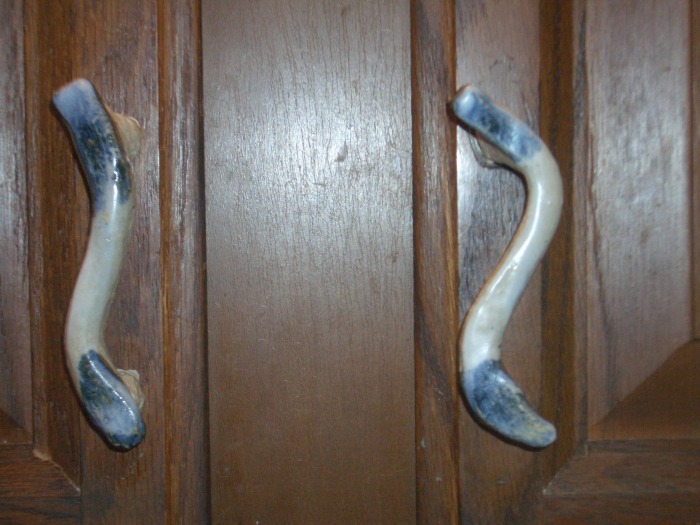
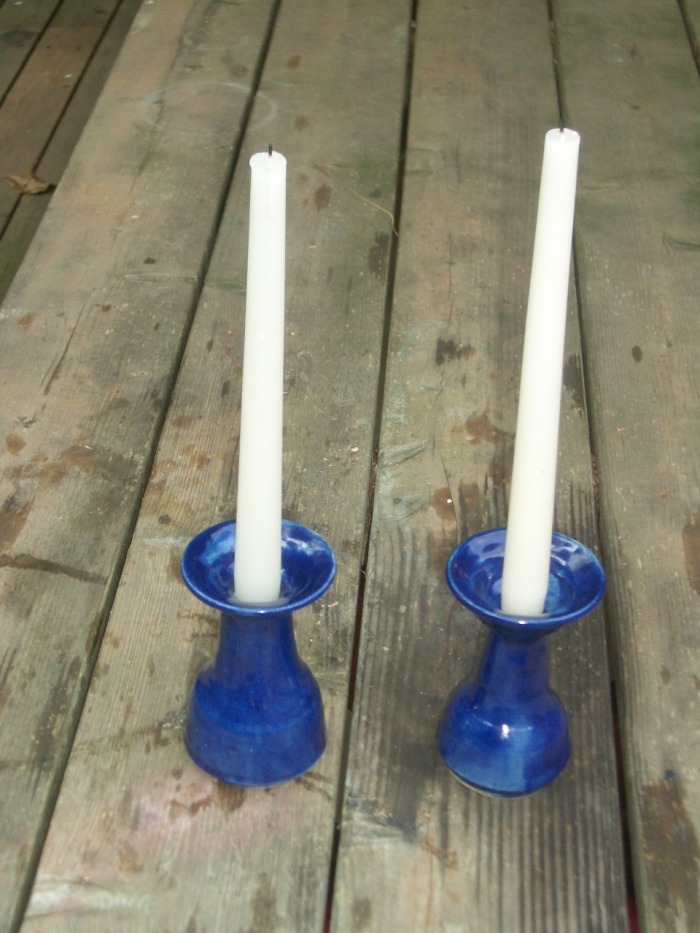
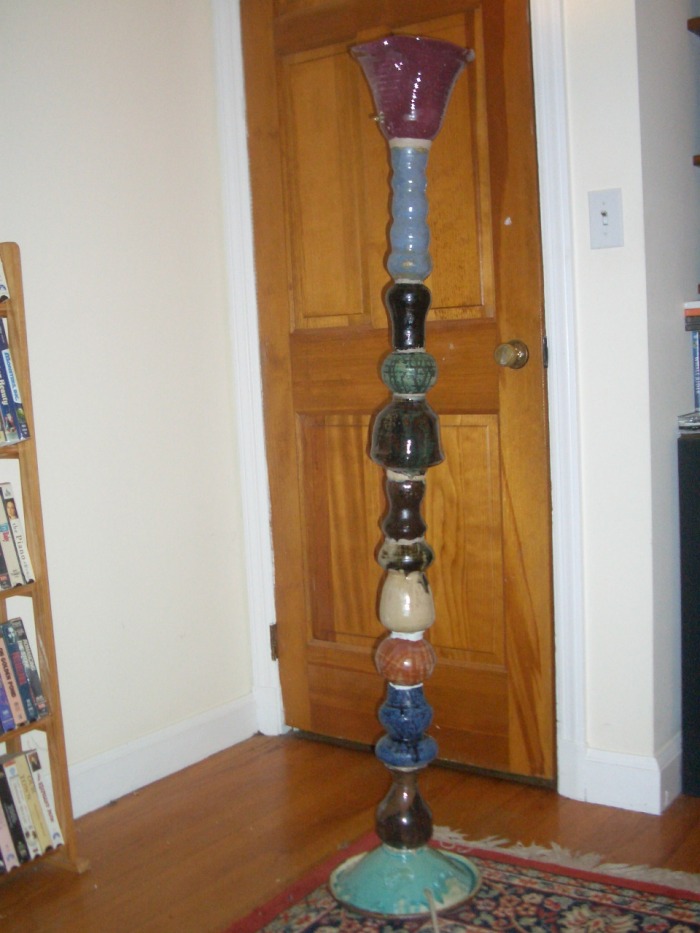
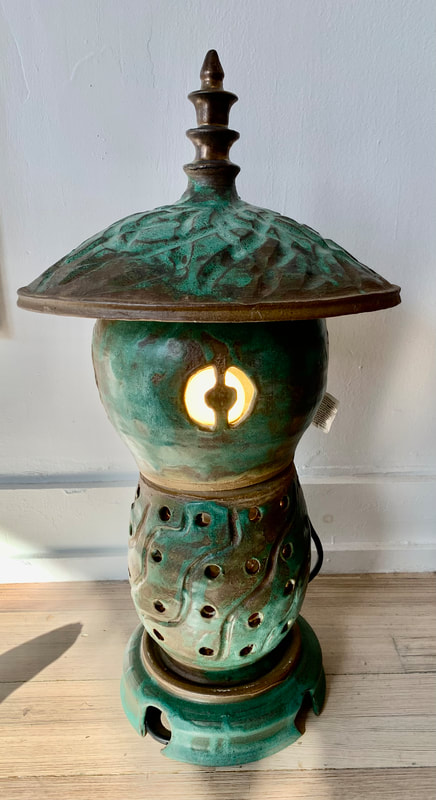
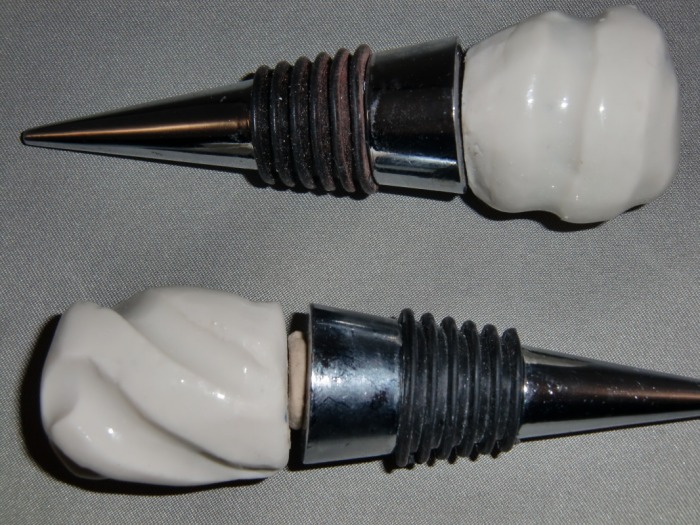
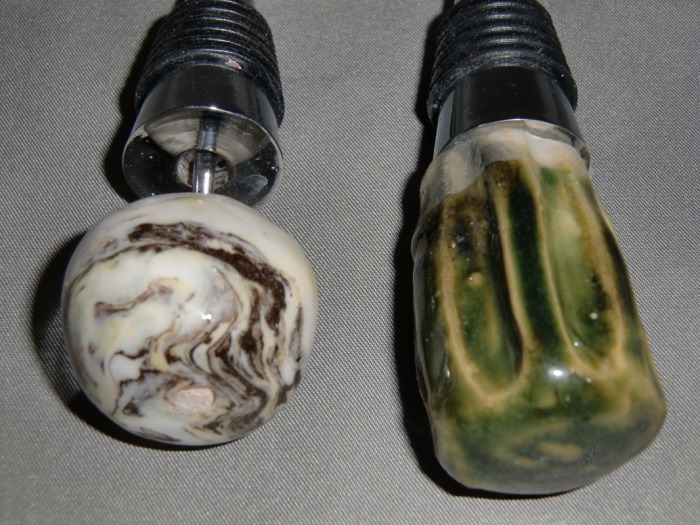
Kitchen cabinet knobs Candlesticks Pole lamp
Stoneware oxidation vase Porcelain reduction vase

20-inch vase Relief bird bath
New Work
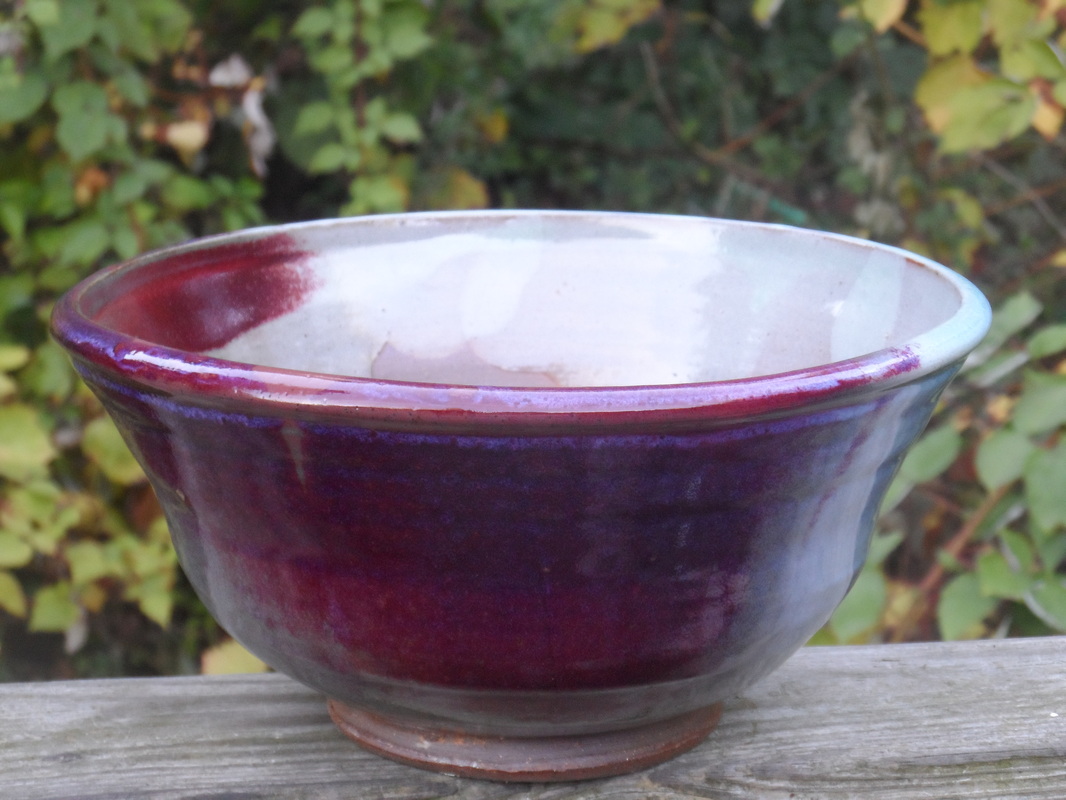
These were made at Touchstone in July 2009 in Susan Beecher's class. It was a wonderful week of creativitiy!


July 2009 Touchstone Pots
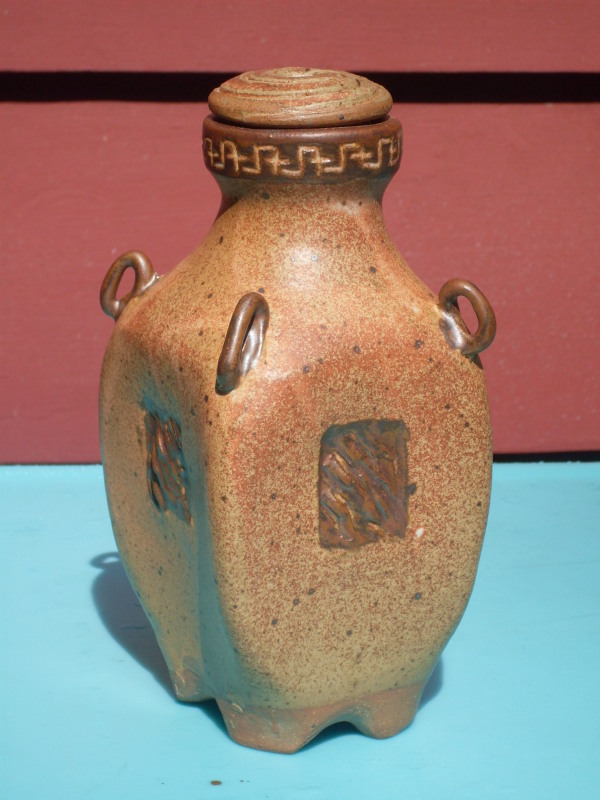
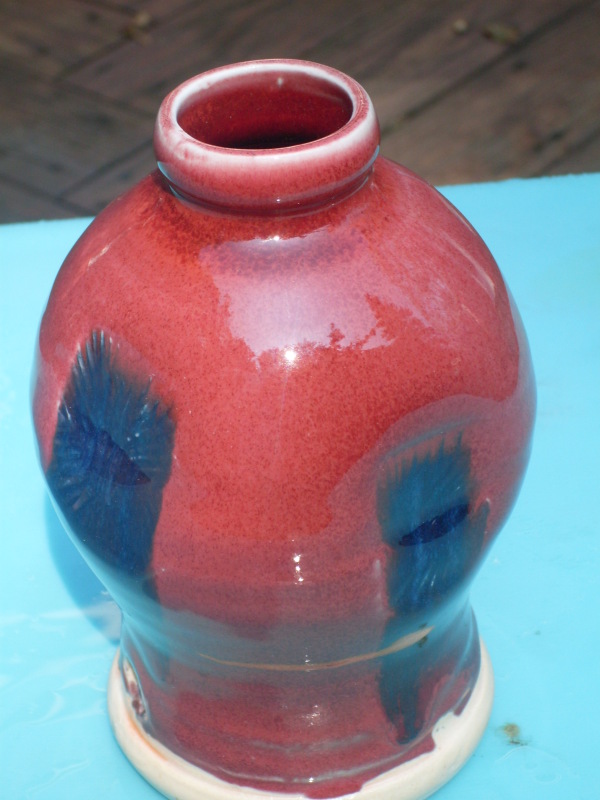
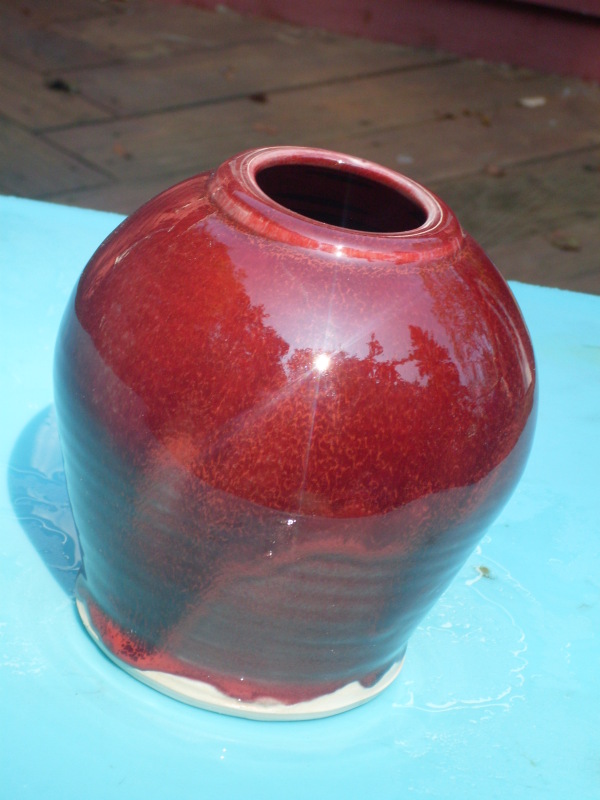
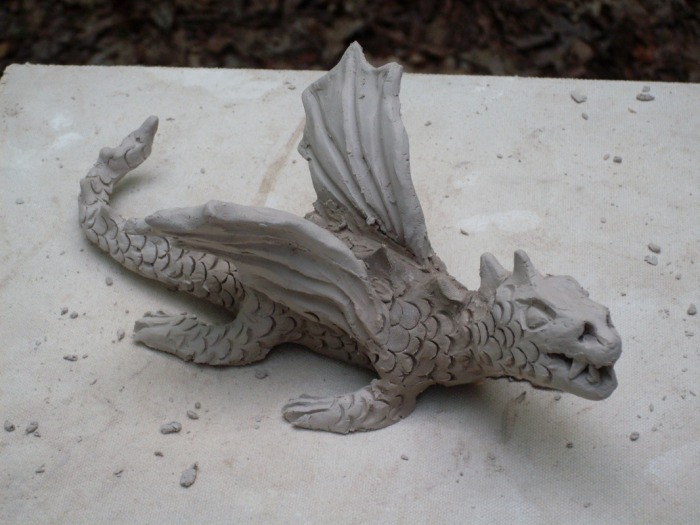
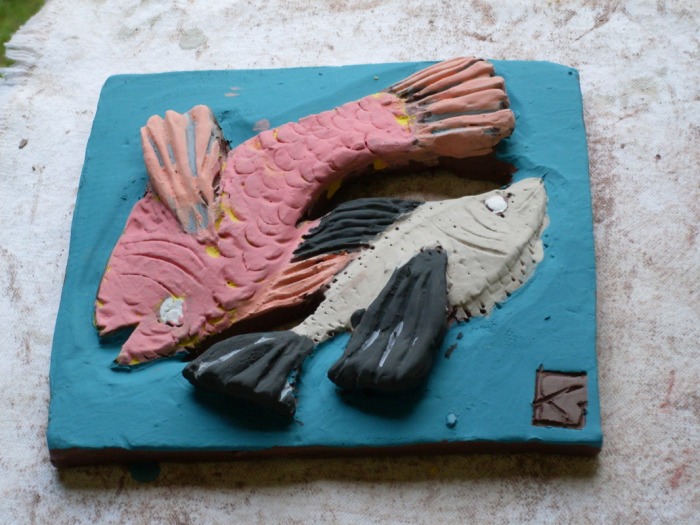
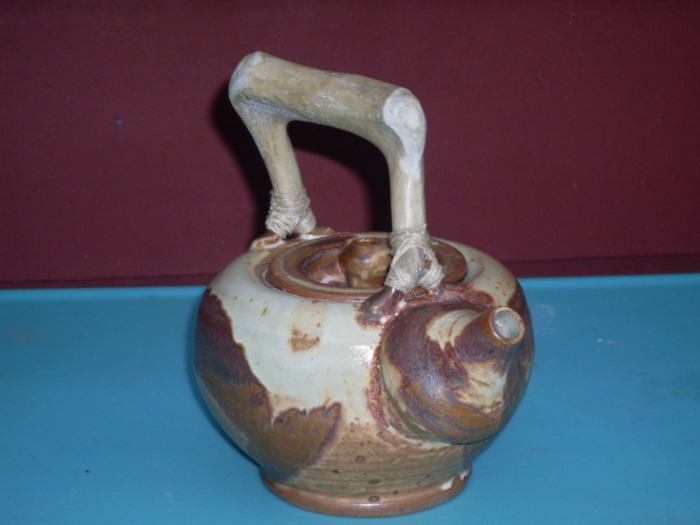
I took a week long workshop @ Touchstone Craft Center with teacher Susan Beecher. We were all very productive and I learned a great deal. The cone 10 reduction glaze firing the last night was superb, especially for copper reds (see pics above)! I now plan to make translucent porcelain lamp shades with crystal glazes and mount these on the 3 lamp bases shown above. The porcelain castle is shown on my sculpture page was also constructed at Touchstone, but glazed at home. I added a deer antler handle to the teapot. My absolute favorite is the stoppered bottle with the spodumene glaze decorated with Val Cushing Brown. I added a lampwork glass bead finnial I made in a workshop with a wonderful teacher and glass artist named Cynthia Saari of CT. The relief fish tile was made as one of a series all the students contributed to be mounted on the new bread oven being constructed at Touchstone (it is low fire and the glaze hasn't yet been fired). The dragon, which hasn't been in a glaze firing yet, is to be mounted as guardian of the flames in the bread oven.


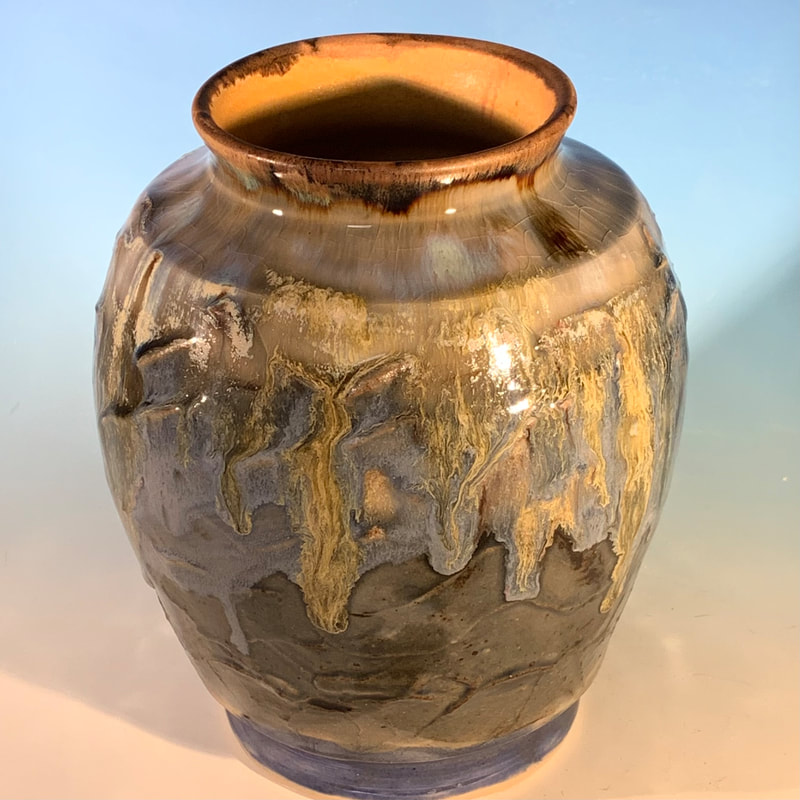
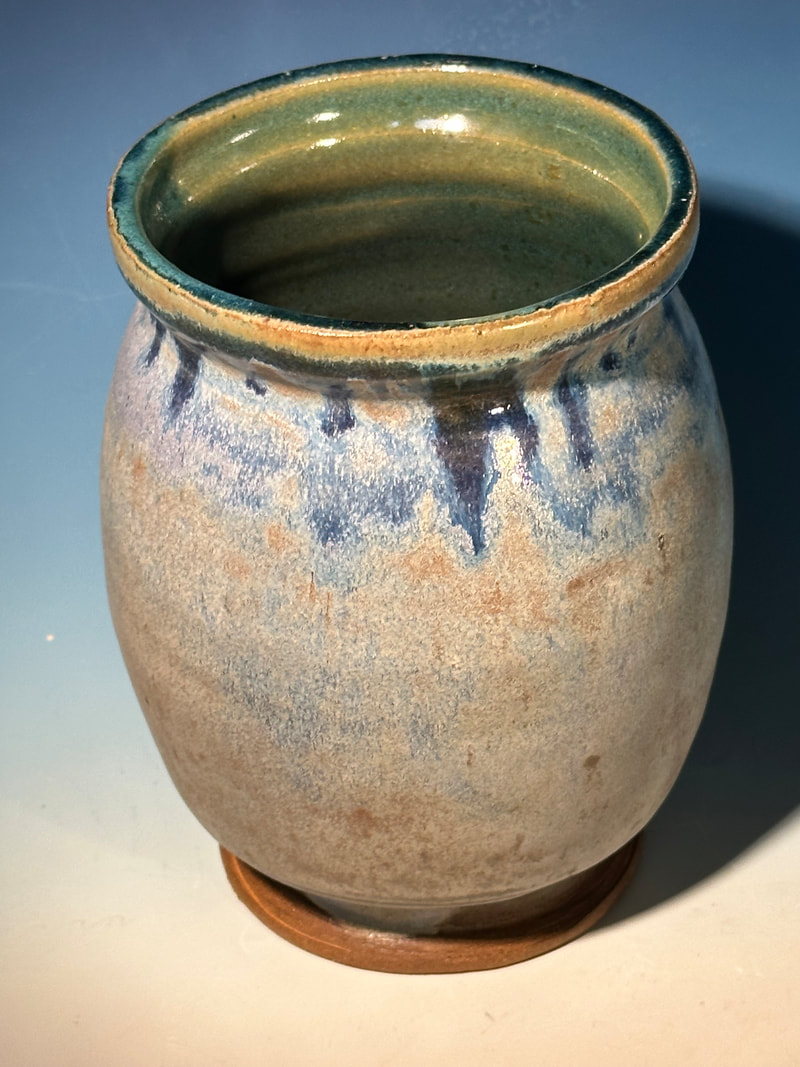
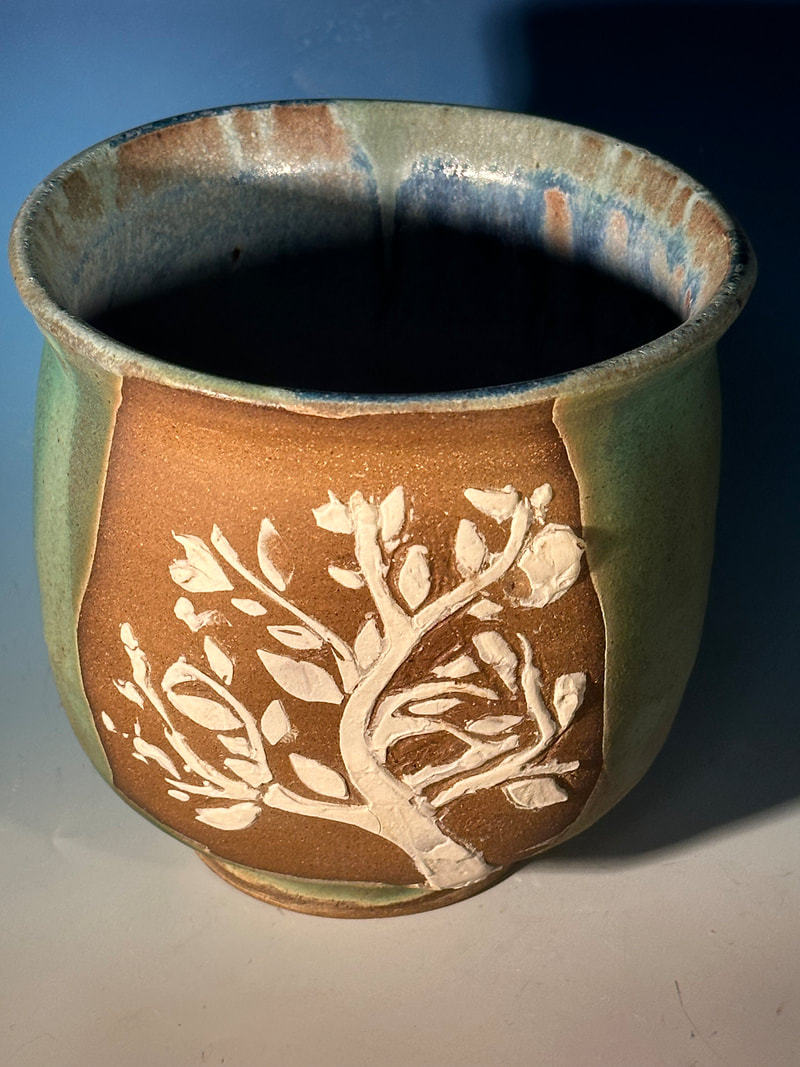
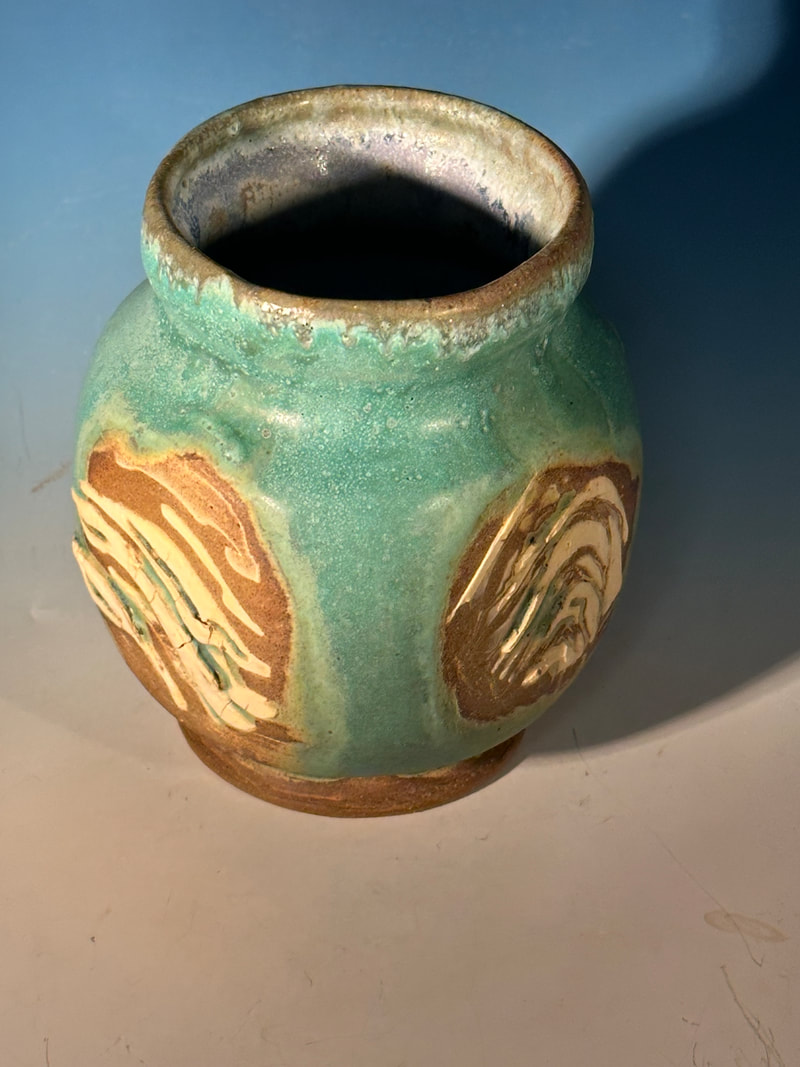
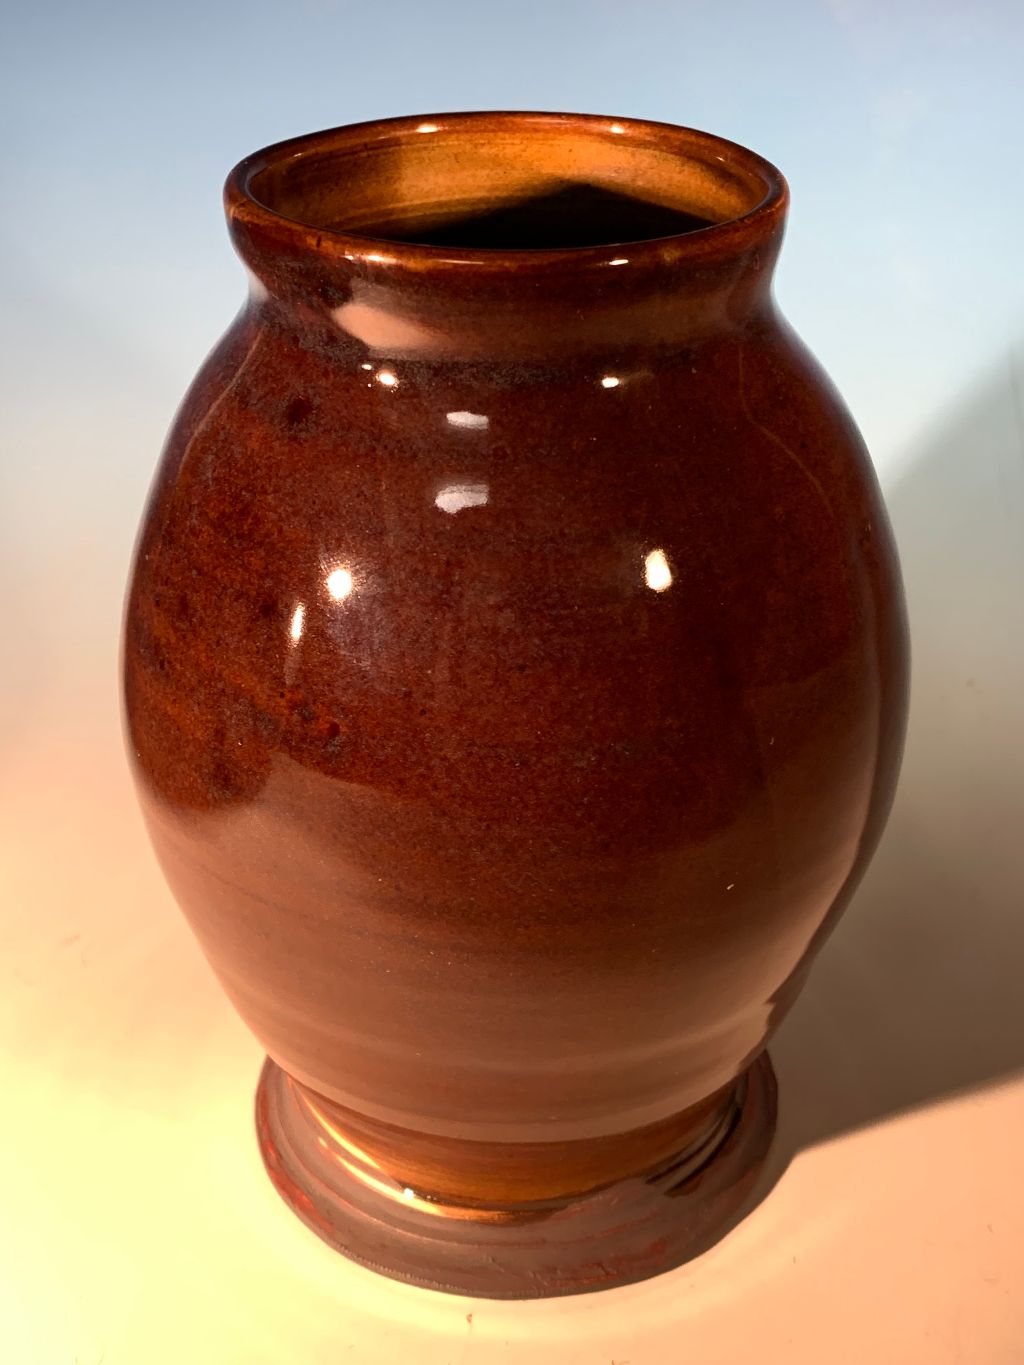
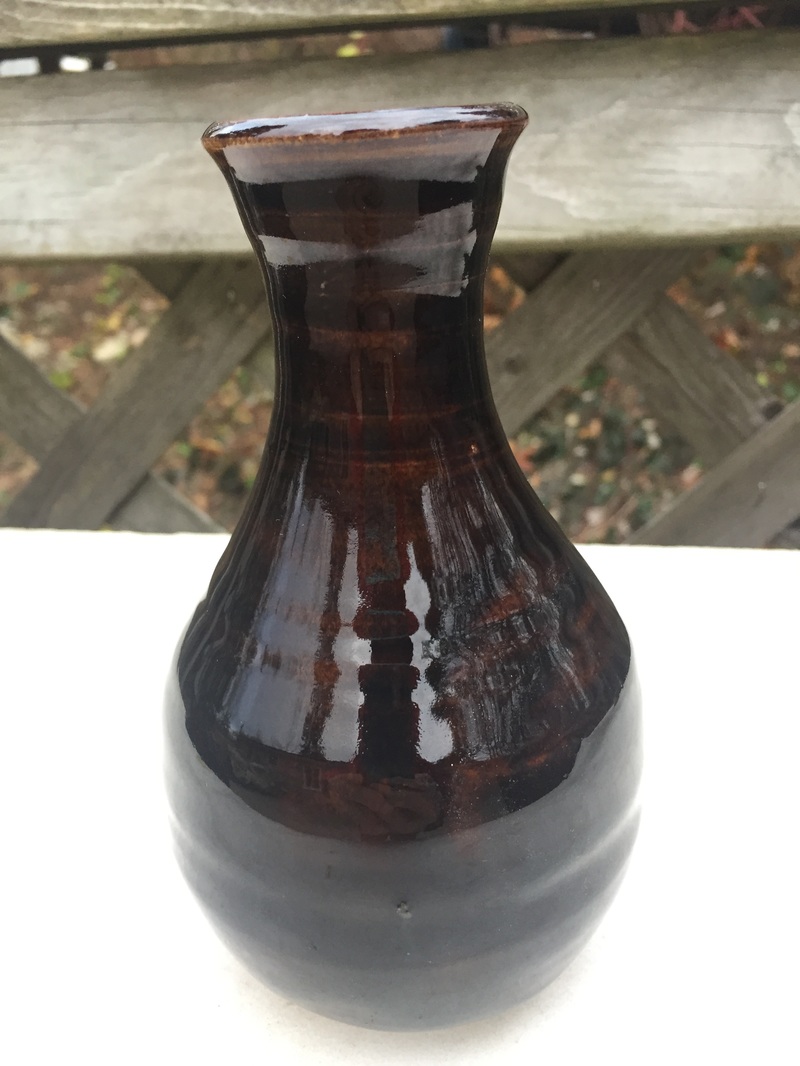
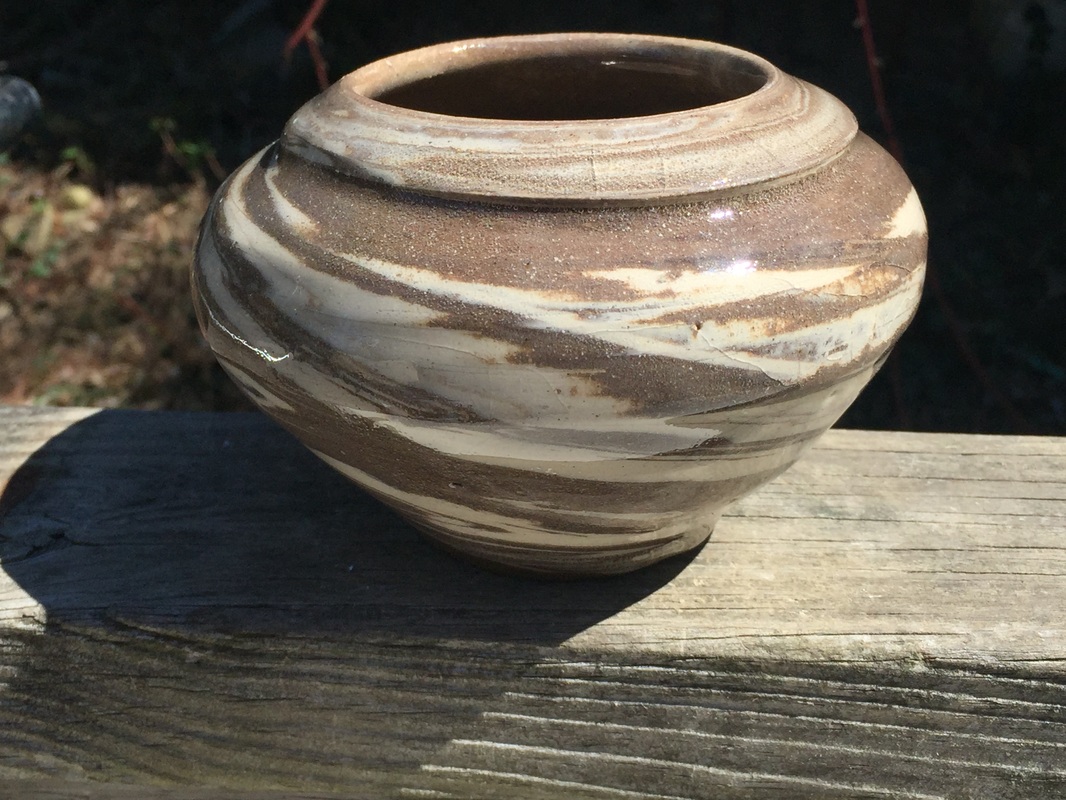
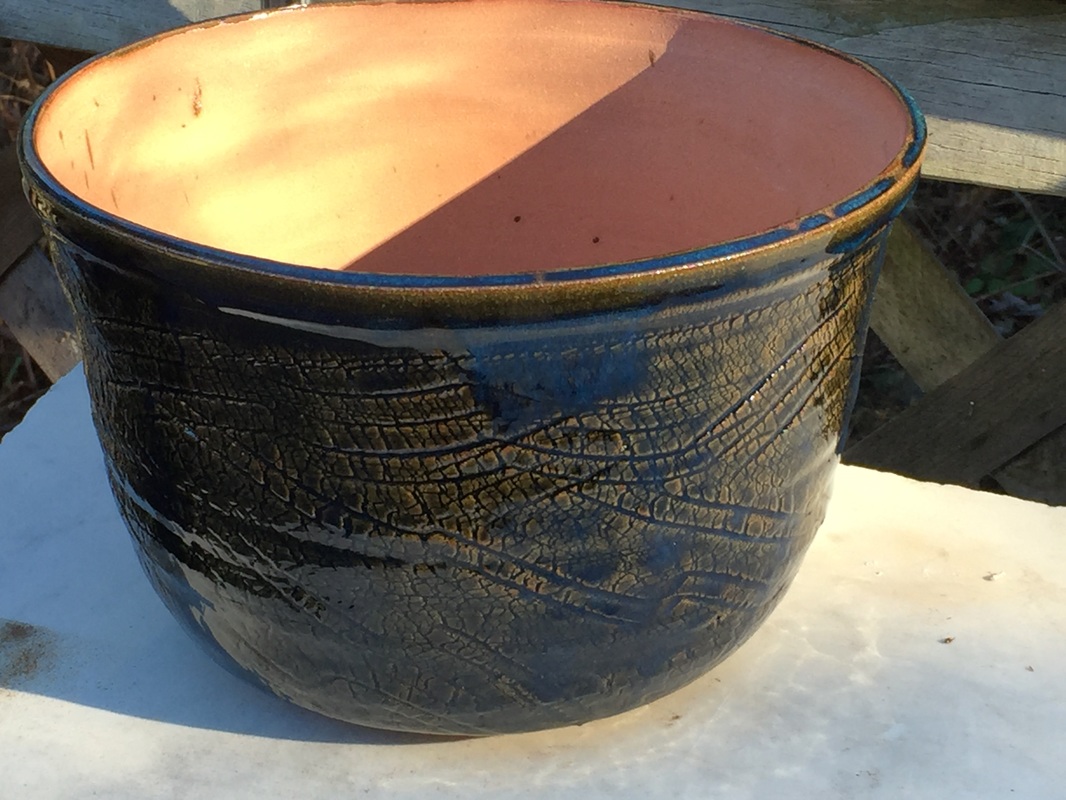
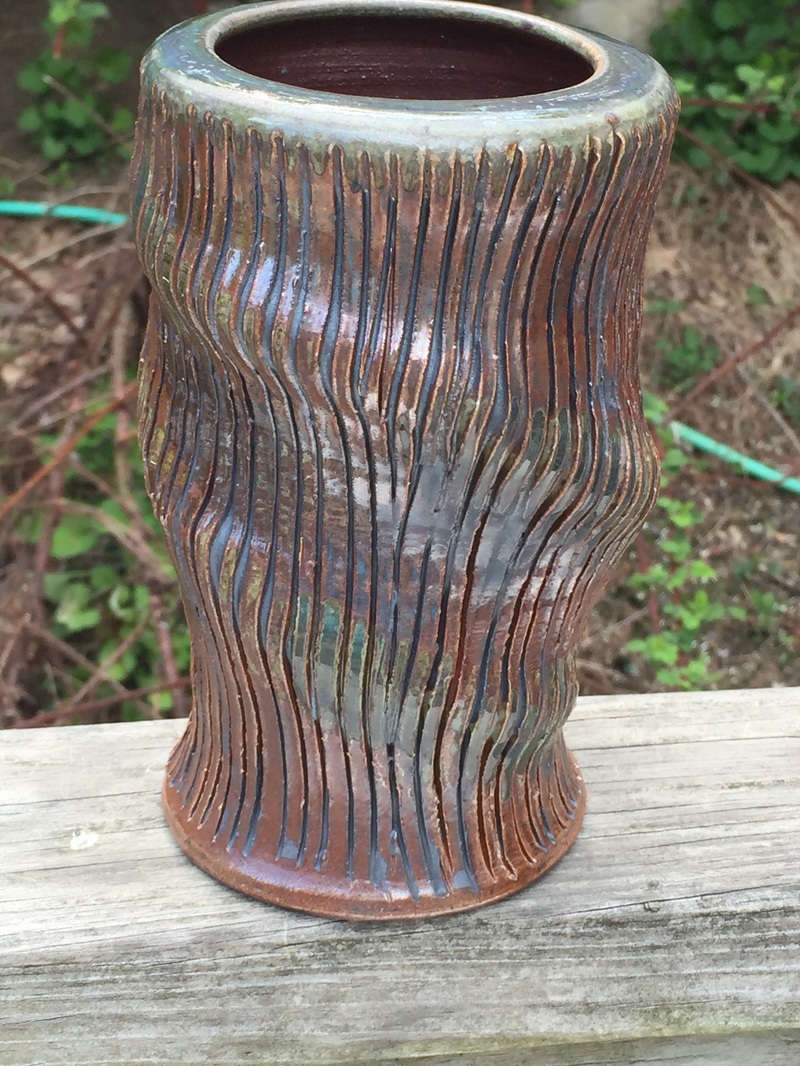
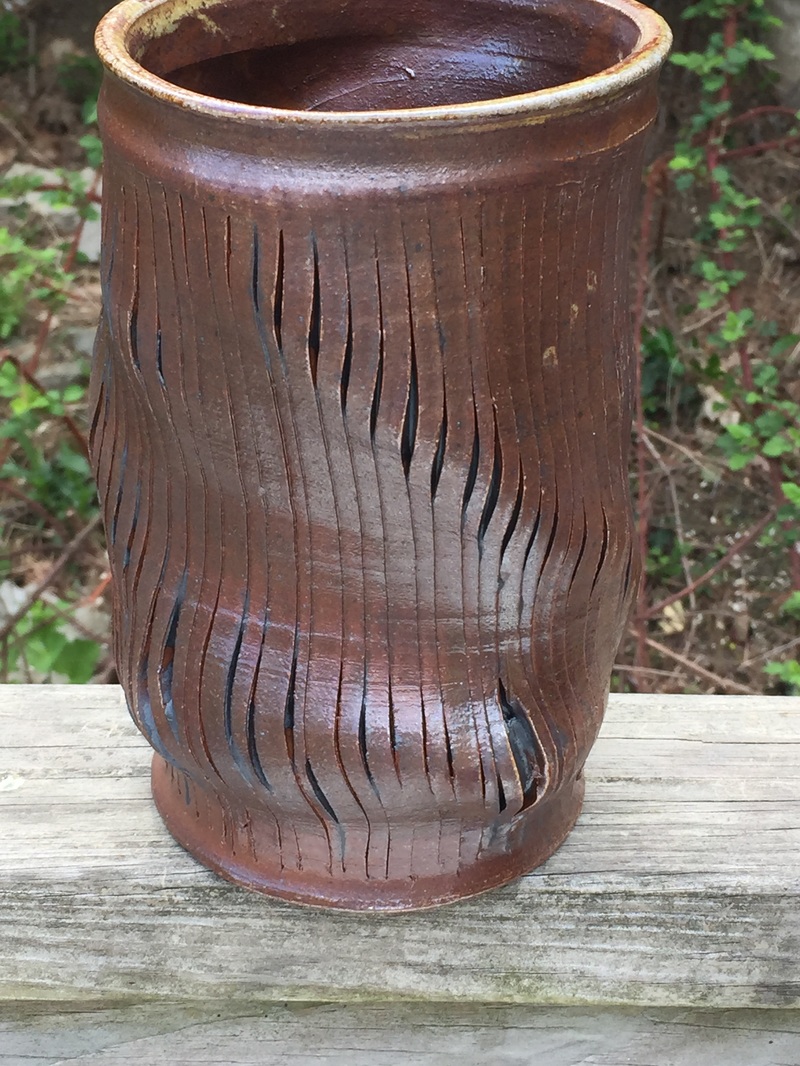
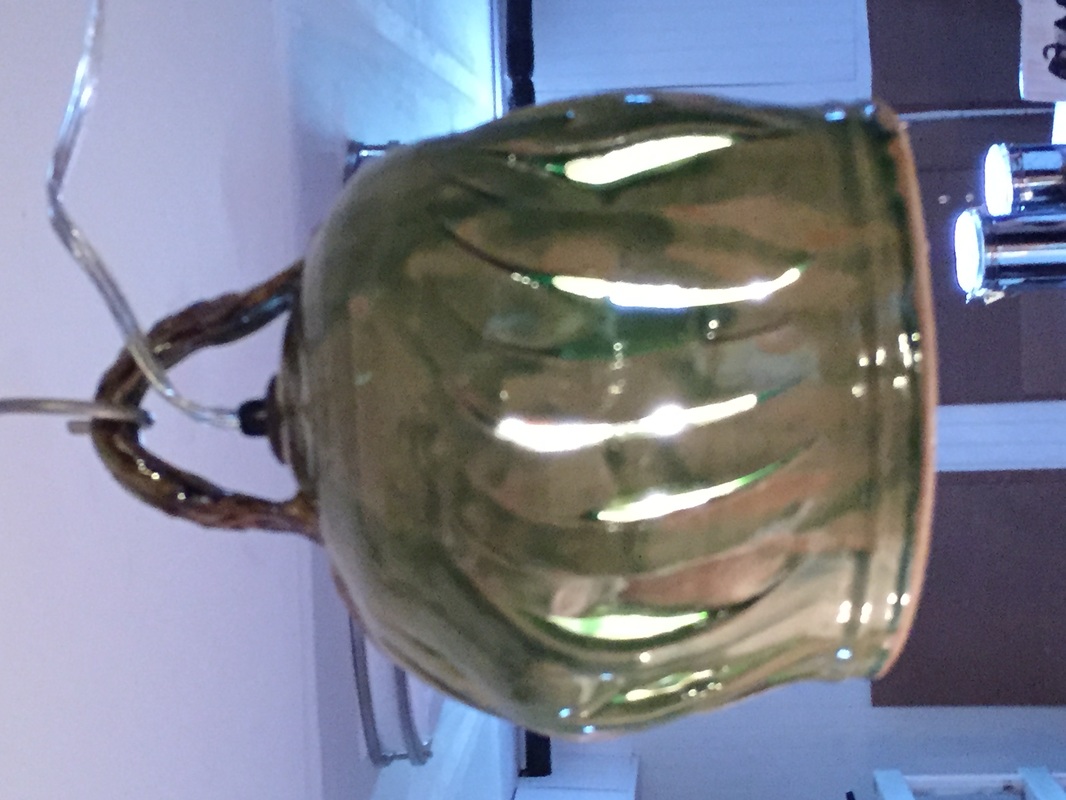
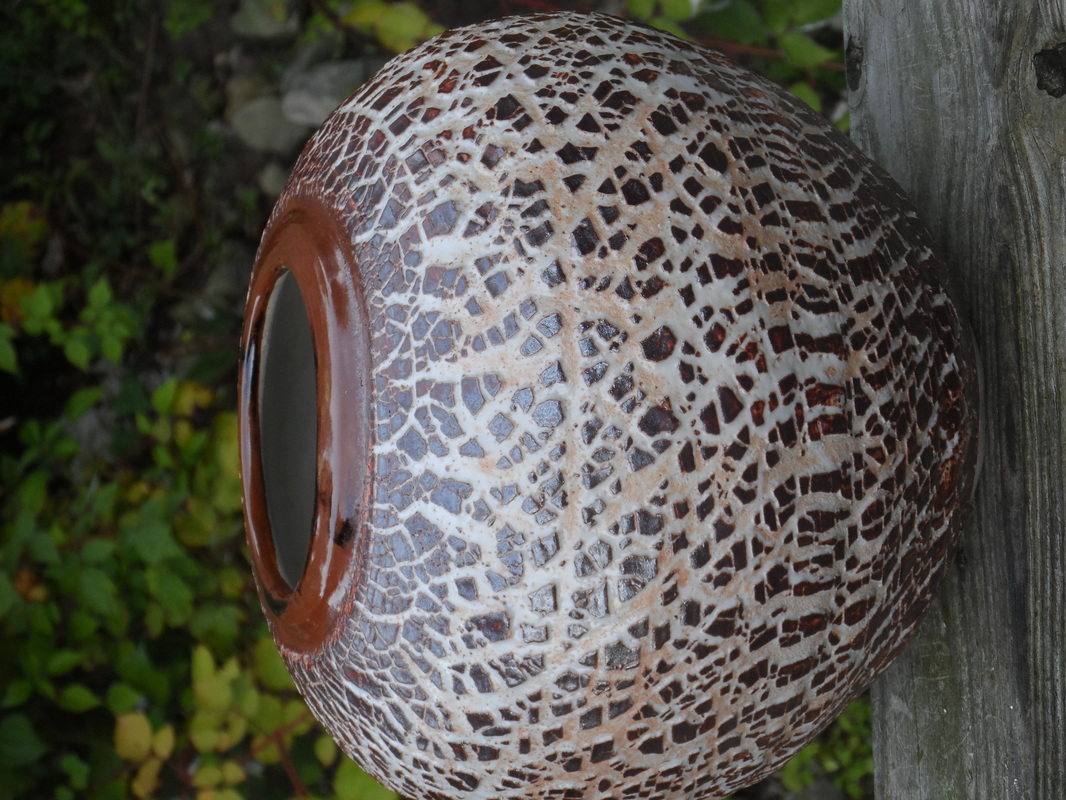
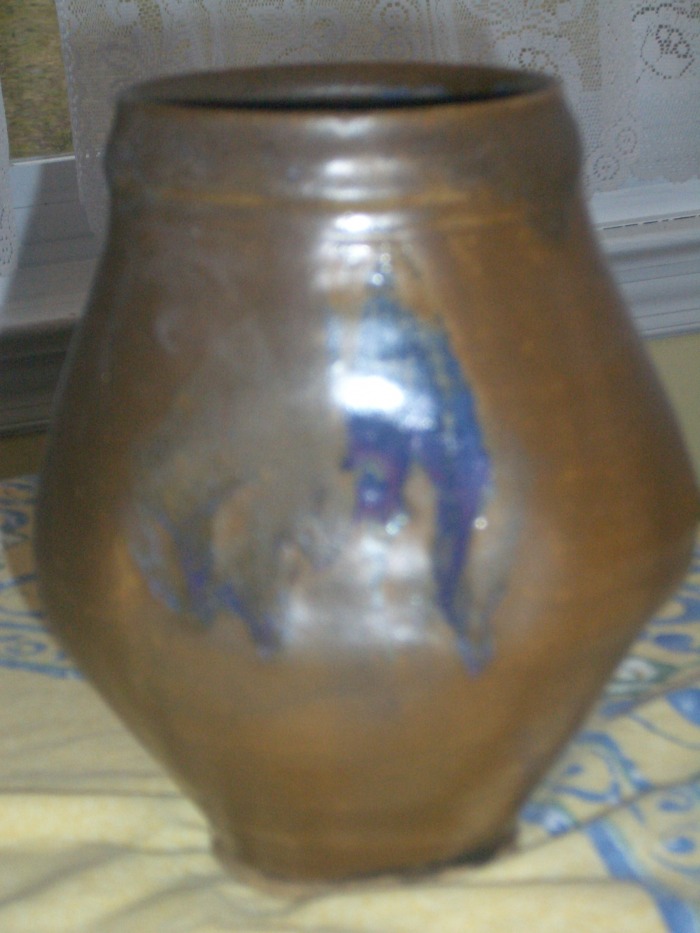
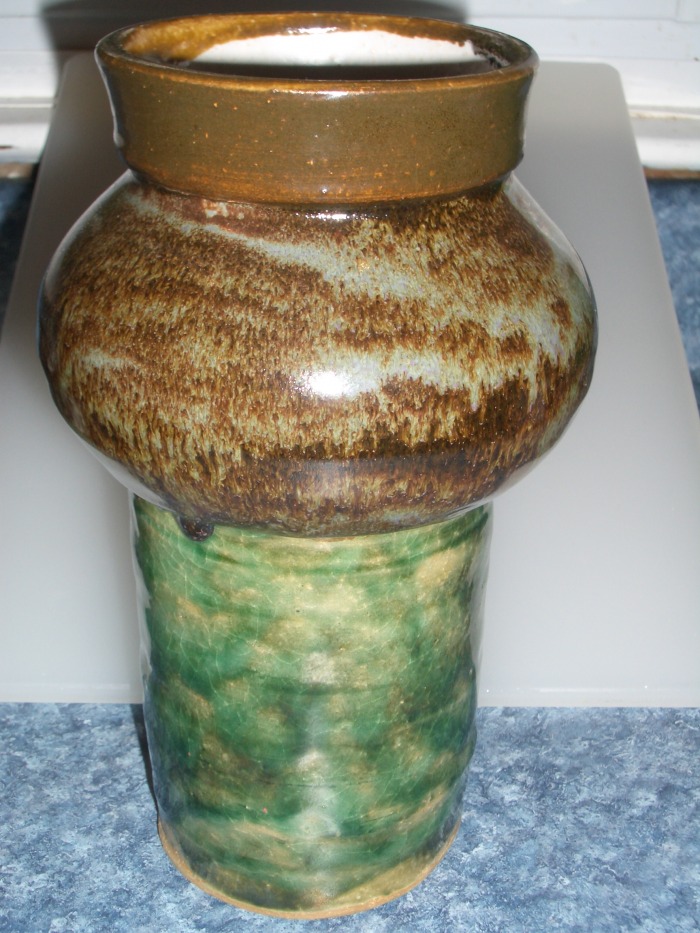
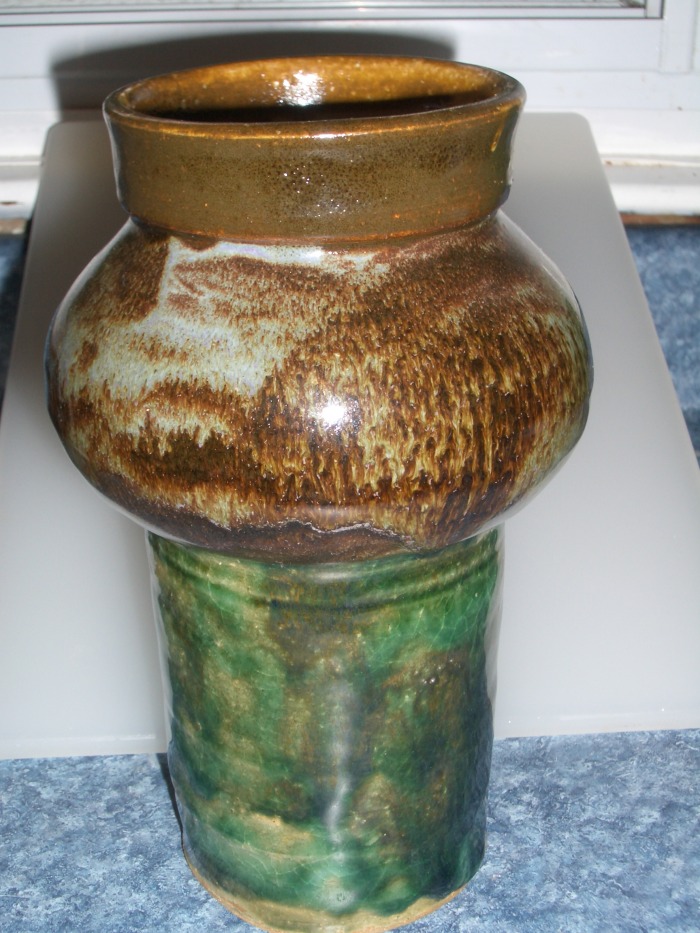
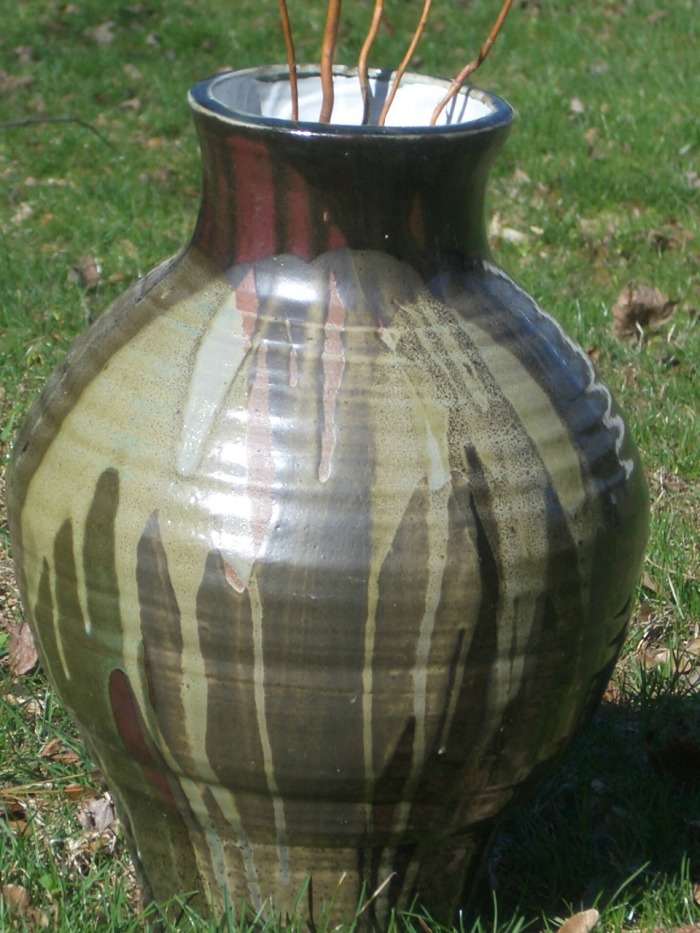
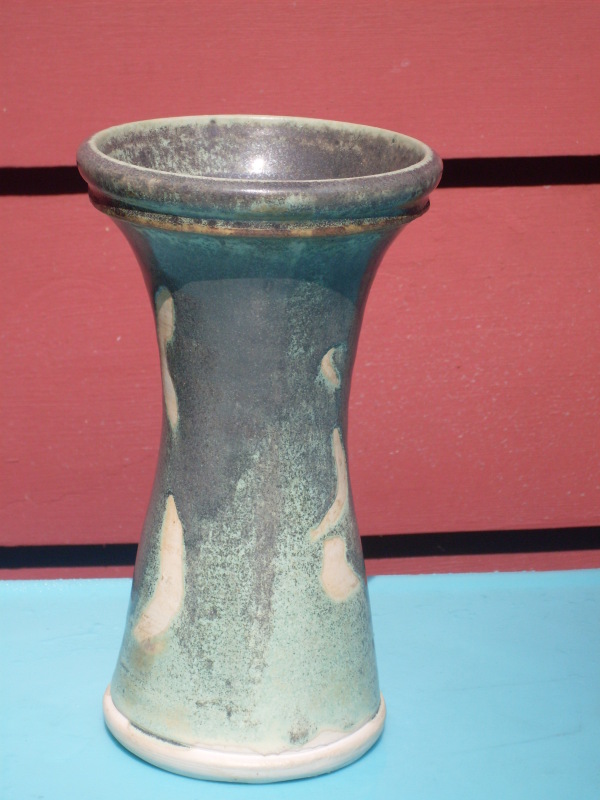
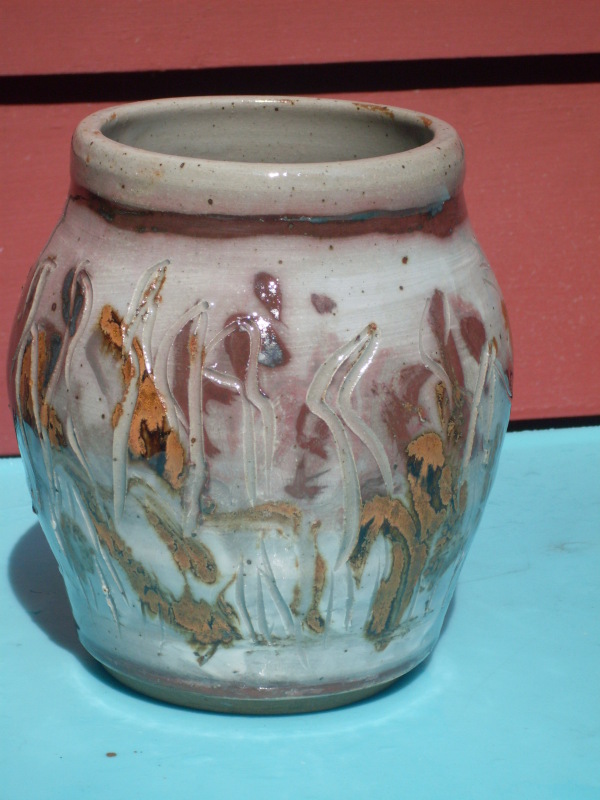
Burlap surface decoration (a la Robin Hopper)
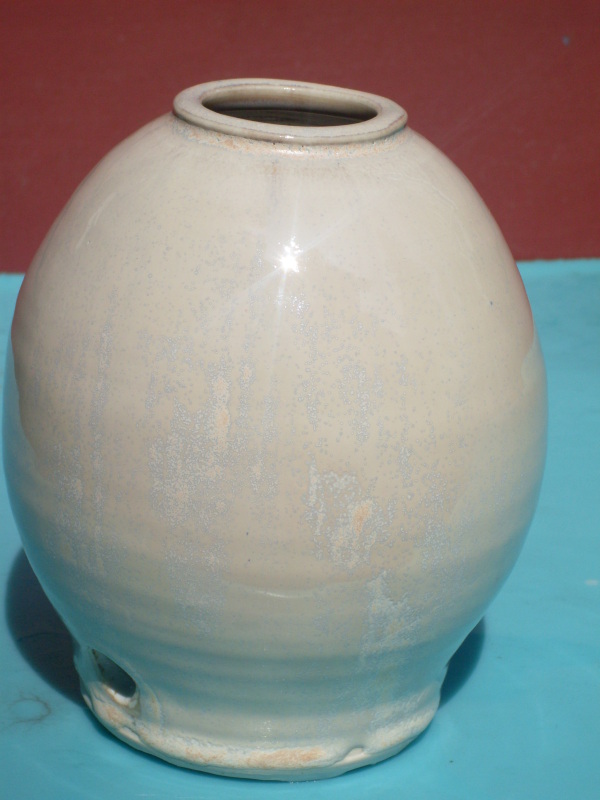
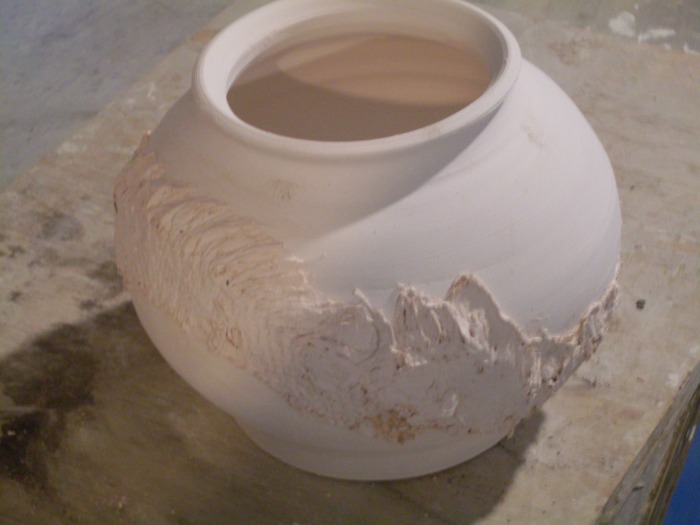
Above are two views of a brown vase above made by first throwing the form on the wheel and then adding a burlap strip soaked in clay slip. The fiber burns out in the bisque firing and leaves an extremely fragile layer of clay in the shape of the burlap. Until the glaze firing is completed, it is so fragile that merely touching it with a glazing brush would break the clay off so I used a sprayer to glaze this piece. The first image shows the bisque pot and the latter show the finished work with cone 6 oxidation glaze.
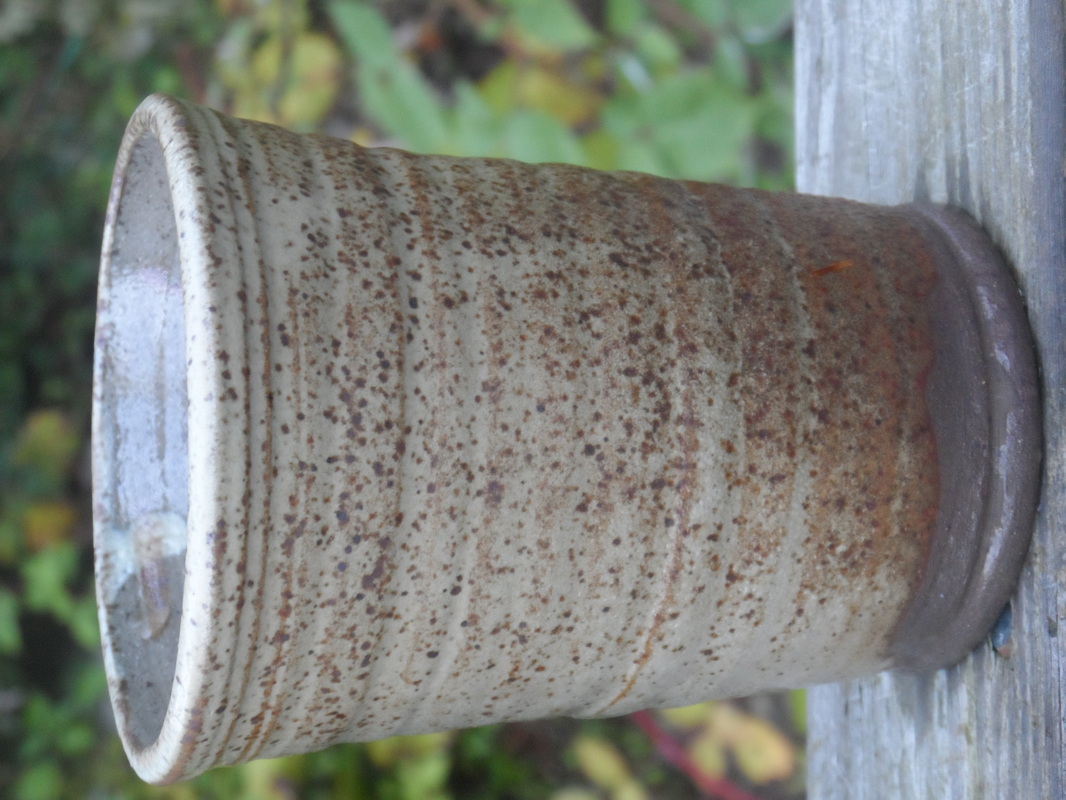
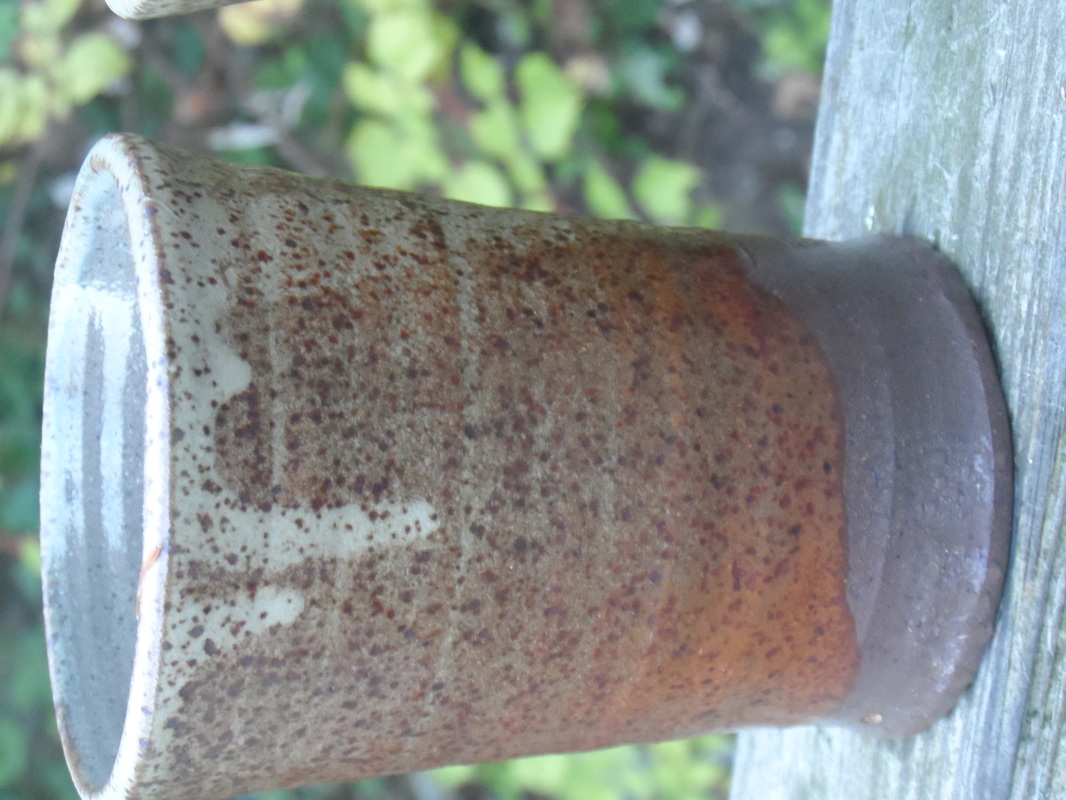
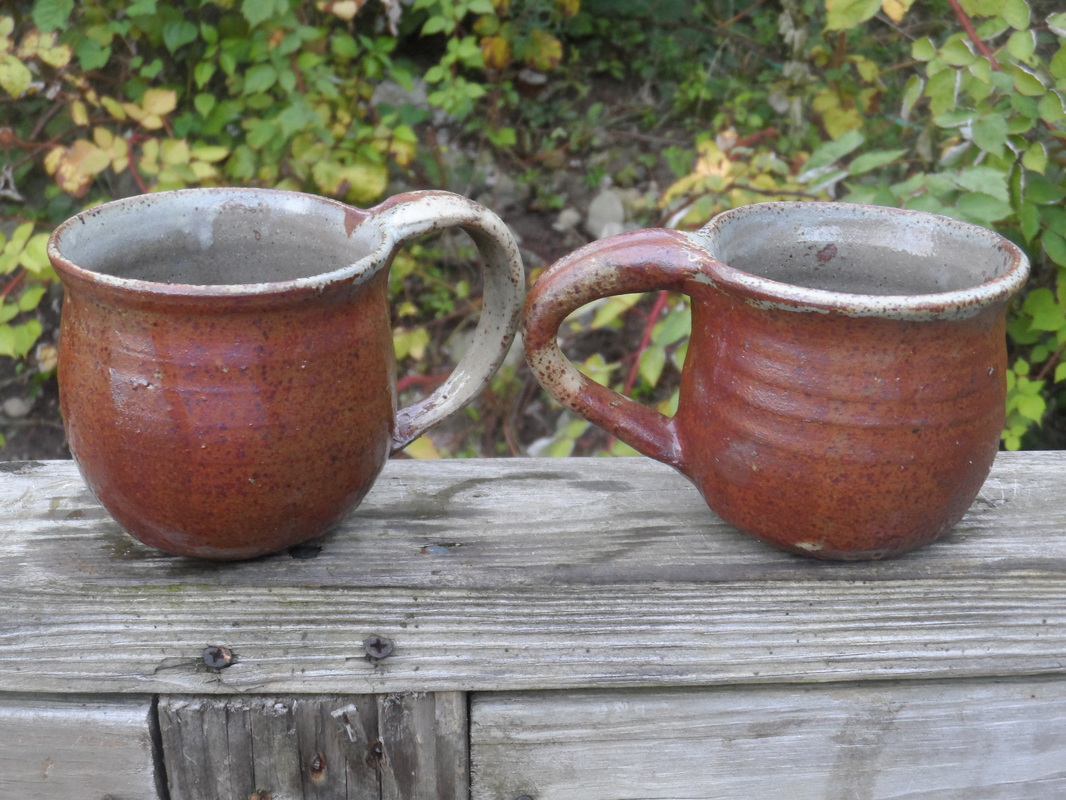
Touchstone pots fired in a wood kiln
The pieces below were made during my July '09 workshop @ Touchstone, but fired in November at Susan Beecher's studio in Tannersville, NY (in the Catskill Mtns.). She loaded 500 pots in a two-chamber brick kiln which took 6 hours to load, and 21 hours to fire -- by constantly feeding wood into the firebox. I had fun helping to load & fire, even though I took the morning shift which began at 5 am when the temperature was 20 degrees F. This is my first attempt at wood firing, so I have a lot to learn about how to glaze to take advantage of the wood ash deposited as the flames work their way through the shelves of pots during the firing.


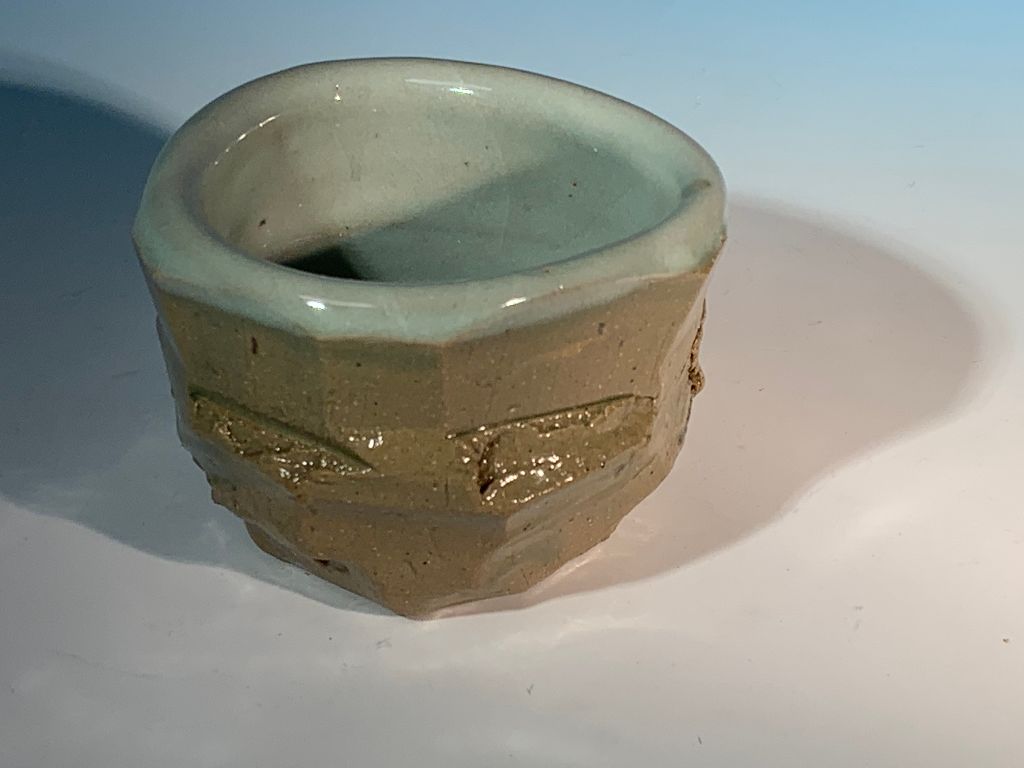
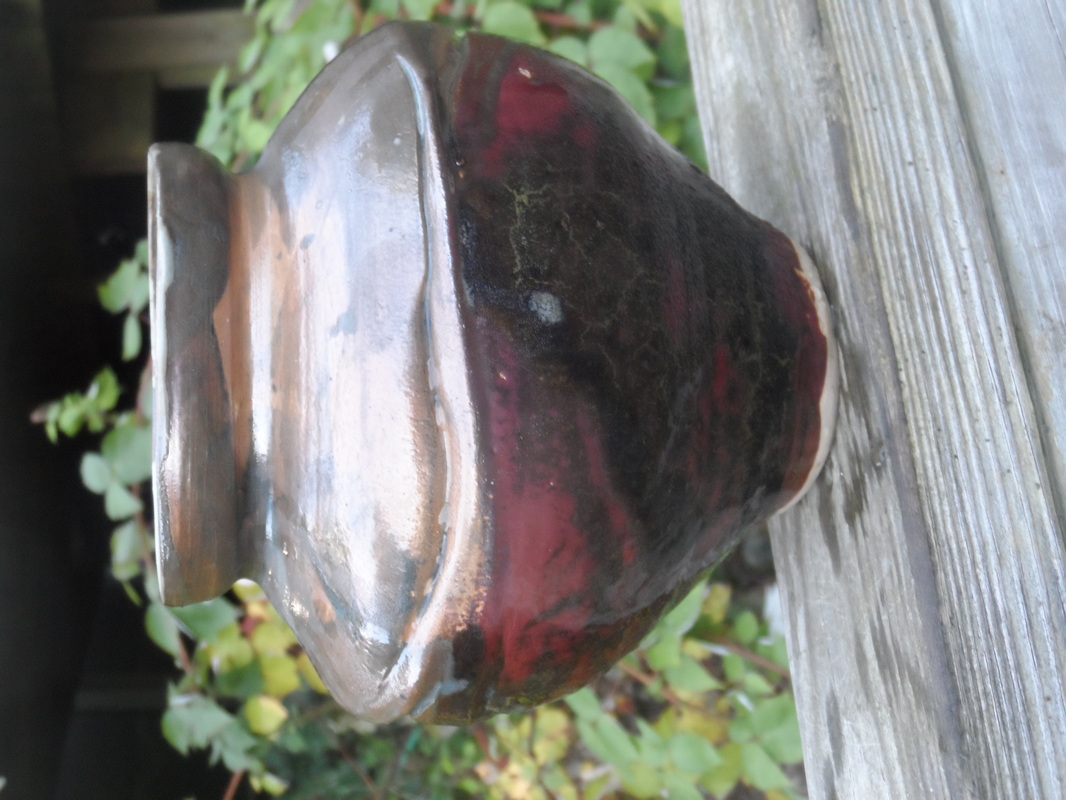
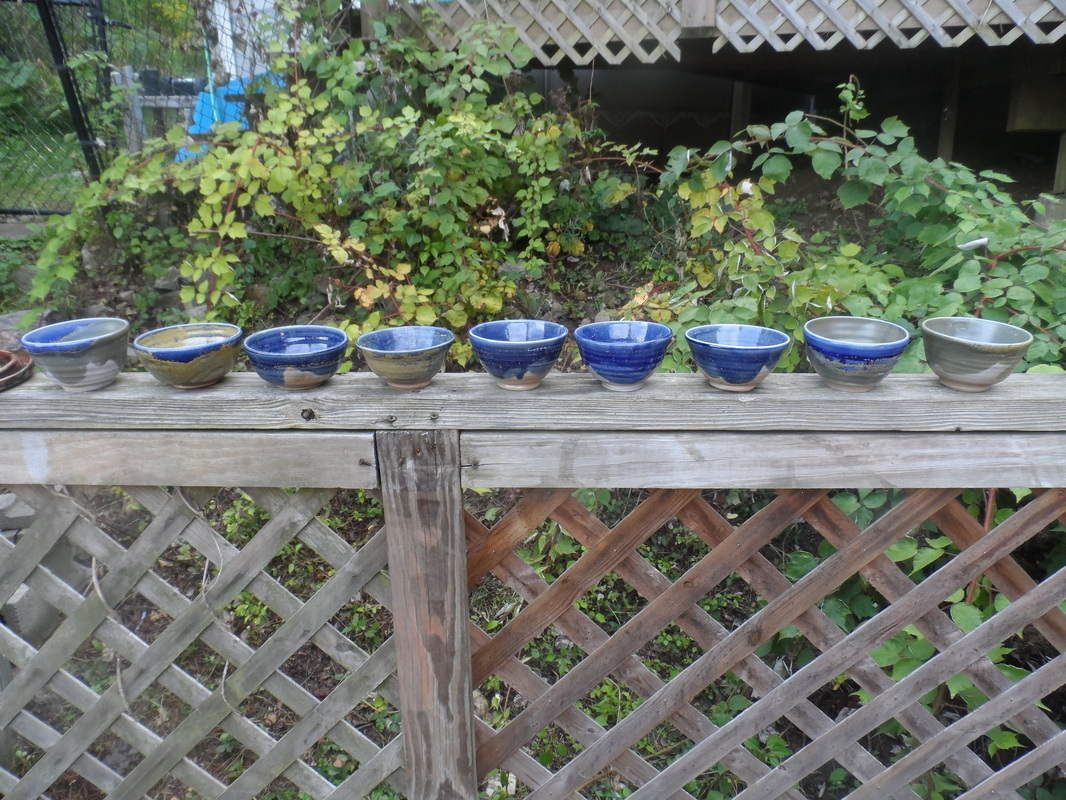
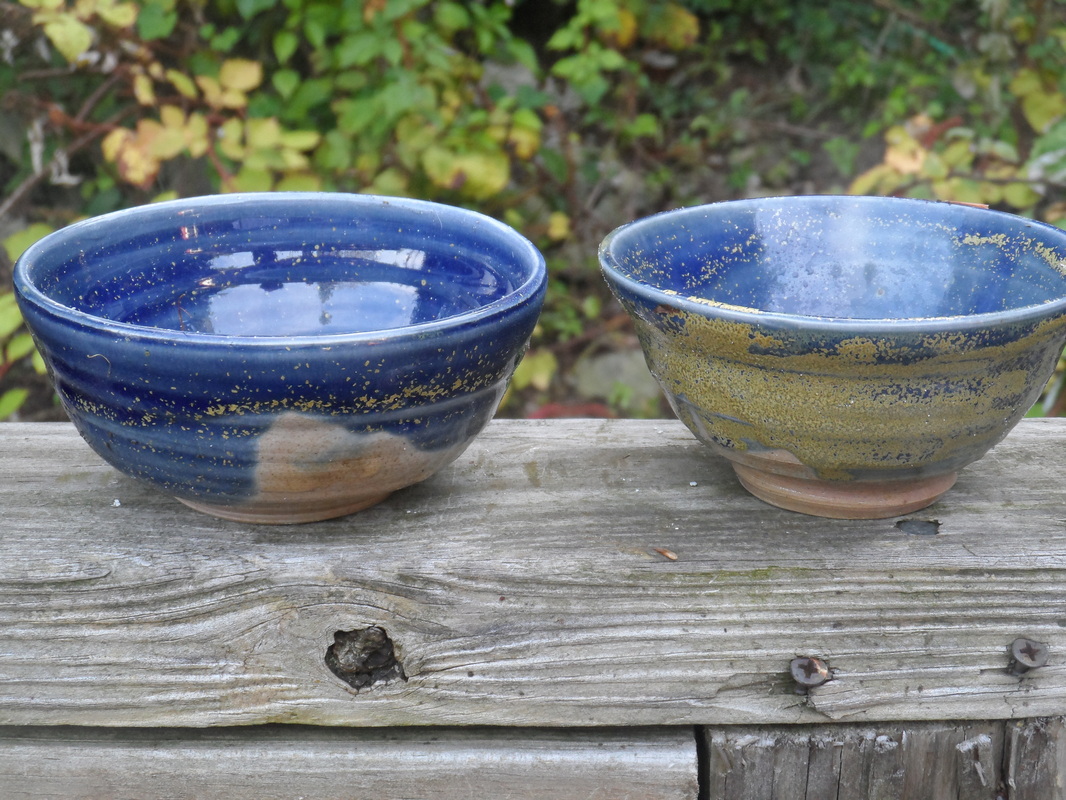
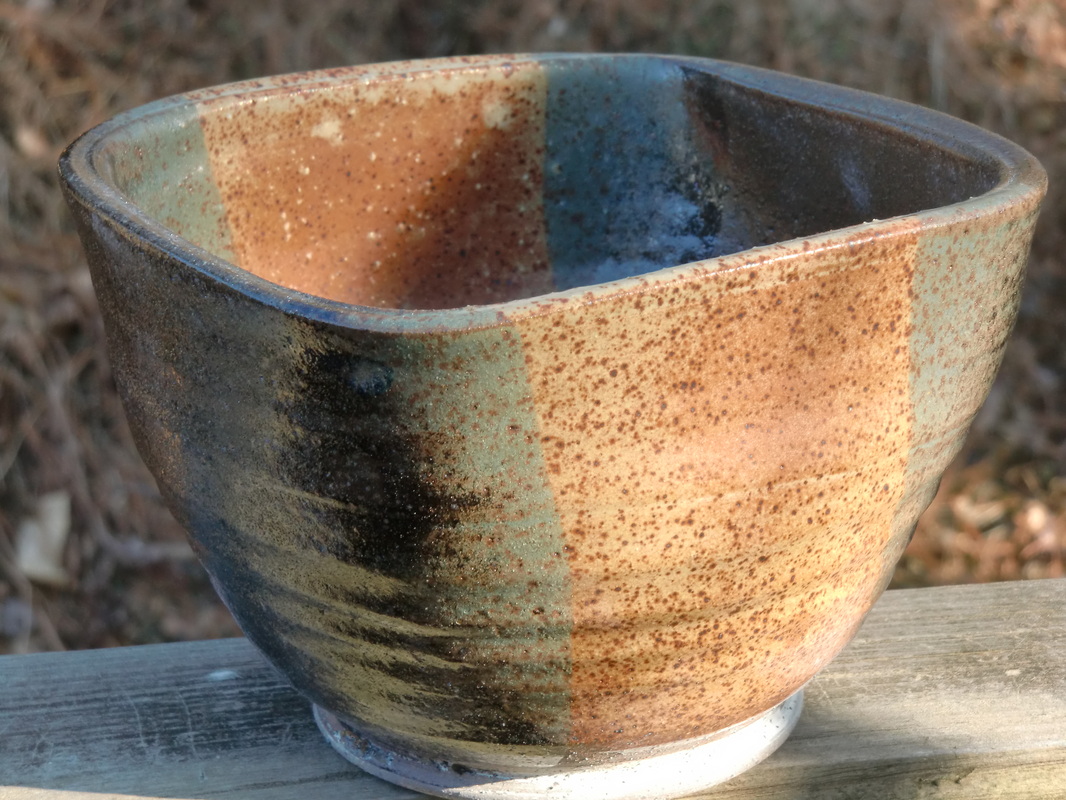
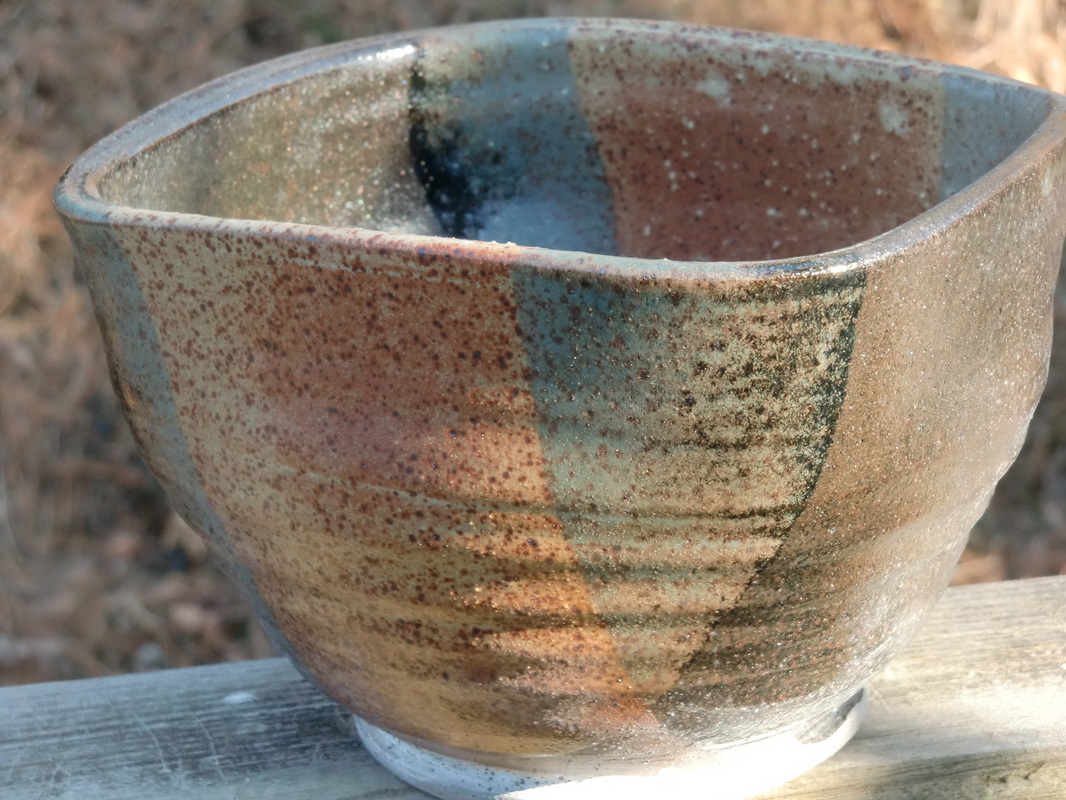
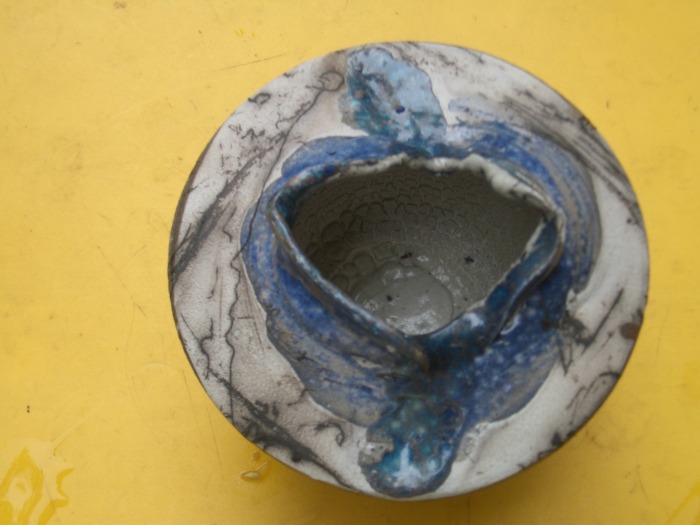
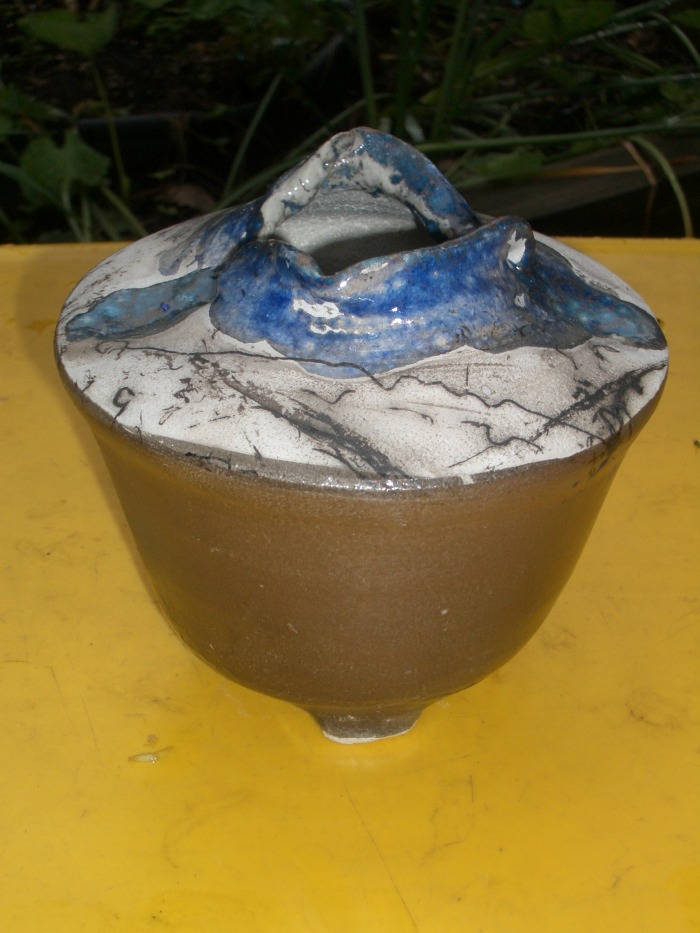
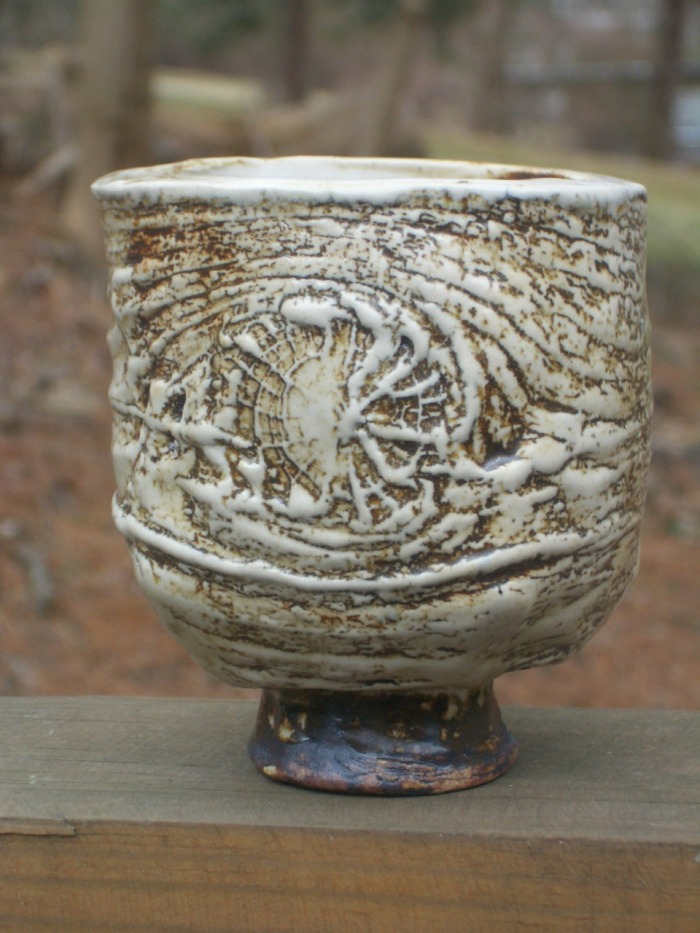
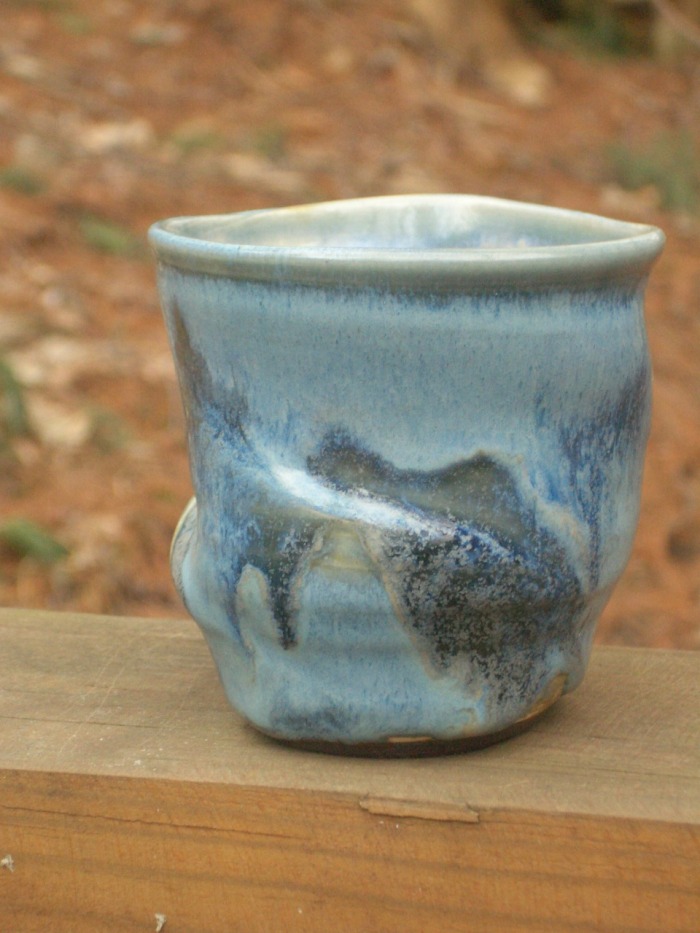
Collaborative Tea Bowl
The tea bowl/cup above was thrown in porcelain at Touchstone by Shannon McArdle, using some of my wooden stamps to press marks in the side of the clay. I bought it from her after the bisque fire and glazed it for firing in Susan Beecher's wood kiln. Note how the wood ash formed golden speckles on the blue glaze.
